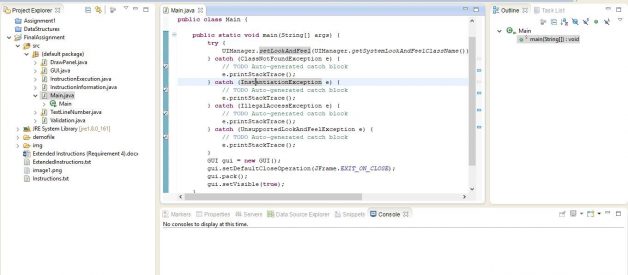
As a computer science student, we all had a java programming language course on our one semester and we learnt it from bottom to top but not all. Chances are that we coded java for the semester end project and never really looked backed at it like making a executable file of it. As it is also not on the course syllabus people don?t tend to give it a try. So I?m here to tell my experience in making a windows executable file with a straightforward simple guide.
Contents:
- Making a jar executable file
- Making a executable file
Before you go through this guide, you must already have initialized JDK and JRE path and installed Eclipse with a sample project with it.
Making a jar executable file
A JAR (Java ARchive) is a package file format typically used to aggregate many Java class files and associated metadata and resources (text, images, etc.) into one file for distribution.
- Open the eclipse with the java project.
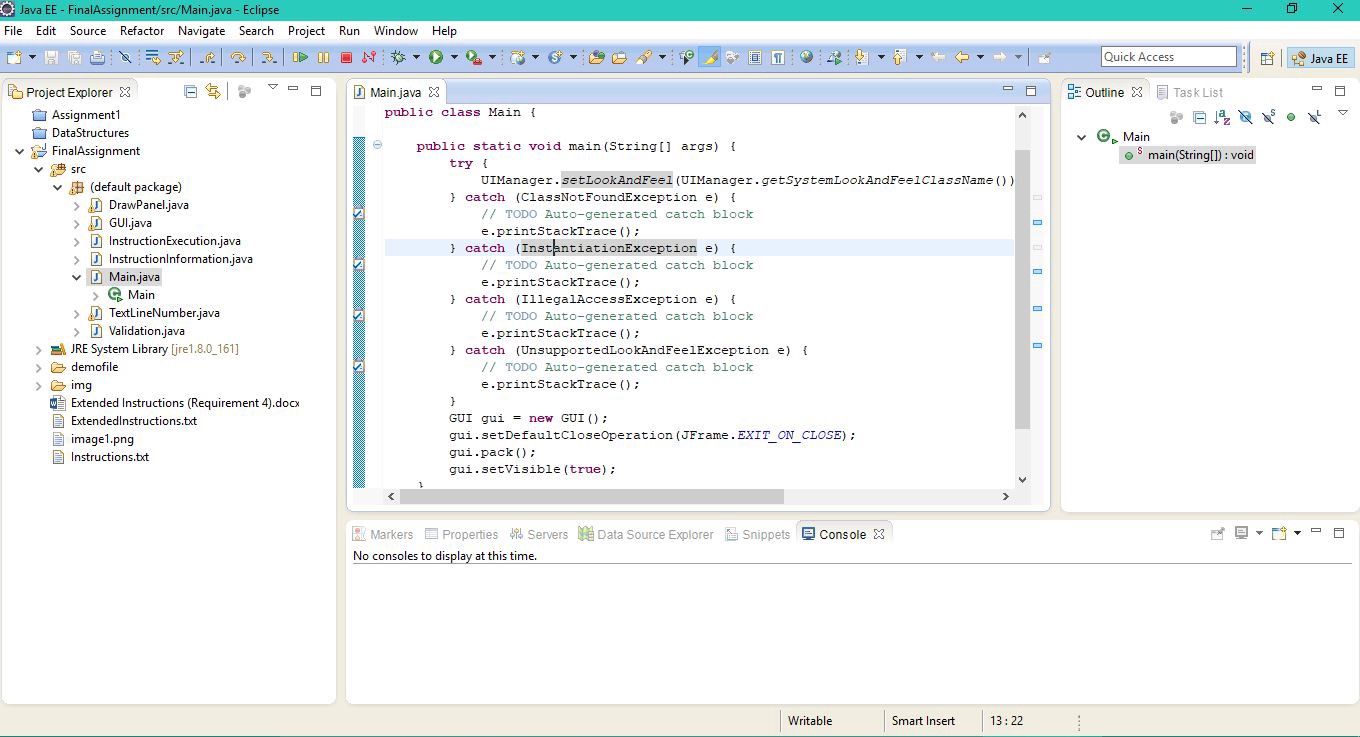
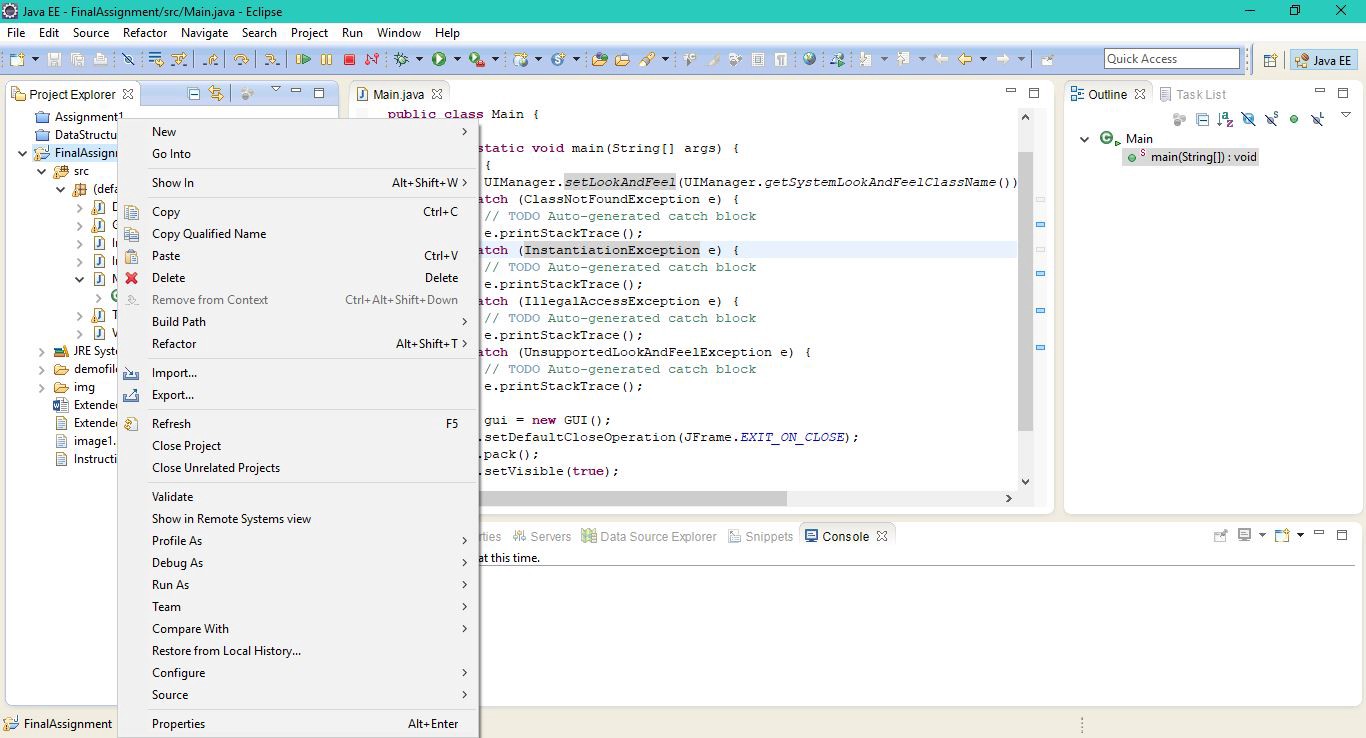
2. Right click on the project itself and click export.
3. A new dialog box will appear. Select the Java folder and click on the Runnable Jar File.
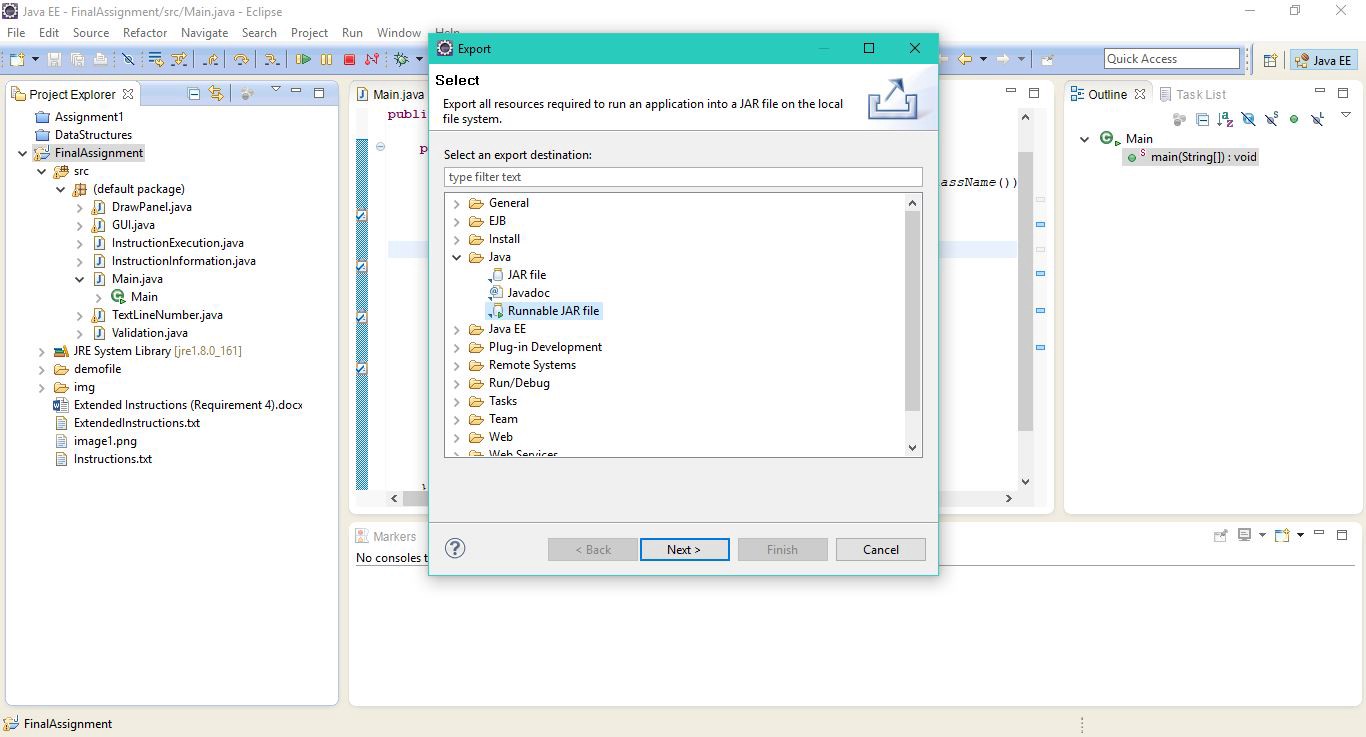
4. A new dialog box will appear. Now on the Launch Configuration, select the name of the main Java Class where your main method is and on the Export Destination, point to the location where you want to save the Jar file. After that click Finish.
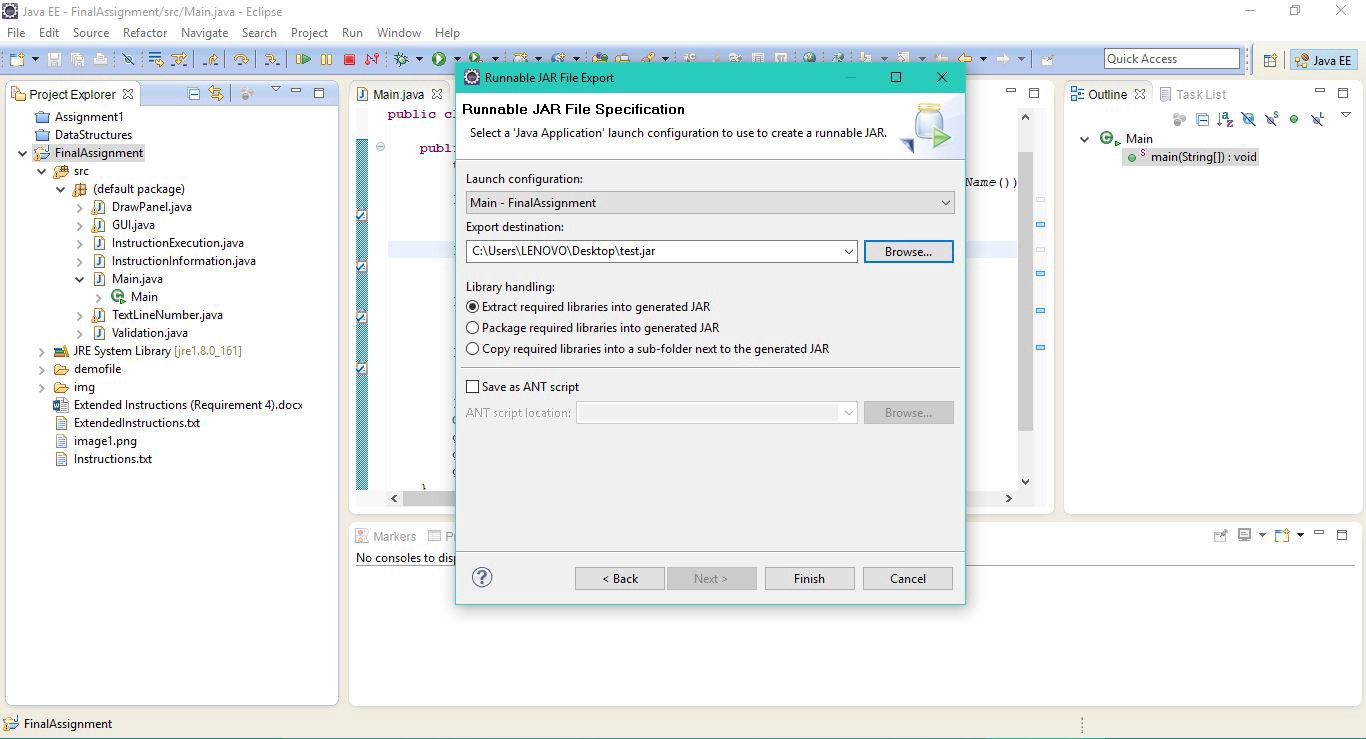
5. You have successfully created a Jar File.

Making a executable file
EXE is a file extension for an executable file format. An executable is a file that contains a program ? that is, a particular kind of file that is capable of being executed or run as a program in the computer. To make a executable file, we will need a separate tool for it called Launch4j. The download link for this software is down below.
http://launch4j.sourceforge.net/
Launch the software after installing it and follow the following guidelines.
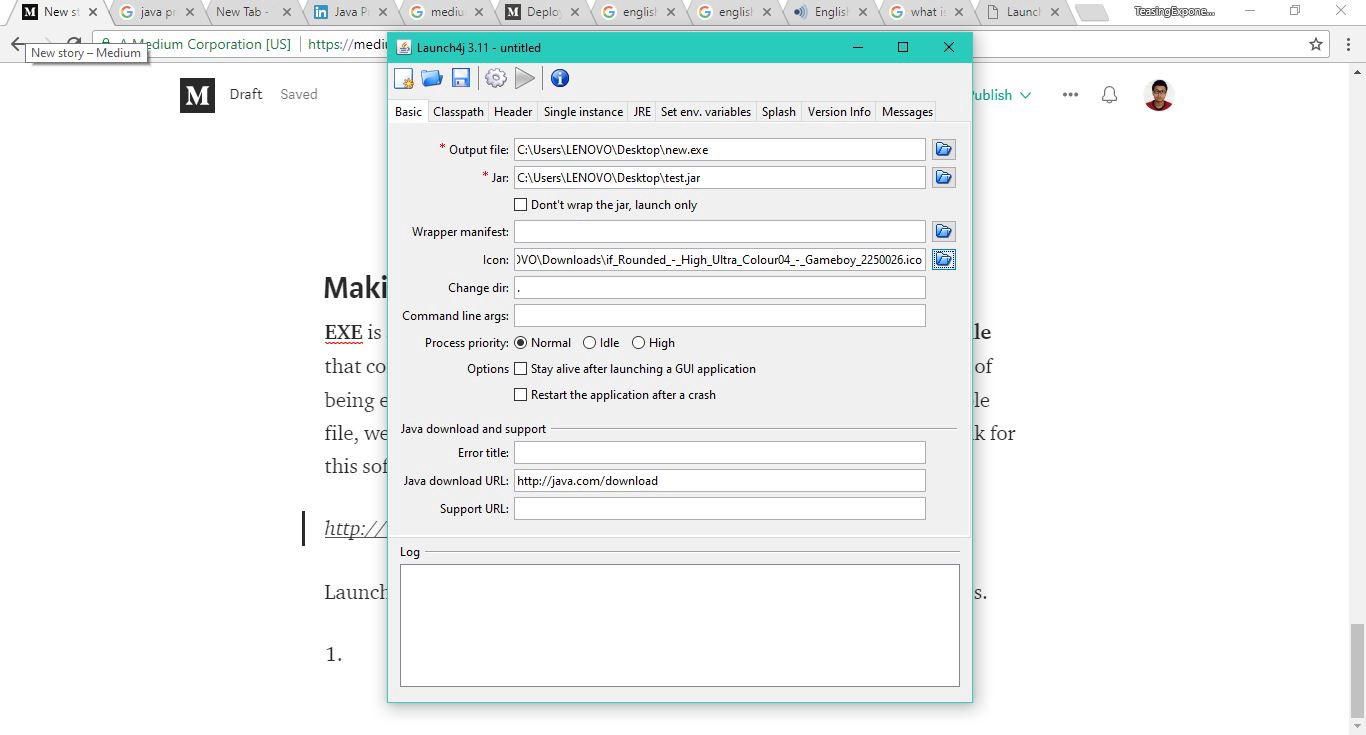
- Add you own path for the Output file (Where you want to save it). Then add the path of the jar file that you just made on the Jar section. Optionally you can also add a icon for you executable file, just point the path of the .ico file on the Icon section.
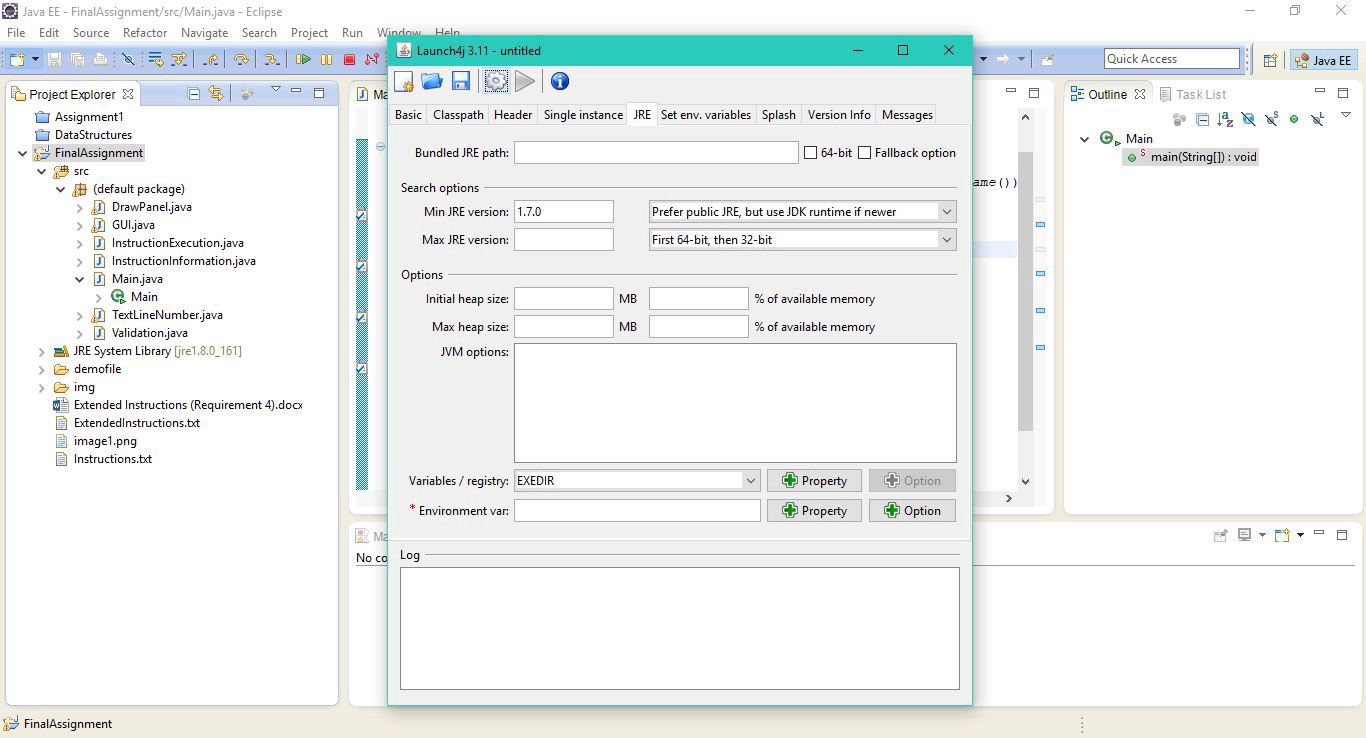
2. Now head over to the JRE tab and add you Minimum Jre version on the Min JRE Version. As of March 4, i am adding 1.7.0 as my minimum Jre version. After that click on build (Gear icon).
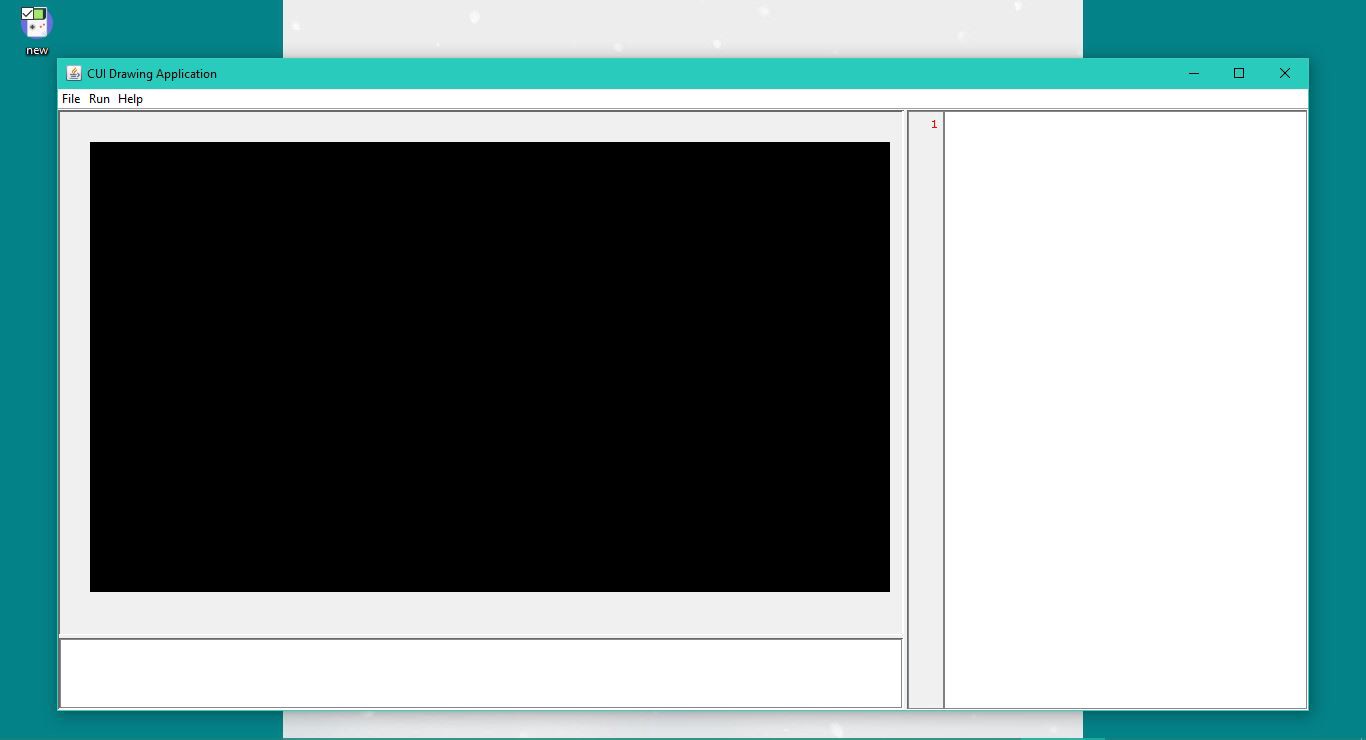
3. Finally, you will have your executable file with your own icon (if added).

4. Run the program.
If you enjoyed the post, feel free to connect with me on Linkedin, Twitter or Github.
