This is my personal notes but hopefully it helps someone. This guide was made for Windows when PyTorch was on 0.4.1.
I have a budget gaming laptop and I wanted to see if I could leverage it for machine learning practice. I come from the Linux or MacOS world so I?m not familiar with getting things setup on windows, so getting PyTorch just installed on my laptop was a whole ordeal and took forever. Because of my unfamiliarity with working with Windows, I went down the wrong path multiple times, and so in this guide I tried to include these mishaps so they can avoided.
Note that this guide uses the Anaconda Prompt and not Command Prompt. I made the mistake of trying to figure out Python with VS Code and briefly with Command Prompt before remembering that the Anaconda installation mentioned something about Anaconda Prompt. Everything works fine in Anaconda Prompt, and there?s not much support for running things outside of the provided Anaconda tools.
The entire thing can be summarized in five points:
- Install Anaconda
- Open Anaconda Prompt (NOT Anaconda Navigator)
- conda install pytorch -c pytorch
- pip install torchvision
- Add environment to ipykernel
That?s ALL THAT YOU NEED TO KNOW. The rest of this guide helps you if you?re confused somewhere. Anyhow, lets get to installing PyTorch.
Install Anaconda
- Anaconda installation for windows can be found here:https://docs.anaconda.com/anaconda/install/windows/
- The installation is straightforward and I used just recommended settings, so I?m not going to include that in this guide. The only thing is, it?s important that you select Python 3.6 and not 2.7.
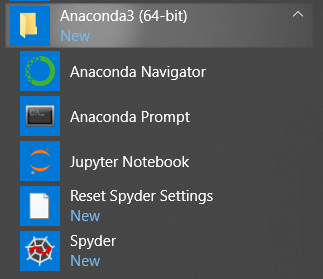
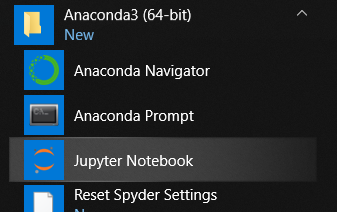
- You don?t use your normal command prompt at the end, you go into the start menu > Anaconda3 (64-bit), and either use Anaconda Navigator or Anaconda prompt.
Install Pytorch from Anaconda Prompt
- Open Anaconda Prompt:
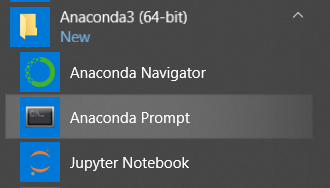 Again, this is the Windows Start Menu
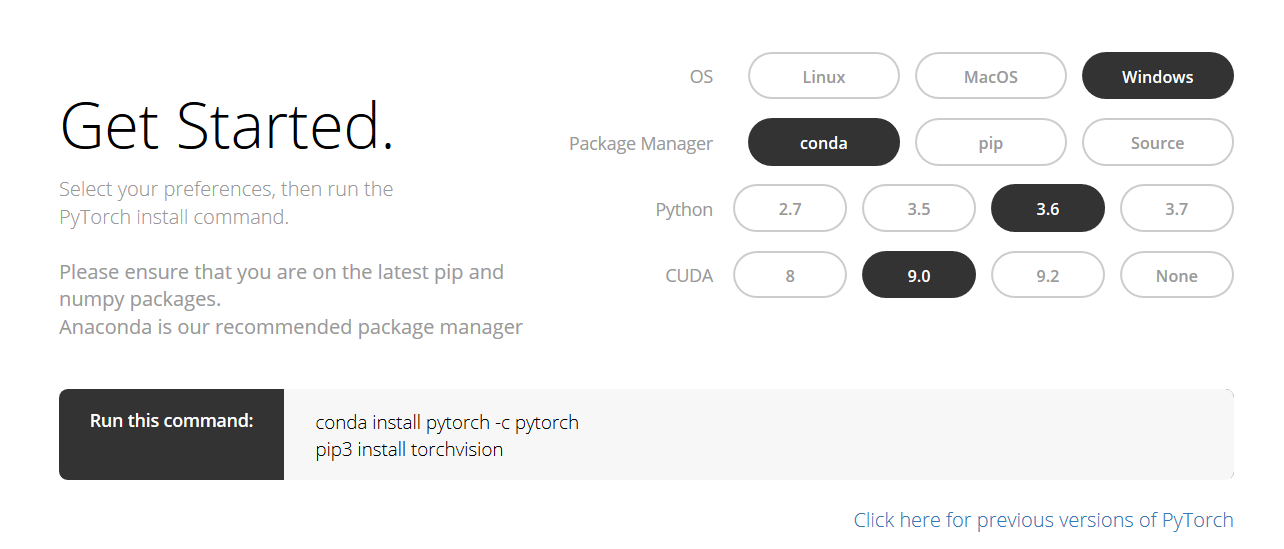
- If you didn?t see it in the previous section, the pytorch site tells you to install pytorch using conda from the pytorch channel.
- If you want to make a separate environment for experimentation, it?s as simple as ?conda create –name test?. I recommend you do this.
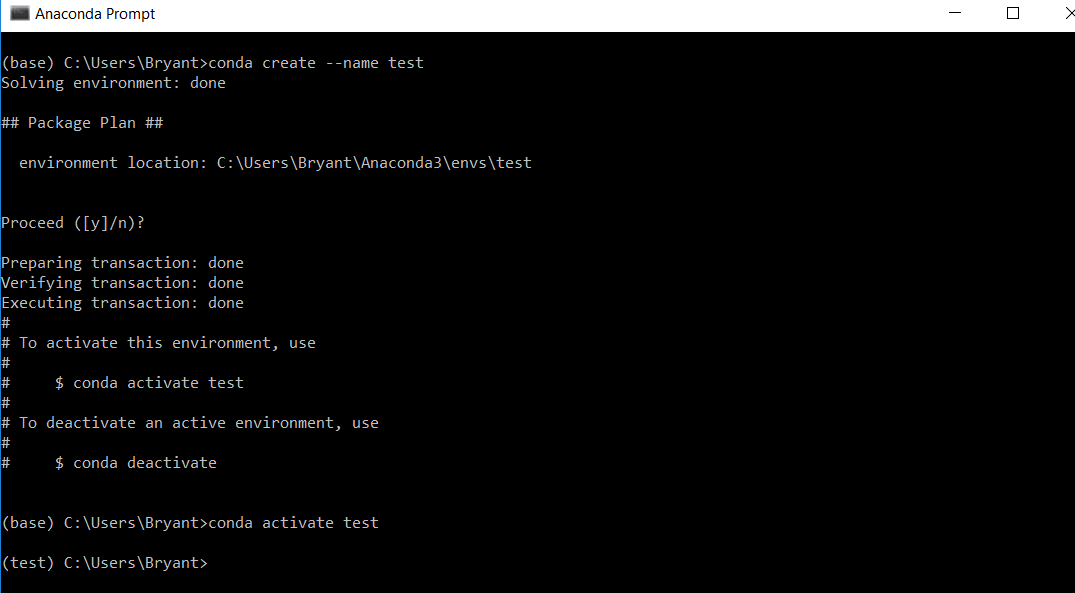 I hope I made it clear enough that this is NOT Command Prompt, this is Anaconda Prompt
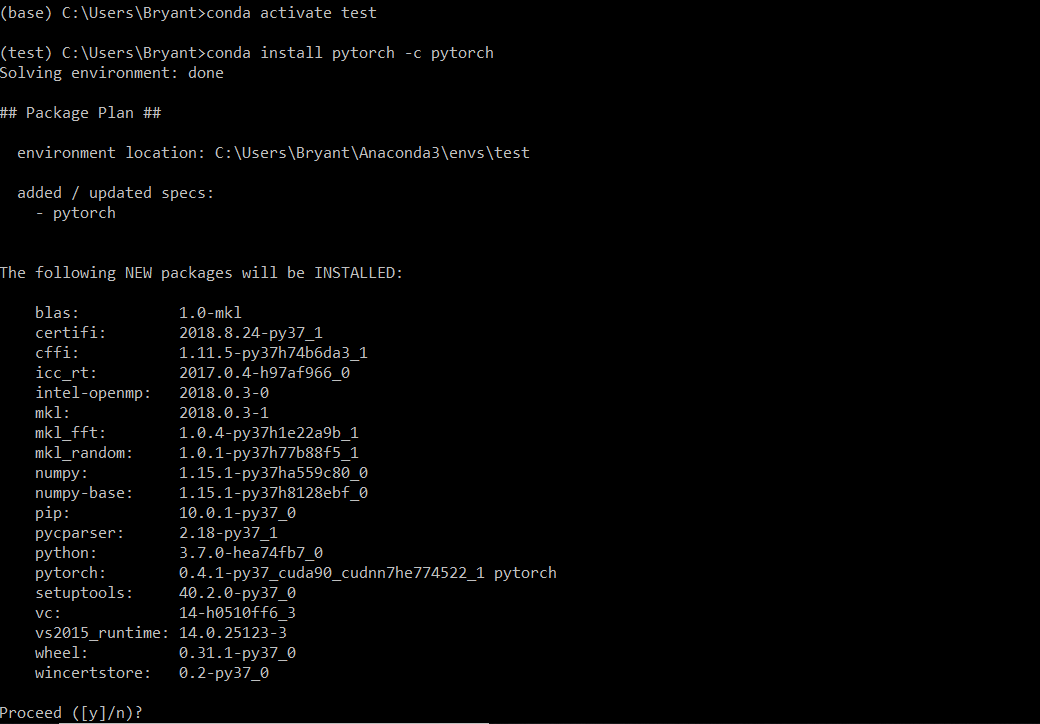
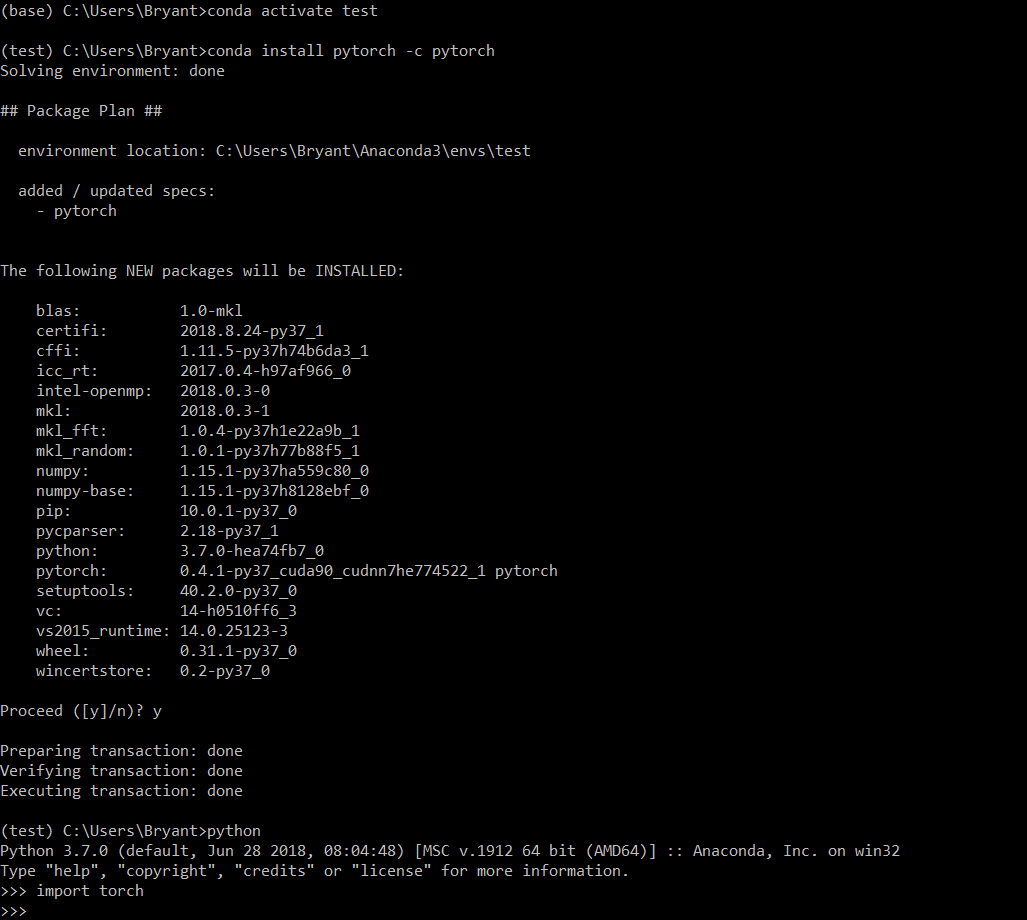
- If you made an environment, make sure that the word in the parentheses is the name of your environment, not ?base?. If it is ?base?, just activate your environment:

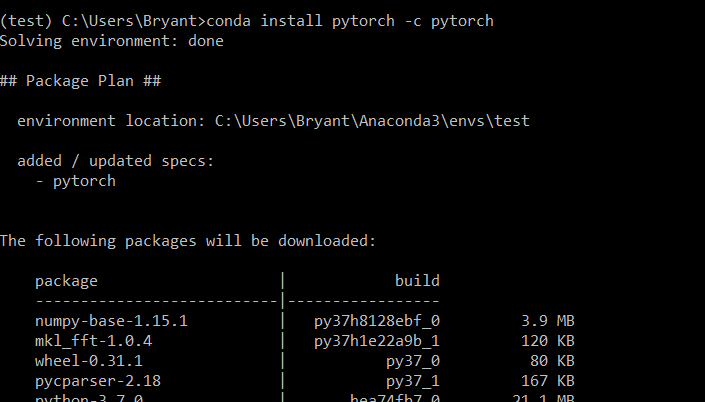
- To install pytorch from the pytorch channel, it?s just ?conda install pytorch -c pytorch
- IF you get this error, ?The path x specified in the package manifest cannot be found?, it seems to happen if you tried to use the Anaconda Navigator to install PyTorch on this environment. Delete the environment and start again, with ?conda env remove –name test? and ?conda create –name test?. Don?t forget to conda activate your environment.

- Try again with the fresh environment:
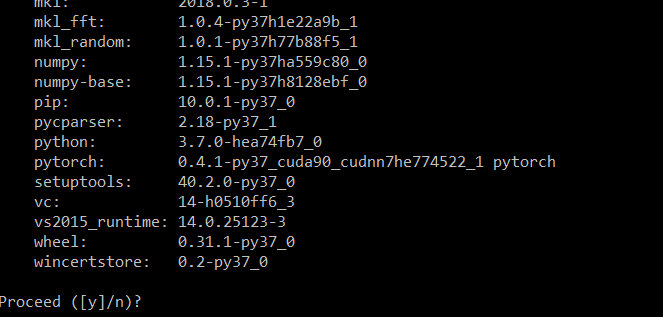
- Wait for a long time while PyTorch downloads:
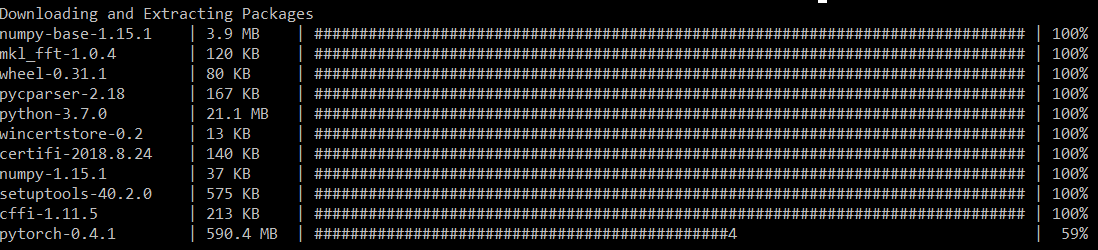
- I personally had to cancel (ctrl+c) multiple times and re-run the ?conda install?? command or it would freeze up somewhere. If it doesn?t freeze up then don?t touch anything.
- Eventually, it seems to work:
- Remember the PyTorch installation instructions? It also tells you to install torchvision. The command is ?pip3 install torchvision? but pip3 doesn?t exist in the Anaconda prompt. Anaconda uses Python 3 anyway (you did install it with Python 3, right?) so ?pip? is ?pip3?, and we can swap that in:
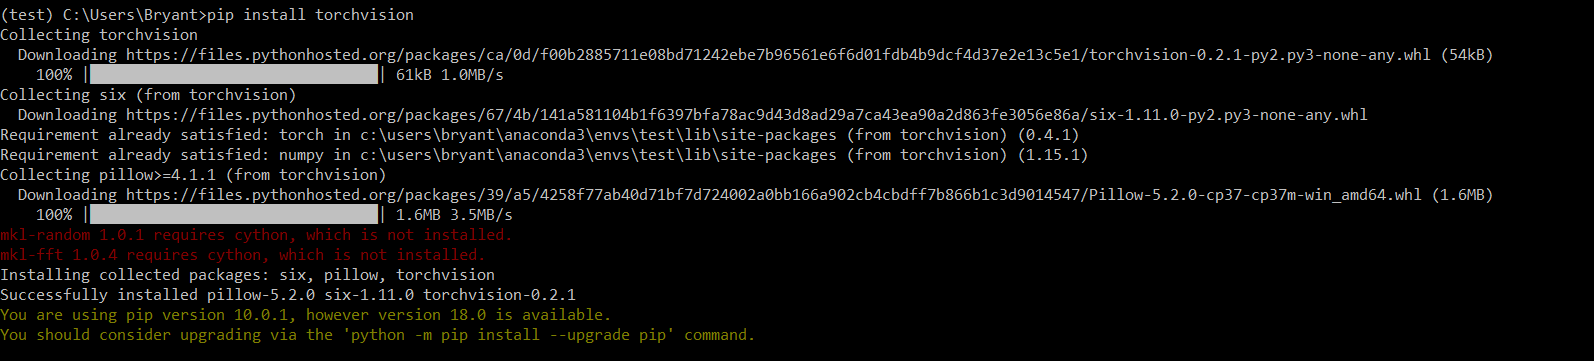
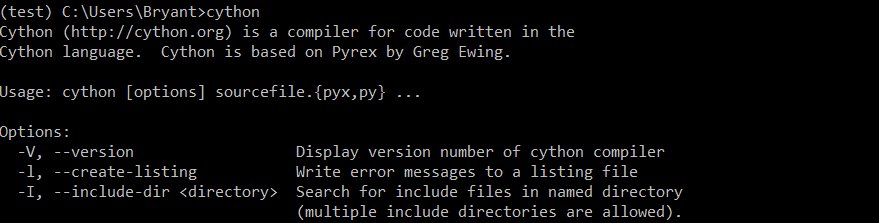
- You can see in the previous output in red, it complains that mkl-random and mkl-fft require cython, which isn?t installed. The thing is, cython was actually installed with Anaconda already, which you can confirm by typing ?cython?:
- Other than the concerning warnings, everything seems to be in working order. I?ll update this guide if I come up with any problems.
Making Your Environment Available in the Jupyter Notebooks
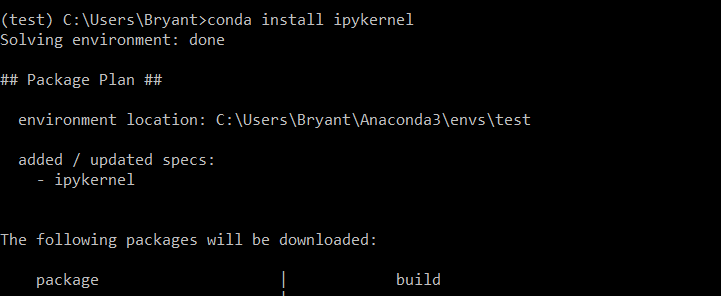
- The kernels available in Jupyter are iPython kernels, so install your conda env into iPython.
- Activate your environment and install ipykernel
- Start Jupyter notebook:
 Again, this is the start menu
- Now when you open a notebook, you can switch to your environment in the ?Kernel? menu:
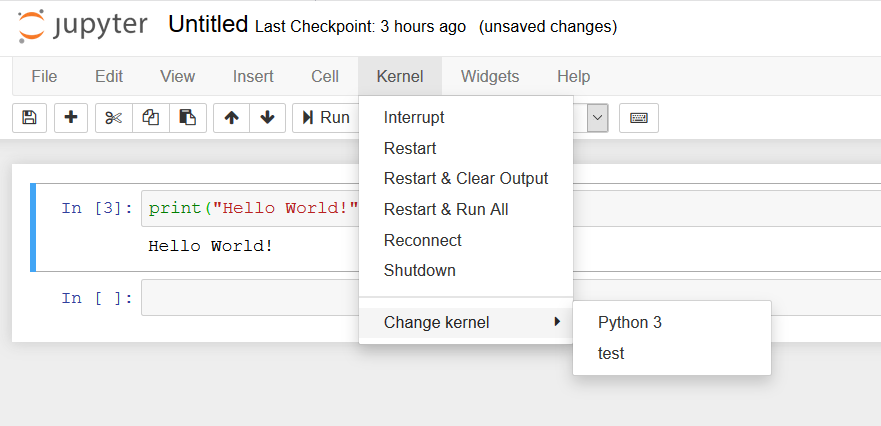
- When you install things into your conda environment, they should be available immediately. If not, try restarting Jupyter.
Installing PyTorch from Anaconda Navigator DOES NOT WORK
- This section exists purely to show you that installing PyTorch with Anaconda Navigator will not work. You can skip to the next section.
- Go to the PyTorch site for installation instructions:
https://pytorch.org/
- The installation instructions show that we just use conda to install pytorch from the pytorch channel of anaconda. Let?s go ahead and do that. Open up the Anaconda Navigator that we installed in the previous section
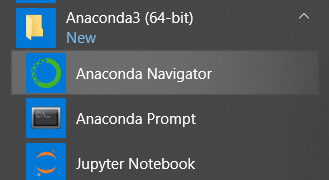 This is in your Windows Start Menu, in case that wasn?t clear.
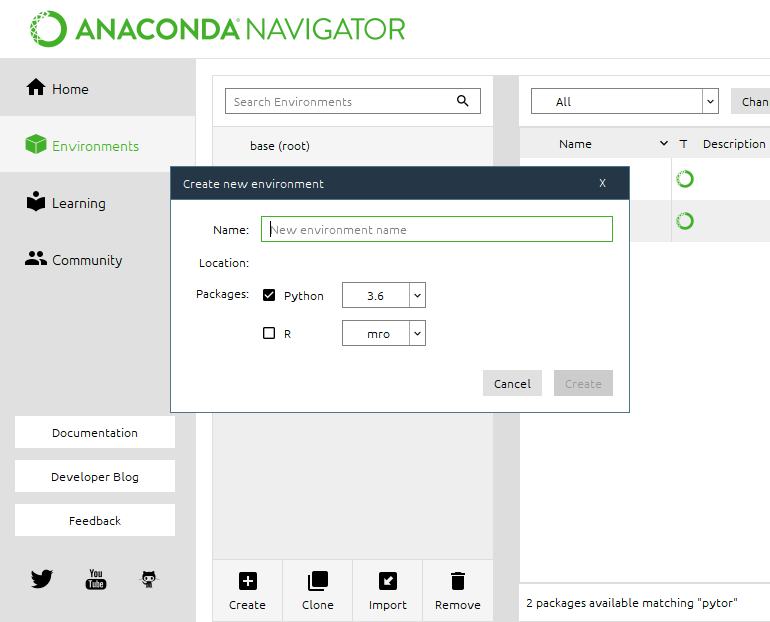
- (Optional) Make a test environment and use that to experiment with, by clicking the ?create? button at the bottom of the Navigator:
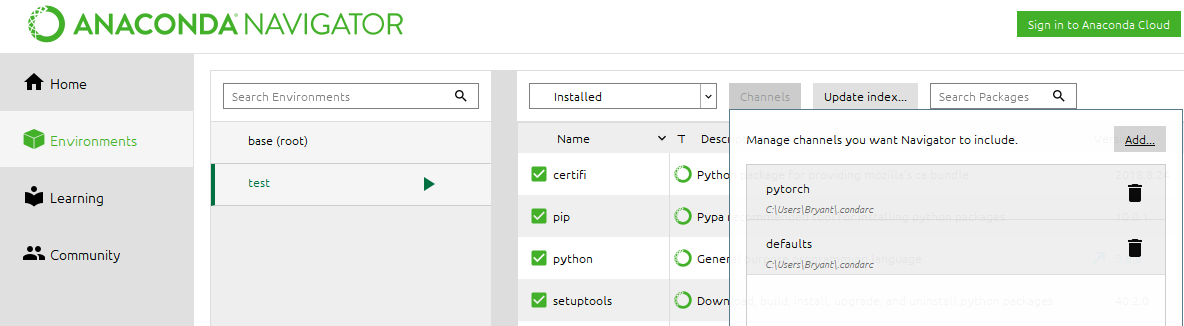
- In the environments, click the Channels button:
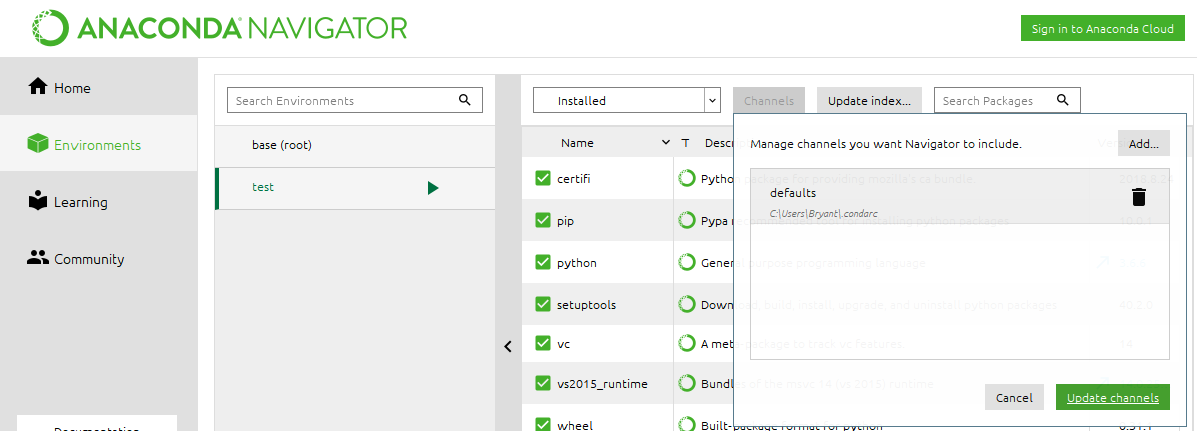
- Add the pytorch channel and hit enter
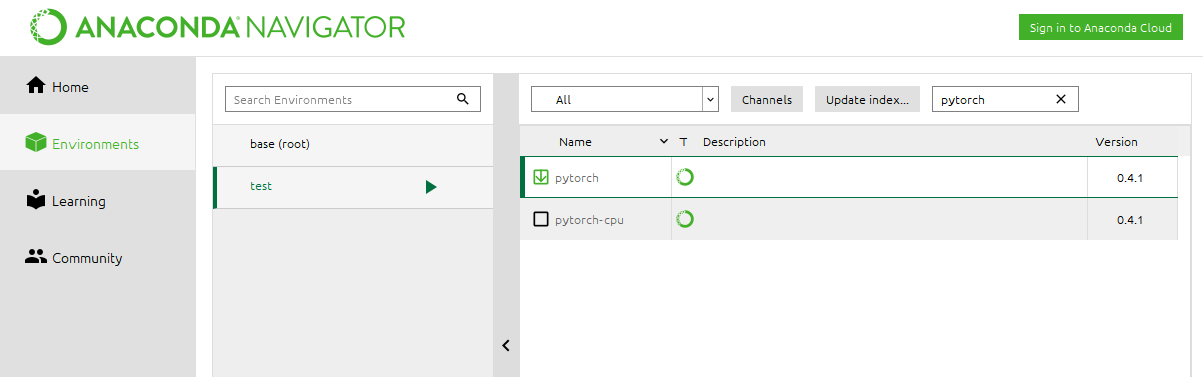
- Change the package list selector from ?Installed? to ?All? to see packages you can install, then search for PyTorch. Click the pytorch checkbox and click ?Apply? to start installing.
- When you try to install pytorch though conda, you get this:
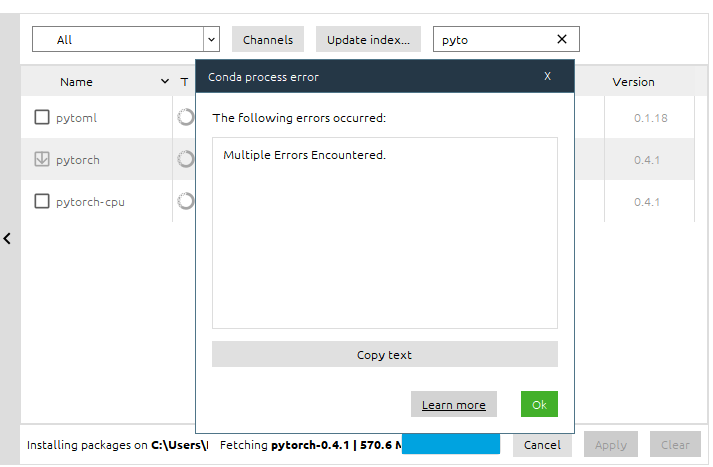
- Note that there is NOWHERE where you can get the output for the ?Multiple Errors?. There?s no messages that explain what?s going on. The Anaconda Navigator does not work to install pytorch.

