
This tutorial would ideally be helpful for people who build/manage multiple projects, while wanting a custom domain name + email address for each.
Why not just use G Suite?
It has something to do with costs. (It always does, doesn?t it?)
Granted, a G Suite account will indeed allow you to ?create business email addresses for your domain, and get 30GB of space.?
Plus, once you have signed up for a G Suite account, you will have the option to create email ?aliases? ? which will be useful for setting up several different identities / message filters for your brand (more on G Suite aliases in a future post, potentially).
And for the sake of full disclosure, I do use G Suite for my *main* company email addresses.
However, if you are like me and actively run a ton of standalone projects, G Suite fees will add up?
Let?s say you have 20 standalone projects that each uses its own domain. G Suite fees would come out to be:
$5.00 / user / month x 12 months x 20 projects = $1,200 per year
Versus?
Cost of this setup = $0
You will only need to pay the domain fee on an annual basis.
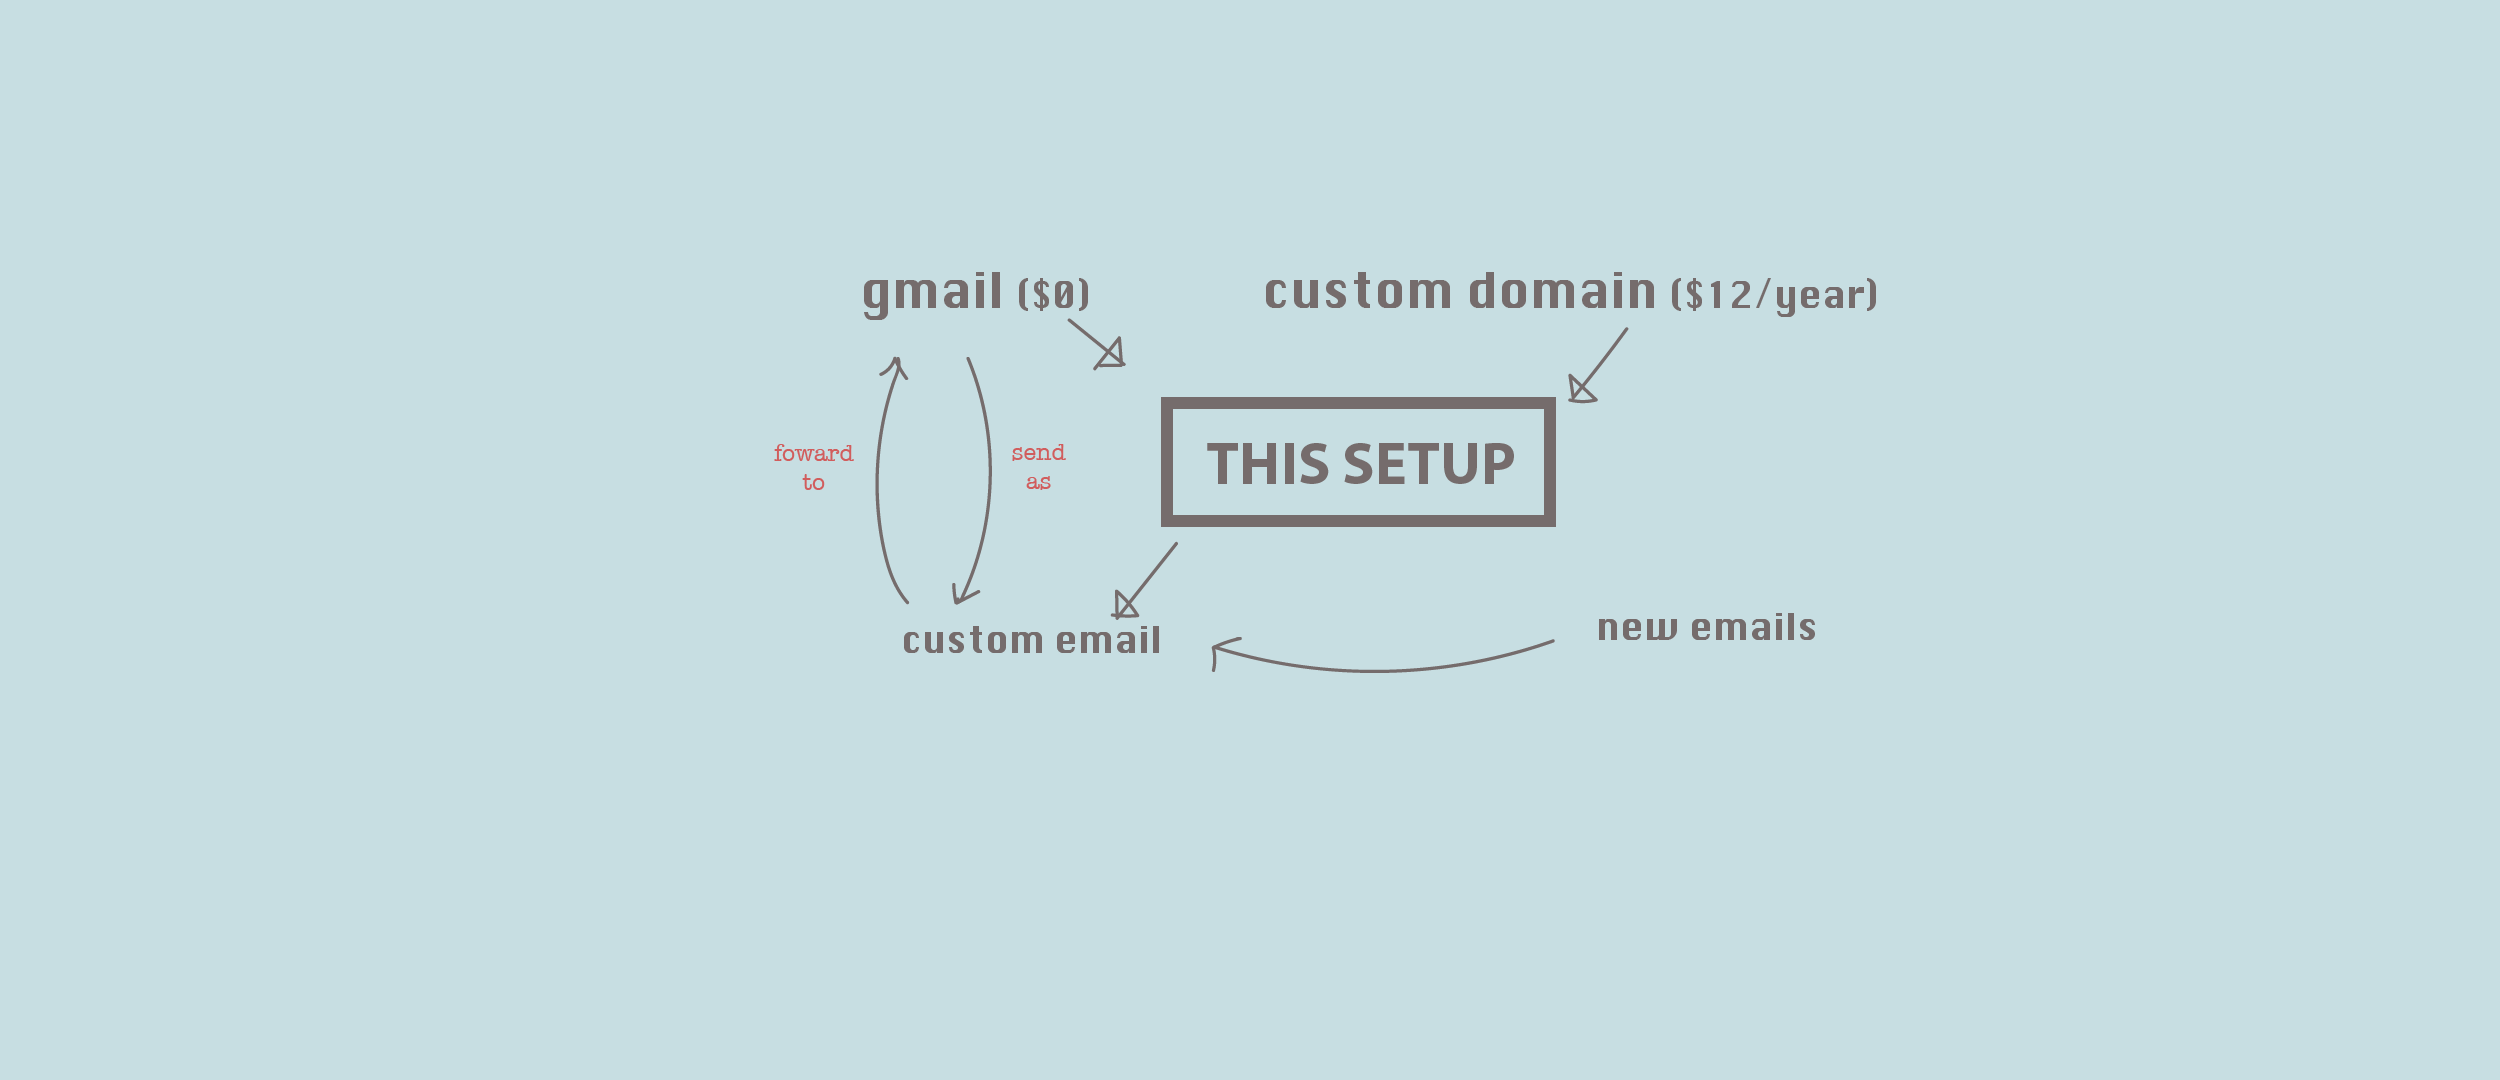
The goals of my setup
What I am trying to achieve here:
- Get a custom domain name (wearemojis.com) for a small annual subscription fee from Google Domains ? currently $12/year
- Sign up for a free Gmail account to use with the project ([email protected])
- Set up a custom domain email address for free ([email protected]) via Google Domains, making use of the purchased custom domain
- Have emails that are sent to the custom domain email ([email protected]) automatically forwarded to the Gmail account ([email protected])
- Send email as [email protected]
- Eliminate the need to purchase a new G Suite account for every new project
- Make the most of all the free Google services that come with the Gmail account
Now, the step-by-step guide
- Sign up for a free Gmail account. In my case, it?s [email protected] (not a real email address).
- Purchase a custom domain for your project from Google Domains.
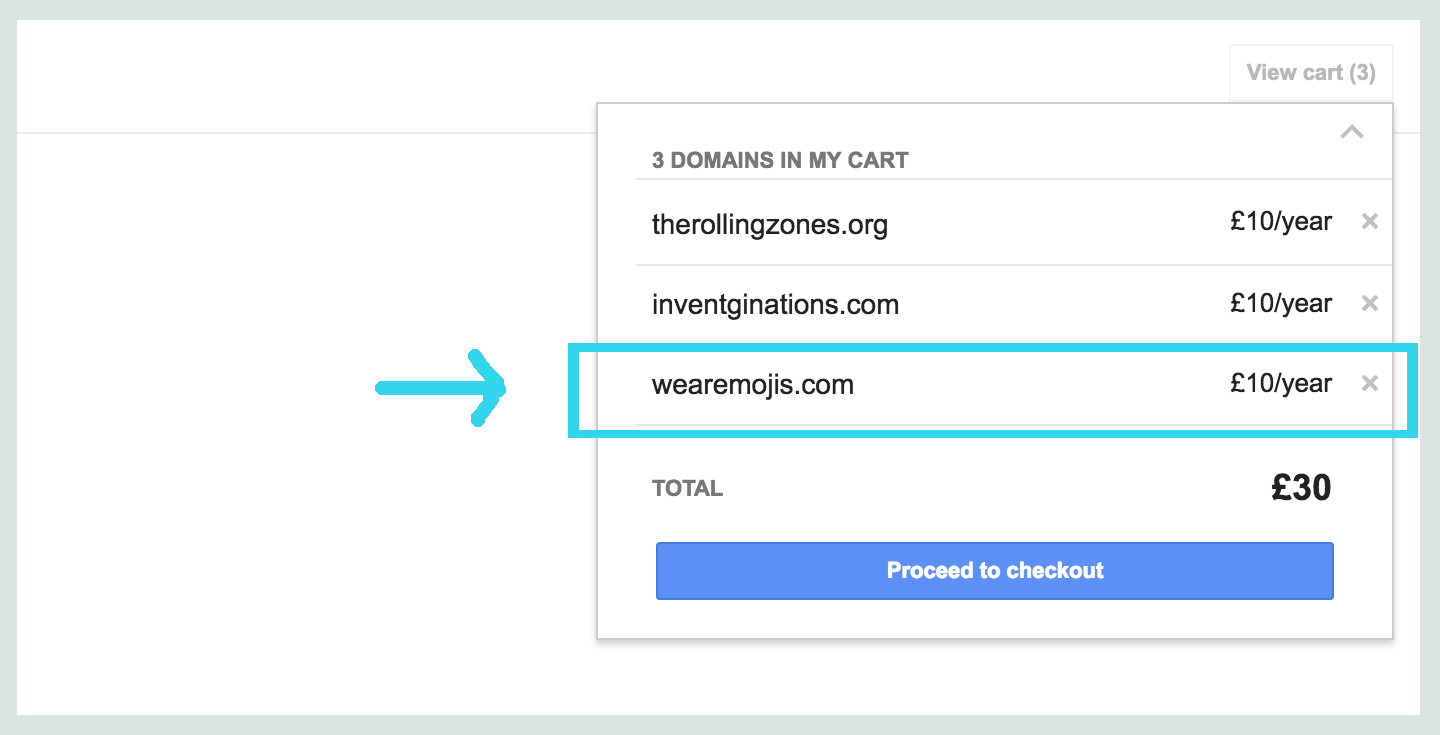 USD$12.00
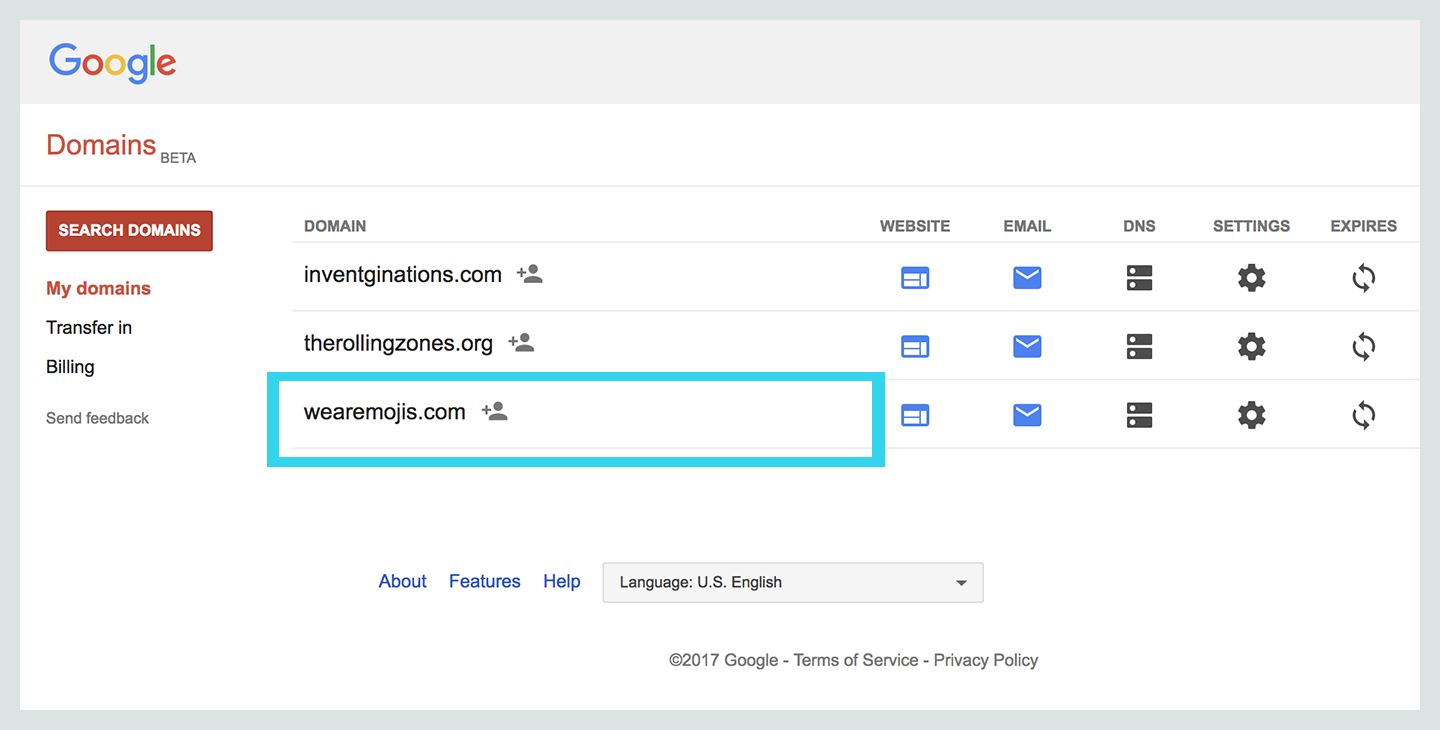
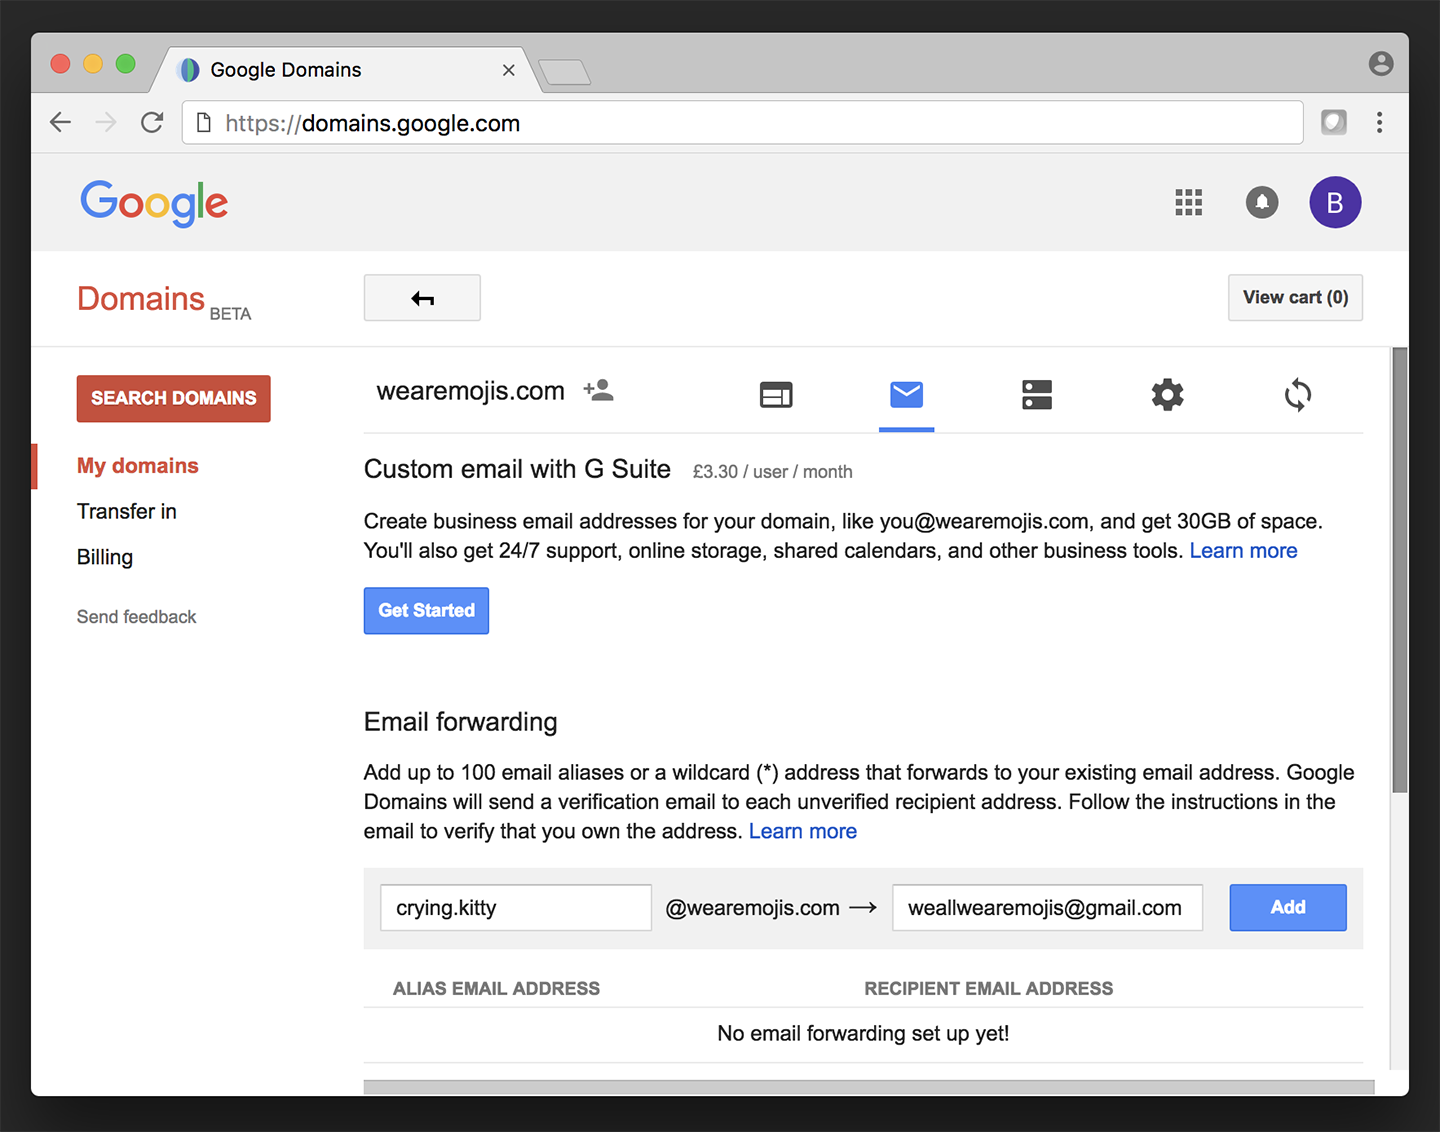
3. From Google Domains, set up Email Forwarding: Click on Add email next to the desired domain > type in the alias you want > enter the existing email you want to forward to > click the Add button
In my case, I?m trying to have messages sent to [email protected] forwarded to my Gmail, [email protected].
4. Confirm your existing email (check your Gmail inbox for the message).
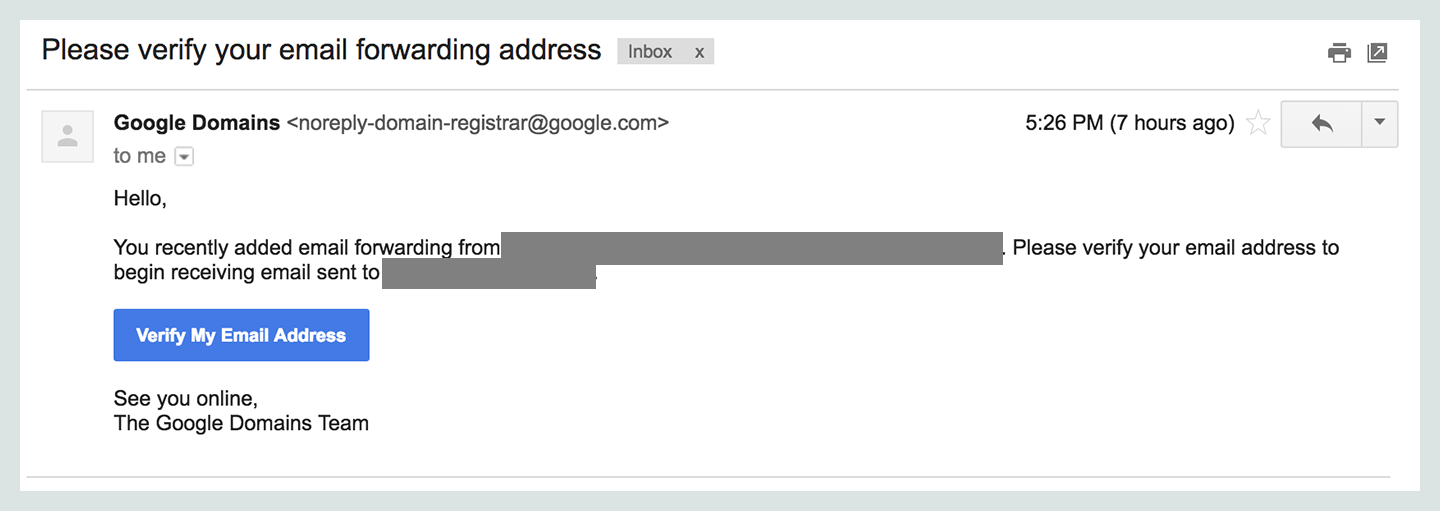 Actual emails grayed out to avoid spam
At this point, you are pretty much good to go!
All emails sent to [email protected] can now be found in the Gmail inbox of [email protected].
Simple as that!
[Optional] But what if you want to be able to ?send? or ?reply to? emails from your custom email address?
You are probably aware that with this setup, you don?t actually ?send? and ?receive? emails with your custom email ([email protected] for me).
You don?t really touch an inbox or other folders of the custom email.
But thanks to the magic of email forwarding and Gmail alias, you will be able to act as if you are doing just that.
Additional steps to set up the ?sending from? part:
Part I. Set up an App Password for your Gmail account to allow you to use the Gmail SMTP servers securely.
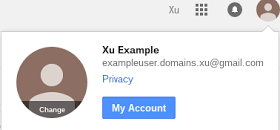
5. Go to the Gmail account. Click your username or user icon in the upper right corner to bring up the user menu.
 For me, it?s: [email protected]
6. Click My Account.
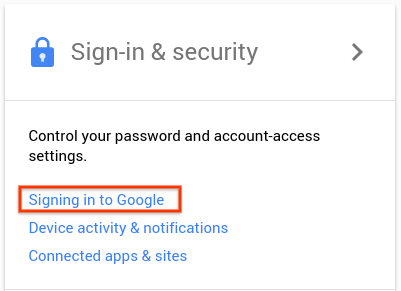
7. In the Google account screen, under Sign-in & security, click Signing in to Google.
8. In the Password & sign-in method box, click App passwords.
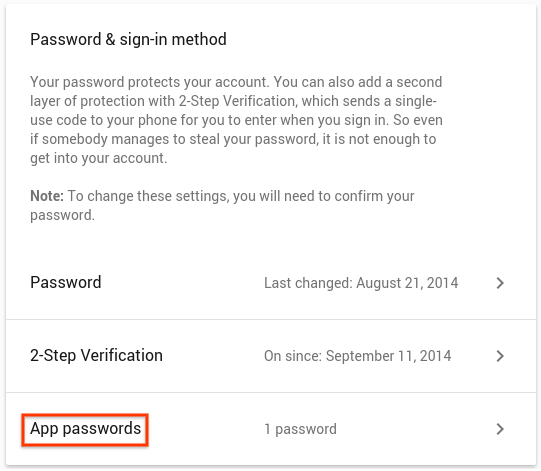
You may be asked to re-enter your password at this point.
Note: You must have 2-Step Verification enabled for the App passwords option to be available. If it is not, click 2-Step Verification and enable 2-Step Verification. Then continue to set the App password.
9. In the App passwords box, select Mail for the app, select Other for the device.
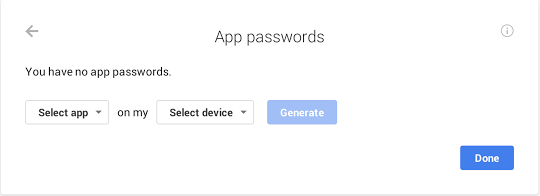
10. Enter the name of your domain for the ?other? device, and click Generate.

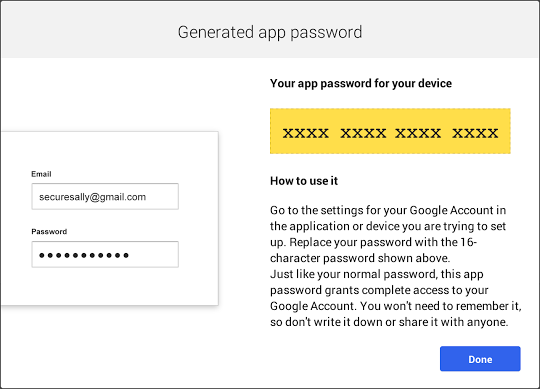
11. The Generated app password box will display a 16-character password. Copy this password. You will need it when you add your new send-as (forwarded) account.
12. Return to your Gmail screen.
Part II. Add the alias as an account to your Gmail inbox.
13. In the top right corner, click the Settings button.
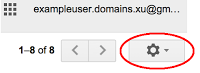
14. Select Settings from the drop down menu.
15. In the Settings screen, click the Accounts and Import tab.
16. Scroll down to Send mail as and click Add another email address you own.
17. In the first Add another email address box, enter the name you want recipients of your email to see (such as ?Support Team? or ?Sales? or any other name for this contact) and the forwarded email address you are setting up.
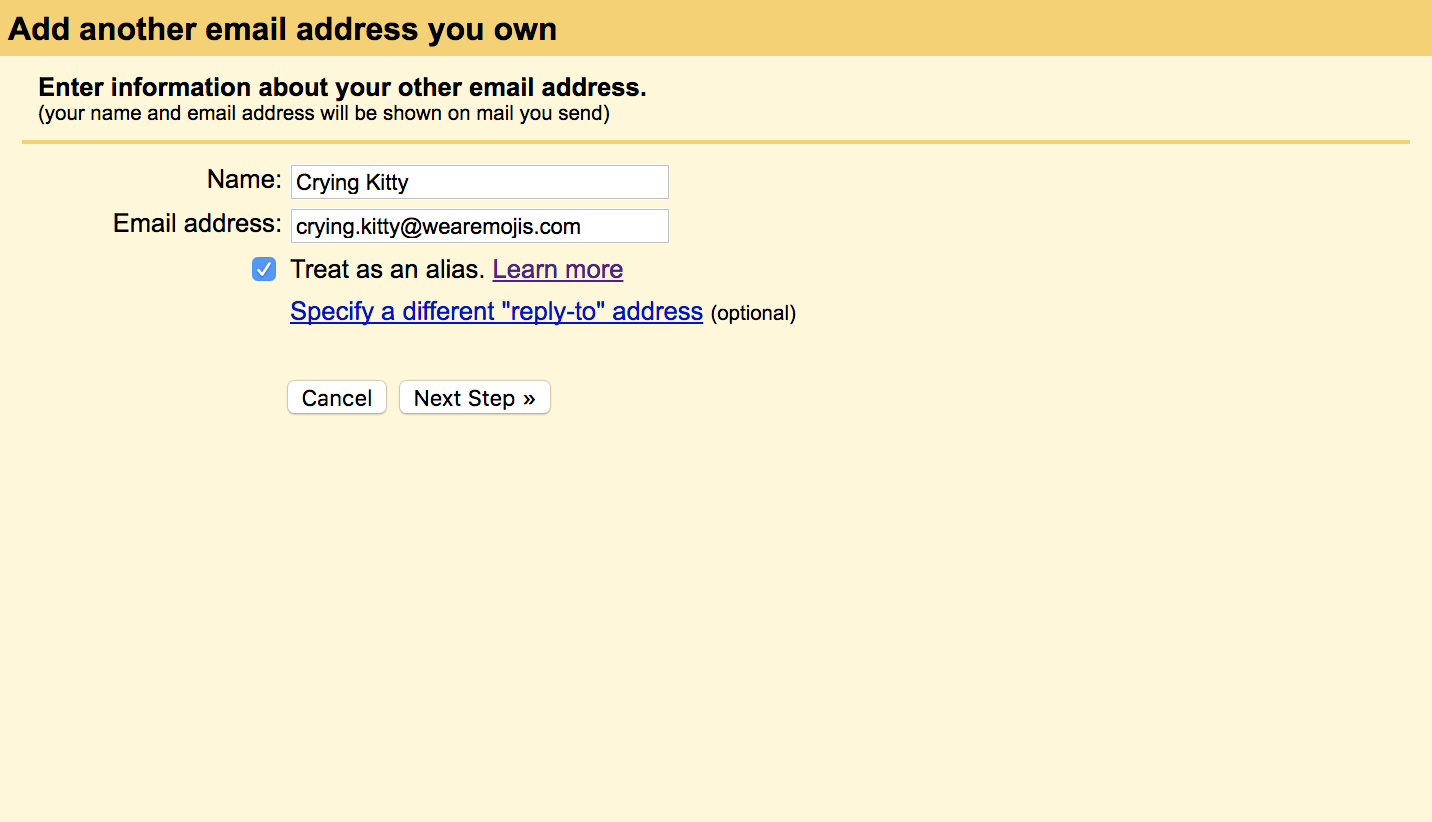
18. Click Next Step.
Part III. Set the Gmail SMTP server as the mail server for your forwarded alias, using the generated App Password.
19. In the second Add another email address box, change the values in fields to enter the following:
- SMTP Server: smtp.gmail.com
- Port: 465
- Username: Your Gmail account (the one you are logged in as)
- Password: The generated app password you copied in Step 11.
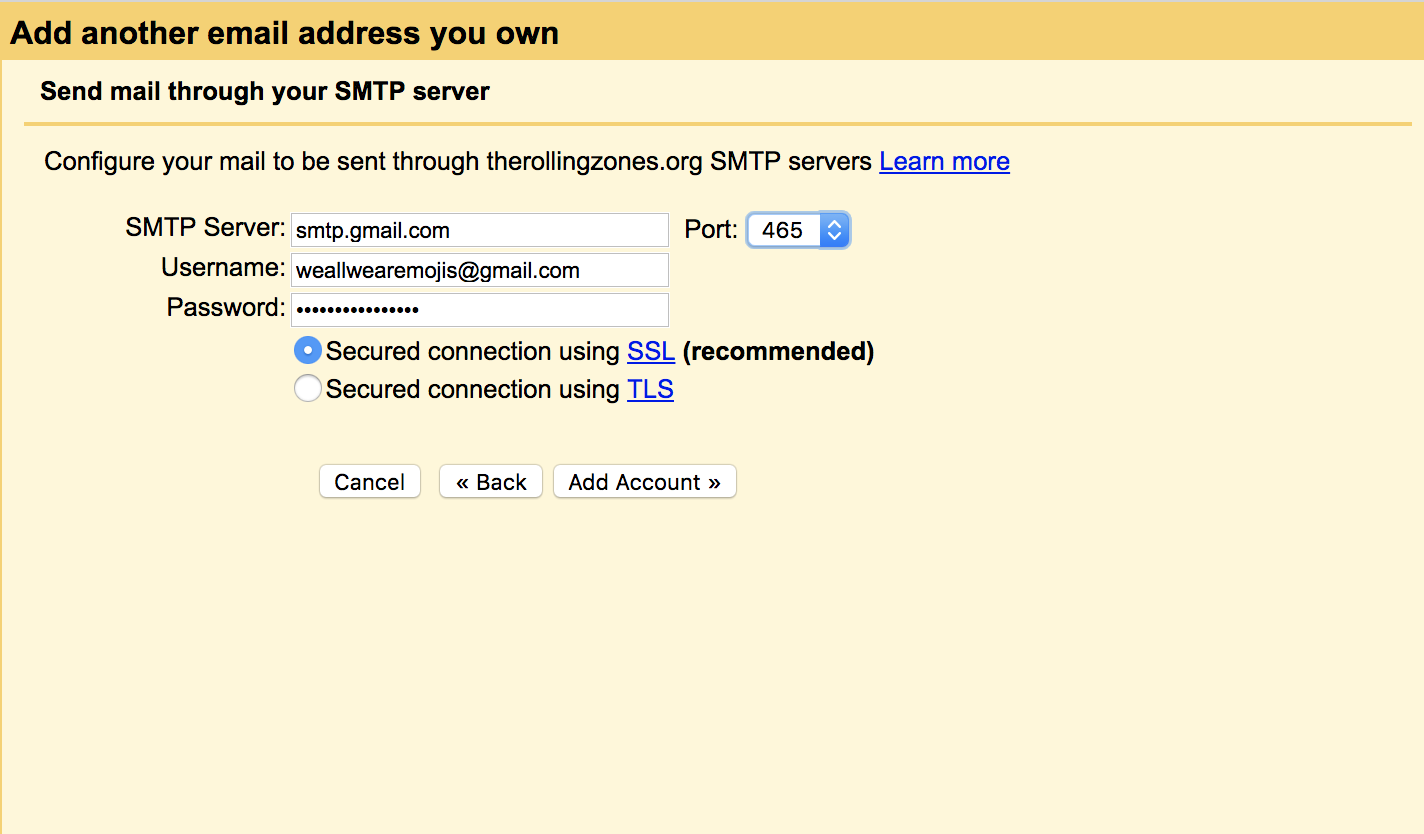
20. Click Add Account. If you see an error message, check to make sure you have entered the SMTP server, Port, Username, and Password correctly.
21. After you have successfully added the account, return to Gmail. You will see a message from Gmail Team with the subject Gmail Confirmation: Send Mail As and the address you have just added. Follow the instructions in the message to confirm the email address.
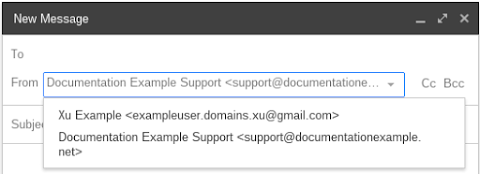
22. When you send mail from your Gmail account, click the triangle next to your From address to choose to send the message from the account you just added.
That?s it!
Final notes:
- wearemojis.com is indeed one of my domains. Have a look at the site if you want ? and maybe buy a t-shirt or two while you?re there 😉
- All other email accounts in this tutorial are completely made up and won?t actually work ? so there is no need to waste time spamming those ?
- This discovery was made during my ?Building 3 Products in 30 Days? journey.

