
Summary :
When you use Adobe software, you may receive the ?the Adobe software you are using is not genuine? or ?Non-genuine software pop-up? error message. This post from MiniTool tells you how to disable Adobe Genuine Software Integrity on Windows/Mac.
Adobe Genuine Software Integrity
The Adobe Suite is one of the most complete packages for you to edit video or photos. However, recently, any people say that when they use Adobe Suit, they receive the error message ? the Adobe software you are using is not genuine.
You may also encounter the issue. Besides, whether you use windows or mac, you will encounter this problem. Then, you need to disable Adobe Genuine Software Integrity to fix the issue. Now, let?s see how to disable Adobe Genuine Software Integrity Windows/Mac.

Adobe Inc. put forward the idea of Adobe Flash end of life as early as in 2017. Now, other companies respond to this issue as the end date is approaching.
How to Adobe Genuine Software Integrity
Disable Adobe Genuine Software Integrity on Windows
Way 1: Disable Adobe Genuine Software Integrity in Services
You can try to disable Adobe Genuine Software Integrity in Services. Here is how to do that:
Step 1: Type services in the Search box to open it. Then, you need to click the Standard category.
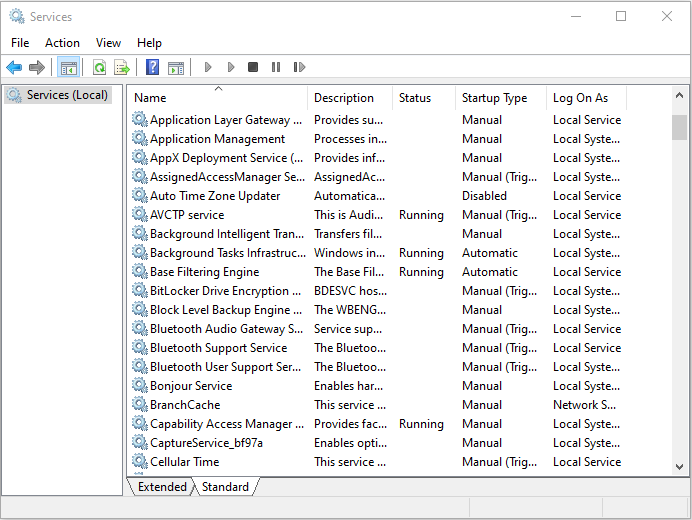
Step 2: Then, find Adobe Genuine Software Integrity Service and right-click it to choose Properties.
Step 3: Under the General tab, you need to change the Startup Type to Disabled and click the Apply button. Then, you have disabled Adobe Genuine Software Integrity Service successfully.
If you are experiencing the service error 1053 but you don?t know how to deal with it, this post is what you need. It will show you multiple solutions.
Way 2: Disable Adobe Genuine Software Integrity in Task Manager
You can also disable Adobe Genuine Software Integrity in Task Manager. Follow the steps below:
Step 1: Type Task Manager in the Search box to open it.
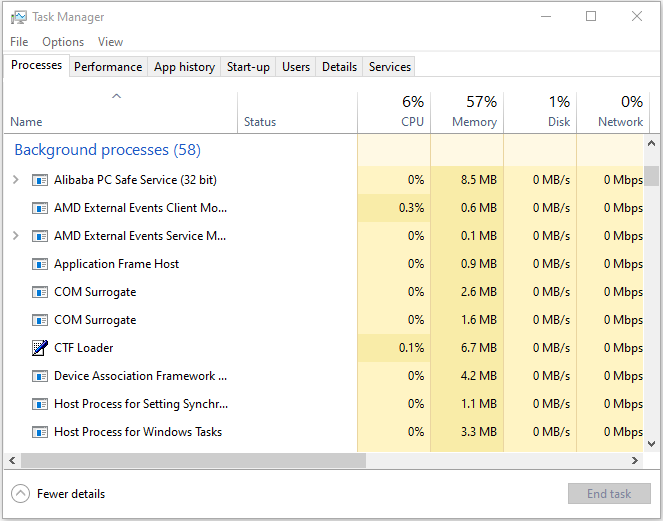
Step 2: Find Adobe Genuine Software Integrity Service and right-click it. Then, click Open file location.
Step 3: Then, open the AdobeGCIClient file and return to the Task Manager window once again.
Step 4: Right-click it and click the End Task button. After that, you can delete the Adobe folder completely. Then, you have disabled Adobe Genuine Software Integrity.
Disable Adobe Genuine Software Integrity on Mac
If you want to do the Adobe Genuine Software Integrity disable on Mac, you can read the content in this part.
Step 1: Go to Finder and navigate to Library Folder on your Mac.
Tip: In the latest versions of Mac Updates, you can?t find Library Folder. You need to access the Library folder and open Finder. Then find the GO tab and type ~/Library.
Step 2: Then, you need to click Application Support and click Adobe. Then, click AdobeGCCClient.
Step 3: At last, delete that folder and also clear it in Trash. Here is how to disable Adobe Genuine Software Integrity Service on Mac.
Final Words
In this post, you can know how to do the Adobe Genuine Software Integrity disable on Windows/Mac. If you have such the demand, you can refer to this post and try the methods above to do that.
Originally published at https://www.minitool.com on June 9, 2020.

