How do you design a greenhouse to overcome poor growing conditions, provide a winter space that can cure SADS and extend the growing season? In these articles I am going to talk about how to design just a space.
Rrecently I gave a webinar with Curtis Stone and Small Farm Academy where we talked about how to design passive solar greenhouses as well as how to grow inside of them for profit. In this article I will share my multi-step process as well as the replay of the webinar below.
There are really only 11 steps to passive solar greenhouse design that you need to know about in order to succeed.
Step 1 ? Setting Goals
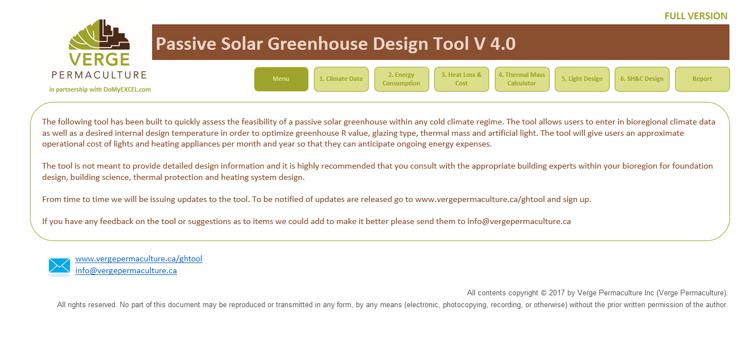 The Verge Permaculture Passive Solar Greenhouse Design Tool
The first step in designing a passive solar greenhouse is setting your goals. The easiest way to think about this so that it effectively translates into an actionable design is, what climate are you trying to mimic. As most gardeners think in terms of USDA zone, if you can determine which USDA zone you would rather be gardening in, you can design a space that will ?bring you? to that zone without having to move there. The wonderful thing with USDA zones is that they are based on extreme minimum winter temperature which gives me, a mechanical engineer, a lot of information about how much insulation the building will need, how much it will cost to heat and what type of glazing to use. As most people wanting these structures are not mechanical engineers, I built a passive solar greenhouse design tool that anyone that understands USDA growing zones can use. It asks you for a USDA and a few other simple design metrics and answers a lot of the questions around R-Value for you. Other goals or elements you may wish to place into a passive solar green house might include:
- Hot tub space
- Sauna
- Canning kitchen
- Root cellar
- Rainwater storage
- Hammock
- Sunbathing for Seasonal Affective Disorder (SADS)
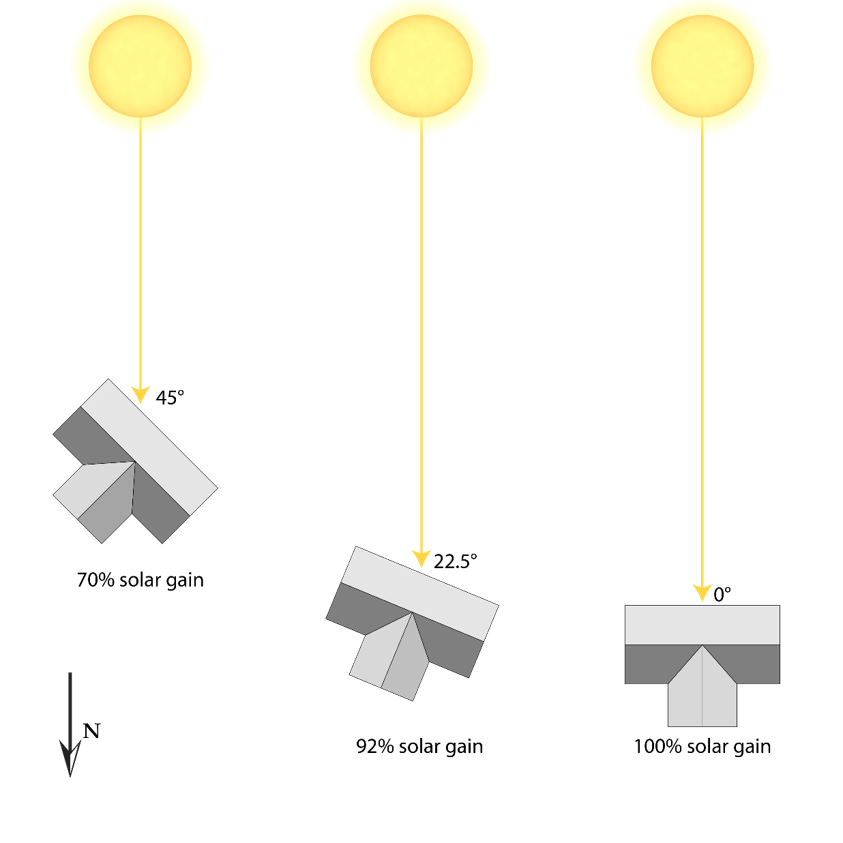 Orientation of a solar building and its respective solar gain.
Step 2- Site Selection
Site selection is key. A passive solar greenhouse is basically a solar collector, however it is collecting solar energy for heat and photosynthesis. Your ideal orientation is going to be ~15 degrees to the east of South in the Northern Hemisphere. This optimizes morning light and heat when the greenhouse is coldest. Having said that, if you have limited options you can orient it up to 45 degrees off south and still get a decent result. Choose a site selection that gives you good access to sun all year round. I like to use the solar pathfinder to help me assess the solar resource of the site. It takes no batteries and is an incredible tool for assessing the solar resource of a site at anytime of year, for the entire year.
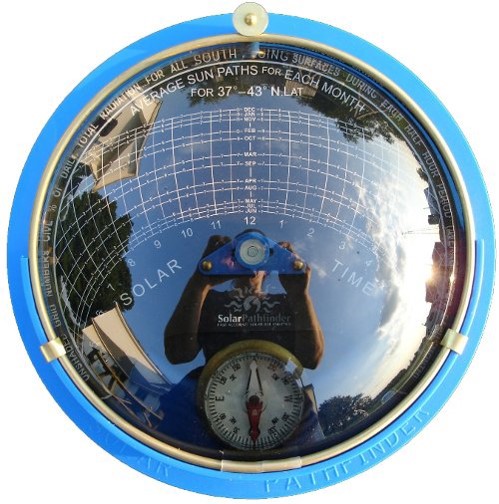 The solar pathfinder
Here is a video that I made on how to use the solar pathfinder.
Video on Solar Pathfinders
You can also use an app for android or IOS if you want a digital version of the pathfinder. Sunseeker on Android or IOS are good apps.
One of the things you want to ensure when you assessing your site is that there is not excess shading as a result of trees or buildings. With greenhouses we want all the sun we can get!
Step 3- Aspect Ratio
You want to get the aspect ratio right. The aspect ratio of a greenhouse determines its ?footprint?. There are a few aspect ratios that you can use with your greenhouse but generally we want to maximize solar gain while minimizing thermal loss, which translates to long an narrow buildings. Having said that, we can change this a bit to suit your site. Any of the aspect ratios below will work quite well.
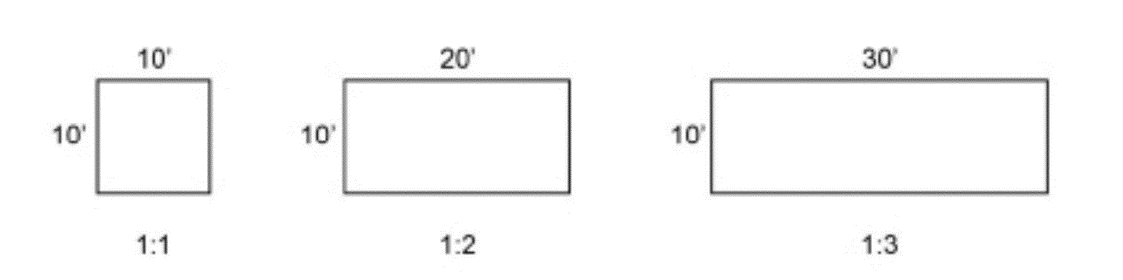 Various aspect ratios for greenhouses
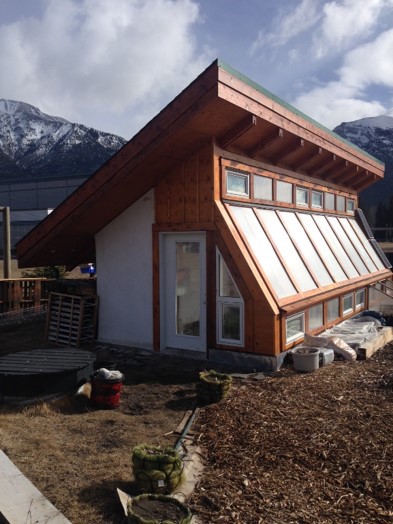 Strawbale greenhouse in Canmore Alberta
Step 4? Shape
The shape, or cross section of the greenhouse will determine how the building will look in 3d. There are many different shapes that are possible and each of them has different pros and cons. The basic principle in choosing a cross section is:
- How high does it need to be to grow what you want to grow?
- Where is the upper and lower vent wall going to go?
- Are their site height restrictions you need to be aware of?
- Are there are functions you want to integrate into the greenhouse that require and adjustment of shapes?
- What ergonomic requirements do you have in the greenhouse?
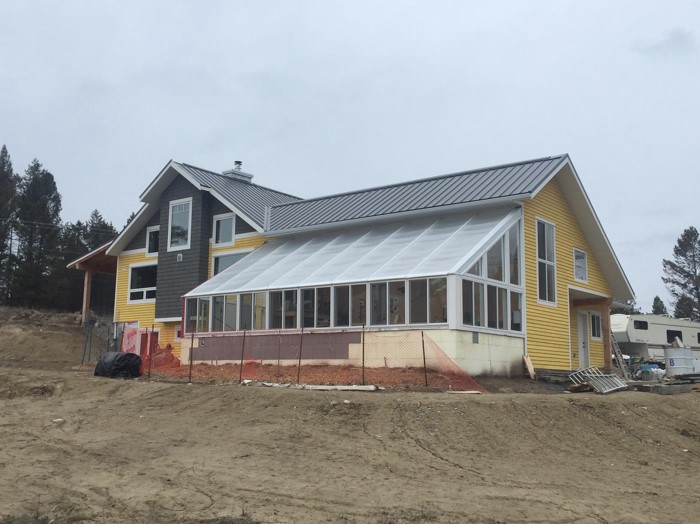 Picture of a passive solar greenhouse attached to a passive solar house in Invermere BC.
Once you have your aspect ratio and cross section (shape) your greenhouse shell is designed. The next steps are when we detail out the rest of the building.
In the next article we will talk about the next three steps for designing your passive solar greenhouse, Foundation, Kneewall, Ventilation and Glazing.
If you want to see the webinar I recently did on how to design passive solar greenhouses you can watch it below. We have just launched a 10 week passive solar greenhouse course which is now live and it takes you through the process to ensure that you get a productive and profitable passive solar greenhouse at the end.
Passive Solar Greenhouse Case Studies
For more information on greenhouses go to:
https://vergepermaculture.ca/courses-events/#four-season-greenhouse-design
Rob Avis?s Bio:
In less than 10 years, Rob Avis left Calgary?s oil fields and retooled his engineering career to help clients and students design integrated systems for shelter, energy, water, waste and food, all while supporting local economy and regenerating the land. He?s now leading the next wave of permaculture education, teaching career-changing professionals to become eco-entrepreneurs with successful regenerative businesses. Learn more and connect with Rob at https://vergepermaculture.ca/contact/
PS. If you see any typos, please let me know.
PPS. Please hit the clap button if you found this helpful.

