A do-it-yourself adventure.
Let?s be honest. We can?t put down our phones long enough to plug them into a speaker. Bluetooth to the rescue! With a love of all things DIY, I built my own set and thought I?d share the experience for anyone else looking to do the same. The basic components only cost about $35, although cost depends on how you want the finished product to look.
Safety Note- I?m not an electrician or audiophile. I?m simply sharing what I’ve managed to figure out. Be smart about working on electronics. Amps can carry a charge even after the power is turned off.
Step One: Gather Supplies
Needed Components: Bluetooth Module, Amp, 4 ohm full range speakers, 12V Power supply, Ground Loop Isolator
Optional Components: Audio Taper Pot, DP-DT Switch, LED, 470 Ohm, 1/2 Watt Resistor
Tools: Wire clipper/strippers, soldering Iron, solder
Step Two: Power
Got your equipment? Awesome. Let?s begin! Review the image below to see the basic arrangement, and then I?ll explain it.
 Basics of your speaker- power, bluetooth, amp, and ground loop isolator.
Since both the amp and BT unit need power, but we don?t want to use two separate power wires, we will share one. Since both units have the same power requirements, this involves simply cutting the wire near the plug end. Note- Keep track of which side is which! Then, attached the cut ends to the screw-in terminals on the amp. Finally, plug in the BT module.
Step Three: Audio
Now we need to get the audio from the BT over to the amp. However, there?s a problem. Sharing a power source like we just did creates a ground loop that will make your speakers buzz! I bet you?re mad at me for making you cut that power wire now, huh? Before you get too mad, there?s a magical device called a ground loop isolator that will fix the problem. It doesn?t matter which end faces which way, so go ahead and wire your GLI in between the bluetooth unit and amp. When you try to do this, you will probably have a mess of different male/female RCA, 3.5mm inputs, or even bare wires that somehow need to connect. You could buy adapters, but the easiest thing to do is clip the ends off and solder the bare wires together. All of these types of wires have a left channel, right channel, and a ground wire which makes it very easy to connect them. Red goes to red, and white to white, ground to ground. Ground wires are usually thicker and bare, or black. You might need to connect several grounds together. That?s ok! Just twist them together, solder them, and wrap each in electrical tape.
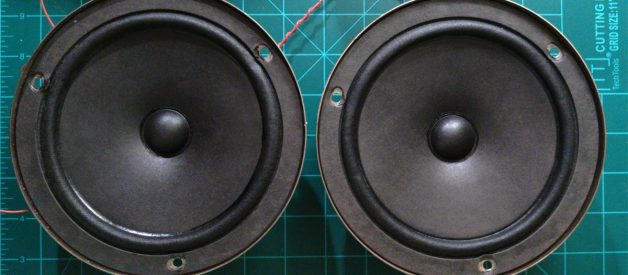
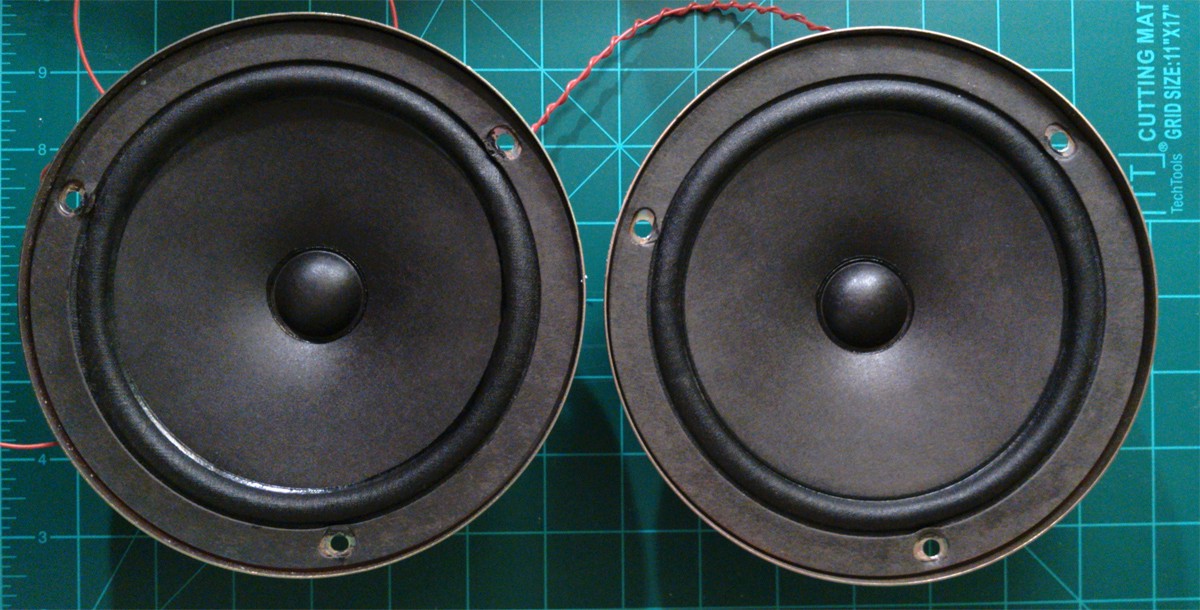 Old car speakers!
Next, grab your speakers. I used some old car speakers I had sitting around. Just make sure they are full range (not tweeters or subs), and that they are 4-ohm. It will usually say on the back how many ohms they are. Go ahead and attach wires to the speaker terminals, and the screw terminals on the board.
Step Four: Testing
At this point, your basic electronics are done. You can plug in the power, connect a bluetooth device and try it out. If you used the same amp I did, you?ll notice a loud *pop* when it turns on. This is a side effect of being cheap! A cheap workaround is a DP-DT toggle switch wired in between the speakers, and the amp. This will act as a mute button so that you can wait a few seconds for the amp to stabilize before enabling the speakers.
Right now, the bluetooth module is shooting full-volume into your amp. You can control the volume of whatever device you?re using, but it may still be a good idea to add a volume knob. That way you can turn down the amp volume, and turn up the device?s volume. This will give you the same level of audio, but with less speaker ?hissing?. Consult the amp manual for how to add a volume potentiometer.
Step Five: Enclosure
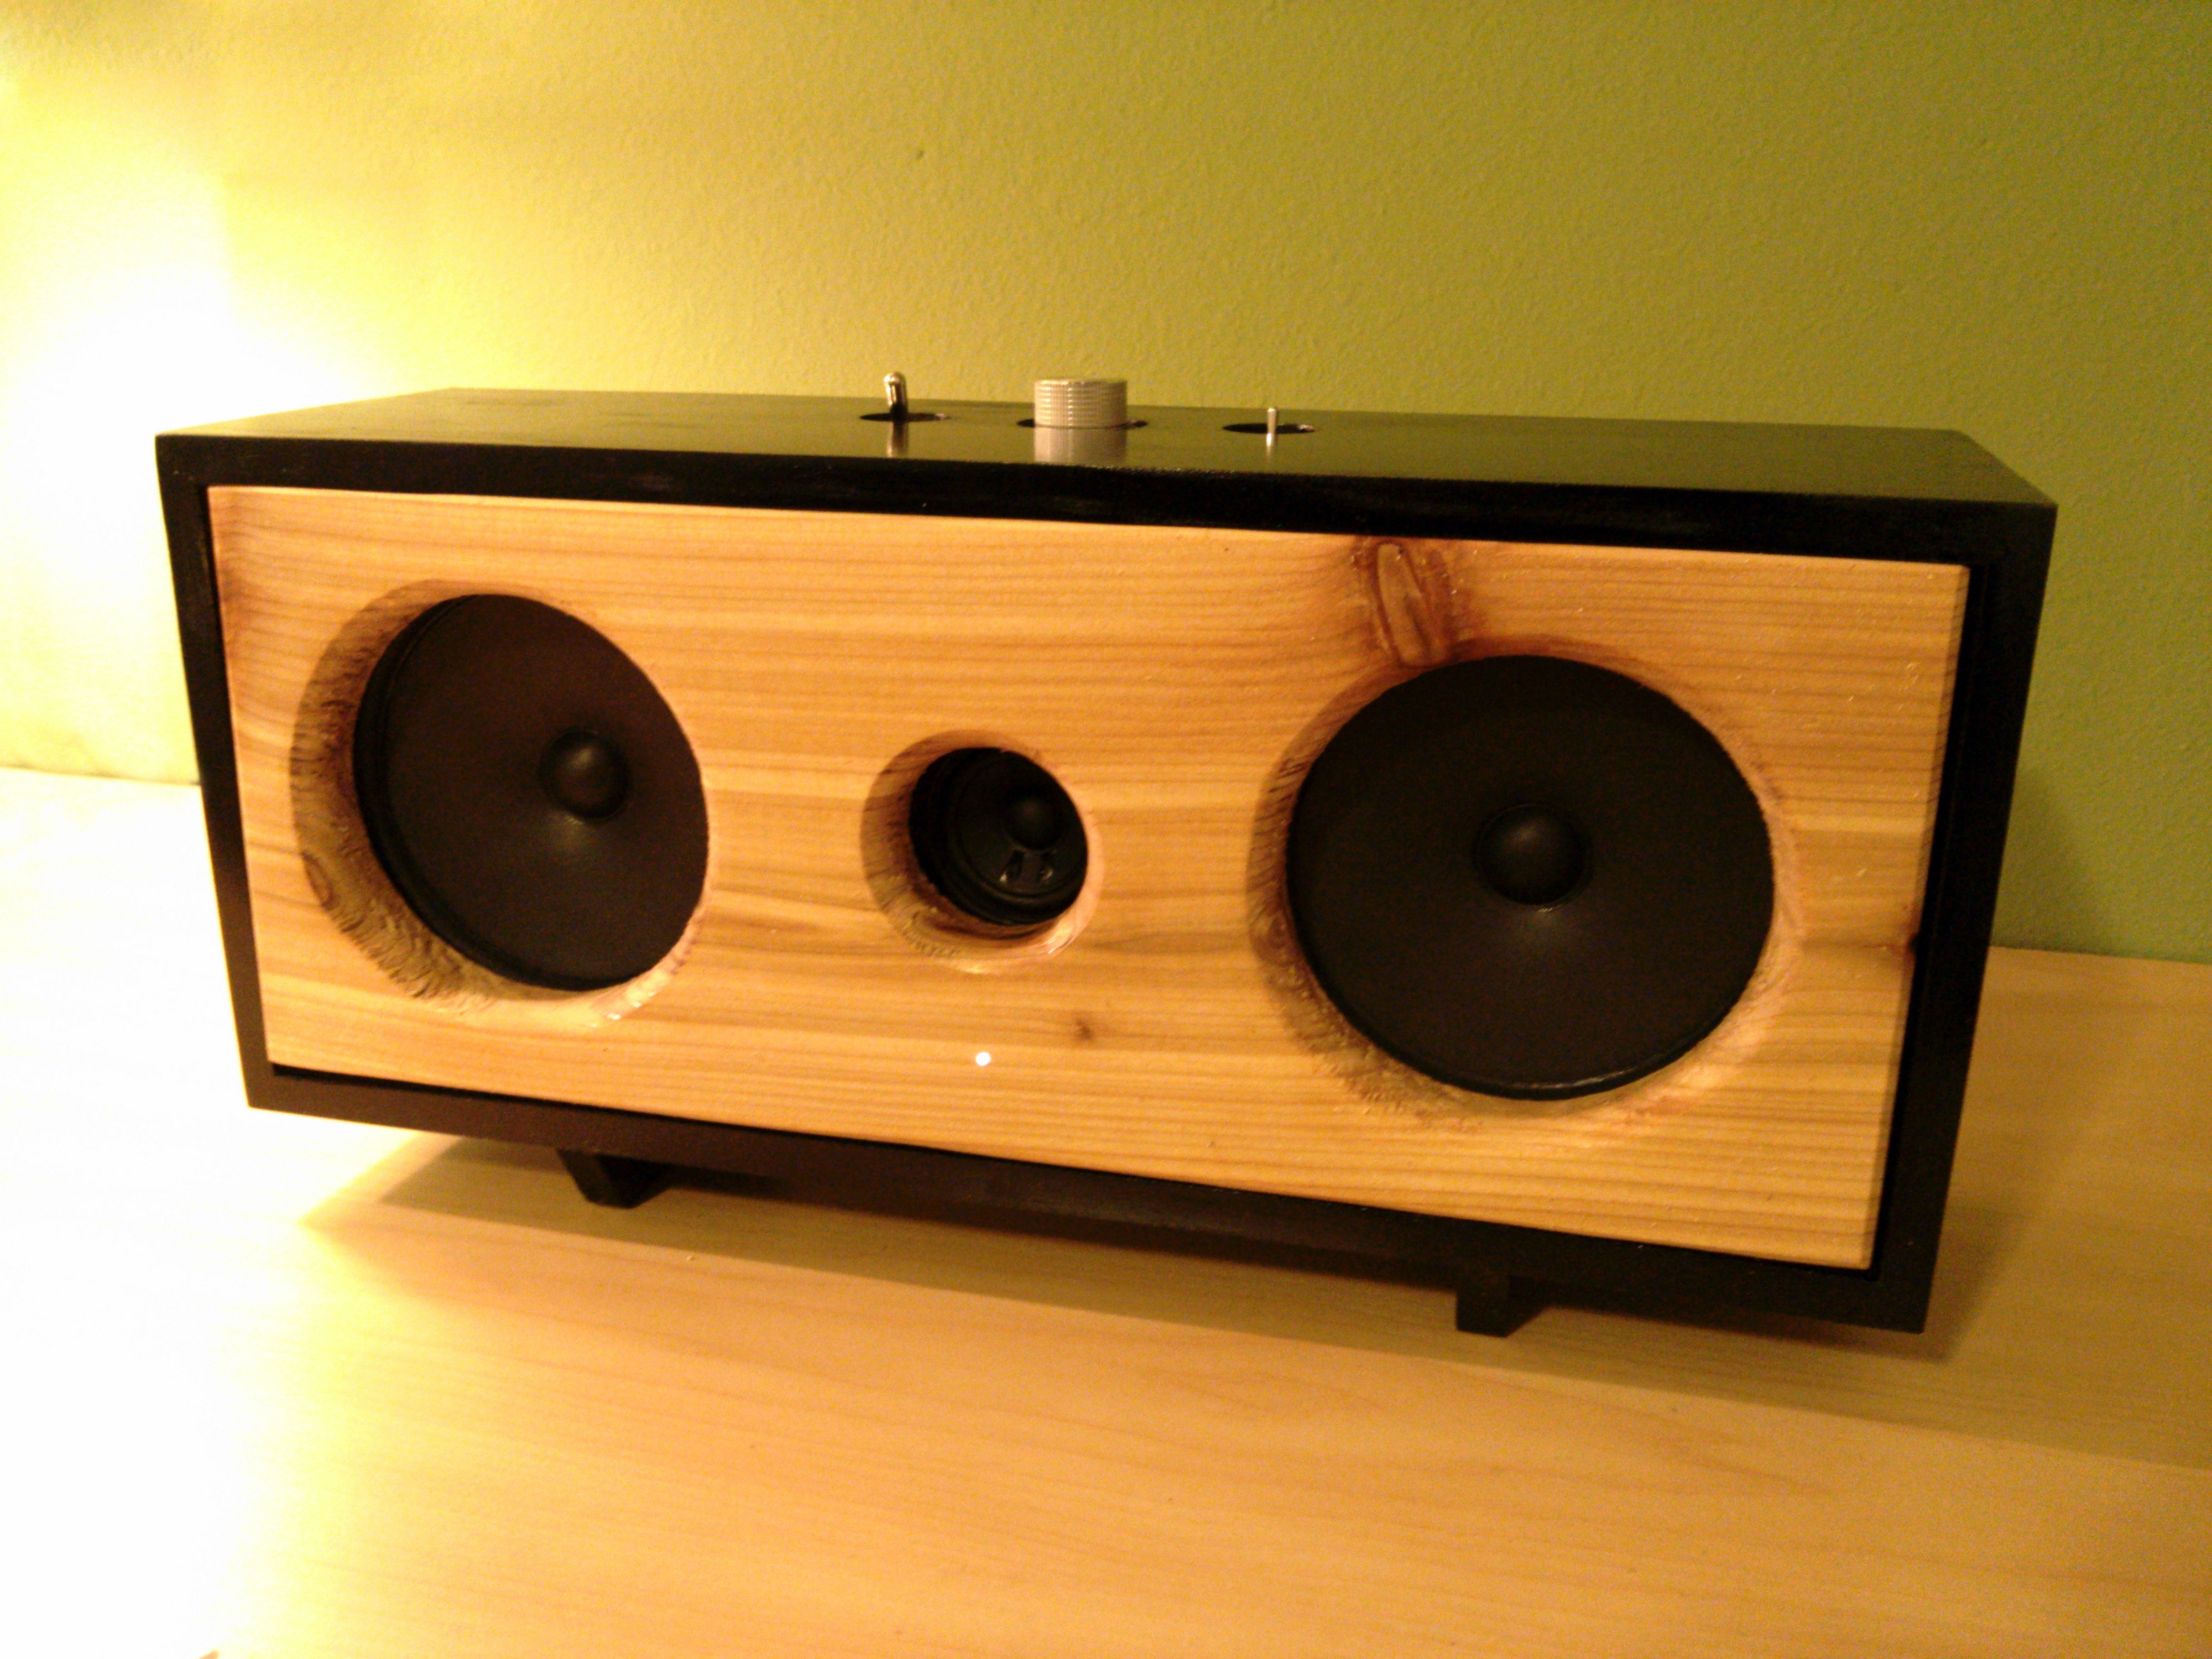
Now that you have a nice sounding speaker, you probably want it to look a bit nicer than a jumble of wires. I won?t get into details here since there are a million directions you can take this in. I made a simple pine box, painted it black, and mounted a rustic piece of cedar in the front. To finish it off, I wired the resistor listed above in front of the LED, and hooked it into the power terminals on the amp. This gives a nice power indicator light.
You?re now the proud owner of a bluetooth speaker! Here?s a quick video on how mine turned out:
Updates:
It?s been about a year since I initially wrote this article and I?m happy to report that I still use these little speakers all the time in my shop. I figured I?d address some common questions:
What?s the middle circle for? I had an extra tweeter laying around, so I split the left channel between the larger speaker and the little tweeter. I think it helps provide slightly better sound.
Enclosure questions: I just made a box with what I had on hand. There is a middle divider that the speakers mount to. Then I ran screws through the middle divider into the front panel to keep it on. Finally, I glued little triangles in the back corners for the back panel to screw into. I would recommend researching more than I did! Materials, and how airtight your box is can affect things.
How did you add a volume knob? The amp I used came with a wiring diagram for this which can be viewed as a .pdf here: http://www.parts-express.com/pedocs/manuals/320-600-parts-express-ta2024-manual.pdf
How about that power switch? Just a regular toggle switch in line with the power wire. Be sure to use one that is rated high enough.
What about the mute switch? Another toggle, but this time it?s a double throw switch meaning it has six terminals. (two sets of on-ground-off). This is wired in between the speakers and the amp outputs.
What?s the sound like? It gets plenty loud for its size, and I haven?t noticed any distortion. It?s not very bass-heavy since I didn?t use a sub speaker, and the box construction wasn?t ideal.

