In this article I am going to detail the steps, to add the Conda environment to your Jupyter notebook.
Step 1: Create a Conda environment.
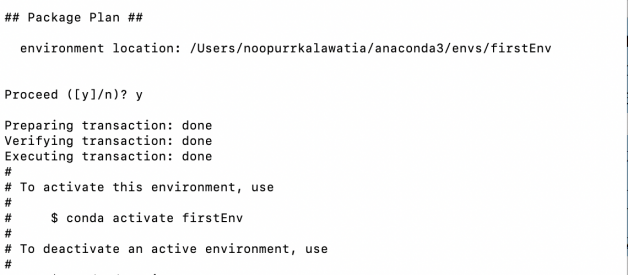
conda create –name firstEnv
once you have created the environment you will see,
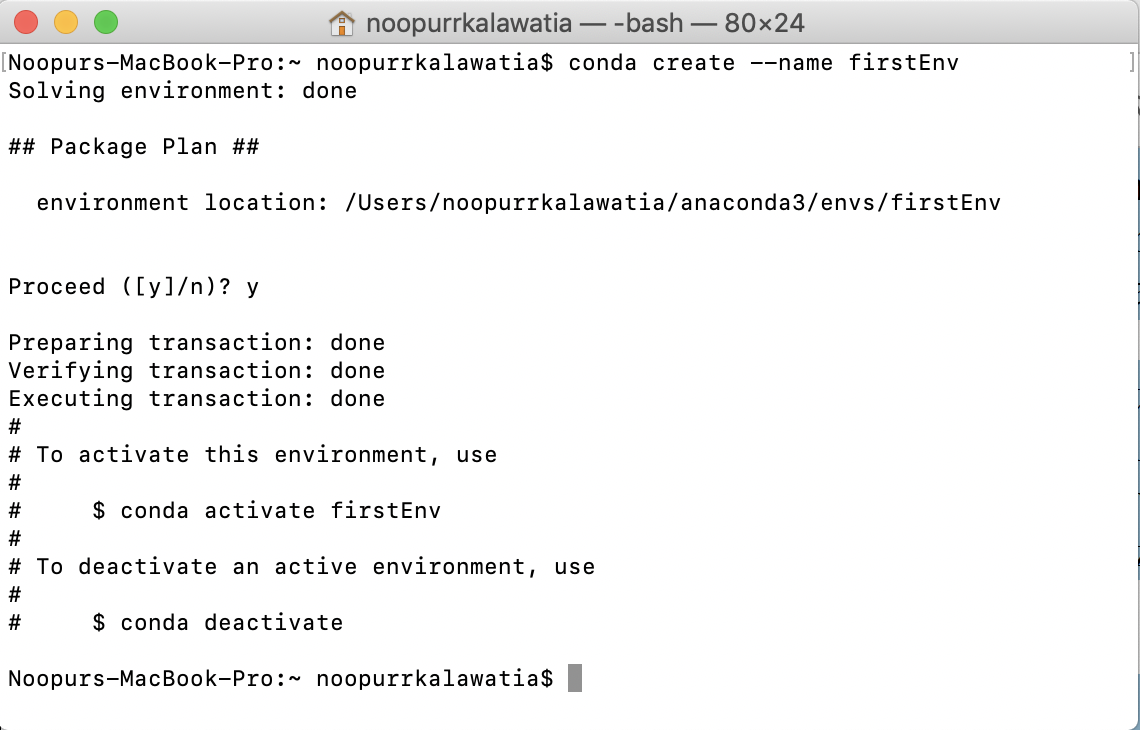 output after you create your environment.
Step 2: Activate the environment using the command as shown in the console. After you activate it, you can install any package you need in this environment.
For example, I am going to install Tensorflow in this environment. The command to do so,
conda install -c conda-forge tensorflow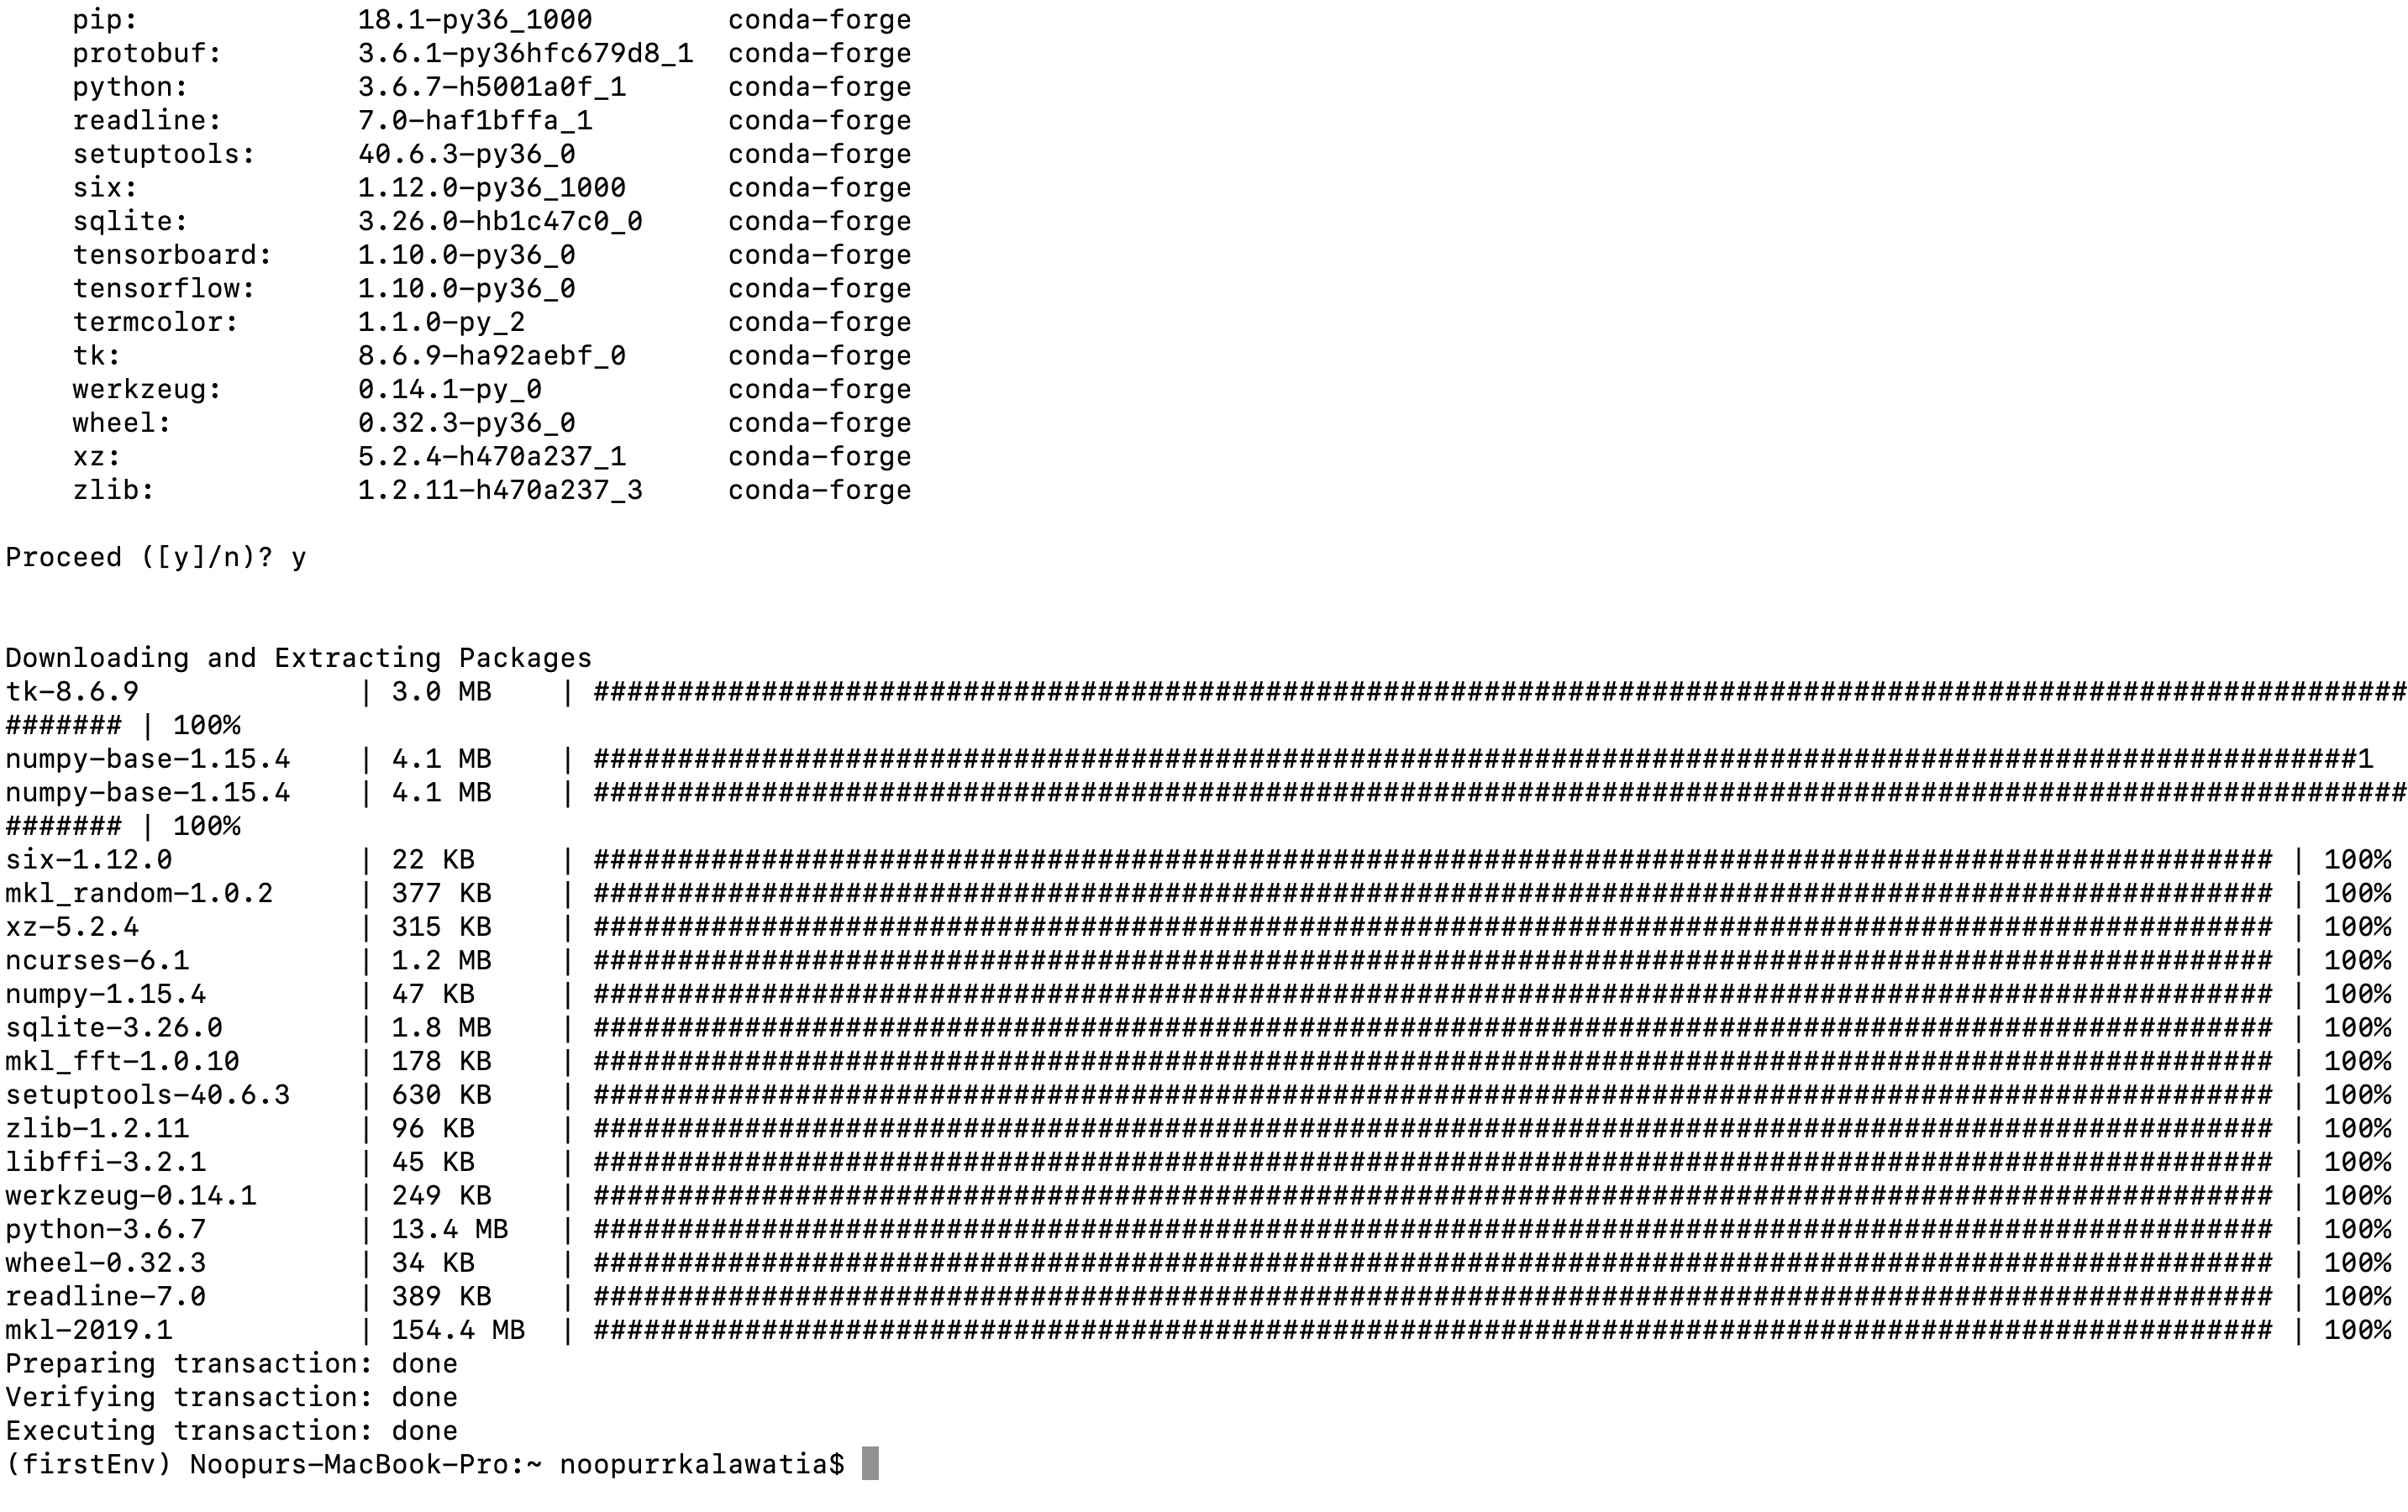
Step 3: Now you have successfully installed Tensorflow. Congratulations!!
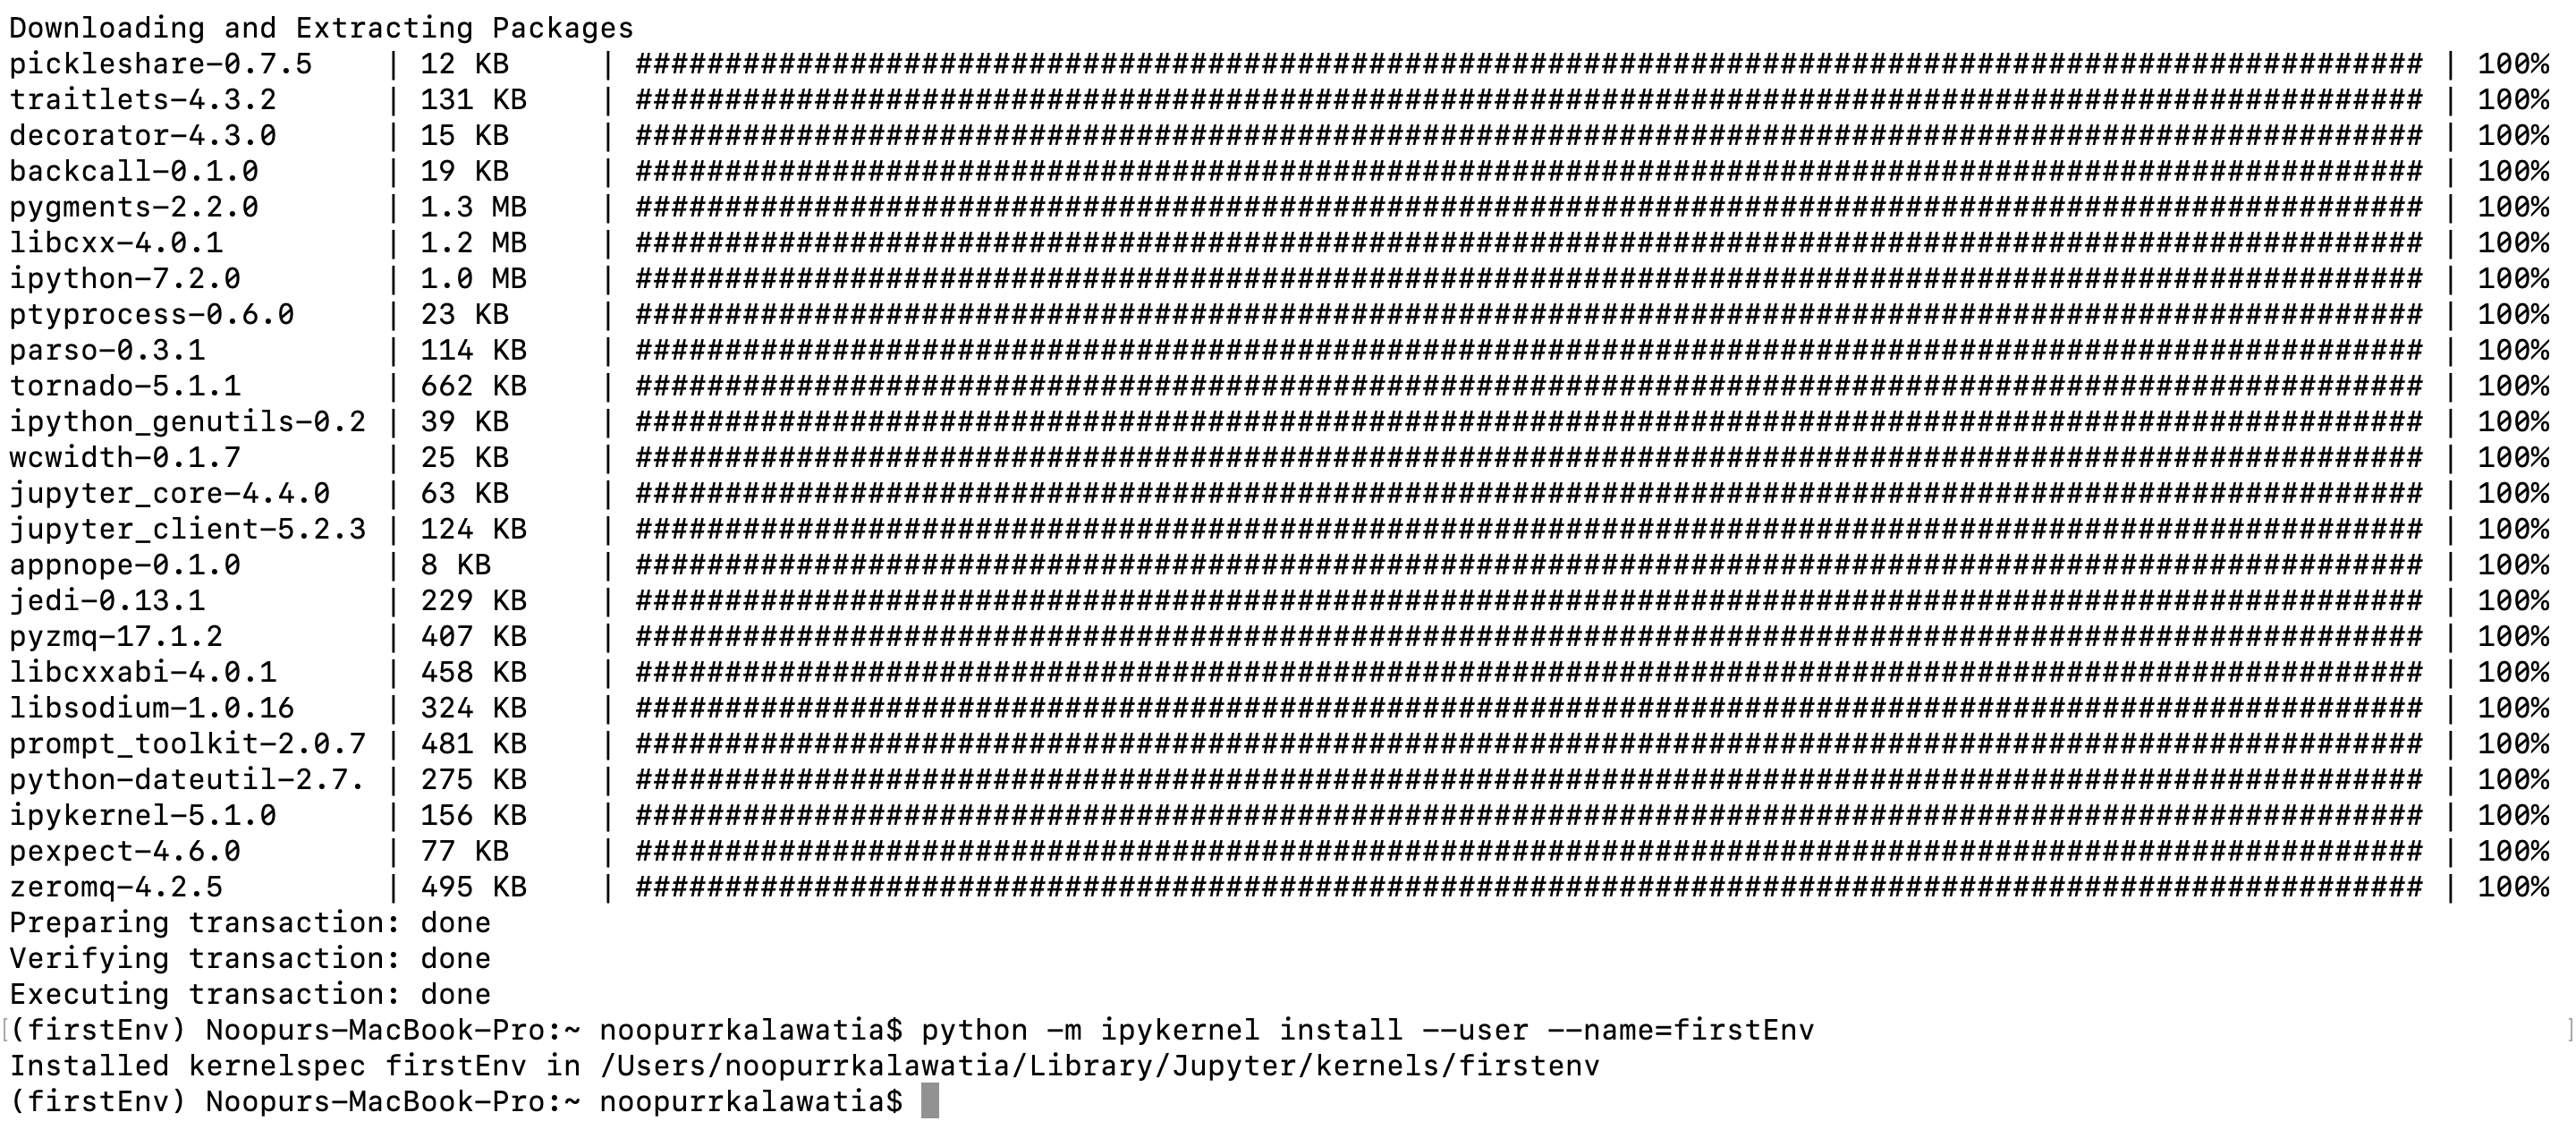
Now comes the step to set this conda environment on your jupyter notebook, to do so please install ipykernel.
conda install -c anaconda ipykernel
After installing this,
just type,
python -m ipykernel install –user –name=firstEnv
Using the above command, I will now have this conda environment in my Jupyter notebook.
Step 4: Just check your Jupyter Notebook, to see the shining firstEnv.
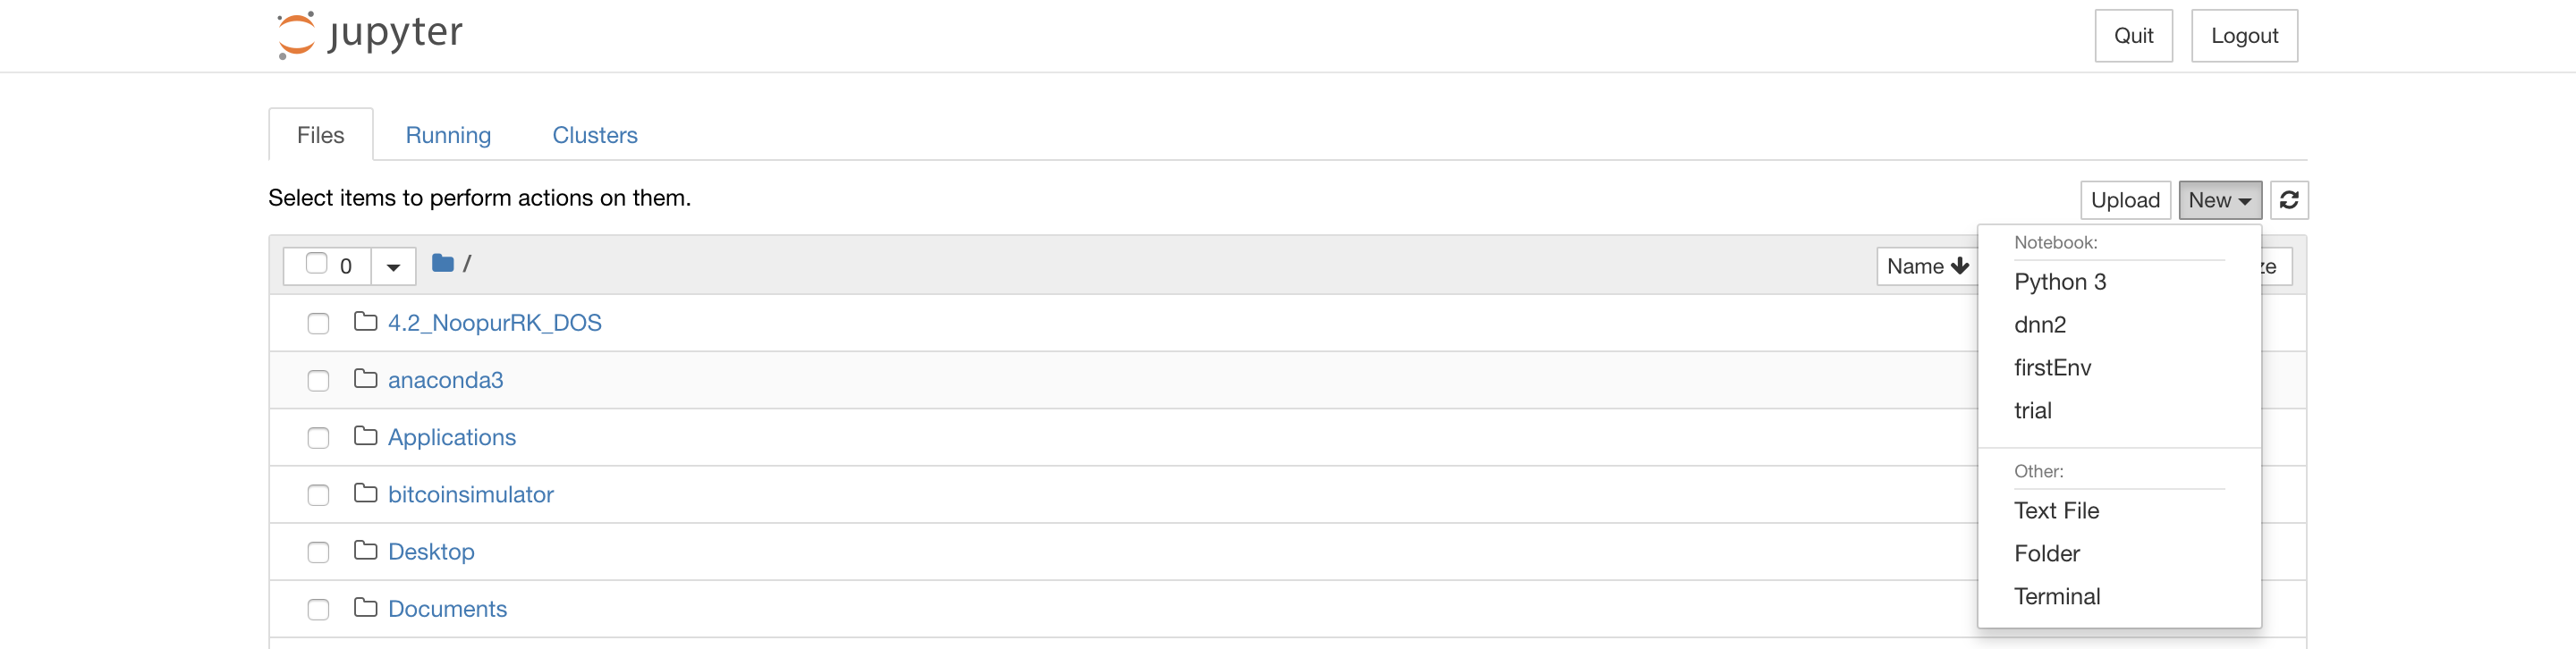
Yayy!! Happy coding 🙂

