My articles are for beginners who don?t know much about programming, I?m trying to explain things as simple as I can without using a lot of technical words.

Like npm for NodeJS or Maven for Java, CocoaPods is a dependency manager for Cocoa projects.
?CocoaPods manages library dependencies for your Xcode projects.
The dependencies for your projects are specified in a single text file called a Podfile. CocoaPods will resolve dependencies between libraries, fetch the resulting source code, then link it together in an Xcode workspace to build your project.
Ultimately the goal is to improve discoverability of, and engagement in, third party open-source libraries by creating a more centralized ecosystem.? ? From CocoaPod?s Website
Read more about Cocoa here : https://guides.cocoapods.org/using/getting-started.html
If you don?t have CocoaPods installed on your machine, You can install it by running the following command on your mac:
$ gem install cocoapods
Follow the steps below to add Pods to your xcode project:
- Go to Terminal and switch to your local project by typing the following command (My project was called snapKitDemo):
cd PATH_TO_YOUR_PROJECT_FOLDER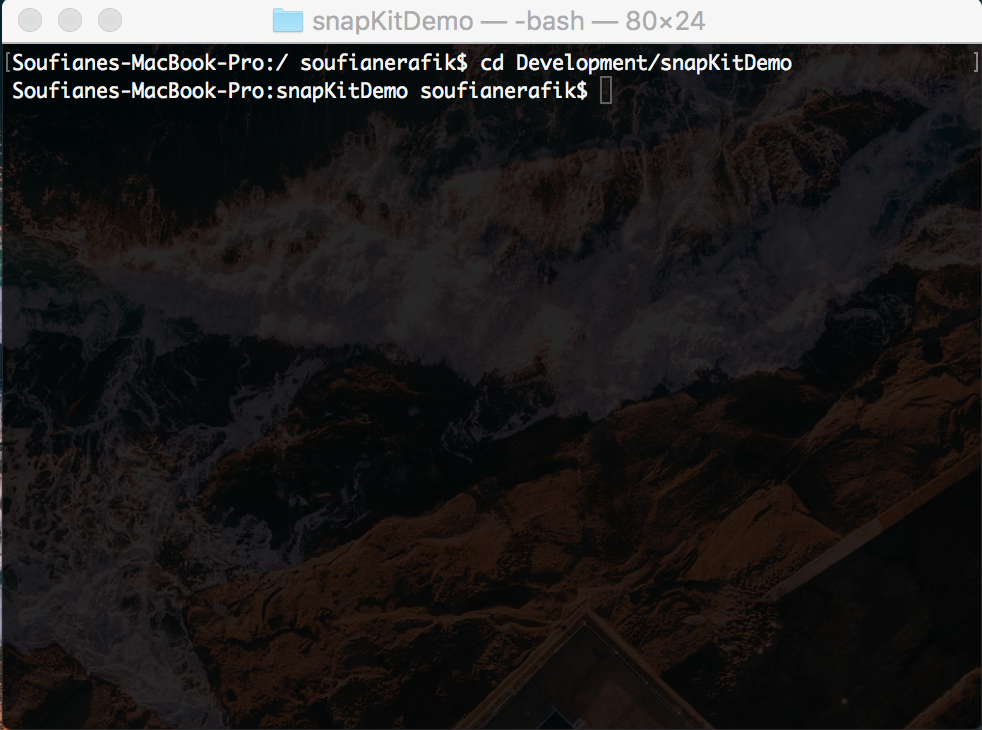
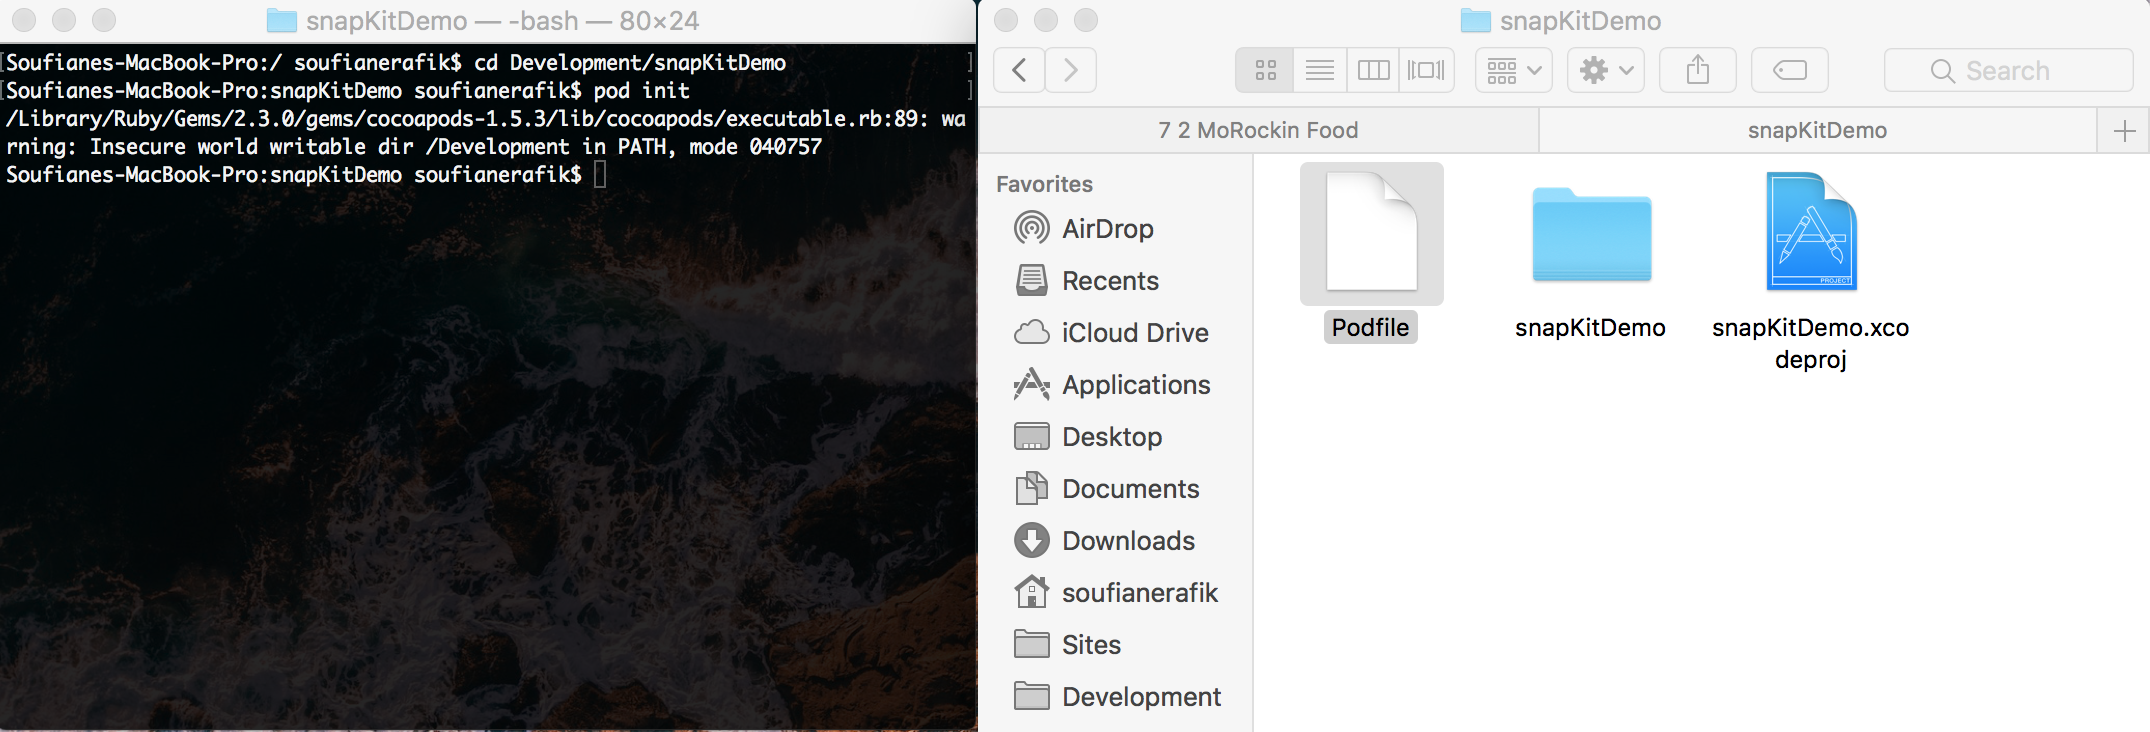
2. Once you are inside the project folder, type the command below to create/initialize your POD files:
pod init
After running the ?pod init? command you will notice that a Podfile was added to your project?s folder as shown below
3. Then open the Podfile with your text editor such as Sublime Text, Text Edit etc.. And add your dependencies under the ?#Pods for PROJECT_NAME? line as shown in the image below:
In my case, I wanted to add the SnapKit library to my project, but usually the structure is : pod ?libraryName?, ?~ library version?

4. Save and Close your Podfile.
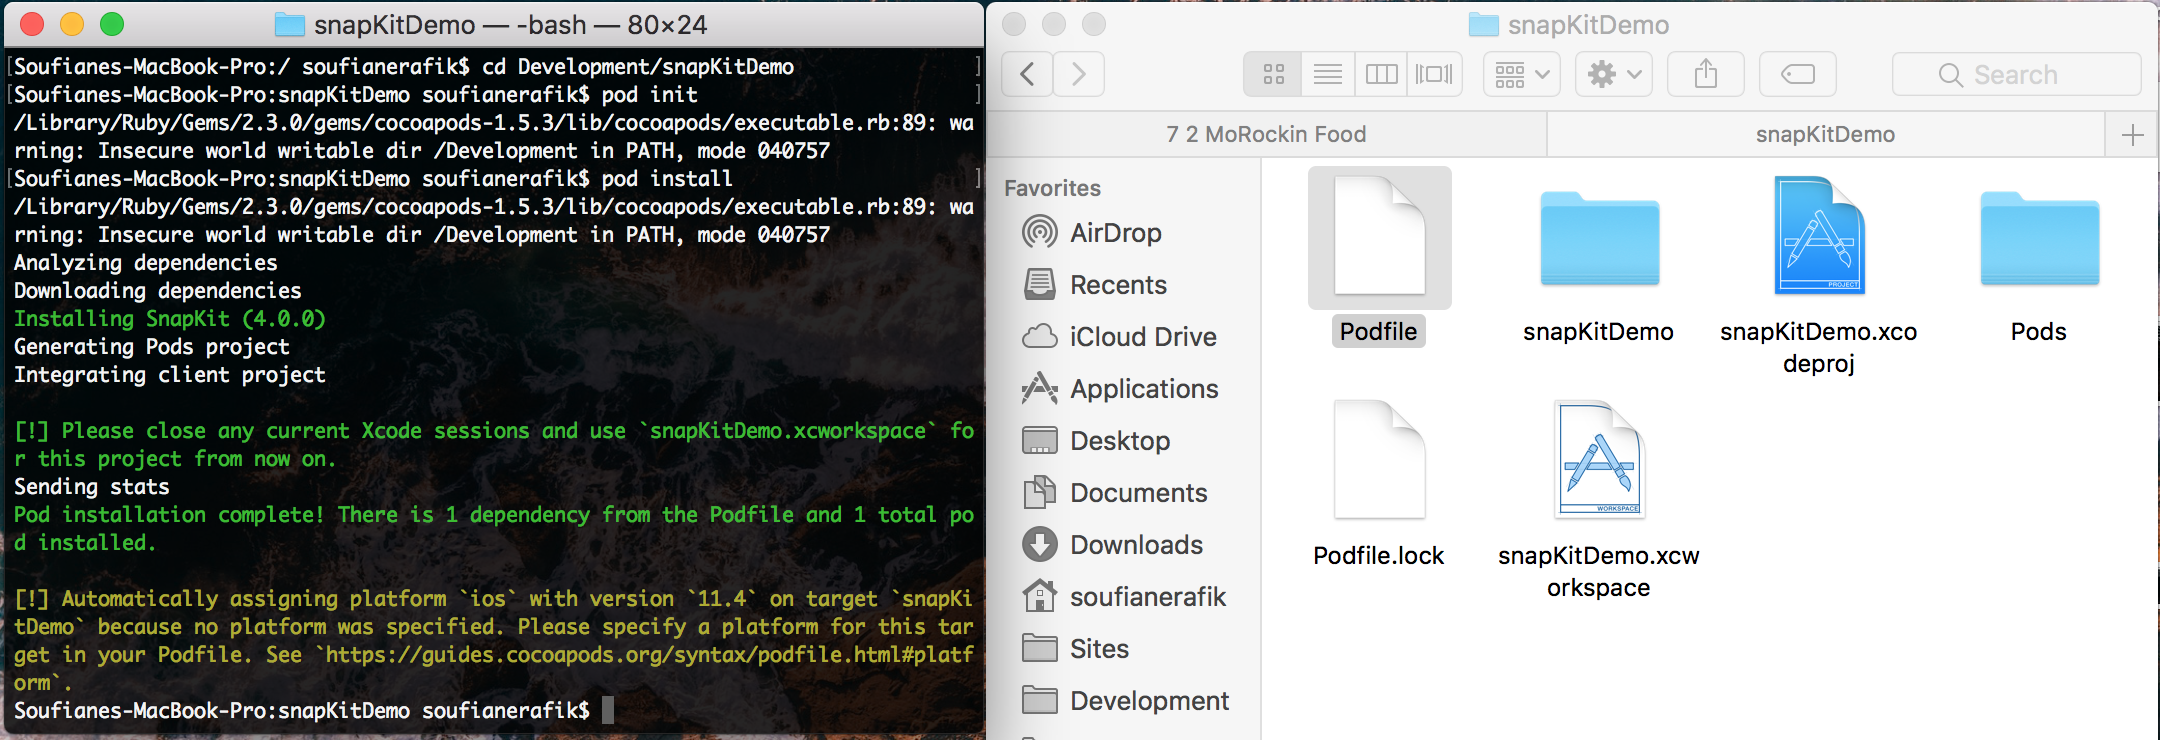
5. Still inside your project?s folder, run the following command:
pod install
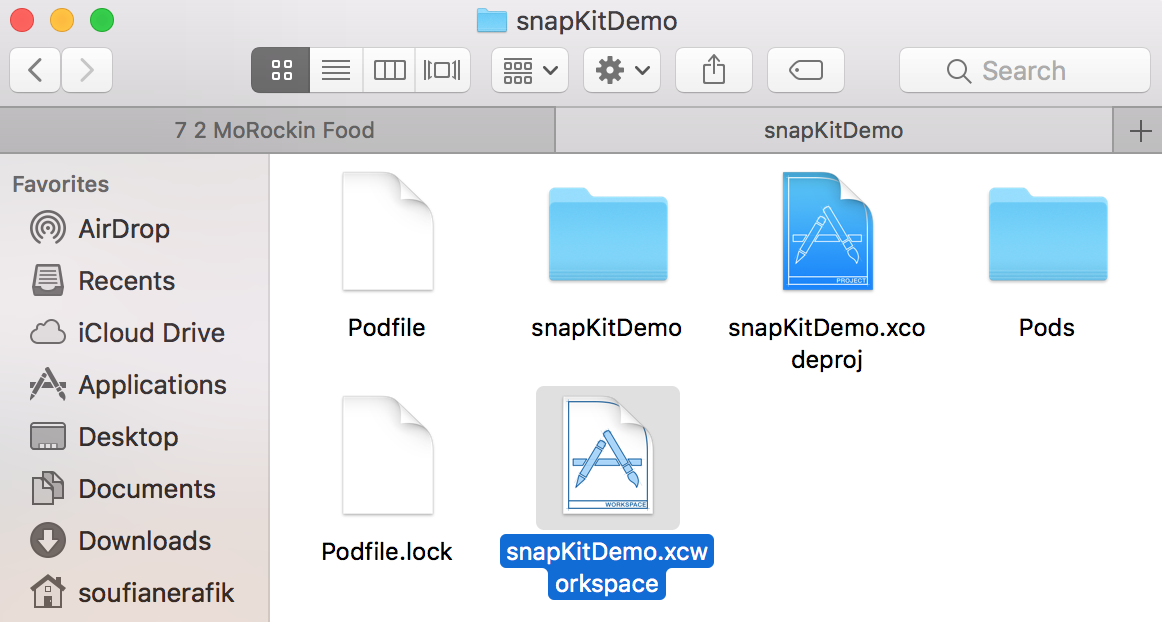
Once the installation is complete, you will get a confirmation message on the terminal and you will also notice that some files were automatically added to your project as shown in the image below:
5. Double click on the Xcode workspace to open the project:
6. You can clean/re-build your project and run it.
Thank you for reading my tutorial! Comment down below if you have any questions.


