
Want to add Bootstrap 4 to your Rails 5 application? There?s a gem for that! The documentation for the gem we want to use is on its GitHub page here: https://github.com/twbs/bootstrap-rubygem. We?re looking at a GitHub repo? so do we need to clone it, or fork it, or? Nope. None of that. We?re only here because this is where the info is on how to install the gem! We?re only looking at the README.md, and we only want one section of that ? the one titled ?a. Ruby on Rails?. Here it is below:
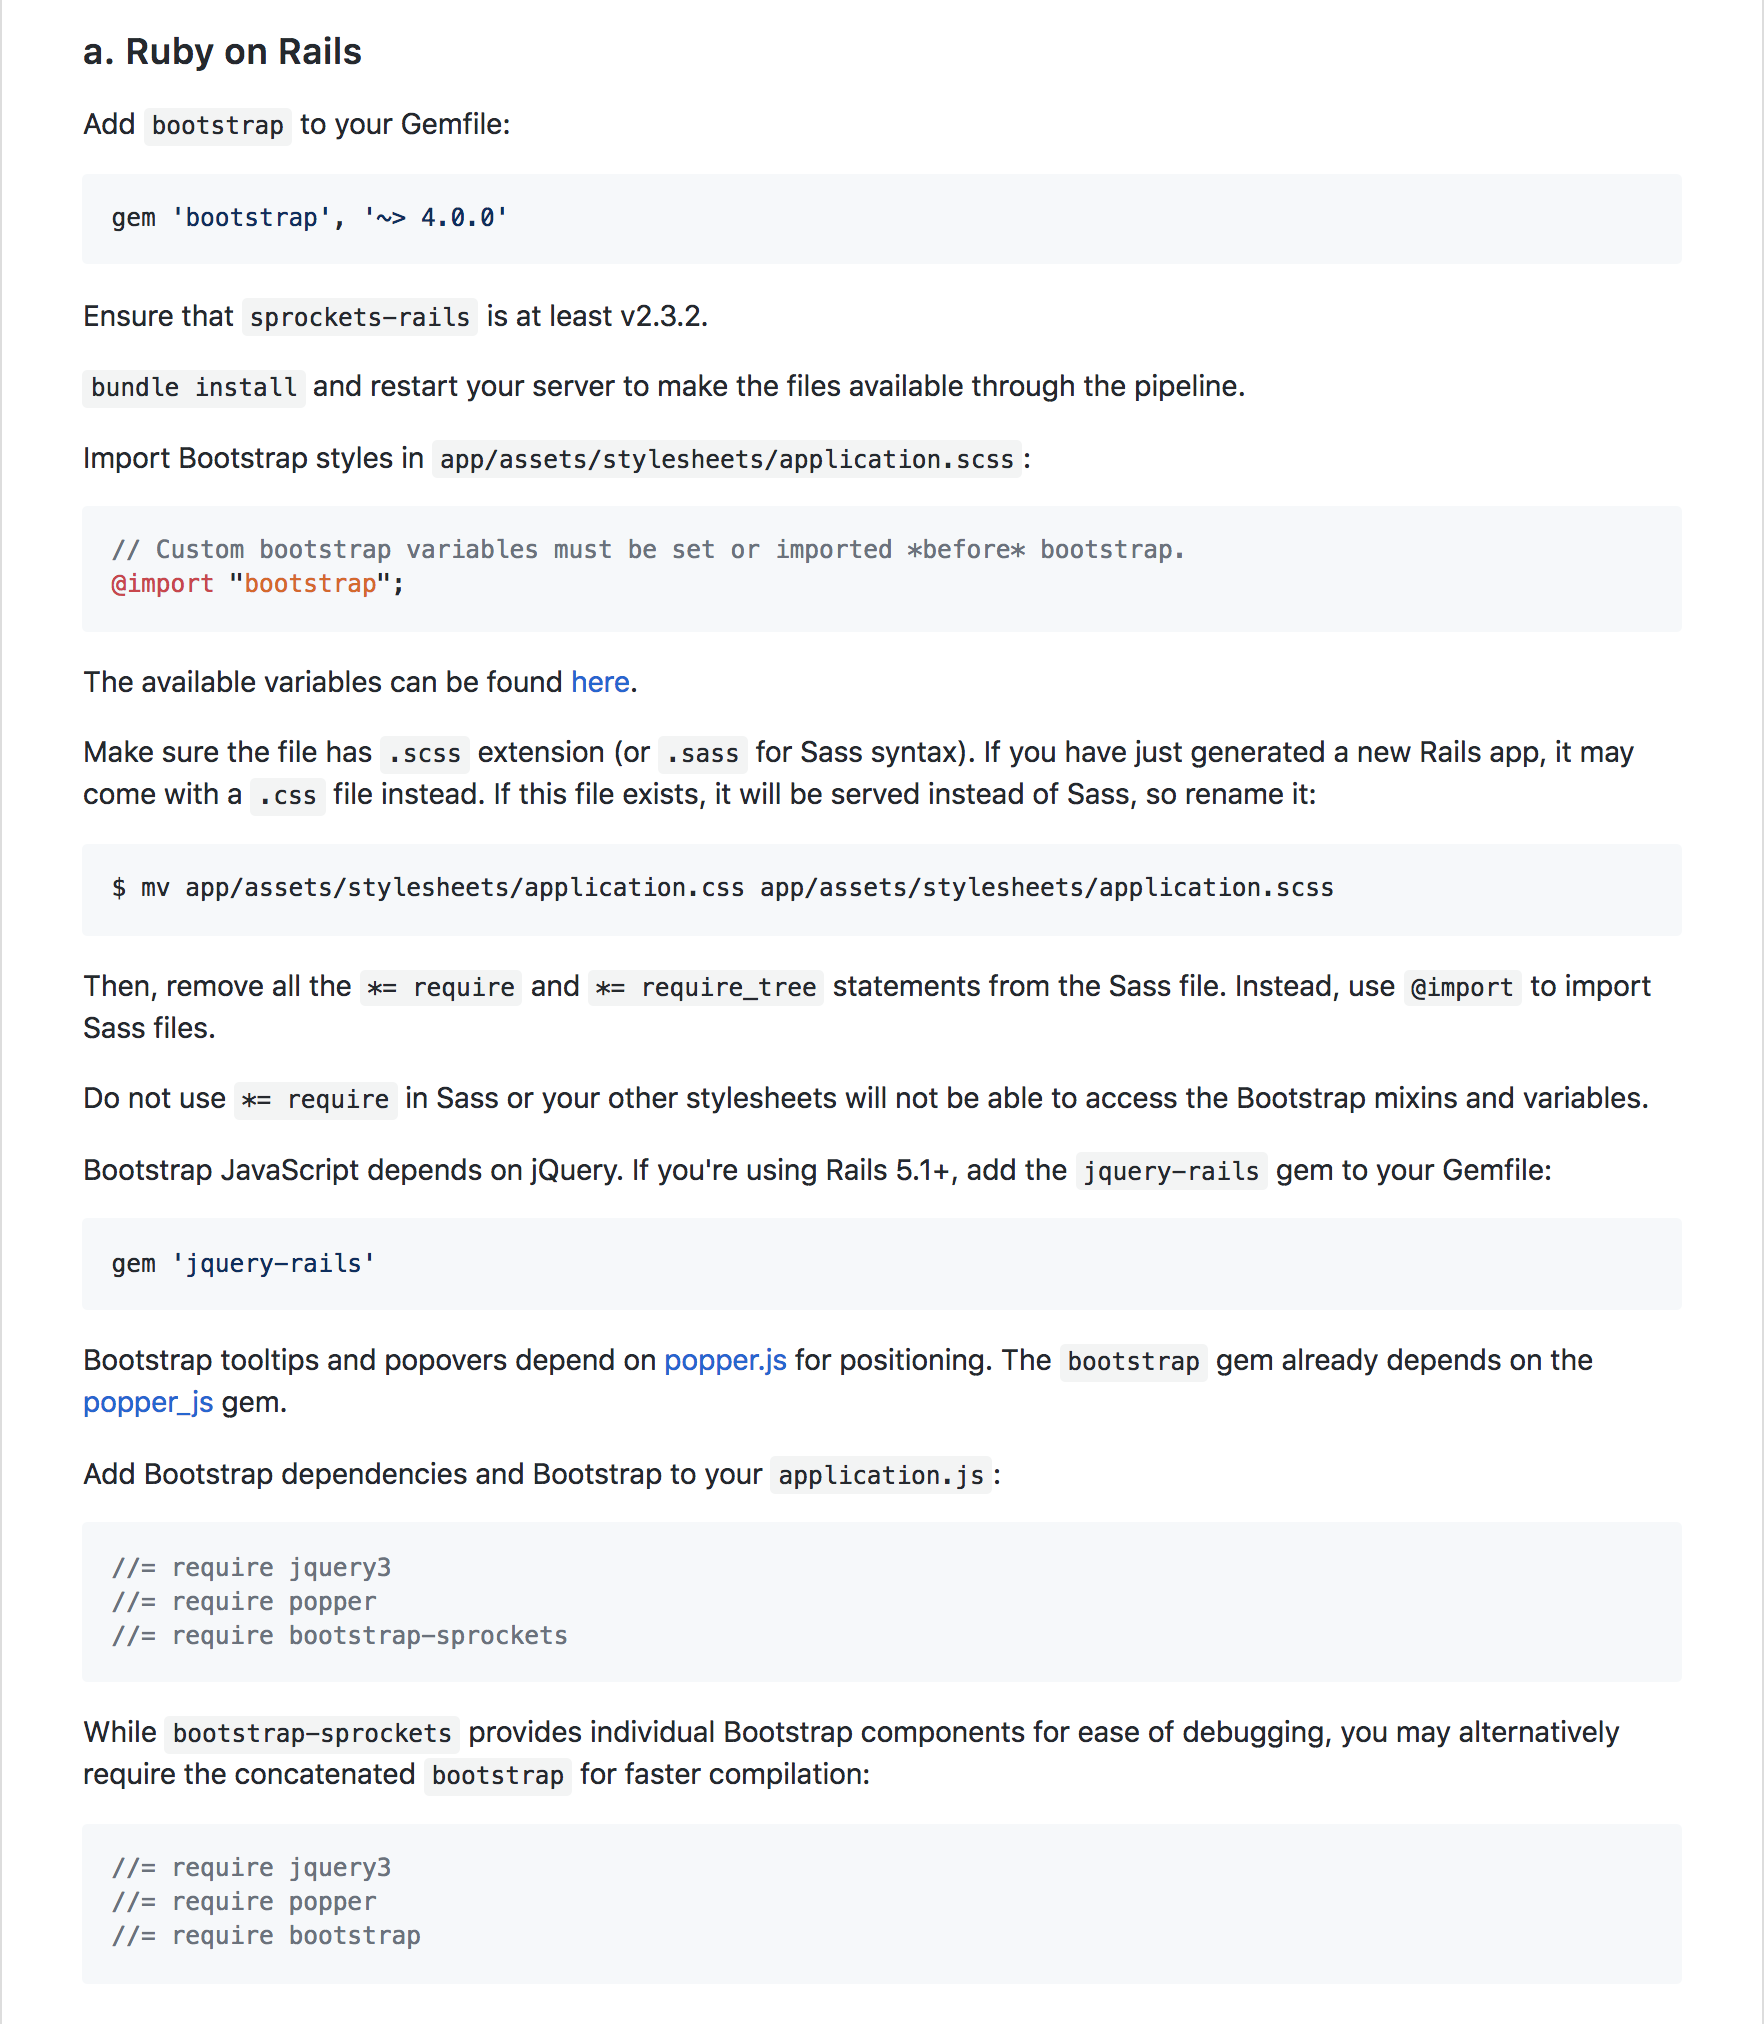
Everything we need to get Bootstrap 4 working in our Rails app is in the section you can see above.
It can get a bit confusing, especially the first time you look at it, with one section running into the next. So let?s walk through it together, one step at a time.
Step 1

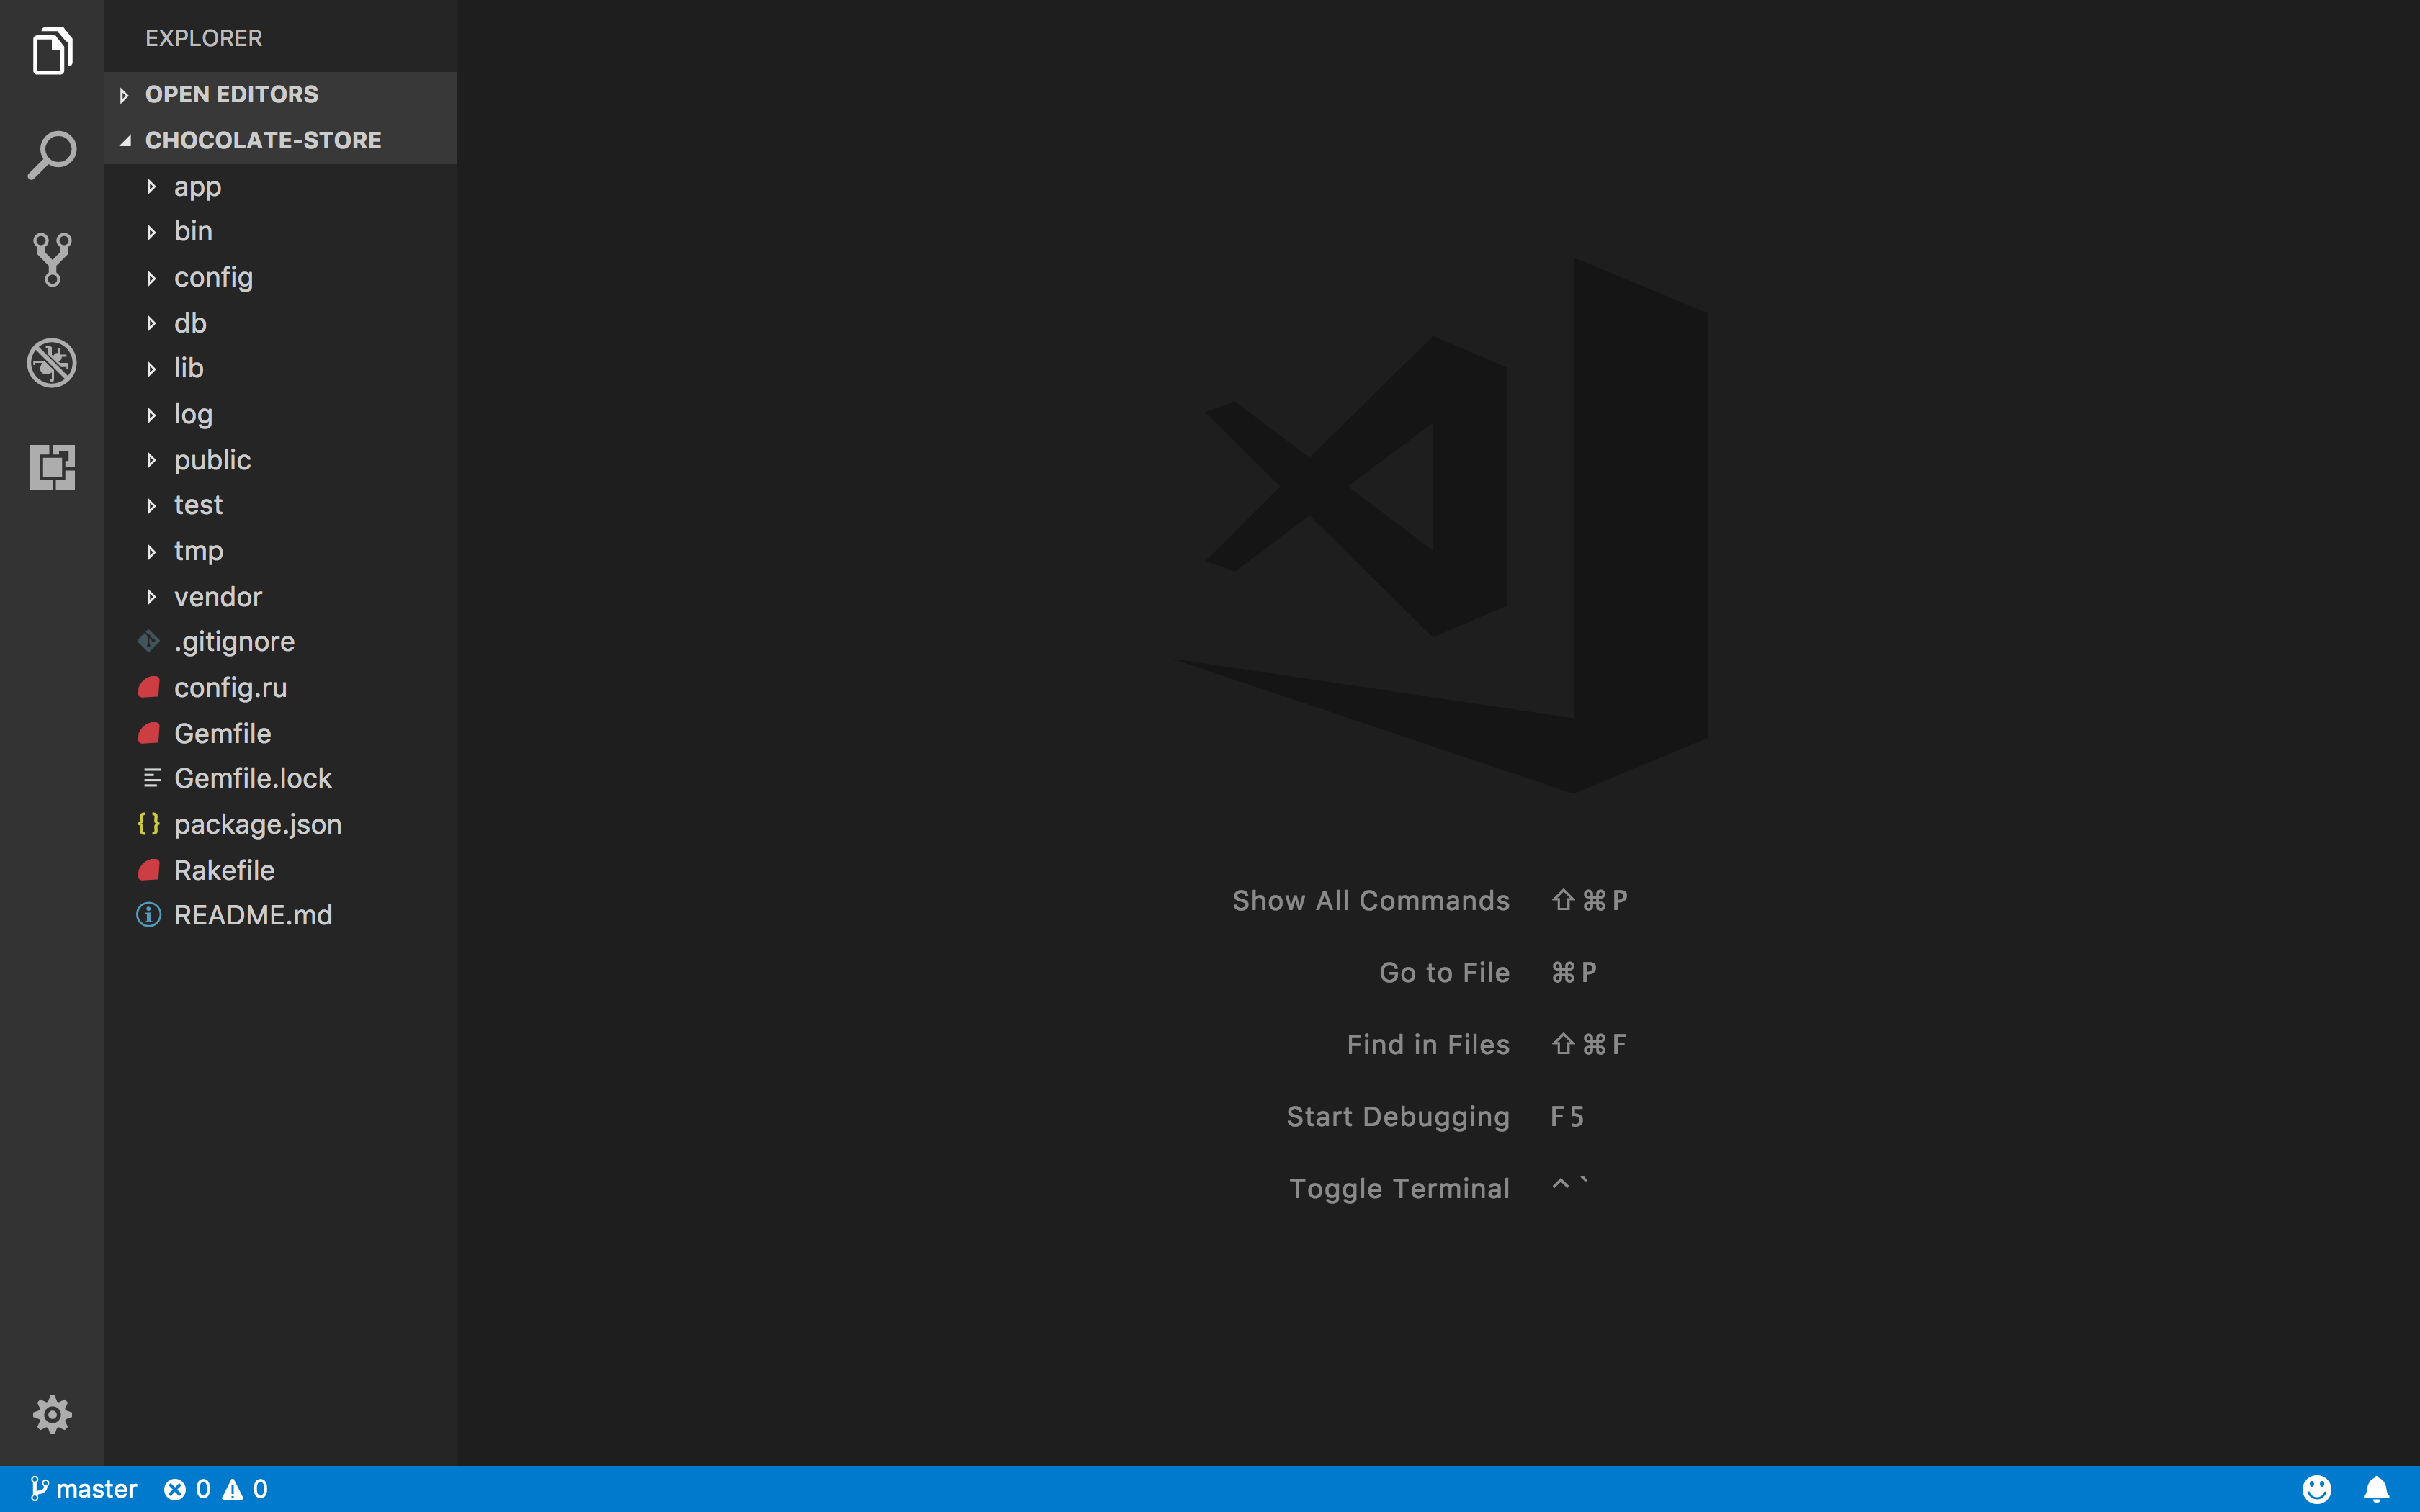
Open your Rails application in your preferred text editor (e.g. Atom, VS Code, or Sublime). Take a look at the list of files and folders in your app (on the left):
Down towards the bottom, we can see a file called ?Gemfile?. Open it, and here?s what we see:
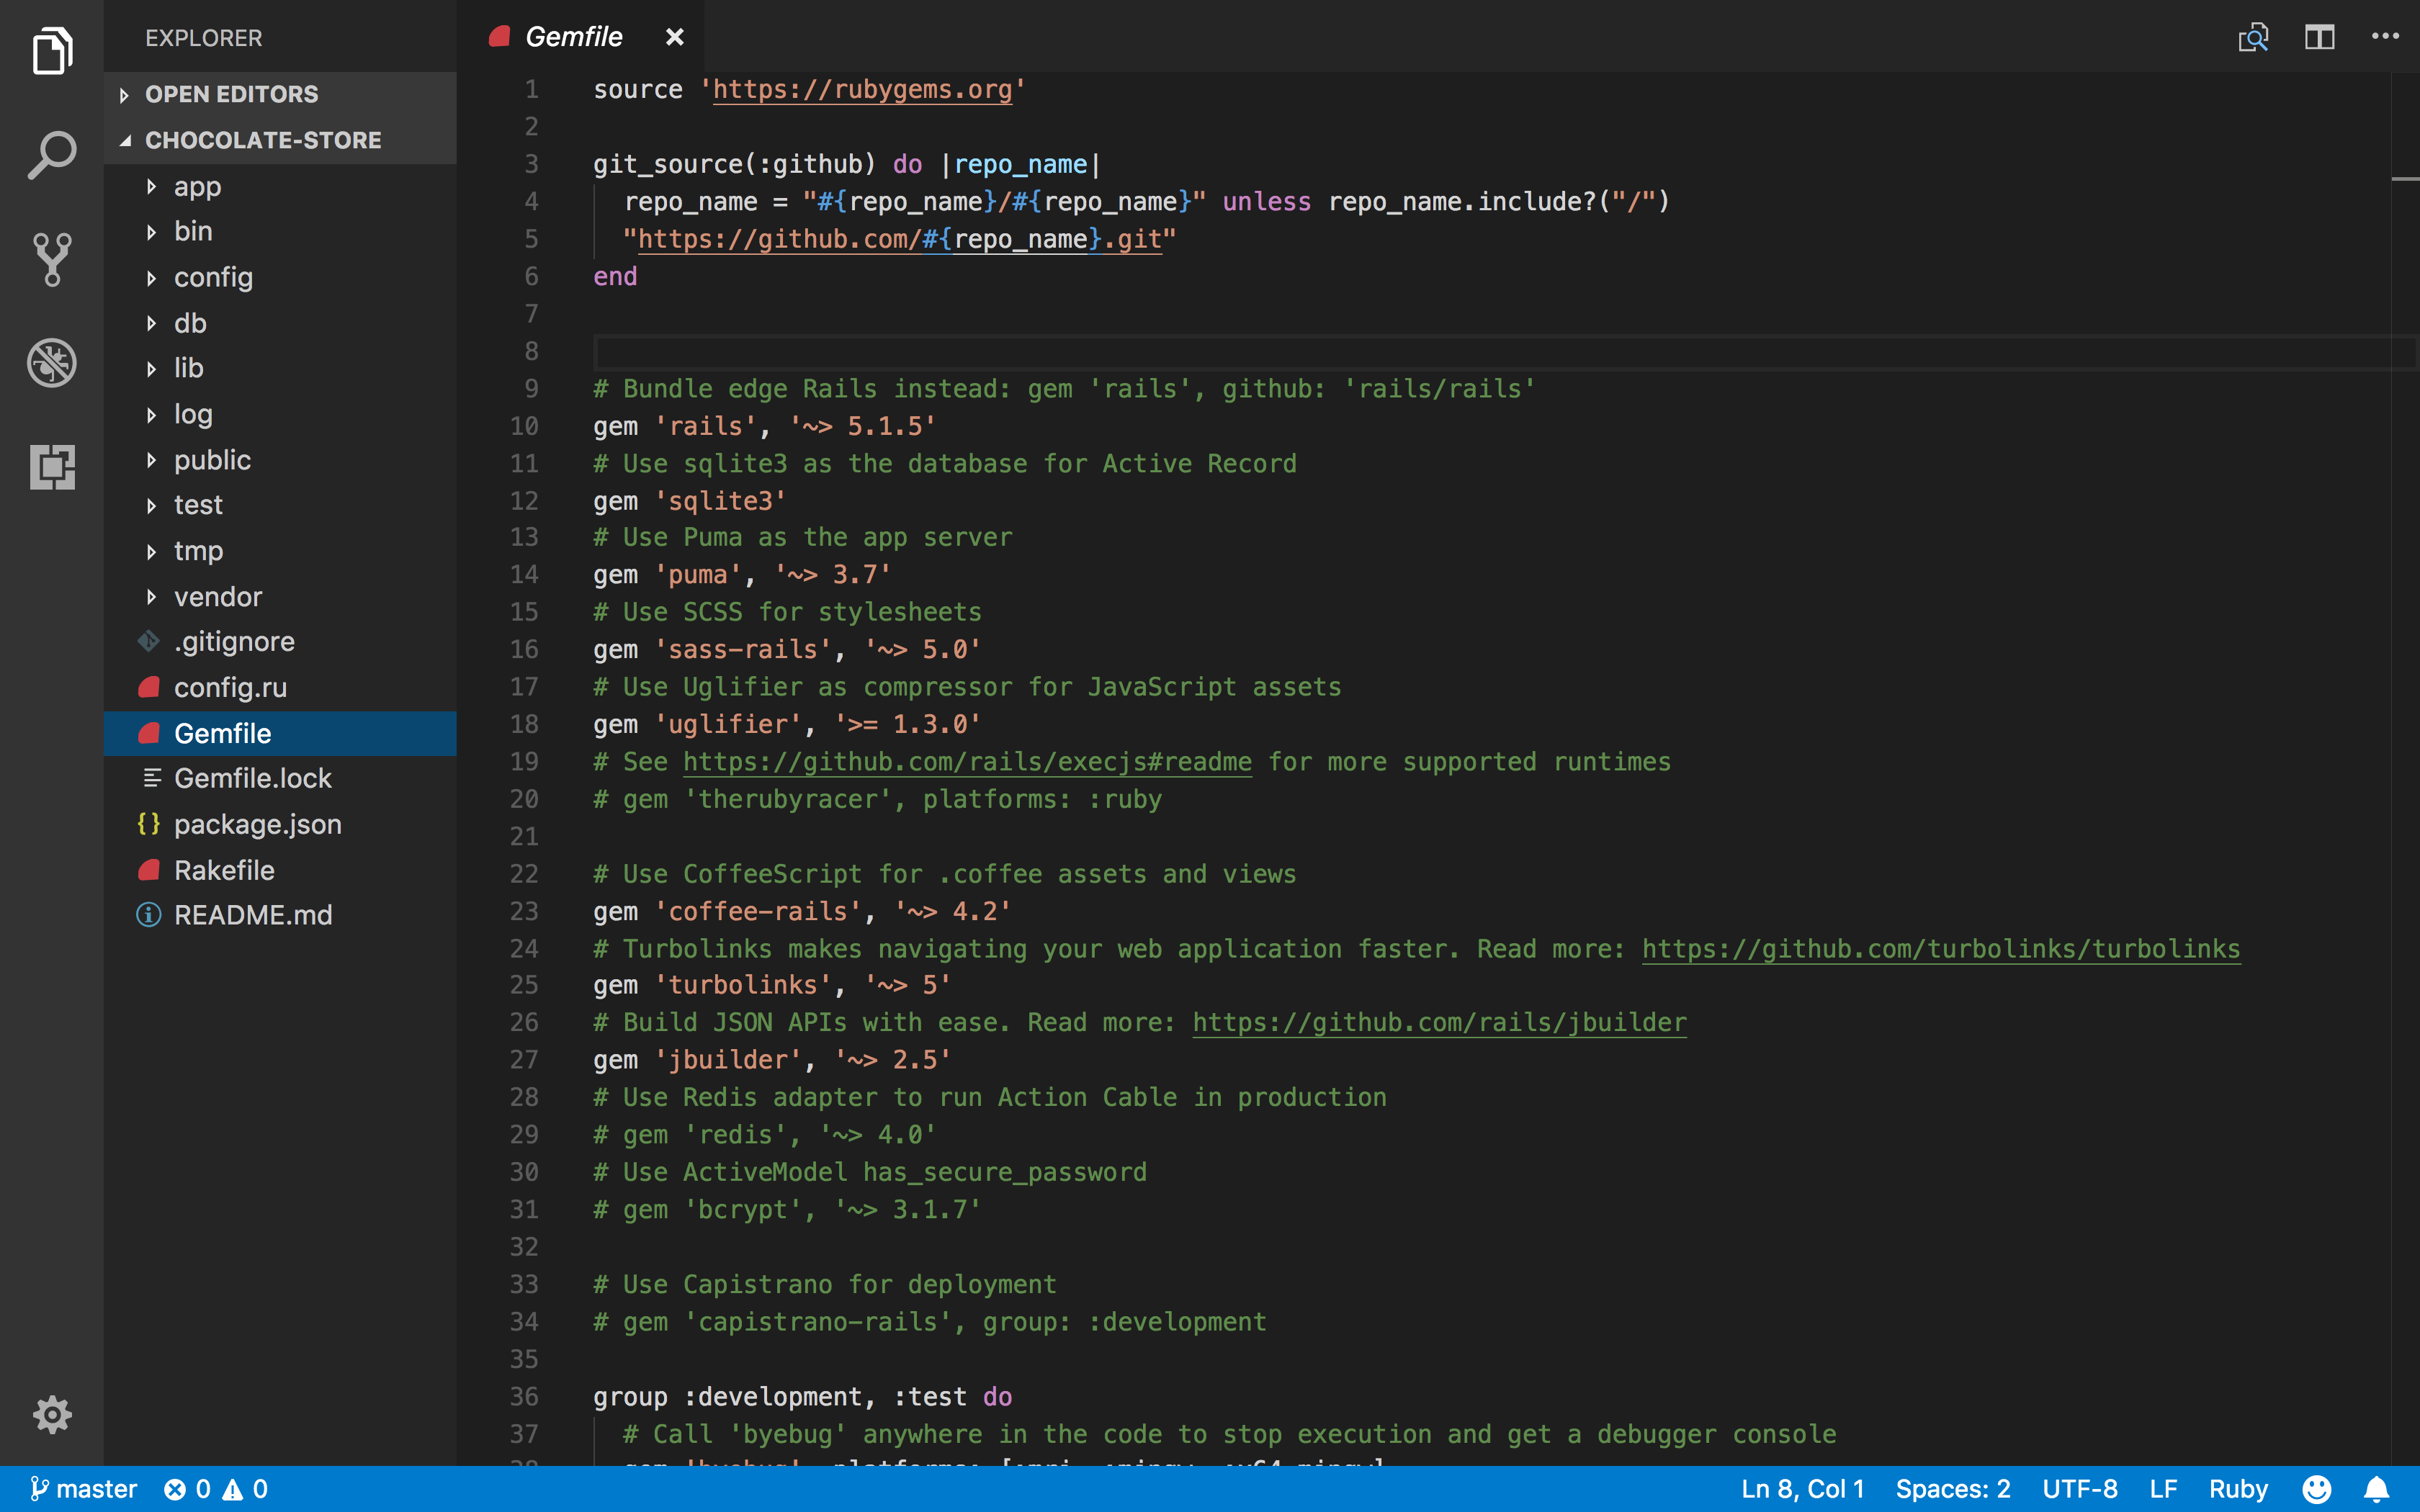
This file contains all of the gems used in your Rails application. So when we want to add another gem, here?s where we go to add it! Let?s do that now:
We?ve copied the line gem ‘bootstrap’, ‘~> 4.0.0’ into our Gemfile, and saved the file.
Step 1 done!
Step 2

Don?t worry too much about what sprockets-rails is, we just need to make sure that we?ve got version 2.3.2 or higher in our Rails app. To do this, go to Terminal and run bundle install (type bundle install then hit the enter key). The output will end with something like this:
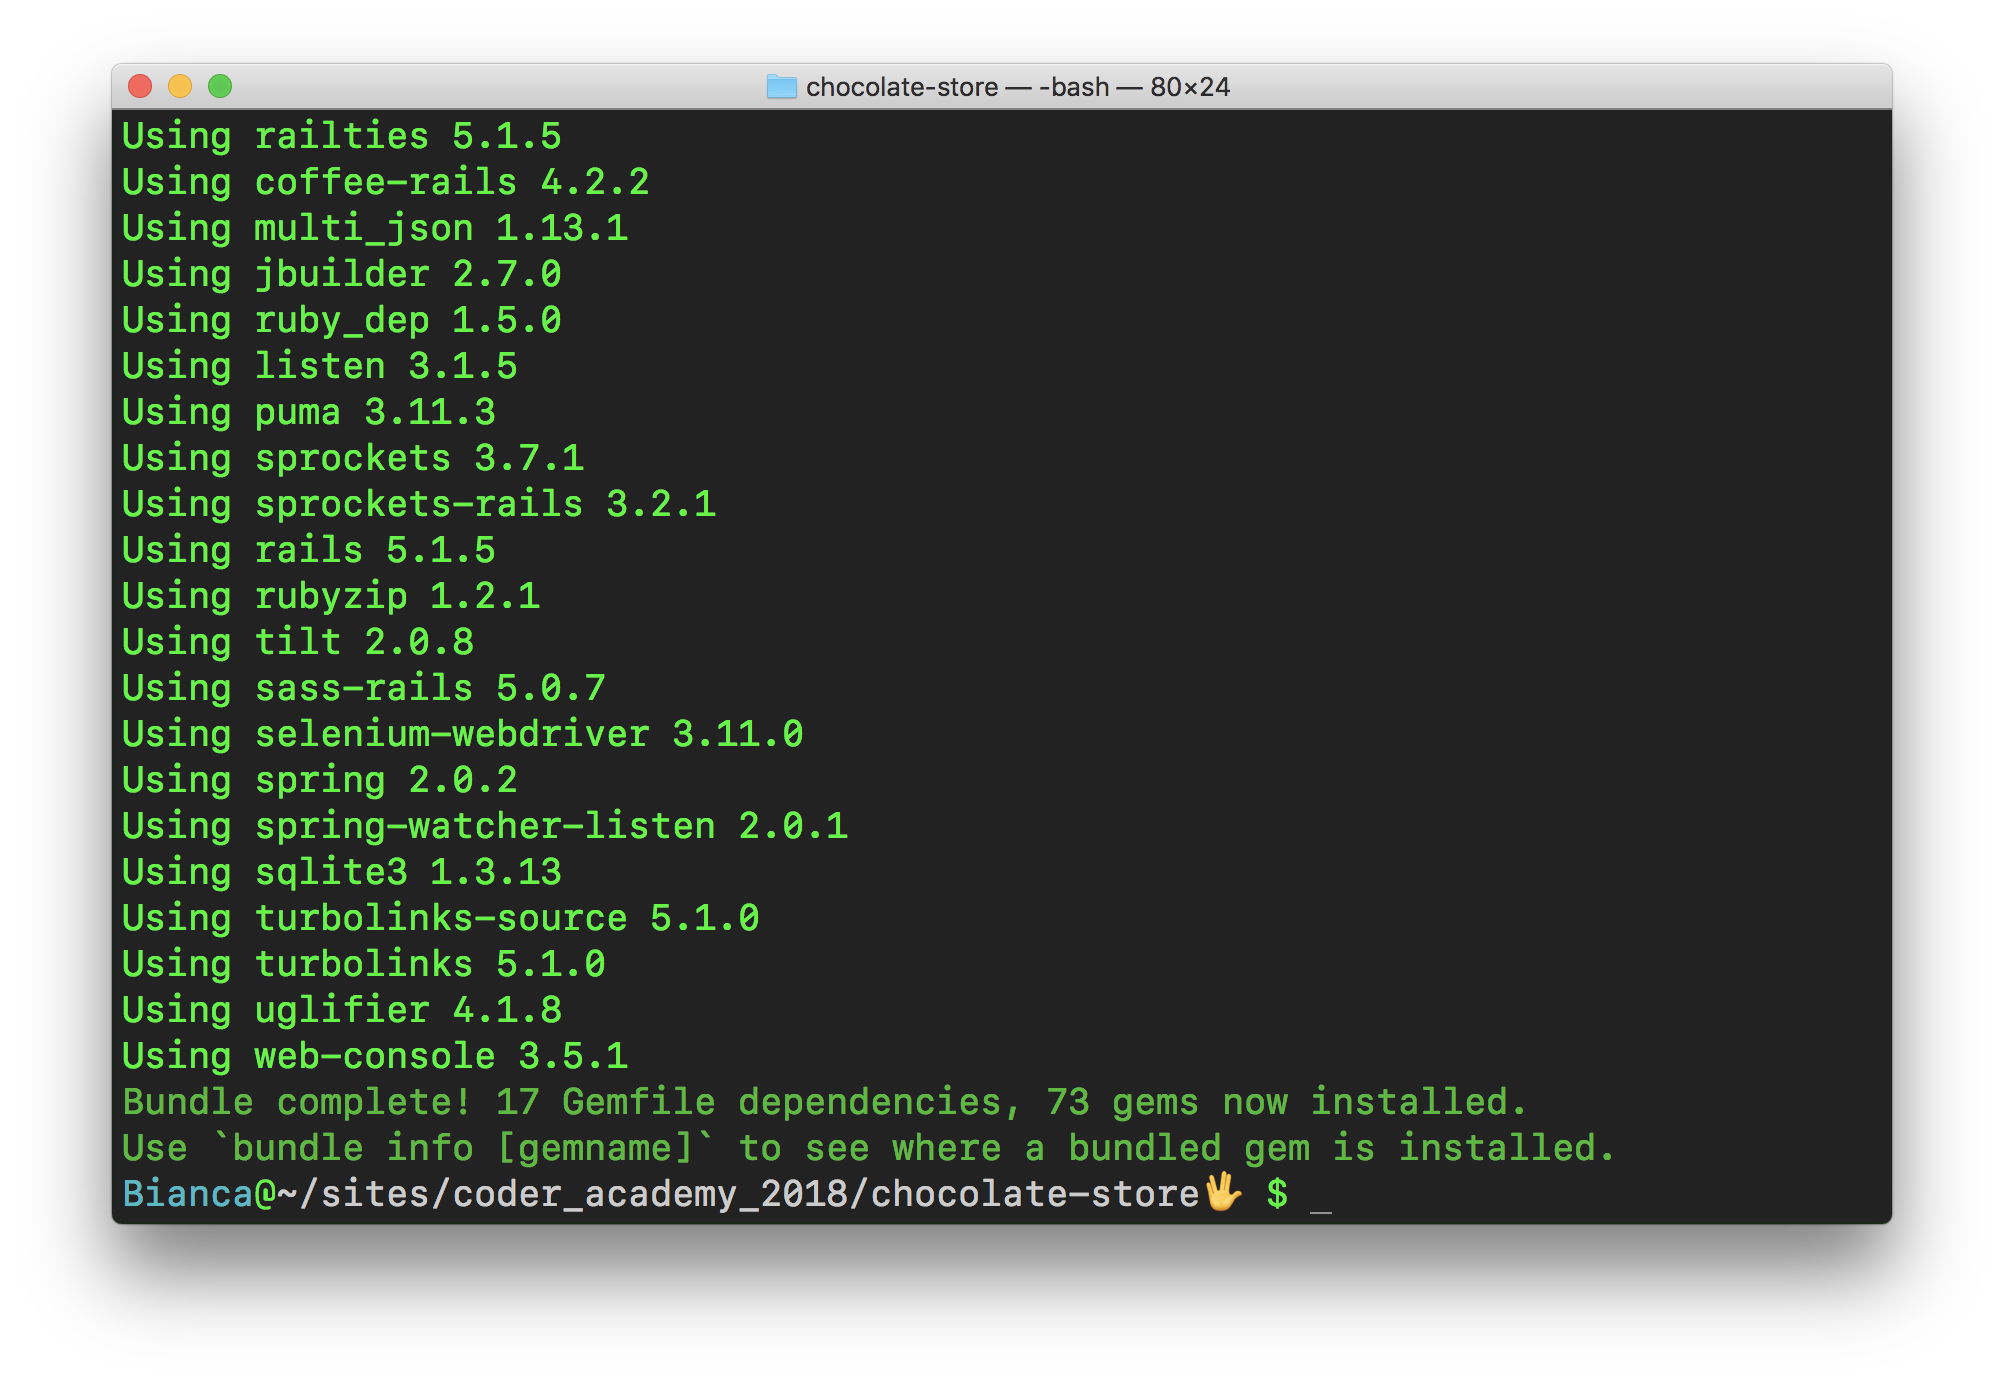
If your look closely, you can find the line that mentions sprockets-rails. It says Using sprockets-rails 3.2.1 . That?s a higher number than 2.3.2, so we?re good.
Next step!
Step 3

Again, don?t stress about the details (what?s a pipeline?), the instructions are to:
a) bundle install; and
b) restart your server
Let?s do that.
a) bundle install: Hang on ? remember what we did in Step 2? We ran bundle install. Looks like we?ve got part a covered! (but feel free to run it again if you just want to be sure ? it won?t hurt anything).
b) restart your server: This one?s easy ? if you have a rails server running in your terminal, stop it (ctrl + c on a mac) and then start it again (rails s). If you don?t currently have one running, no problem ? next time you start one you?ll be good to go.
Step 4

First, we find the file application.scss. The file path we?re given tells us where to find it ? we go into app, then assets, then stylesheets, and that?s where we should find the file we?re looking for. Let?s take a look:
Hmm. We have an application.css, which is close to what we want, but the extension name is wrong ? it should be scss. That?s ok, we deal with that in the next step. This is the file we want.
We?ve found our file, now let?s copy and paste the @import “bootstrap”; line, and the comment above it too:
Your text editor might be complaining at you right now, just like mine is above. That?s because of the issue with the incorrect file extension. We?ll fix this in the next step.
A quick note first: ?The available variables can be found here.? is the last line of this step. This is some more advanced stuff that we don?t really need to know about right now, so we?ll just ignore it and continue with getting bootstrap working.
Step 5

Basically, we need to rename our file so that it?s a scss file rather than a css file. We can do that in our text editor, or in terminal. The command given here is to rename it using terminal. Let?s do it that way:
When we run the command in terminal, we can see in the text editor that our file has been renamed (and the text editor?s warnings go away too!).
Step 6

All we need to do here is remove all the lines in our newly renamed application.scss file that start with *=require:
The rest of the information in this step is just warnings. You?ve done all you need to for now, for this step.
Step 7

If the version of Rails you?re using is 5.1 or above, you?ll need to add the gem ‘jquery-rails’ to your Gemfile. Here we go:
It?s always good practice to run bundle install and restart the Rails server after adding a gem to the Gemfile, so it?s a good time to do both of those things now.
Onto the final step!
Step 8
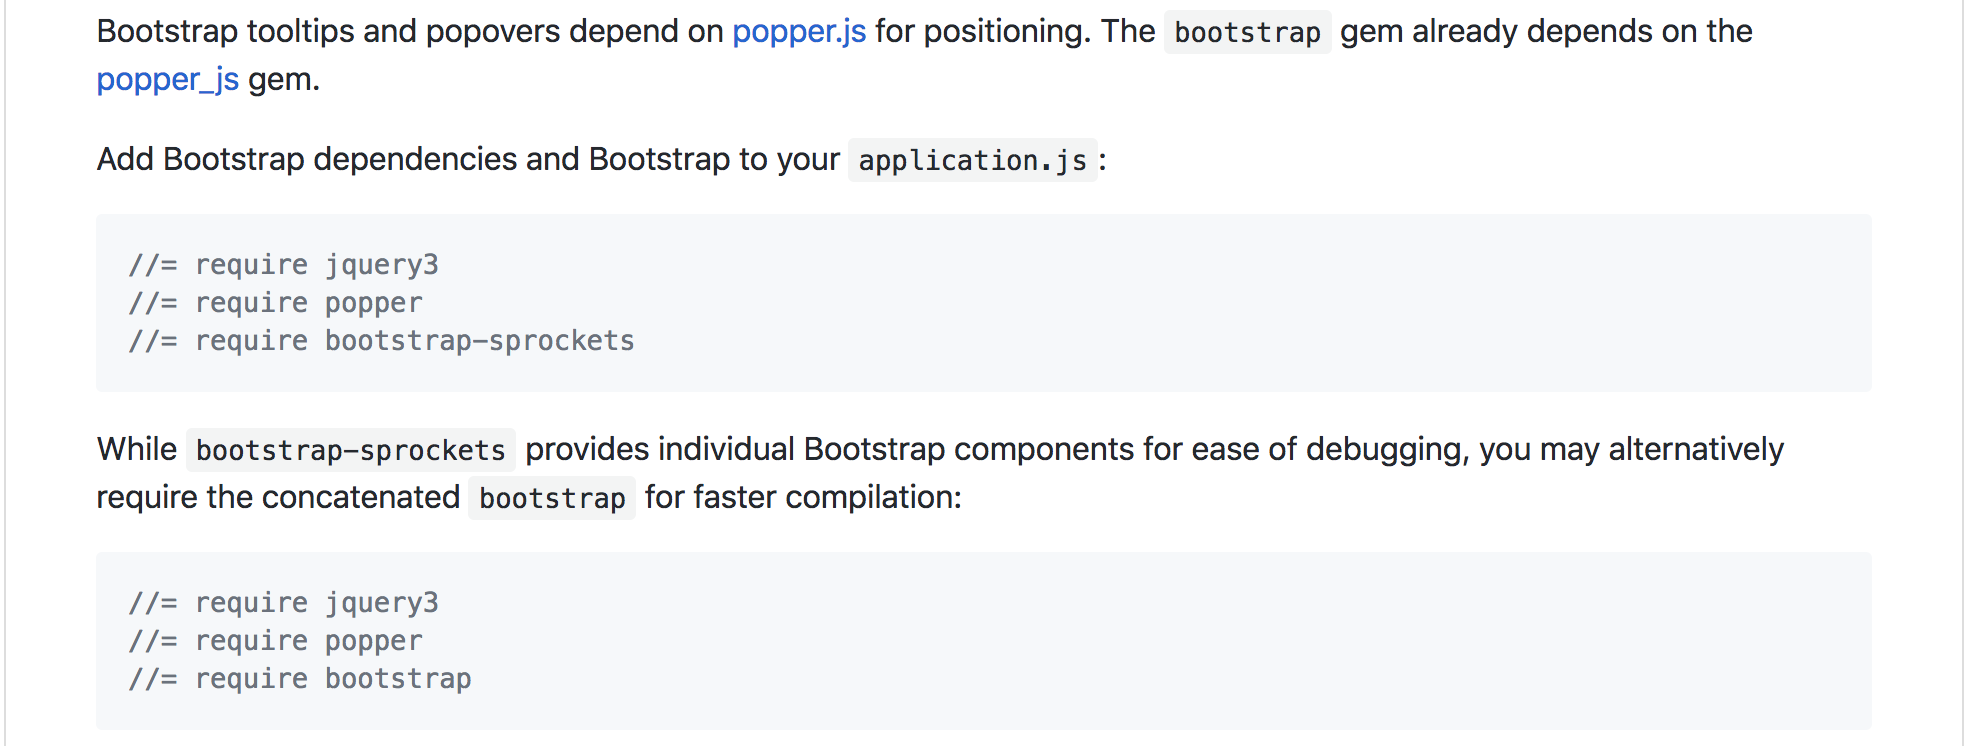
Now we need to find the application.js file and add some lines to it. We can go with either the first option or the second. We?ll go with the first:
And that?s it, we?re done! Time to start adding Bootstrap to your views!
Checking Bootstrap is working
Ok so, I?m sure you?ve followed every step exactly as described, and you trust me that it all works? but how do you check? Let?s add some simple Bootstrap code to one of our views and see if it works:
It worked! By adding a couple of Bootstrap classes, we can see that Bootstrap is being applied correctly in our Rails app.
Time to get stylish!

