
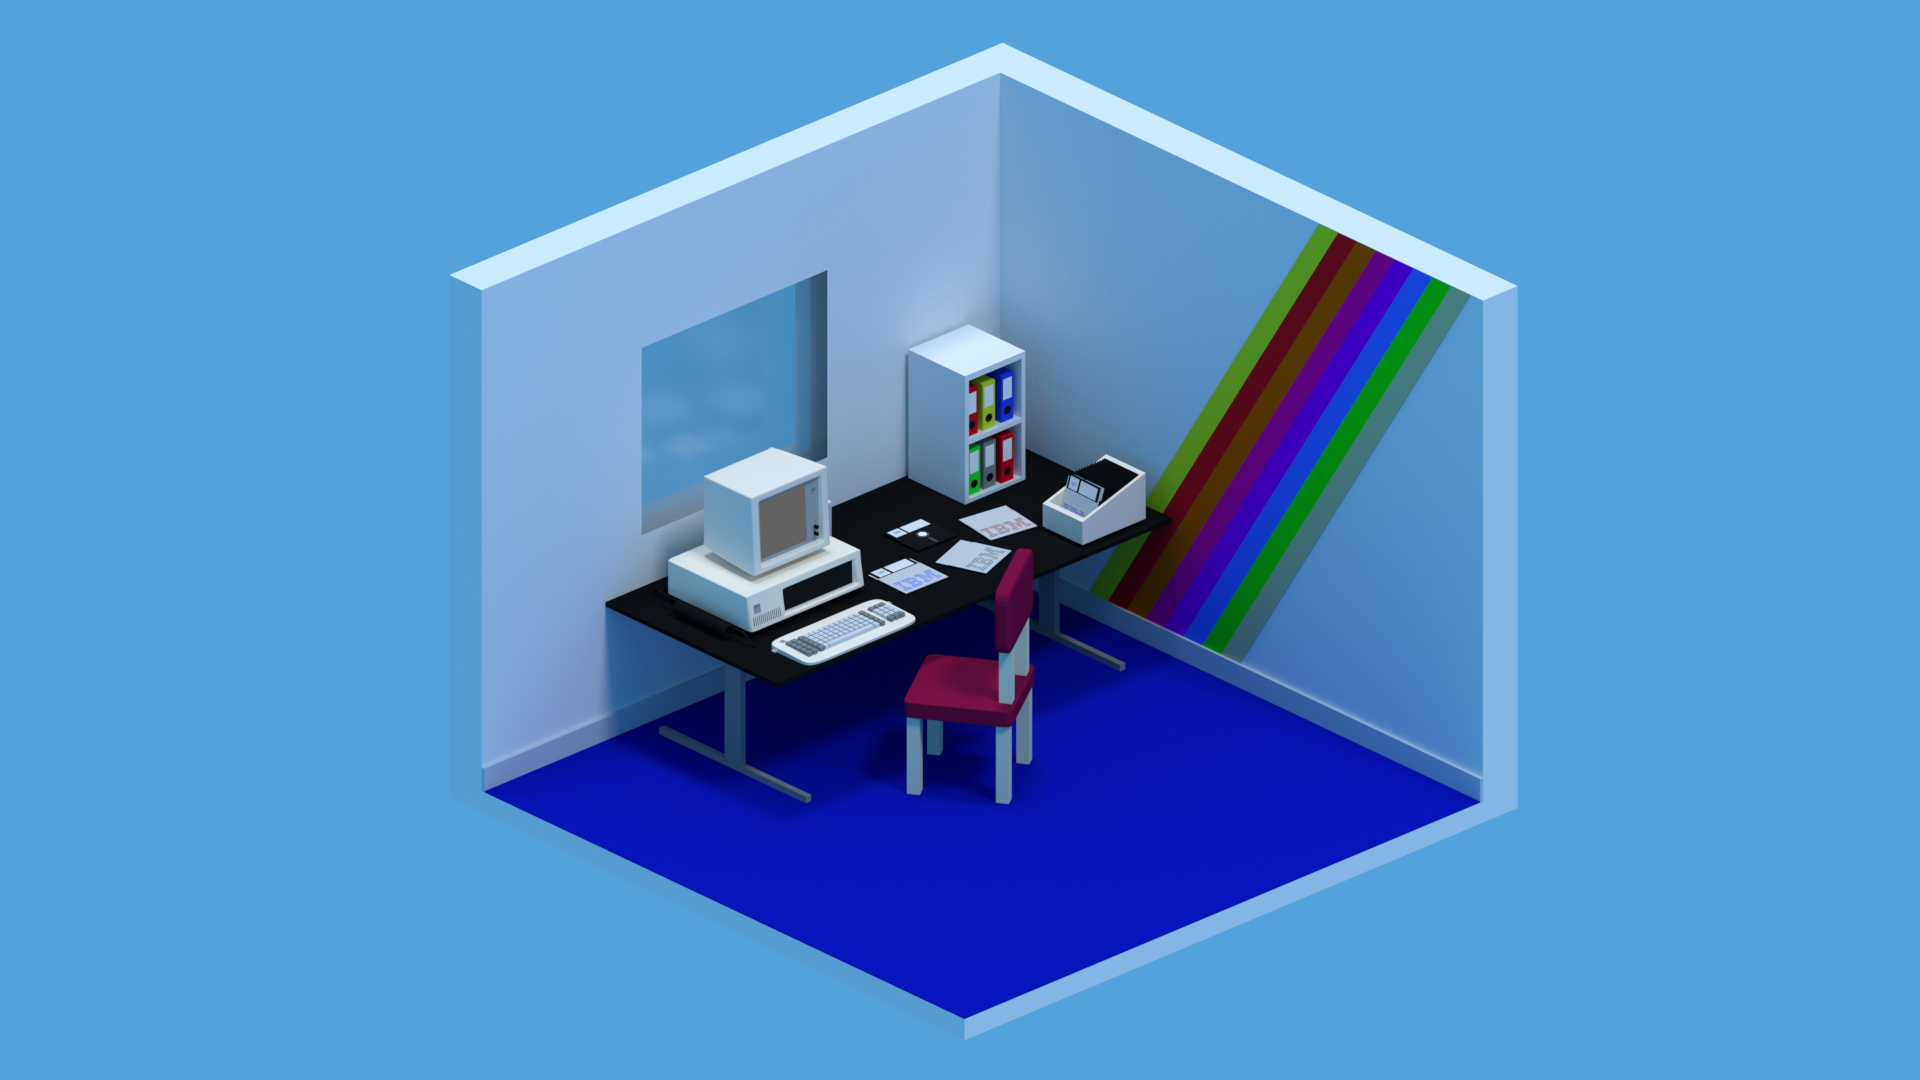
 Final Scene
I made this scene in 4 days, 3 hours per day with no prior experience in low poly.
I made this scene in 4 days, 3 hours per day with no prior experience in low poly. I?ve already created some small scenes with Blender but it was the first time that I tried to create low-poly.
How I did that? I?ve done it step by step with a clear planning and a precise goal.
One of the hardest thing to do when you create something is starting it and finishing it.
Indeed, one of the hardest thing to do when you create something is starting it and finishing it. Consequently, my purpose in this article is to show you that with no or few Blender experiences you can create a very beautiful end to end low poly scene.
I will not explain how to create 3D models but how to manage your project to finish it.
First of all, what is low poly?
Low-poly is a technique of 3D modelling that use a small number of polygons. The purpose of low poly is not to create a perfect realistic environment but simplified worlds. It was initially used some years ago because of technical limitations of computers and devices.
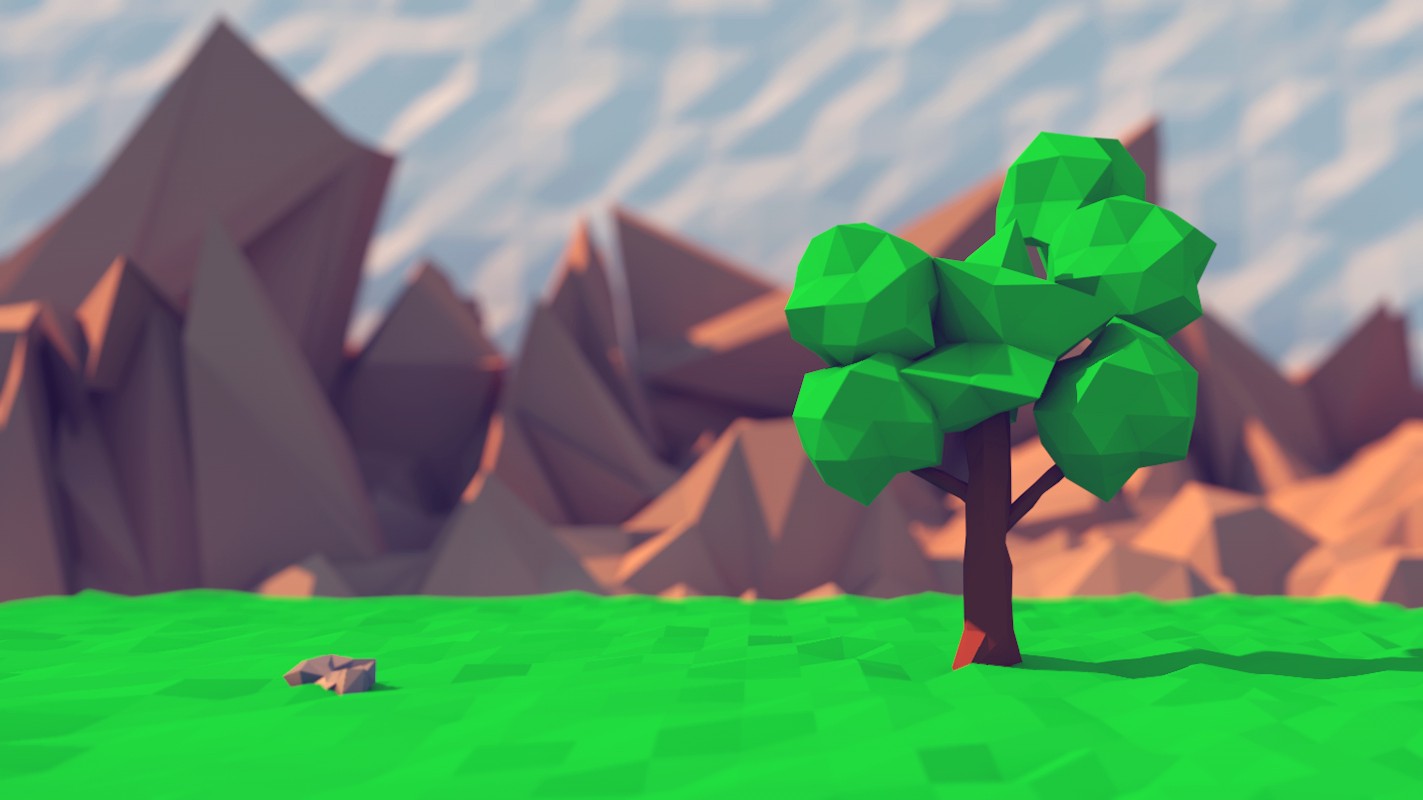 Low poly scene by Philippe Put
Why I chose low poly? Because first of all, it?s easier to create low poly scenes than realistic scene when you begin to use blender or any 3D modelling applications. But also because it?s charming: it?s like cute little models.
If you want to learn Blender, I suggest you 2 things:
– Blender Guru, Andrew Price the creator of this website delivers a ton of free tutorials and one of his best to begin with Blender is ?Blender beginner tutorial series?
– If you understand French, there is a very good tutorial to learn Blender from scratch ?Dbutez dans la 3D avec Blender? on OpenClassrooms
Introduction
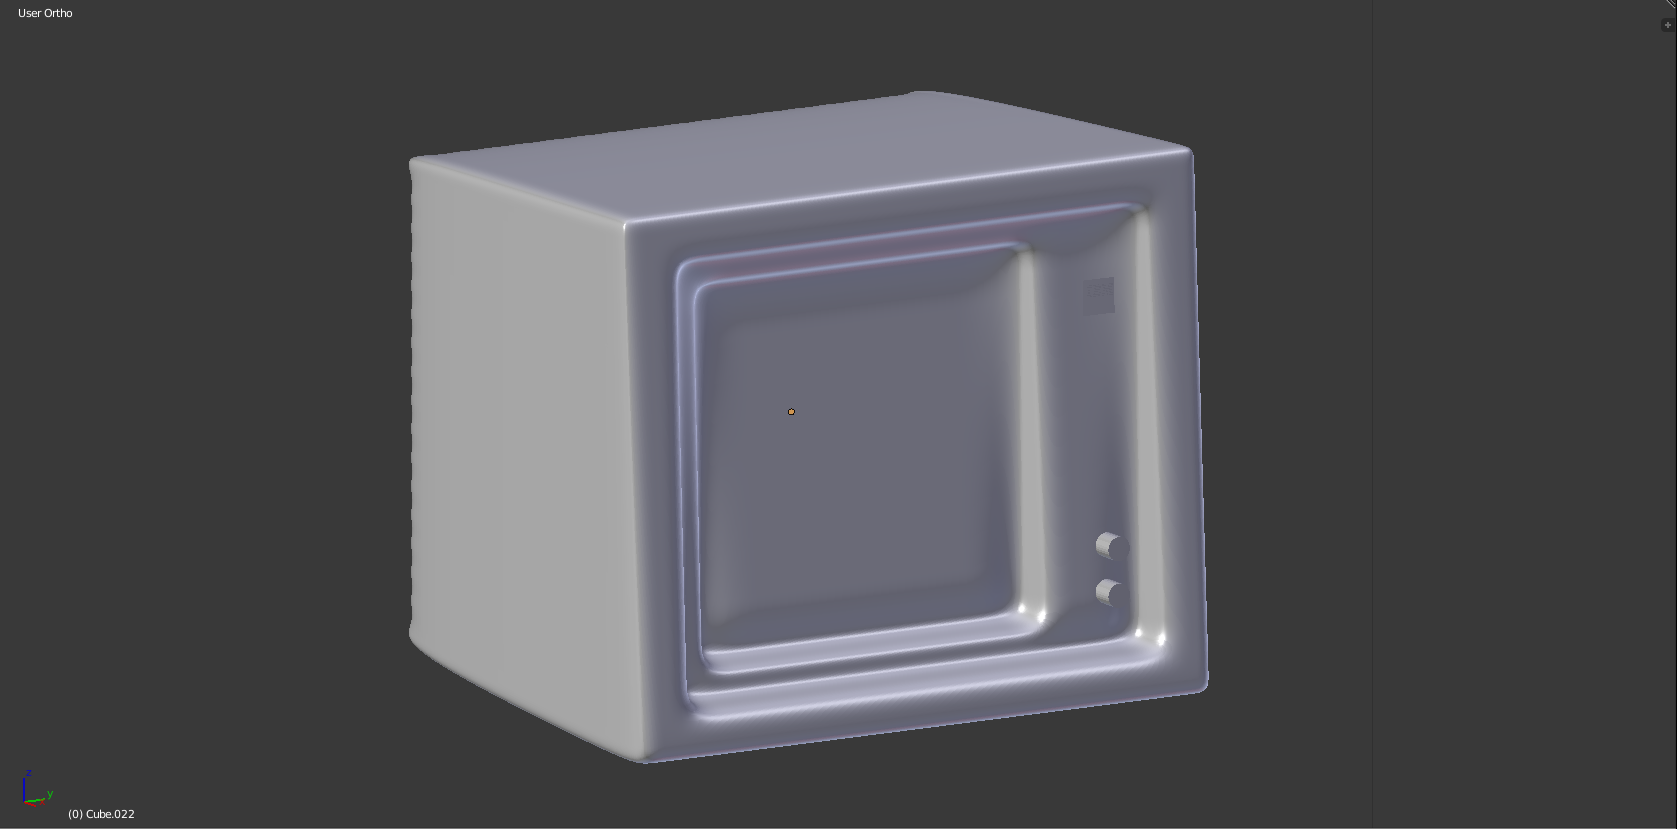
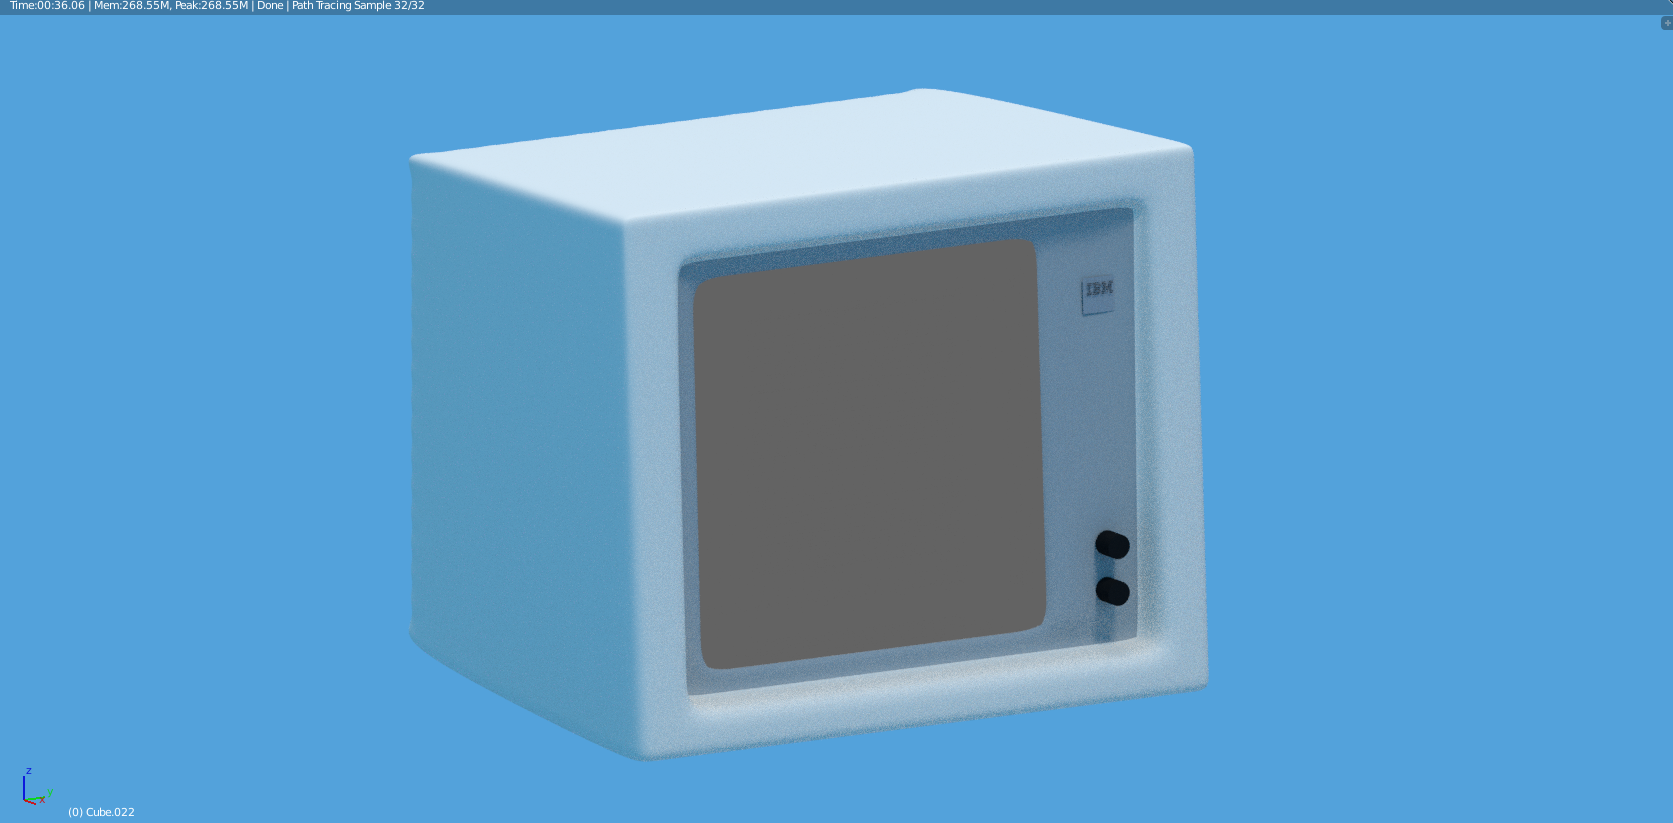
For this article I chose to create something I like: a retro 80?s office with an old IBM PC and some IBM floppy disks.
Why this scene? Because I love the 80?s and its old technology. IBM is the symbol of the democratisation of the personal computer at office and at home. And, to me, it is one of the most interesting company of the world: they made the personal computer, they beat the best chess player with their ?Deep Blue? and now they revolutionize the AI world thanks to Watson.
Now, let?s dive in through the steps to create an end-to-end low poly scene.
Step 1: Have a clear realistic defined goal
First of all, to move from ideation to validation, you must have a clearly defined goal: what you want to create?
This step is the hardest step because it?s where you can easily fall in a trap. Since you will be easily tempted to say:
?I want to create a beautiful scene in a city with a lot of people, and trees, and birds and??
Hold on! Hold on!
Be realist: if you begin to learn 3D you will not create a big awesome scene!
Be realist:
If you begin to learn 3D you will not create a big awesome scene! It?s really hard to discipline yourself to choose a smaller project. But force yourself, because you will be able to finish it, learn a lot and then be able to do a bigger project.
Sure, small projects are not as exciting as big projects, but embrace this small success, because if you wanted to create a big scene with no experience you will never finish it.
Be precise with your goal:
?I want to make a beautiful scene? is not a precise goal, it will drive you nowhere, whereas, ?I want to create an IBM old office scene in low poly? is!
Gather all you need to learn to do what you want to do:
– BlenderGuru
– This very good introduction tutorial about low poly with blender.
– Youtube
– BlenderArtists Community
– ?
Gather inspirations:
For instance, my inspirations come from this old French magazine?s cover:

Step 2: Have a clear and realistic planning
By failing to prepare you are preparing to fail Benjamin Franklin
Now that you have found your small project. It?s possible that you?re feeling overwhelmed by the mass of work to be done, like a gigantic mountain to climb.
Break your project into small realizable tasks
Consequently, it?s important to break your project into small realizable tasks.
For instance, in my IBM project, I break my project into tasks which are each objects I need to create.
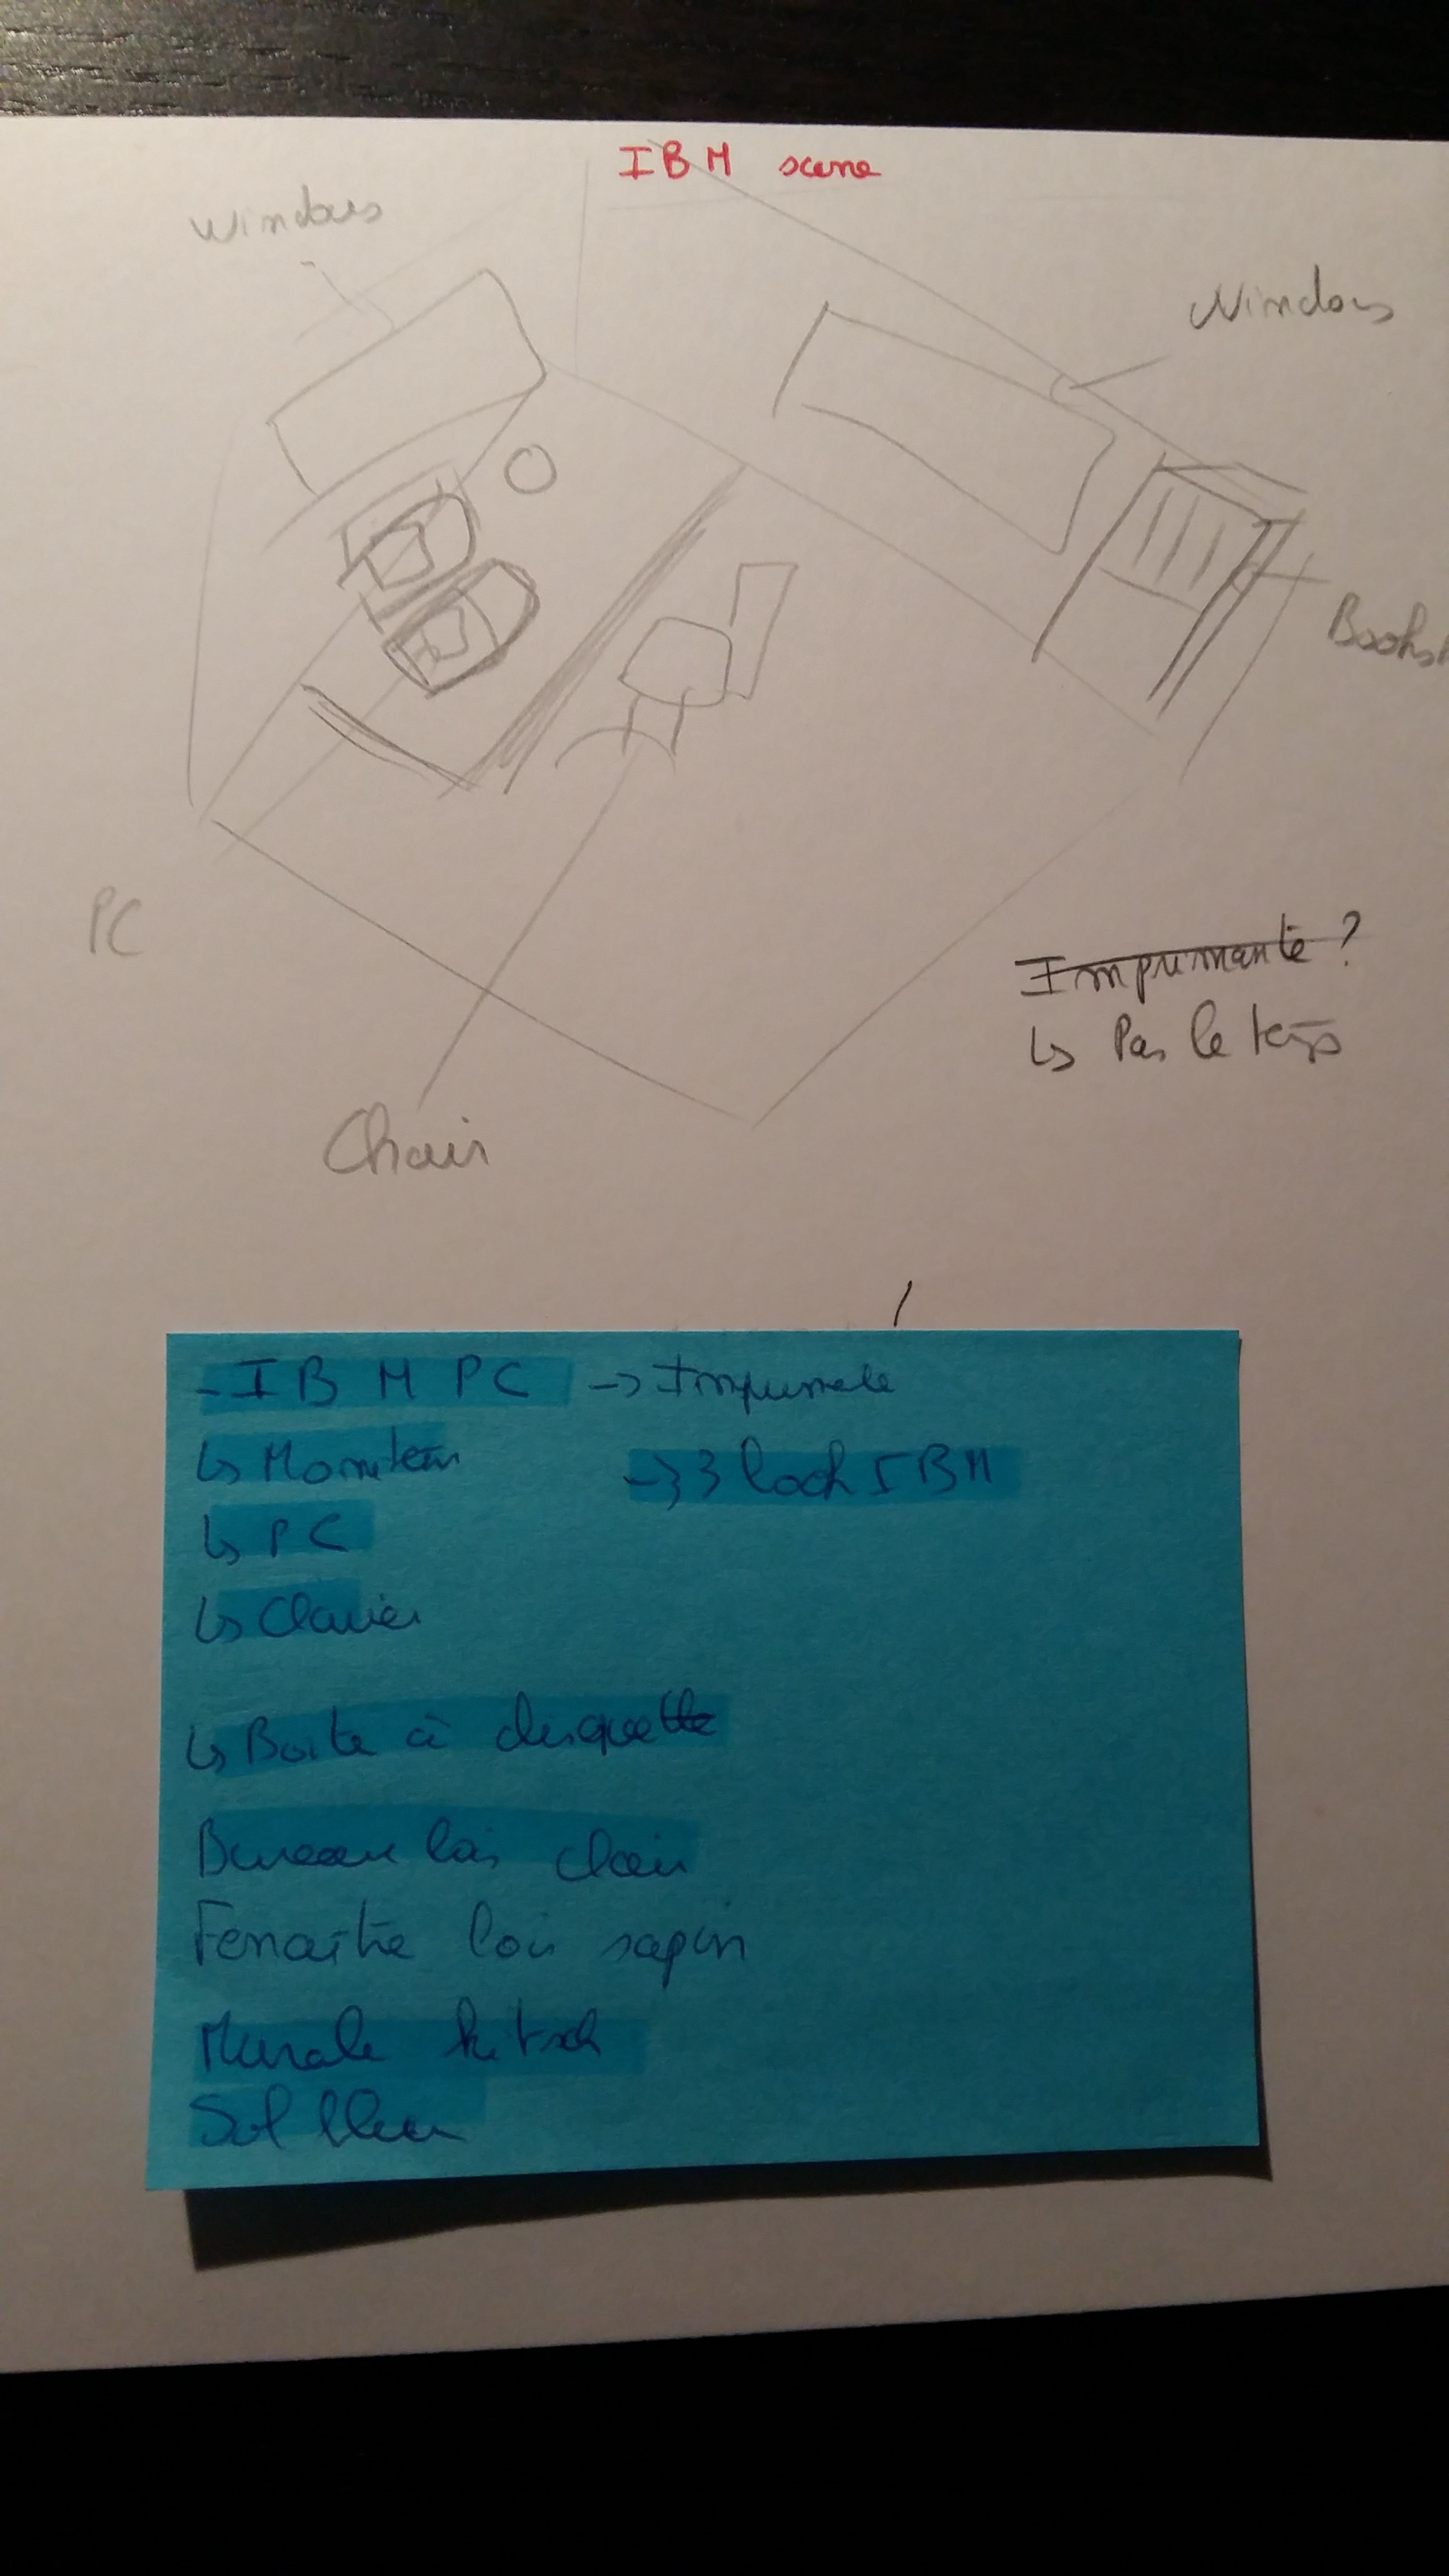
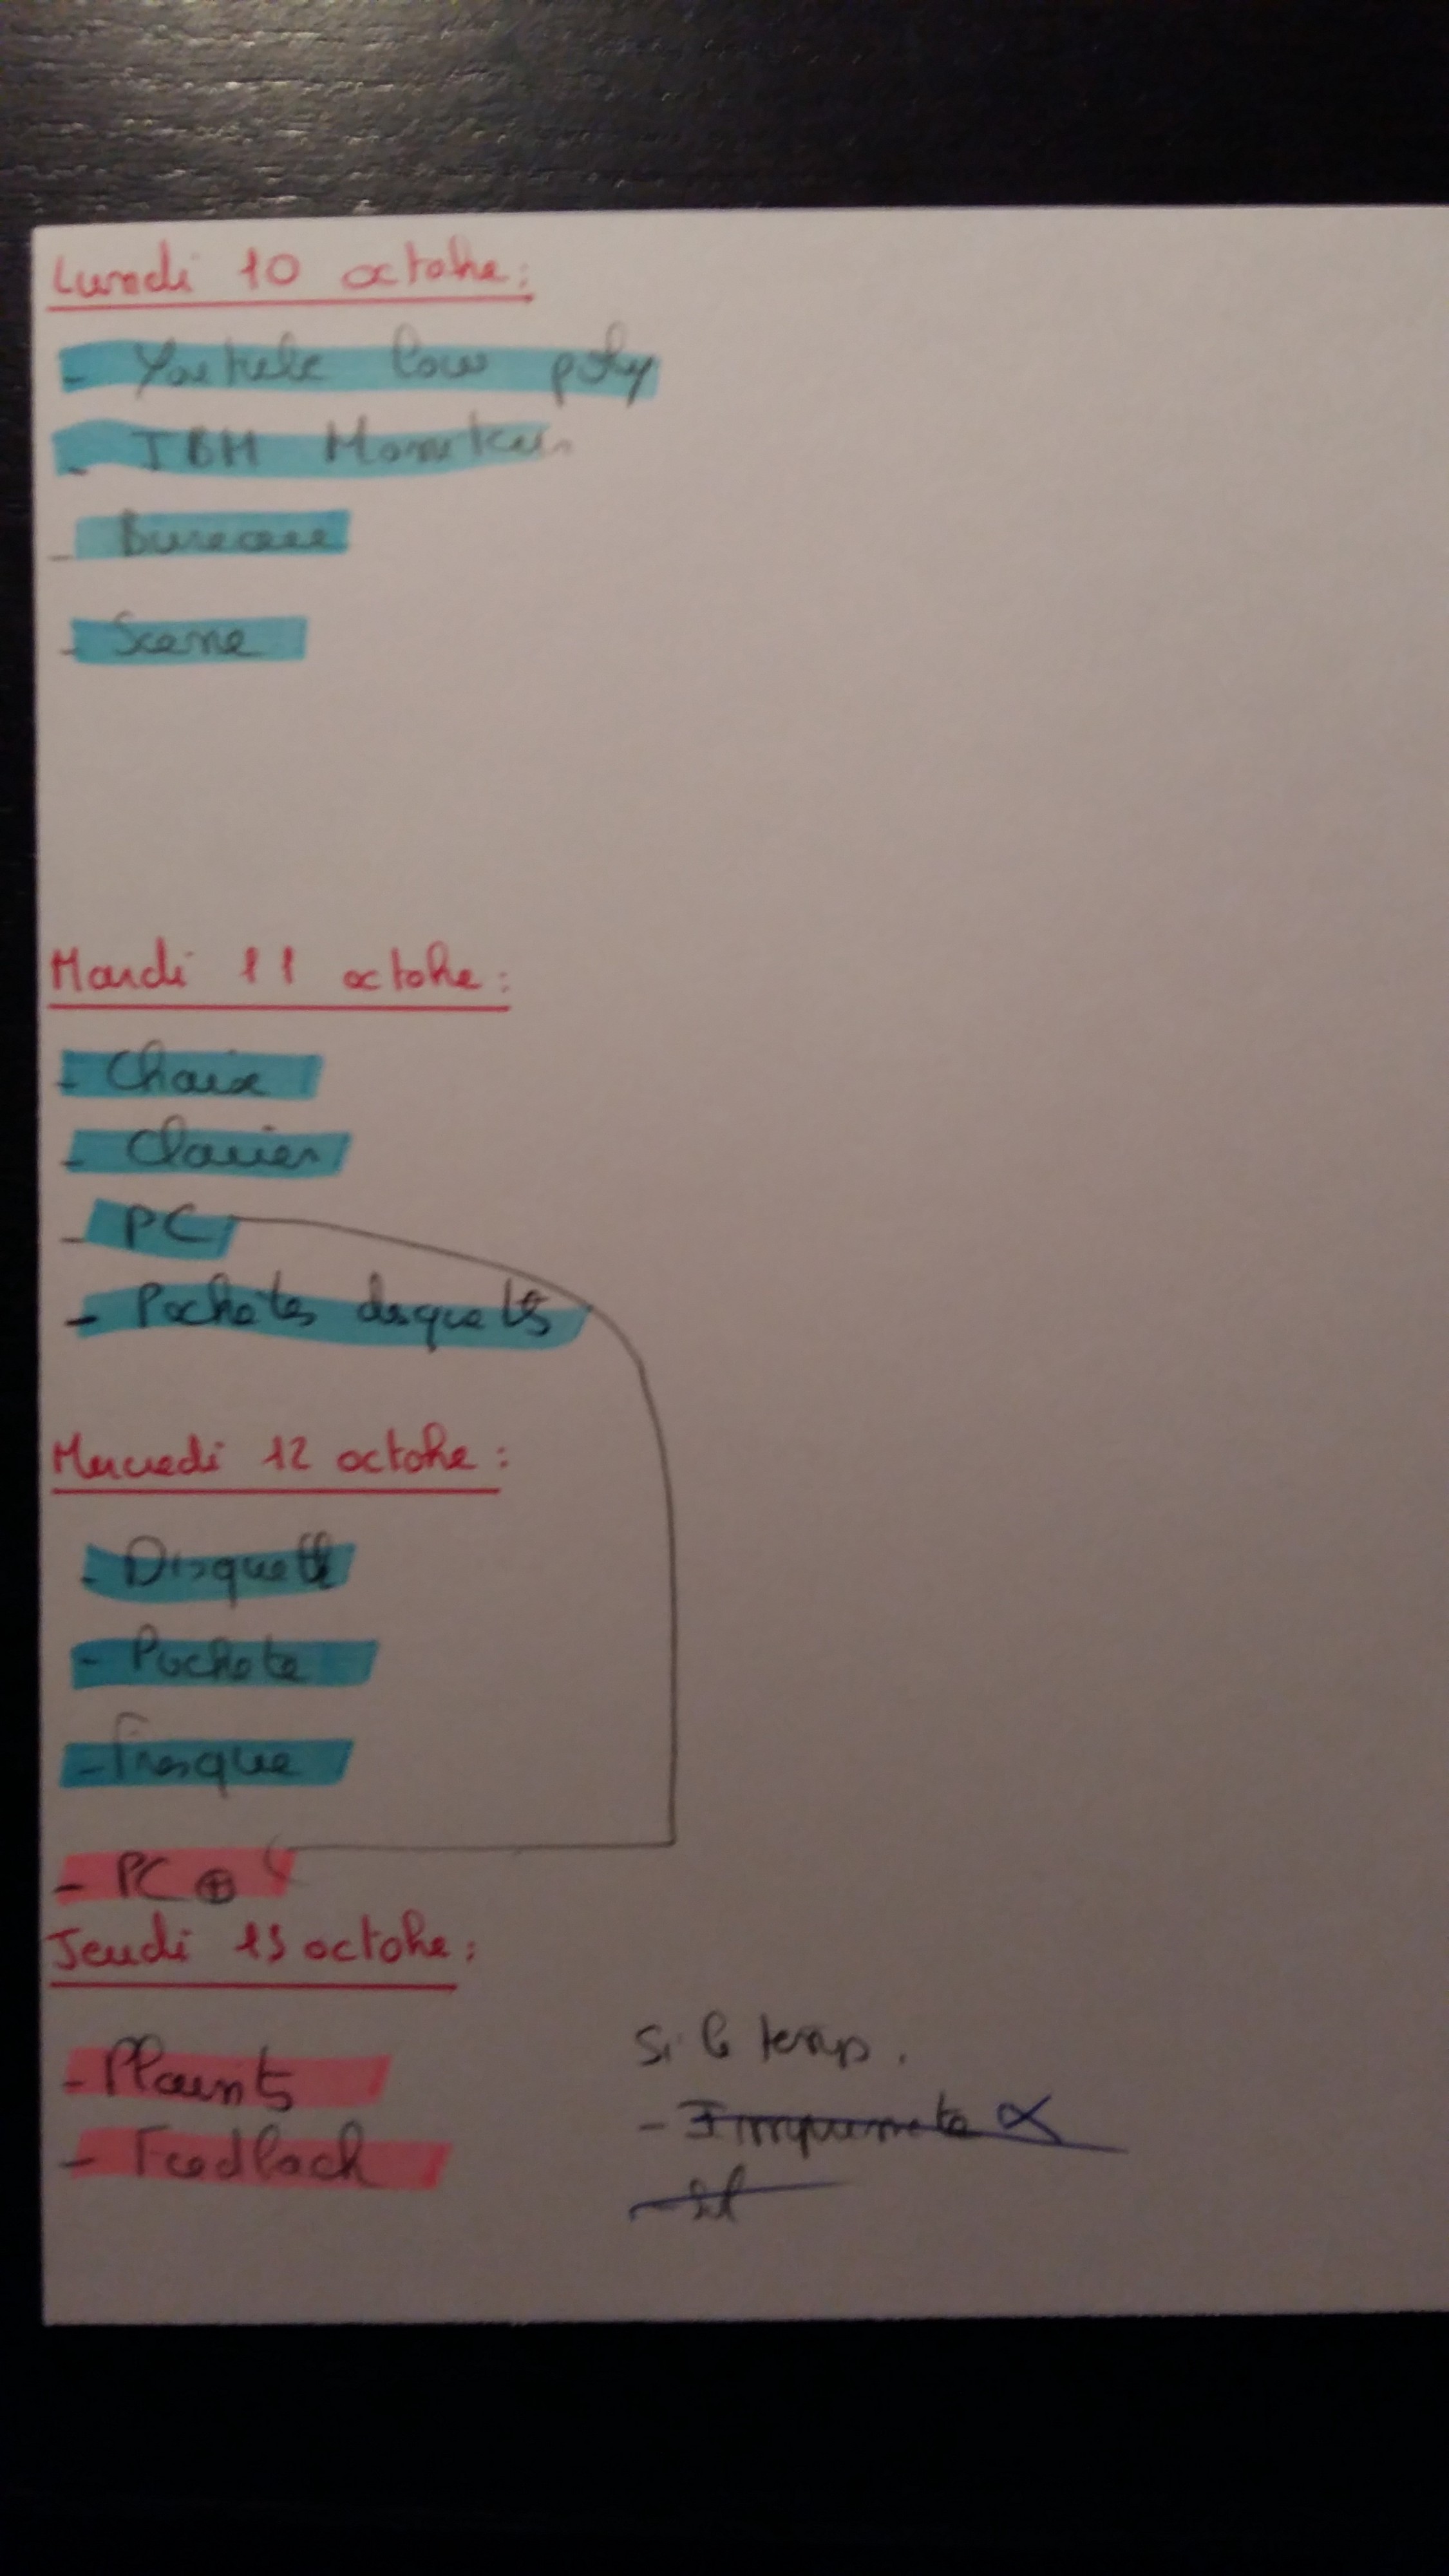
Assign each task to a day
Then, assign each task to a day, don?t forget to estimate the time that you?ll take for each task.
This step seems daunting, but, it is essential to the success of a project: it helps you to monitor your progress and to reduce or increase your project if you?re in your times.
Step 3: Create your scene step by step
Creating a 3D scene is always the same process:
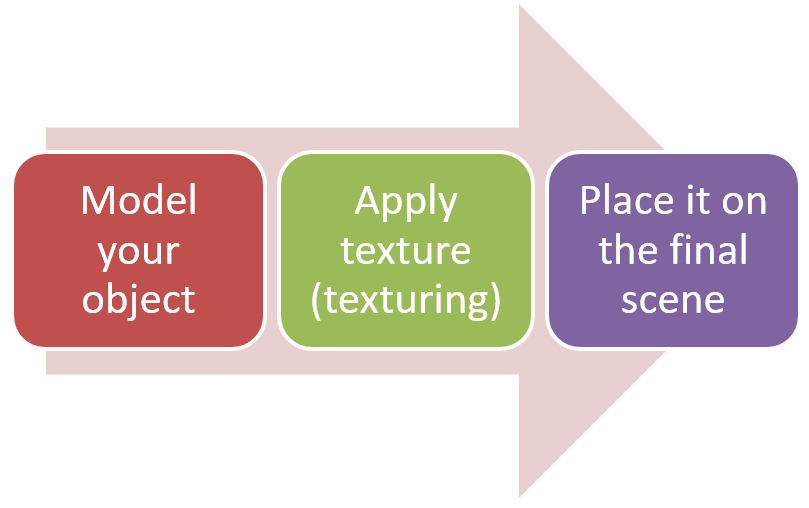
I use this method because it helps me to be motivated, since I see the scene improve step by step.
Model your object
Texture your object
Place it on the final scene
Step 4: Put your work out and take feedback
You?ve just finished the first version of your low poly scene: Congratulations! Now, it?s time to put your work out there to be seen!
You are probably scared at this point: sure your scene is not perfect, but that?s not the point, it?s really important to show your scene to your pairs that can help you to improve it.
It?s really important to show your scene to your pairs that can help you to improve it.
How to do that? Publish your scene on BlenderArtists forum and reedit, in your post, explain that it is the first scene that you made and ask them advices.
Be prepared for critics! However, critics in BlenderArtists are very often constructive and nice to help you to improve your scene and your skills.
Don?t forget to thank people that took the time to analyses and judge your scene.
It?s really important that you show your scene to people that you don?t know
It?s really important that you show your scene to people that you don?t know, because friends, family and relatives are quite reluctant to criticize your work and being honest.
Step 5: Improve it
Now that you?ve shown your scene to the community and receive some constructive critics it?s time to improve your scene.
For instance, for my IBM scene:
 First version of my scene
This was the first version, as you can see this is not perfect. The windows reflects too much, the floor is too colourful.
Second version of my scene
Step 6: Be proud and share it
Congratulations! You finished your first low poly scene!
Be proud, because:
– You made an end-to-end project.
– You created a beautiful low poly scene.
– You are ready to make a bigger project.
Share it on twitter, facebook, BlenderArtists, Reedit don?t be scared to share your work and be proud of what you?ve accomplished!
Don?t forget to share your low poly scenes in the comments section! I can?t wait to see that you?ve accomplished so far!
And If you liked my article, please click the? below so other people will see this here on Medium.
