? written by Joli
This is a guide on how to split your voice communications for streaming purposes (ex: if you?re streaming a guild war, or if you?re streaming in a voice call/channel with too many people and you don?t want your stream to pick up any other voices) in 10 easy steps.
This should work for at least Windows 10. If you have any issues, feel free to message me on my Twitter.
?
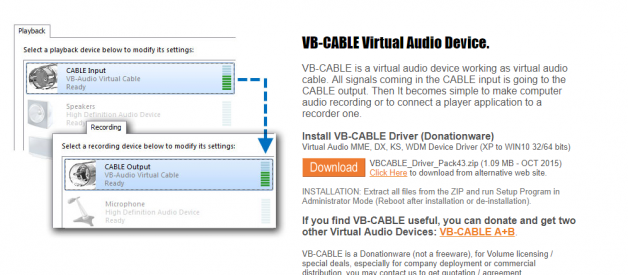
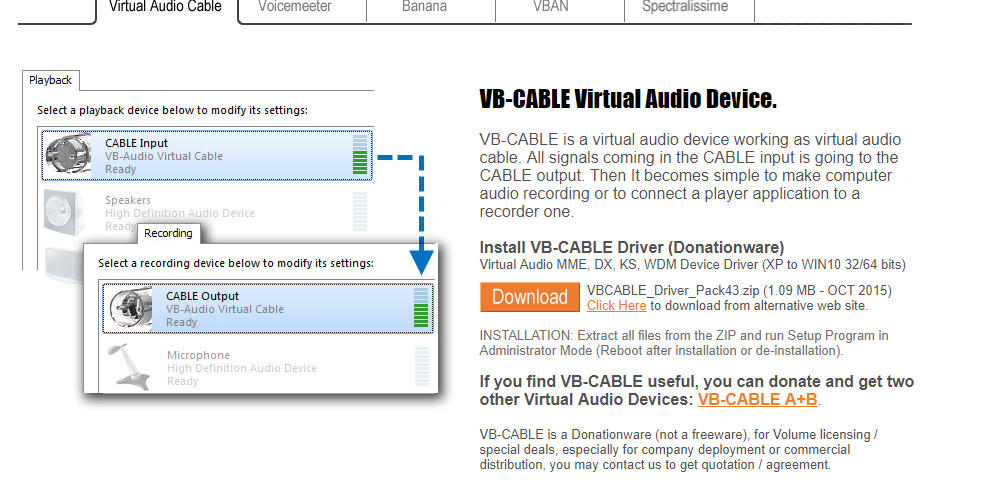
Download this program here (at the very top; orange DOWNLOAD button)
1. Restart PC after the download and installation. You might lose sound until you finish all the steps.
2. Make a virtual audio cable (we will refer to it as VAC). This is done automatically after you download and install the program.
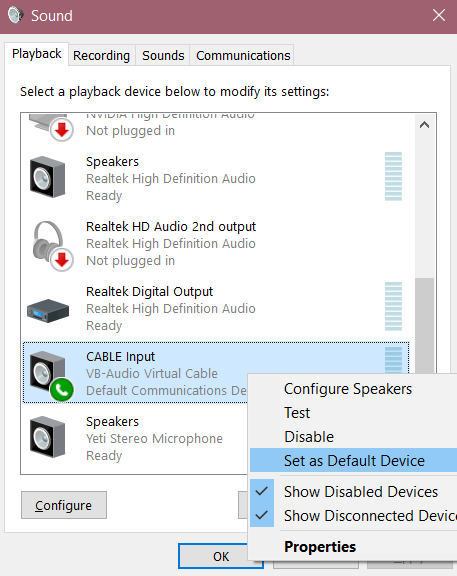
3. Make it your Windows default sound device in Sound Properties (right click on Sound in your taskbar > choose Playback Devices).
![]()
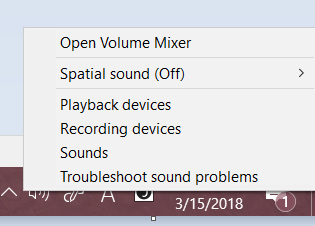

If you cannot find the option for Playback devices (also shown below this block of text), follow instructions listed here.
May 2018 Windows Update: Right-clicking the Sound icon in your taskbar, then click on Sounds.
2020 Windows Update: The above no longer works (will keep it there in case it?s relevant for some); it seems that Windows is phasing out some of the old menu options. The only way to bring up the Sound menu we need is to either:
* Go to your Sound settings (search ?sound settings? in your Start Menu search) and on the right-hand side of the window that pops up, click on ?Sound Control Panel?.
* Go to your Control Panel (use the address path ?Control PanelAll Control Panel Items?) and click on Sounds.
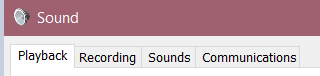
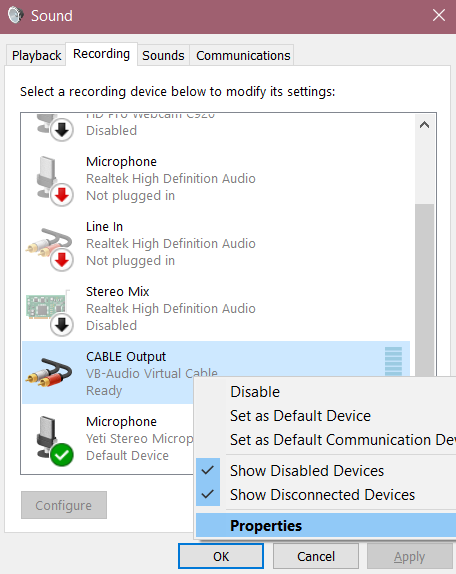
4. Go to the Recording tab of Sound Properties. (again, if you don?t see the menu above, follow the instructions quoted under Step 3)
5. Double click or right click and go to Properties of your VAC.
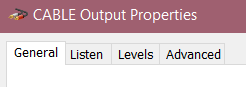
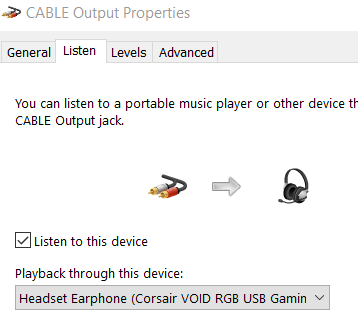
6. Go to the second tab called Listen.
7. Click the Listen to this device checkbox & select your headset/speakers from the dropdown list.
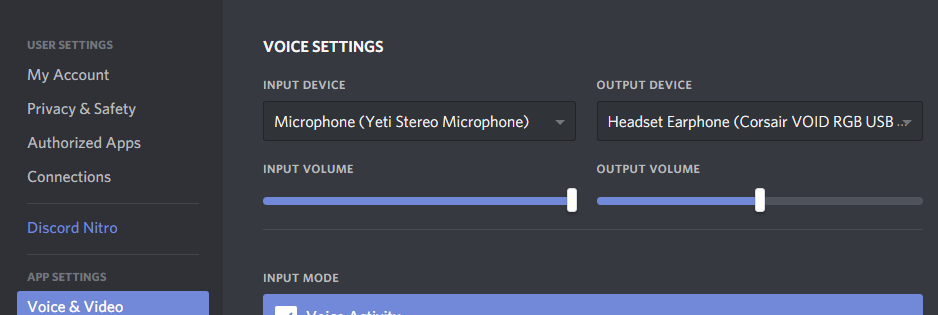
8. Go to your preferred voice program?s (Discord, TeamSpeak, Skype, etc) Audio Settings and set your default output sound device to your headset/speakers.
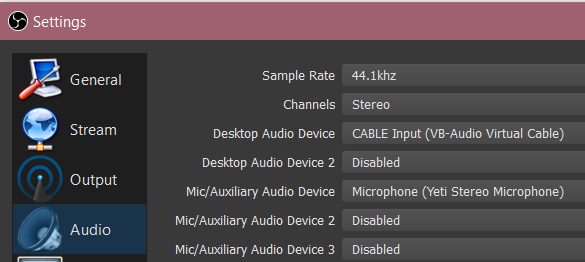
9. In OBS (or whichever streaming software you use), select your VAC as your Desktop Audio Source/Device.
10. Now your main sounds should all play through your VAC, be recording in OBS through your VAC, but you?ll be able to hear it all on your headset. And since Skype/Discord/TS is only set to play sound to your headset and not your VAC, it will not be picked up by OBS.
Now you?re all set!
? –
- With a new Windows update in 2020, additional information was added to Step 3 on how to access the menu needed.
- If you perform a Windows update for your PC, it may mess with the audio setup. Go through steps 3 and up quickly; any one of these might have gotten reset/overwritten.
- If you wish to revert this entire set-up, just uninstall the Voice Cable program from your computer, possibly restart your computer, and reset your Playback/Recording devices to the Defaults you used before (ex: my Playback would be my headset, my Recording will always be my Yeti mic).
Reference
**For voicemeeter, do hardware out configuration

: Split Audio for Twitch Streaming in 10 Easy Steps)
: Split Audio for Twitch Streaming in 10 Easy Steps)