Summary :
Dell SupportAssist a built-in software program that is pre-installed on Dell laptops and computers. However, some people report that they meet the ?Dell SupportAssist not working? issue when they use the tool. If you are one of them, read this post from MiniTool to find the methods to fix it.
Dell SupportAssist checks the health of software and hardware of your Dell PC. If it finds any problems with your Dell computer, it will send a report to Dell. Thus, it?s a disaster when the ?SupportAssist not working? appears. However, don?t worry since you can follow the methods below to fix it.
Method 1: Rename Dell File
If you find that SupportAssistant has stopped working, you can try to rename Dell file to fix it. Here is how to do that:
Step 1: Copy and paste the path in your Dell laptop Windows Explorer: c:Programfo;esdellsupportassistagentbingresources.
Step 3: Input New-Dell-Logo-White and save the name.
Then, try to run Dell SupportAssist again and check to see if the ?Dell SupportAssist not working? issue has been fixed. If not, try the following methods.
Method 2: Update to the Latest Windows System
Then, you can try to update your Windows to the latest version. Windows updates can help you fix a lot of system issues and bugs. When you encounter the Dell SupportAssistant not working error, you can try installing the latest Windows updates. Here is how to do that:
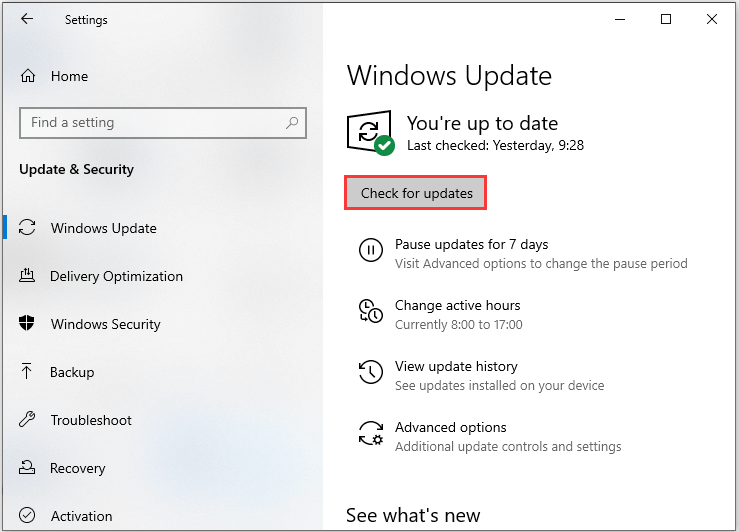
After installing the latest Windows updates, restart your computer and check if the ?Dell SupportAssist not working? error gets fixed.
Troubled by the issue Windows Updates cannot currently check for updates? This post shows 4 solutions to fix Windows update failed problem.
Method 3: Reinstall Dell SupportAssist
You can try uninstalling Support Assist and then reinstall it to fix the ?SupportAssist not working? issue. To do this, follow the steps below:
Step 2: Now, find Dell SupportAssist and uninstall it.
Step 3: Once the uninstall is completed, restart the system and then reinstall the latest version of Dell SupportAssist from the Internet.
Then, check to see if the ?Dell SupportAssist not working? error has been fixed.
Method 4: Check for Virus or Malware
You can also use Windows Defender to check for malware and virus. Follow the steps below to perform a full scan.
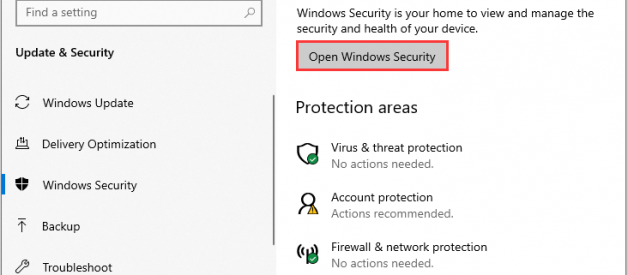
Step 1: Press the Windows + I keys at the same time to open Settings.
Step 2: Go to Update & Security > Windows Security > Open Windows Security.
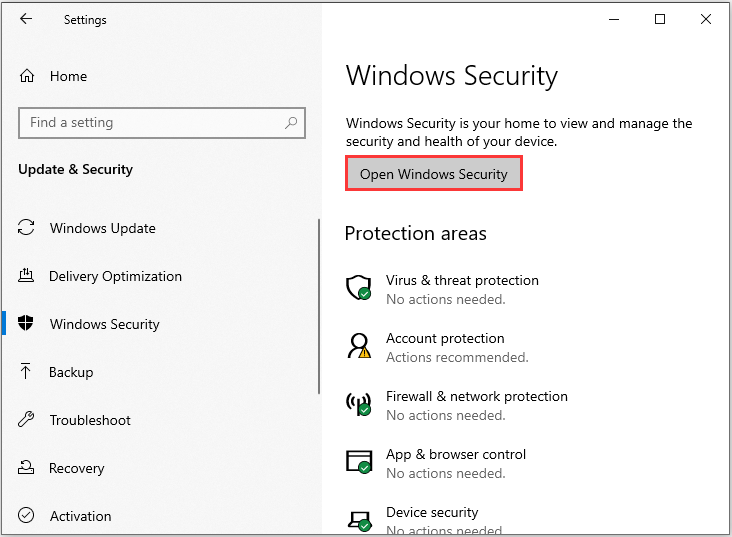
Step 3: In the new window, click Run a new advanced scan.
Also see: Free Ways to Schedule a Scan in Windows Defender Antivirus
Final Words
To sum up, this post introduced 4 feasible methods to fix the ?Dell SupportAssist not working? issue. If you encounter the same issue, you can refer to this post. Besides, if you have better methods to fix the error, you can share it in the comment zone.
Originally published at https://www.minitool.com on April 3, 2020.
