 Photo by Scheier .hr on Unsplash
Setup your own free private streaming service with Plex and Raspberry Pi. Takes less than 15 minutes! Let?s go.
I?m using a raspberry pi 4, with built in wifi. Before this, I?ve set the raspberry pi up as a headless set up. If you?re interested installing raspberry the same way, check out my earlier article here.
The 5 Minute Raspberry Pi Setup Guide without External Display, Keyboard or Mouse
Setup your raspberry directly from your Windows, macOS or Linux machine without the need for any extra I/O devices.
medium.com
Next, to get my video collection up onto raspberry pi, I also setup my raspberry pi to work as NAS. So if you?re interested, take a look at my earlier article on how I converted a 4TB external USB drive into a NAS.
Convert your 4TB USB HDD into a NAS in 5 minutes with Raspberry
With a built-in WIFI module, true Gigabit Ethernet ports and multiple USB3 ports, the raspberry was turning to be a?
medium.com
Let?s Start!
First, update and and upgrade. We want to get the latest version of our repositories and make any package upgrade where necessary.
$ sudo apt-get update$ sudo apt-get upgrade
Get apt-transport-https . This package allows us to install packages over the https protocol.
$ sudo apt-get install apt-transport-https
Next, we need to get a Plex GPG key.
$ sudo curl https://downloads.plex.tv/plex-keys/PlexSign.key | sudo apt-key add –
Finally, with this Plex GPG key we are able to add the repository to our package list.
$ sudo echo deb https://downloads.plex.tv/repo/deb public main | sudo tee /etc/apt/sources.list.d/plexmediaserver.list
Install Plex
Now, here installing plex is going to be really quick. We?re going to update our package list and install from the newly added repository.
$ sudo apt-get update$ sudo apt-get install plexmediaserver
Once plex has completed installing, let?s setup a static IP address before we reboot the device.
To do that, let?s open up /etc/dhcpcd.conf and add the following section if it isn?t already present.
First if you?re using wifi, then the interface should be wlan0 if your?e using ethernet, it probably is eth0.
Next, set the static ip_address to something you like. Check what subnet mask your network is set up to. Usually most home routers would have this at 24.
I commented out the static ip6_address with a # since I?m not using ipv6 in my network. But if your are, feel free to add it here.
Finally, static routers andstatic domain_name_servers . Usually in most home networks, the router serve as the DNS as well. So they could be the same. You can add more dns by leaving a space in between.
interface wlan0static ip_address=x.x.x.x/24#static ip6_address=fd51:42f8:caae:d92e::ff/64static routers=x.x.x.xstatic domain_name_servers=x.x.x.x 8.8.8.8
Once, you?re done, save and reboot the raspberry.
Connecting to Plex
Before we connect to the web ui of Plex Media Server, just note that you should probably have a created yourself a Plex account. This account will hold your media server settings and other configuration information and you can also have multiple Plex Media Servers.
So, depending on how you consume your content from the Plex Media Server, we will leave that up to you to explore, we will now connect to the Plex Media Server and do the setup so that you can start to view movies from your raspberry.
By default the Plex Media Server web ui url is http://x.x.x.x:32400/web/ remember to change x.x.x.x to what you set in your static ip address earlier.
Once you?ve connected you are required to sign in to Plex, go ahead, this will also tell the Plex account that you have configured a new server, and let them know what type of content and configuration you have on this server.
Adding Media
Because I decided to use an external device, just remember to give the folder permissions.
Here are 2 things that I have to add after setting up the NAS.
First, I had to add the user plex to the group smbgrp or whatever group name you have that have access to your media directory.
$ sudo usermod -a -G smbgrp plex
Next, remember to check that you have added this to your /etc/samba/smb.conf see my earlier article on how to setup NAS with samba on raspberry pi.
[stuffs] path = /mnt/stuffs valid users = @smbgrp browsable = yes writable = yes read only = no inherit permissions = yes
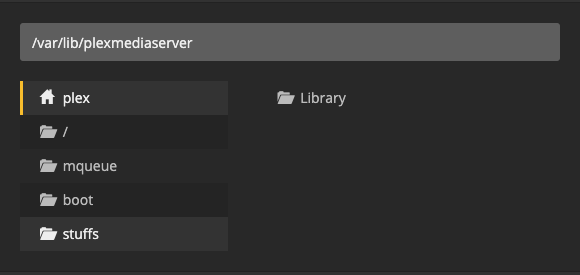
Finally, look at the left of your web ui, you should see the raspberry pi. Click on that plus icon to add a new Library.
![]()
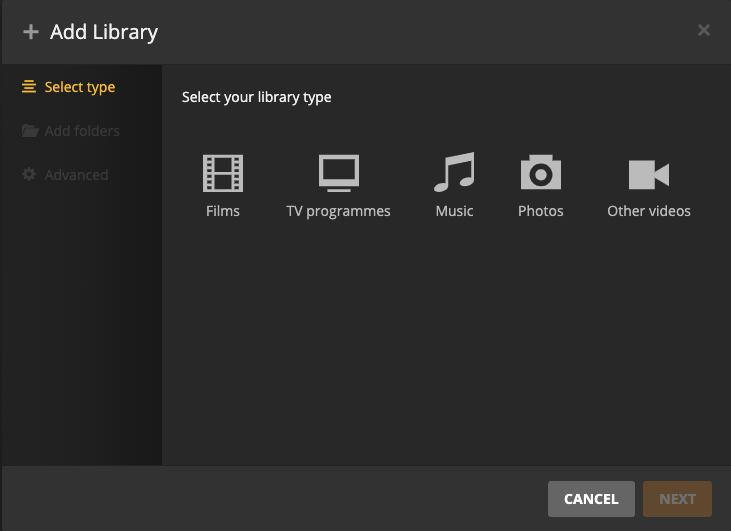
Here you can select what type of media your library is. This will help get IMDB information later.
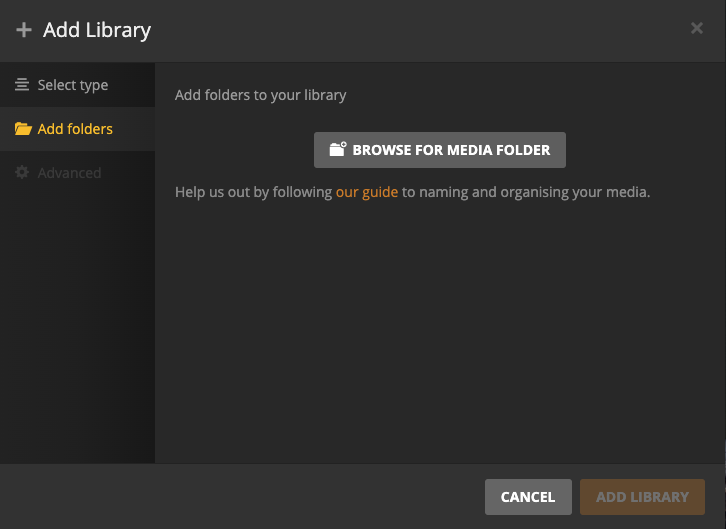
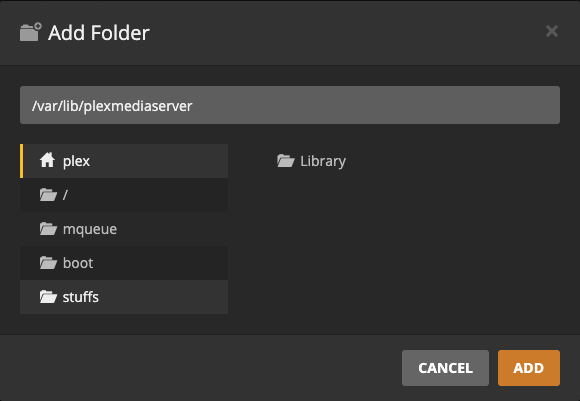
Next, select the folder you would like to add. Remember to name your folder as recommended by Plex. There are many acceptable ways to name your folders so that Plex understands and pick up information for you later.
Finally, turn on your TV box / Android app and connect to the server. You should be able to see your content showing up.
References
- https://pimylifeup.com/raspberry-pi-plex-server/
- https://pimylifeup.com/raspberry-pi-nas/

