How to access Windows disks from Mac
Do you have an old Windows external HDD or do you share your data with Windows computers and your macOS is unable to write NTFS file system? You can change it in several ways.
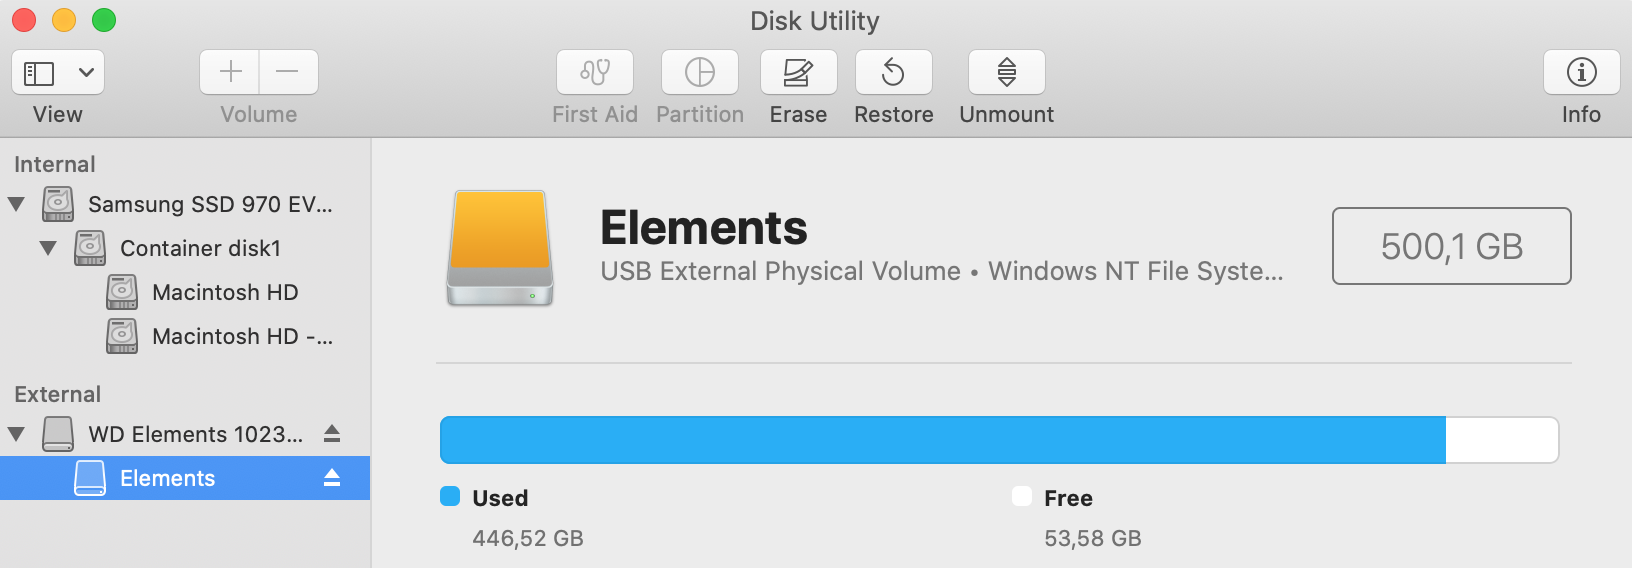
 NTFS drive in Disk Utility
Why can?t macOS just write NTFS?
NTFS is a proprietary file system standard from Microsoft used in Windows since the early 90s. It was first used in Windows NT 3.1 and is present since.
Microsoft is not providing a full specification of NTFS as open source standards and it is quite possible that Apple would need to pay pricey licenses in order to fully use it in their systems. And why would they support the protocol of their main competitor?
How can macOS write NTFS?
There are several ways to do so. You can use paid software like Paragon NTFS for Mac or Microsoft NTFS for Mac by Tuxera. Or you can use open source software to save some money. But open source solution requires some messing in terminal. Let?s have a look at this option.
Enabling NTFS write in macOS
First, you will need to download and install the latest version of FUSE for macOS.
After that make sure you have Command Line Tools for Xcode installed.
Install Homebrew package manager if you don?t have it and install package ntfs-3g.
brew install ntfs-3g
Since OS X 10.11 El Capitan you need to disable System Integrity Protection for a while. Restart or shut down your Mac and while starting, press Command + R key combination. This will get you to Recovery mode.
In Recovery mode, open Terminal application from Utilities in the top menu. Disable System Integrity Protection with command:
csrutil disable
Restart your Mac and go to your normal macOS.
Since macOS 10.15 Catalina, you have to do one extra step. Apple is trying to protect you more by making some crucial parts of the file system read-only and we have to make it writable again. Until next restart. Enter this command into your Terminal:
sudo mount -uw /
After that, we can just back up the old NTFS handler and replace it with the new one.
sudo mv /sbin/mount_ntfs /sbin/mount_ntfs.originalsudo ln -s /usr/local/sbin/mount_ntfs /sbin/mount_ntfs
After that, you have to go to Recovery mode again and enable System Integrity Protection again. You will also have your read-only parts of system protected again.
csrutil enable
That?s it. Enjoy writing to NTFS.
Unfortunately, you have to repeat this procedure every time you update to a new major release of macOS. So you?re good until next October.
Are there alternatives to NTFS?
Yes, if you want to share external HDD between Mac and PC, you can format your HDD to exFAT file system. You will lose all the data on disk during format but otherwise, it?s usable.
If you want to stick with the Apple ecosystem, you are free to use Apple APFS or HFS+.
If you want to be compatible with everybody and everything, use old FAT32. But you will be able to place there files of maximum size ~4GB.


