 Photo by Kvistholt Photography on Unsplash
Like many people in IT, I?ve been building labs at home to be able to test things I plan on doing at work and learn new technologies in my free time. Twenty years ago, that meant having shelves full of physical hardware and all of the monitors, power cords and network cables to connect them. This all changed in 1999 with the release of VMware Workstation. Virtualization changed the way that home labs are built, and my lab takes full advantage of this.
I often get questions in my study groups as to what my lab is made of, how I chose it, and how I built it. Rather than continuing to answer these questions one at a time, I thought I?d put together an article sharing my recommendations, the reasons behind them, and the experiences I?ve had with various lab builds. While my labs have always been built with a system administrator?s needs in mind, NFV (network function virtualization) and containers have brought network and security functions to virtual labs too. While this lab may not work for everyone, I feel that the lessons that I have learned over the years can.
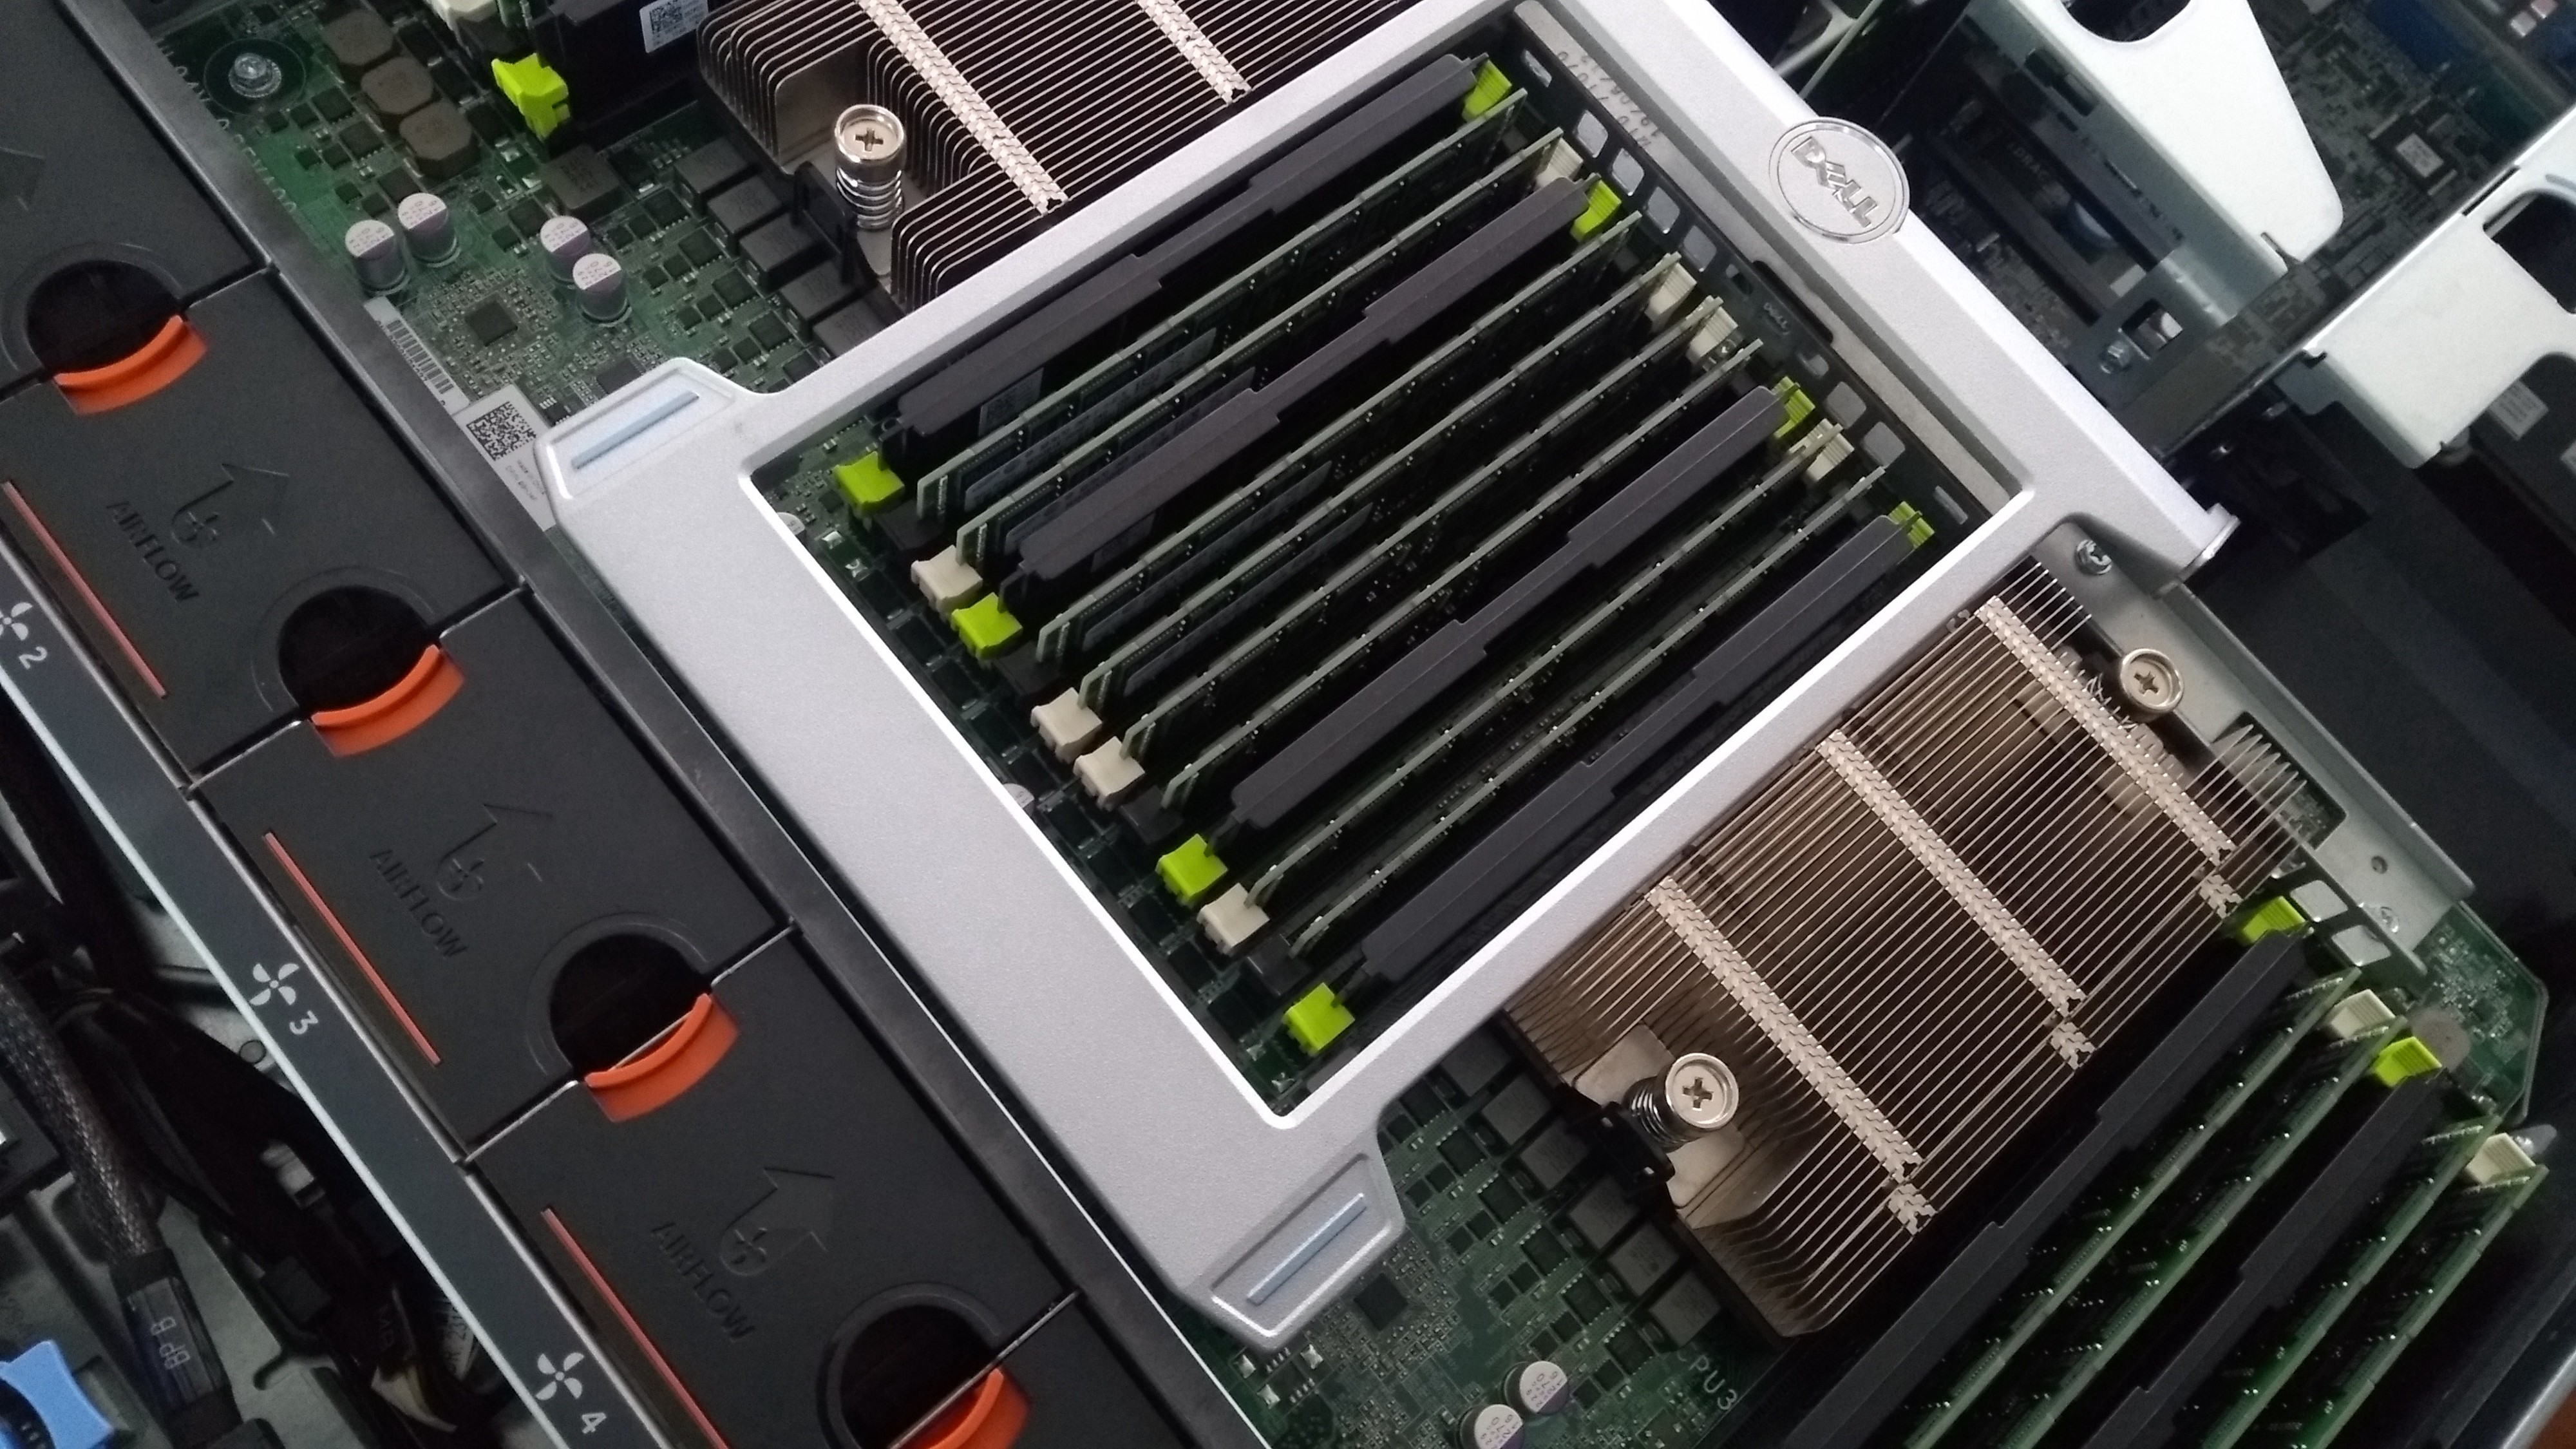 Photo by Stef Westheim on Unsplash
Server
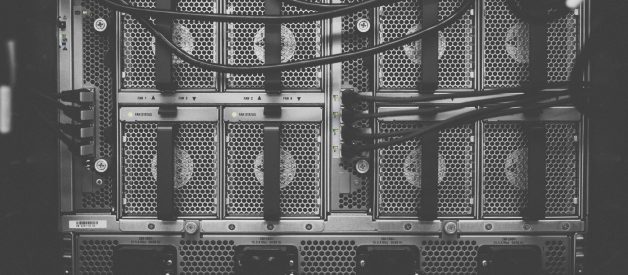
Many people go with used rackmount servers for their labs. Personally though, I like using workstations for home lab builds. I find that not everyone has space for a rack, but they can easily setup an old workstation under their desk. Workstations also tend to be quieter than the equivalent server system.
There are some sacrifices that must be accepted when going with a workstation instead of a server. These are primarily hot swap drives, redundant power, and remote management. While these features are all nice to have, I don?t feel that they justify the form factor and noise of a rack server. There are tower servers, too, but they tend to be less plentiful and generally more costly than their rack counterparts.
I?m sure some of you are asking why I don?t recommend the Intel NUC or the Supermicro equivalents? While these are great little boxes, I find the lack of expansion slots and memory to be limiting. With something like a Dell Precision T7600, you have 16 DIMM slots, 3 PCIe x16 slots and 5 PCIe x4 slots. This allows for plenty of room for memory, NVMe drives and faster NICs.
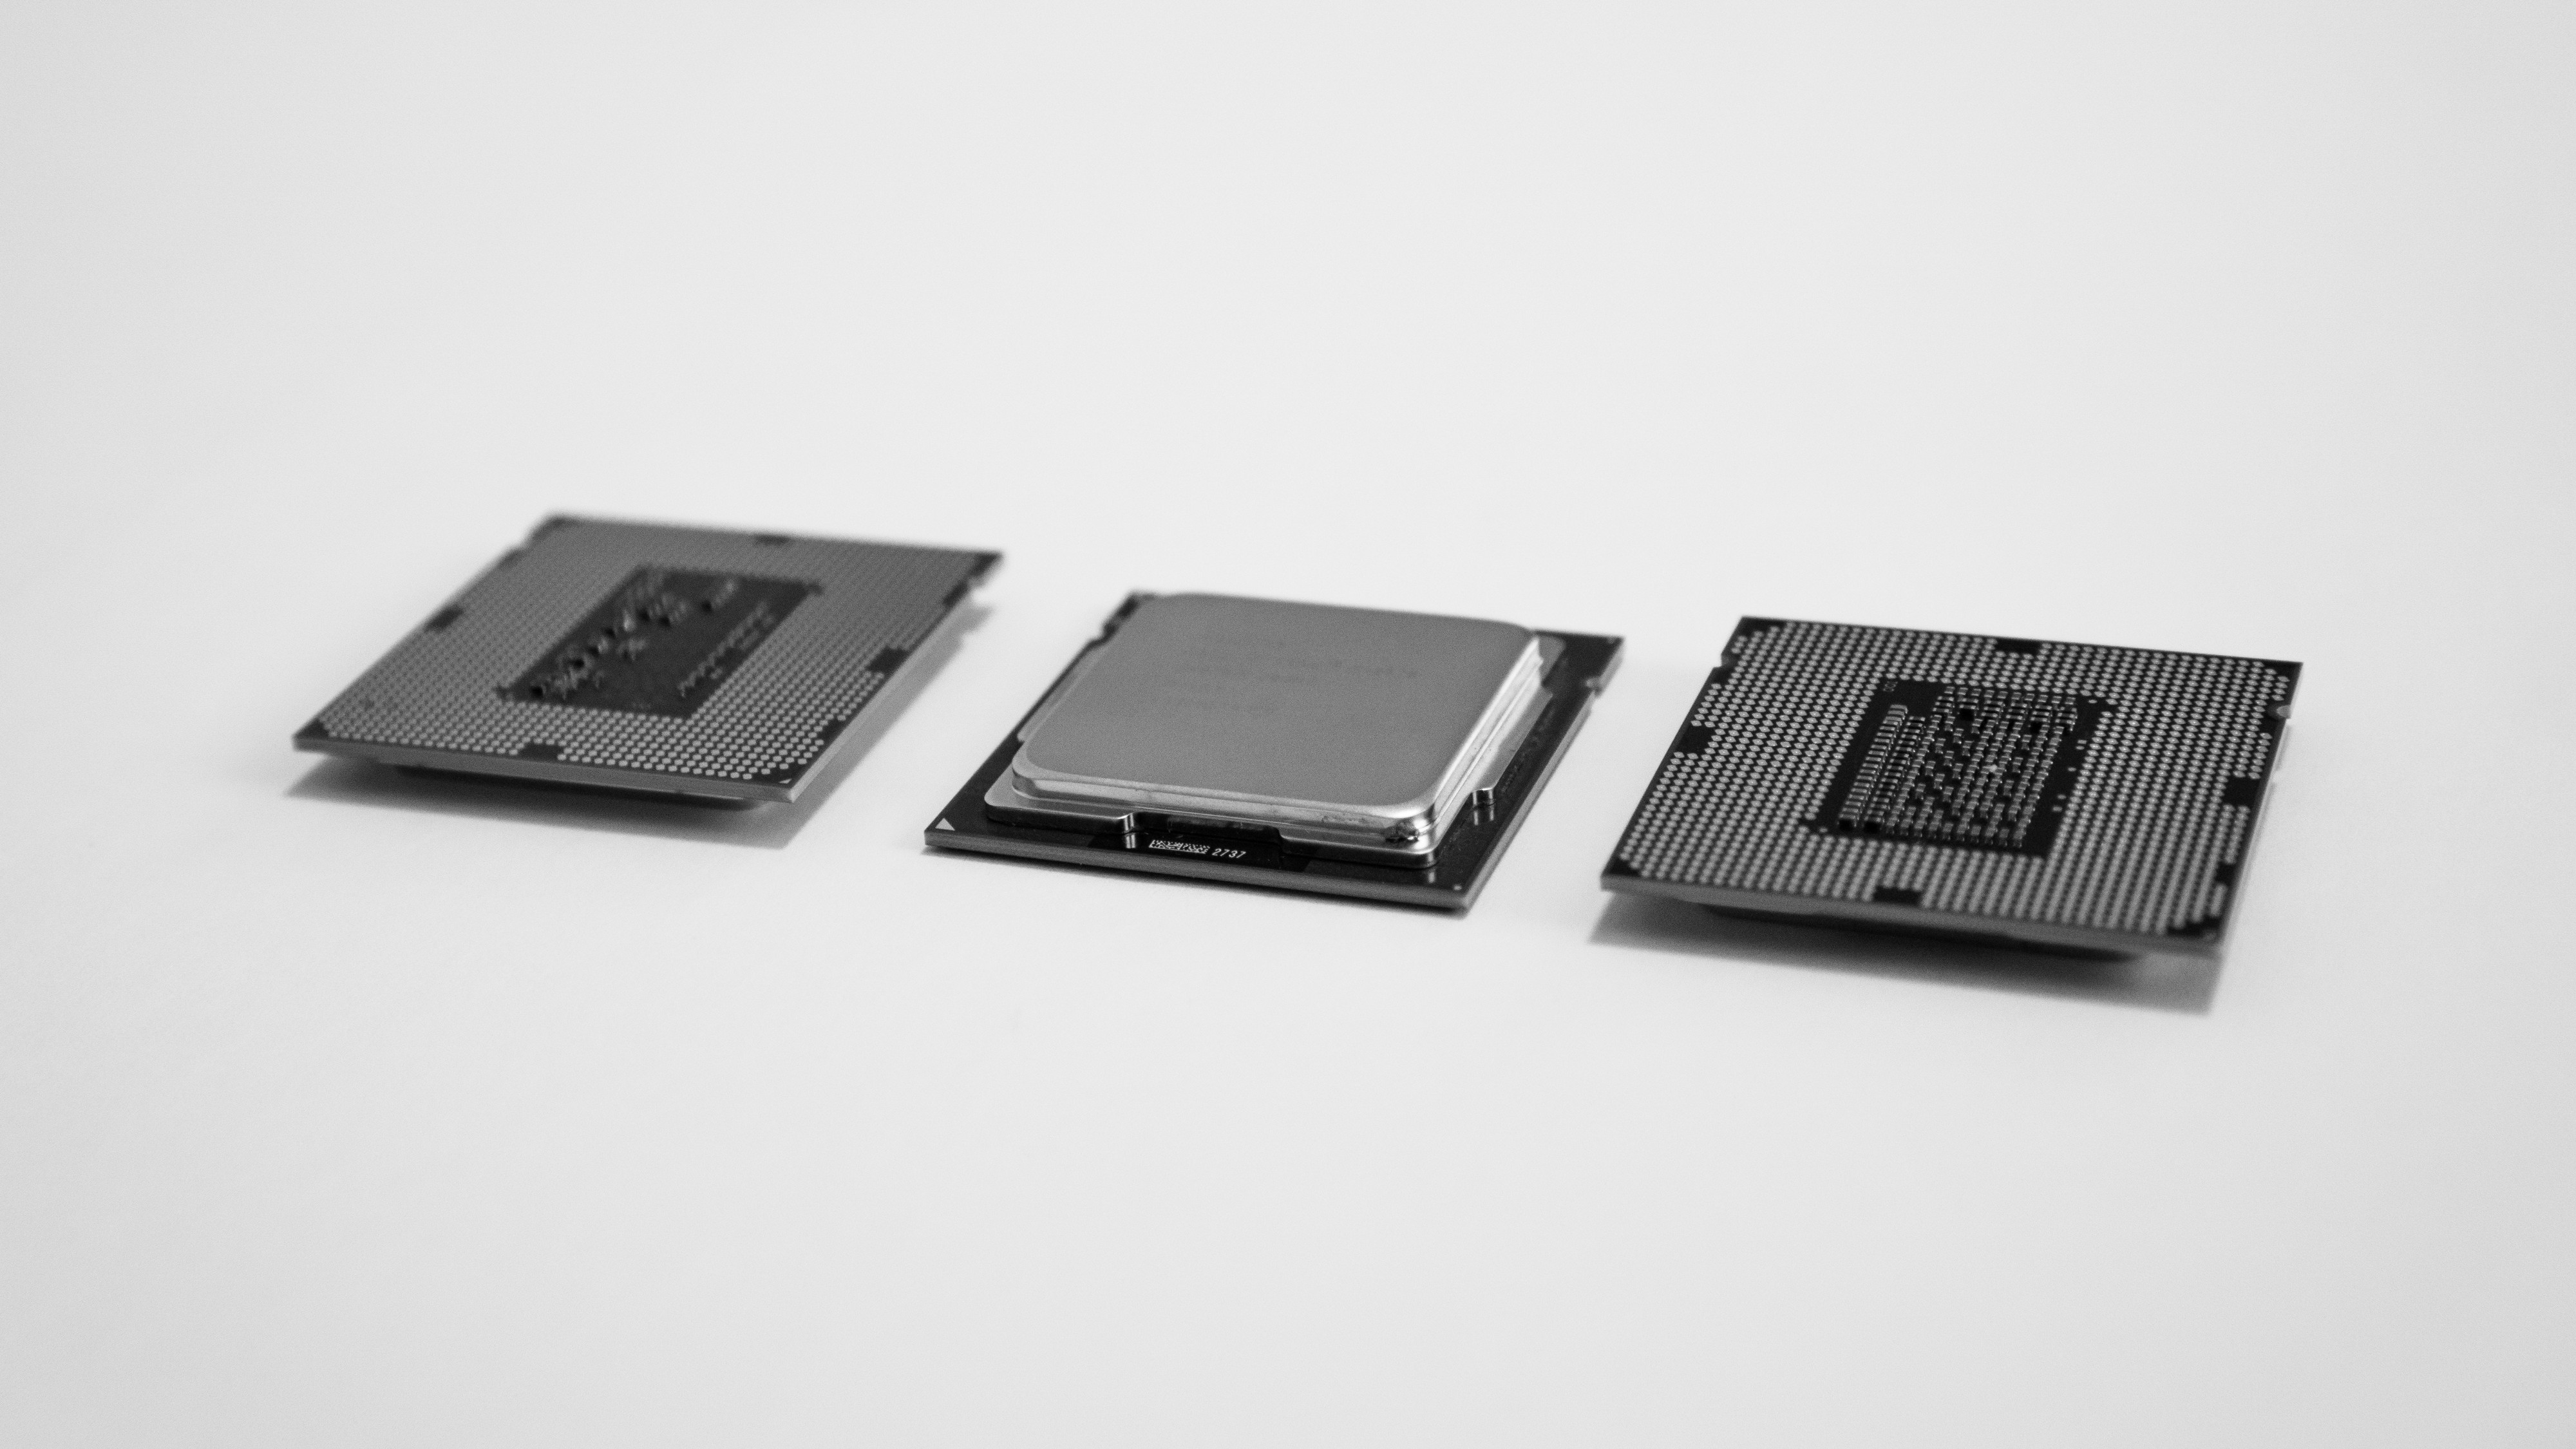 Photo by Niklas Tinner on Unsplash
Processors
The choice of processor is also something that needs to be considered when choosing a host for your home lab. Since we have decided against a rackmount server, we will look at the Precision T7500. This is the workstation equivalent of the popular Poweredge R710 server. This workstation supports the Intel 5500 series Xeons. These processors cause an issue right off, as they are not officially supported by vSphere 6.7. Not everyone will be installing vSphere, but it is worth keeping it in mind.
A larger issue with the Xeon 5500 series processors is the power dissipation. While there are a lot of processors in this family, I?ve chosen to look at the officially supported processors list for the chosen Precision T7500. This workstation originally shipped with a choice of ten processors, ranging from 2?4 cores each. These processors dissipate between 80?130w, with an average of 24.375w per core. If we move one generation newer to the Precision T7600, we have the Intel E5 Xeons. This workstation had ten processor options ranging from 4?8 cores with a power dissipation range of 80?150 watts. While the top power is higher, pay attention to the difference in core counts. The increased cores actually means a lower average power usage of 18.708 watts per core. This savings can add up. The next generation Precision T7610 workstation brought this average down to 16.098 watts with the new Intel E5 Xeon v2s. Lower power dissipation means lower electric bills and the ability to use quieter fans.
With current pricing, I feel that the Intel Xeon E5 Sandy Bridge processors with eight cores are the sweet spot for a home lab. These processors can run almost all modern software, are officially supported for vSphere, and systems running these processors tend to be reasonably priced. These processors also run noticeably cooler per core, and the newer processors have better performance per core than their predecessors. You will want to be sure that the software you want to run is supported, as I know Cisco Container Platform will not run on Sandy Bridge. You also want to check for minimum clock speed requirements, as Cisco ISE will not run on processors slower than 2.0GHz.
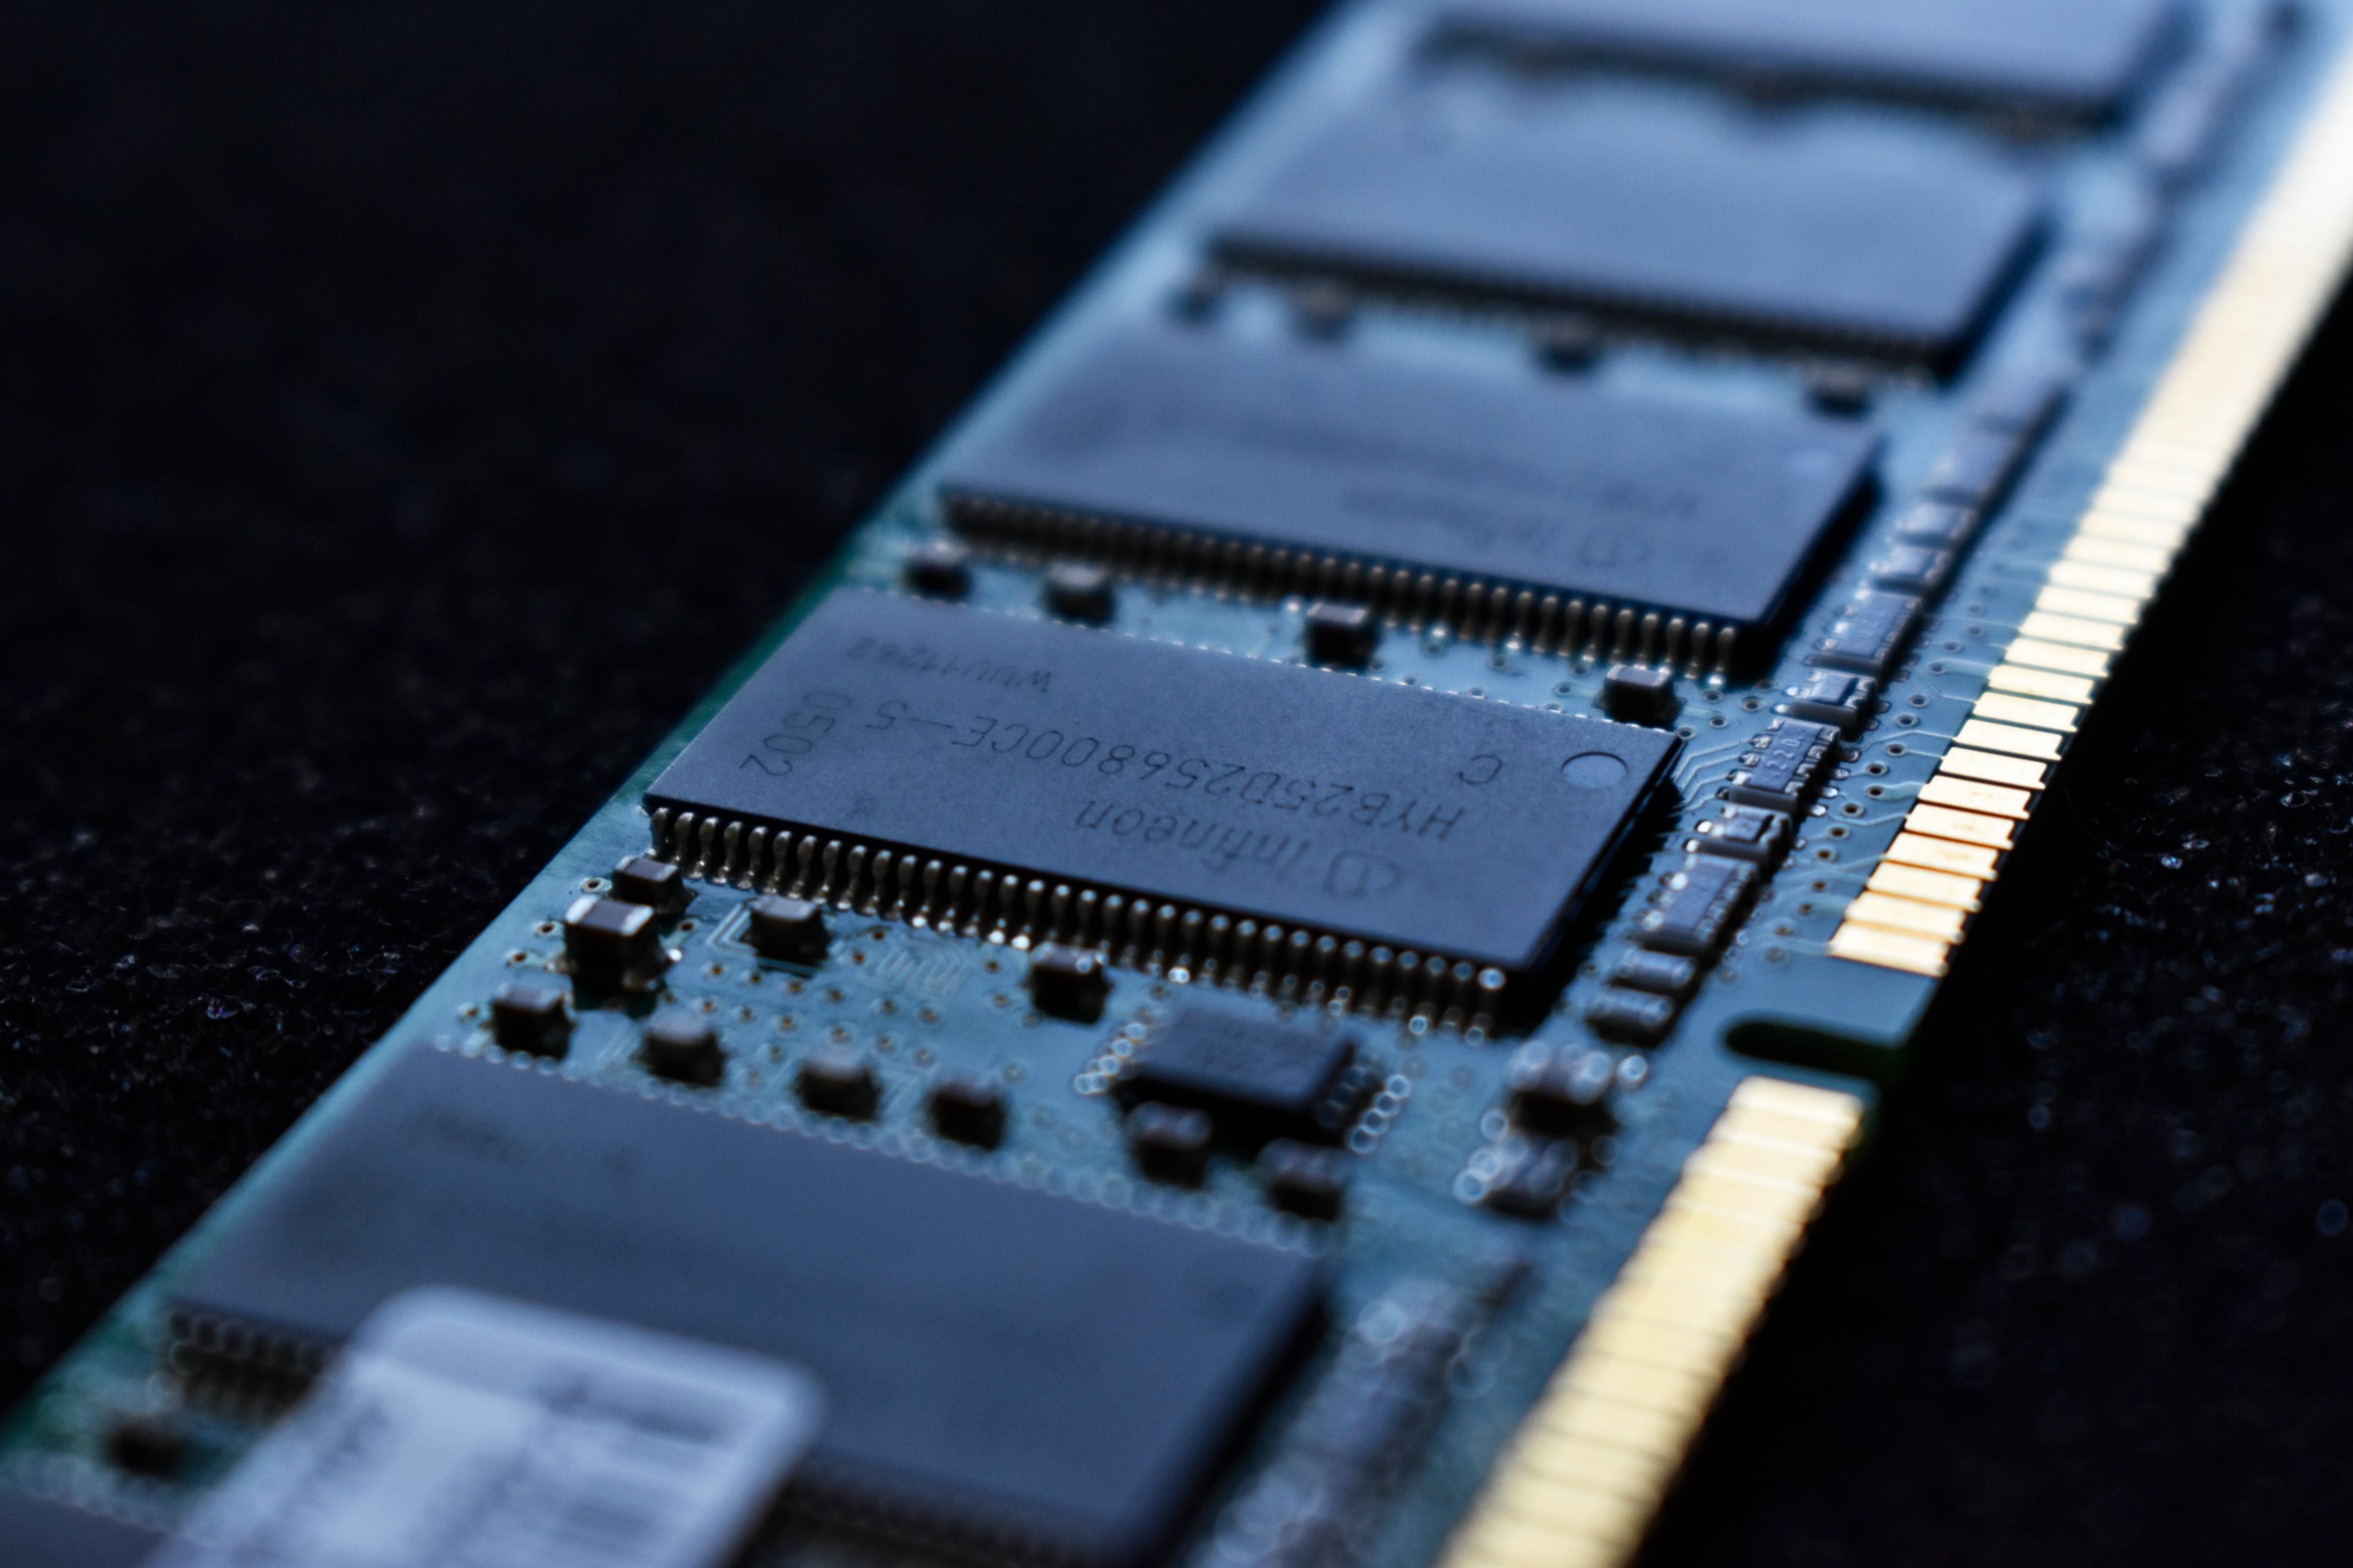 Photo by Liam Briese on Unsplash
RAM
RAM obviously can not be chosen on its own, as it has to be compatible with whatever host and processors you?ve already chosen. That being said, I find that DDR3 RAM tends to be the sweet spot in price right now. Used, tested DDR3 DIMMs are readily available and will not break the bank. They are also compatible with the Precision T7600 and Intel E5 Xeons we?ve previously looked at.
The quantity of RAM you will need depends on what you will be running on the system. For most people, I would recommend a minimum of 32GB of RAM to start. This will allow for the underlying hypervisor of your choice, as well as giving some room to work with virtual machines in various combinations and configurations. Of course, if you need to run larger environments, you will need more RAM. My current lab is running well on 264GB of RAM across two hosts, but will probably need to be increased next year as I begin studying for my CCIE security. This will require the addition of several new virtual machines, some of which are quite large, as well as additional test workstations to run within the environment.
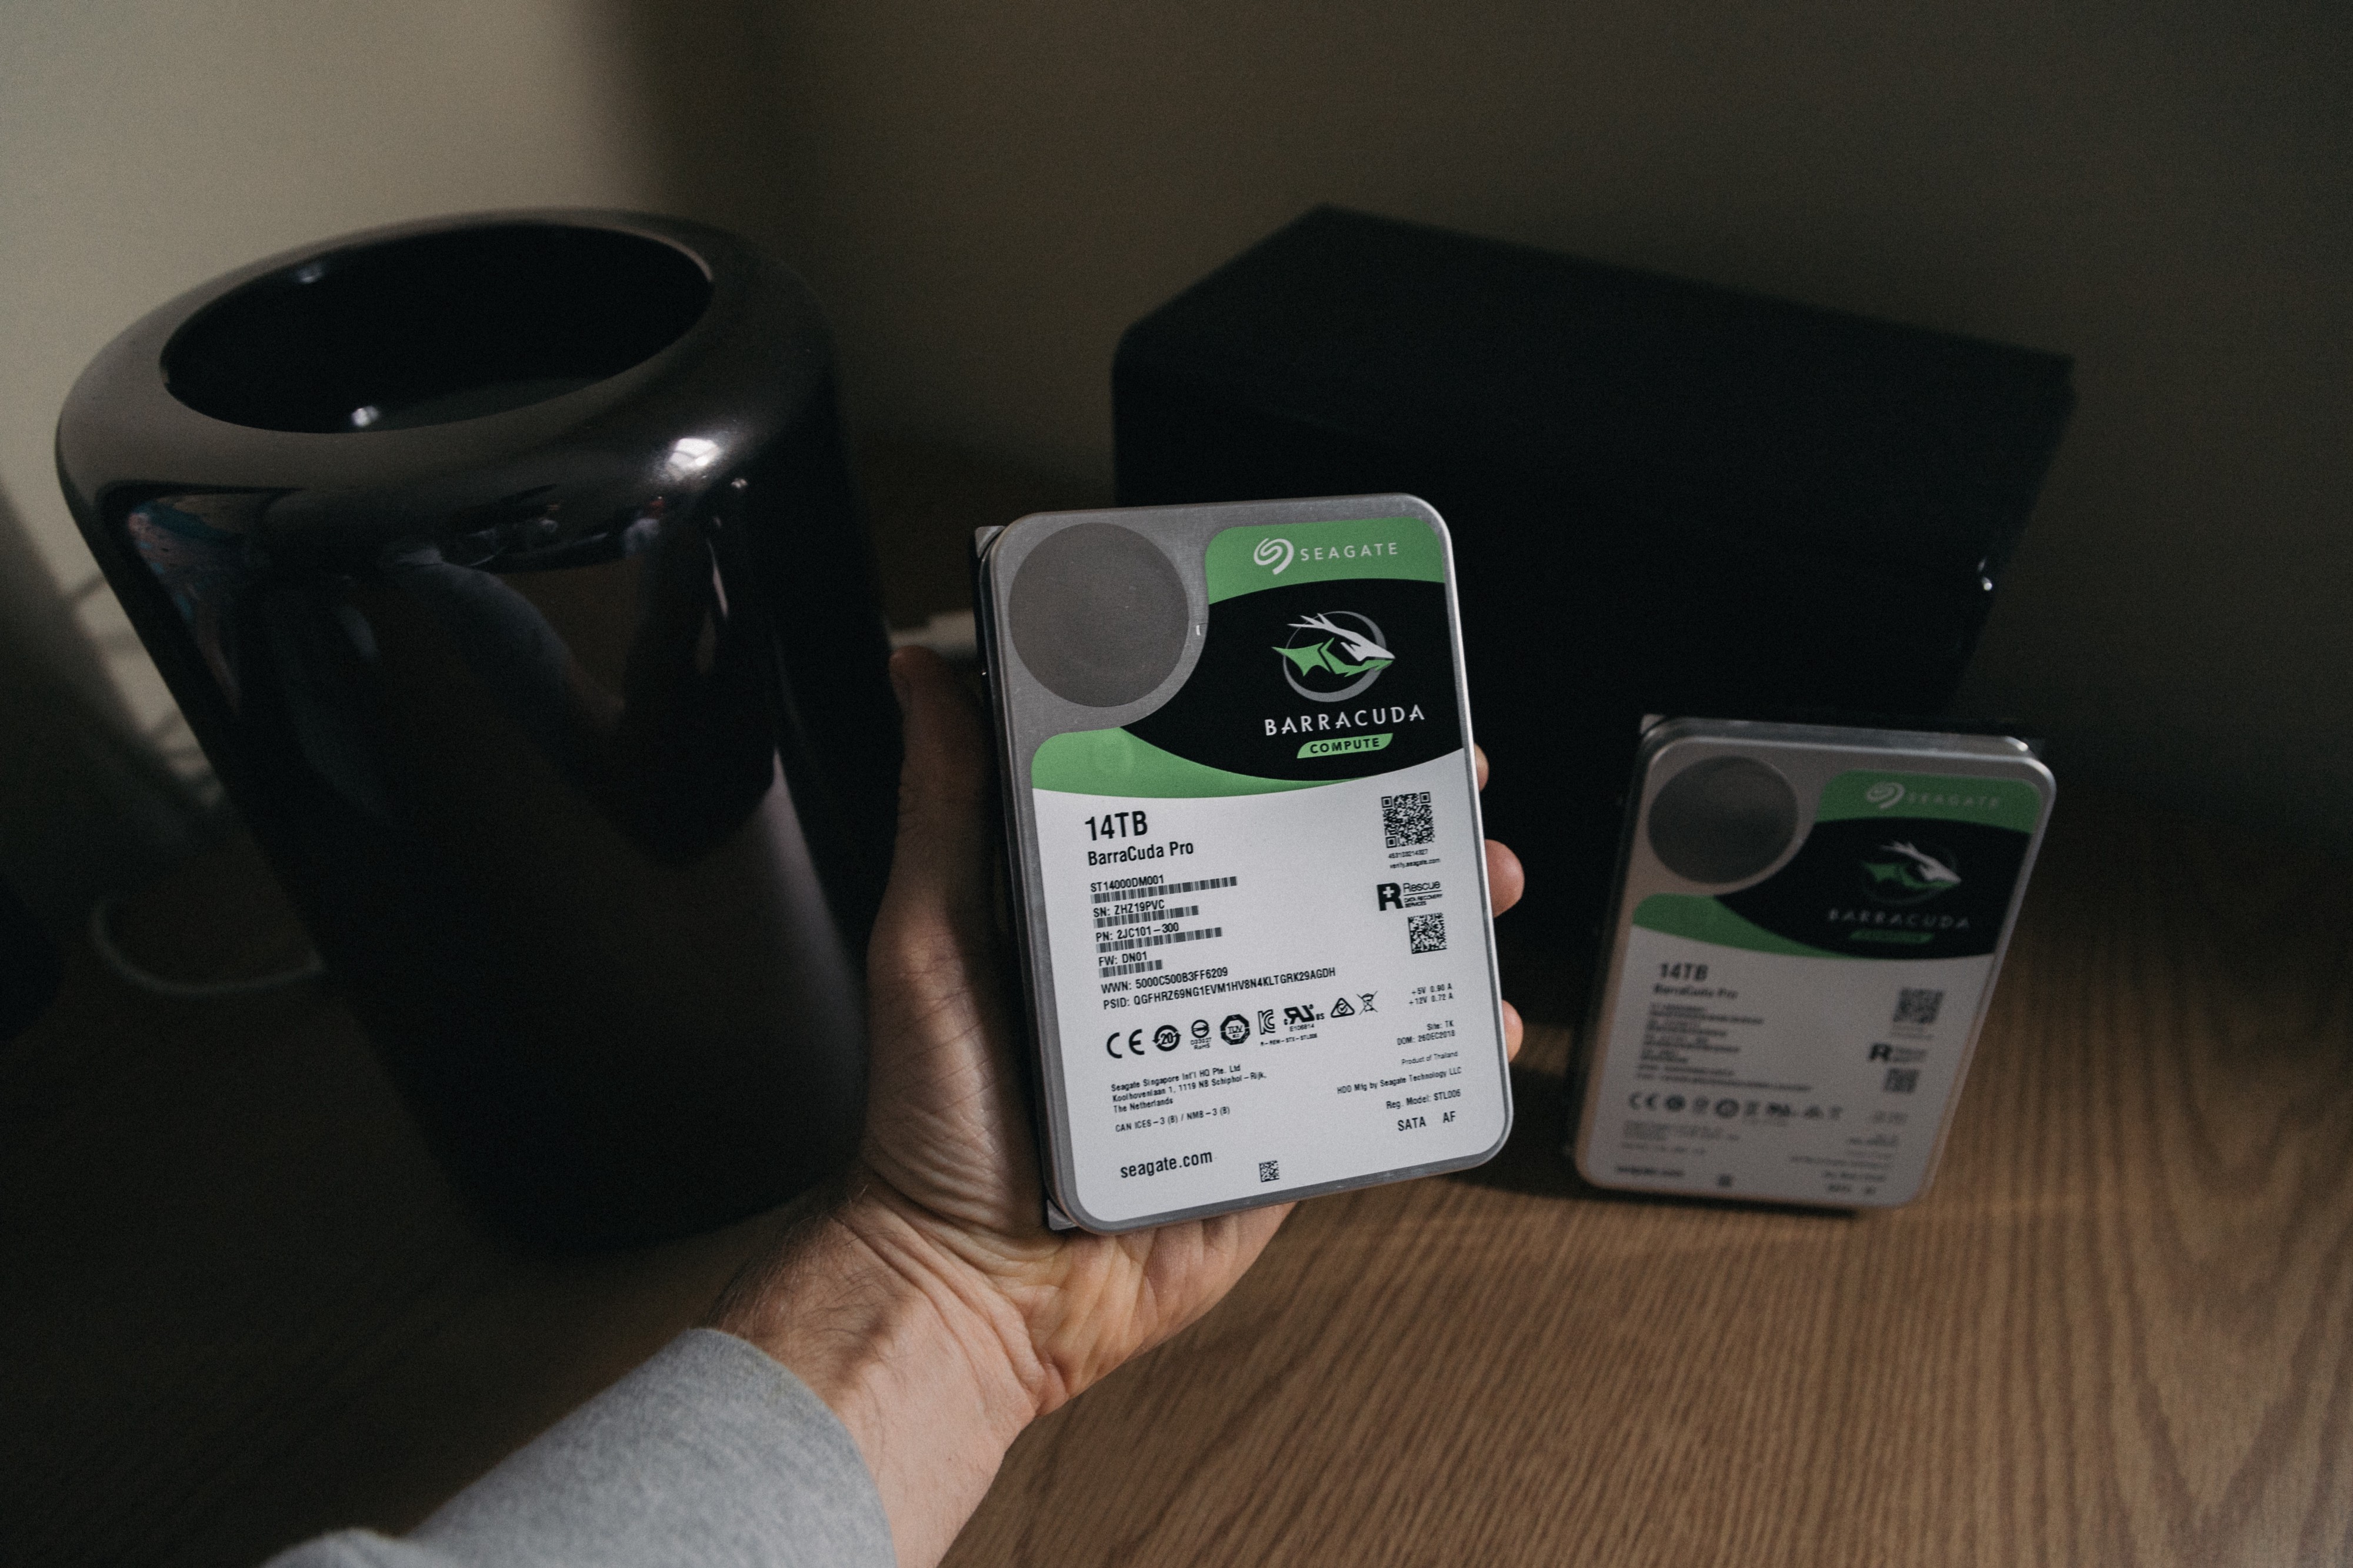 Photo by Jakob Owens on Unsplash
Storage
Storage is one of the things that has a lot of answers, with no one answer being right. When I began building virtual labs at home, I went with local storage in the host. This is the simplest way to run a lab, as it does not require anything other than possibly a RAID controller. The problems that storage in a local server is not accessible to other servers if your lab begins to grow. It also cannot be used for anything but storing virtual machines, which can be limiting.
With the growth in availability of inexpensive home NAS (network attached storage) devices, I?ve come to consider these a critical part of any home lab. In addition to providing storage that can be accessed by more than one server at a time, a NAS can provide many other capabilities to your home. For less than $150, one can obtain a SAN that can offer iSCSI storage to servers as well as file shares to Windows/Macintosh/Linux desktops. In addition, most NAS devices offer additional capabilities beyond just storage. The cheaper of my two NAS devices runs Plex to serve media on my network, hosts a Git server to allow for version control of my projects, and runs Docker so I can test out containers as I build them. Many NAS devices go beyond this too, with cloud-sync, DVR services, surveillance camera software and beyond.
Hower, I don?t think that a home lab needs to go overkill on storage. A simple gigabit NAS device with a couple of hard drives in RAID 1 will satisfy most needs. Terramaster offers inexpensive SANs that I have found to be reliable. While this isn?t the flashiest NAS, and doesn?t have all of the applications available to something like a QNAP or Synology, it works well enough for most small home labs. Once your lab grows beyond the services of a gigabit system, I recommend something like the QNAP TS-332X. In addition to adding 10gb networking, the QNAP has both 3.5/2.5″ drive slots as well as m2 slots for SSD drives. This allows you to build an auto-tiering disk group, where frequently used data is stored on faster SSD storage and less frequently accessed data can be stored on slower spinning disks. While all-flash configuration would be faster, this ability to mix drive types helps your budget go further.
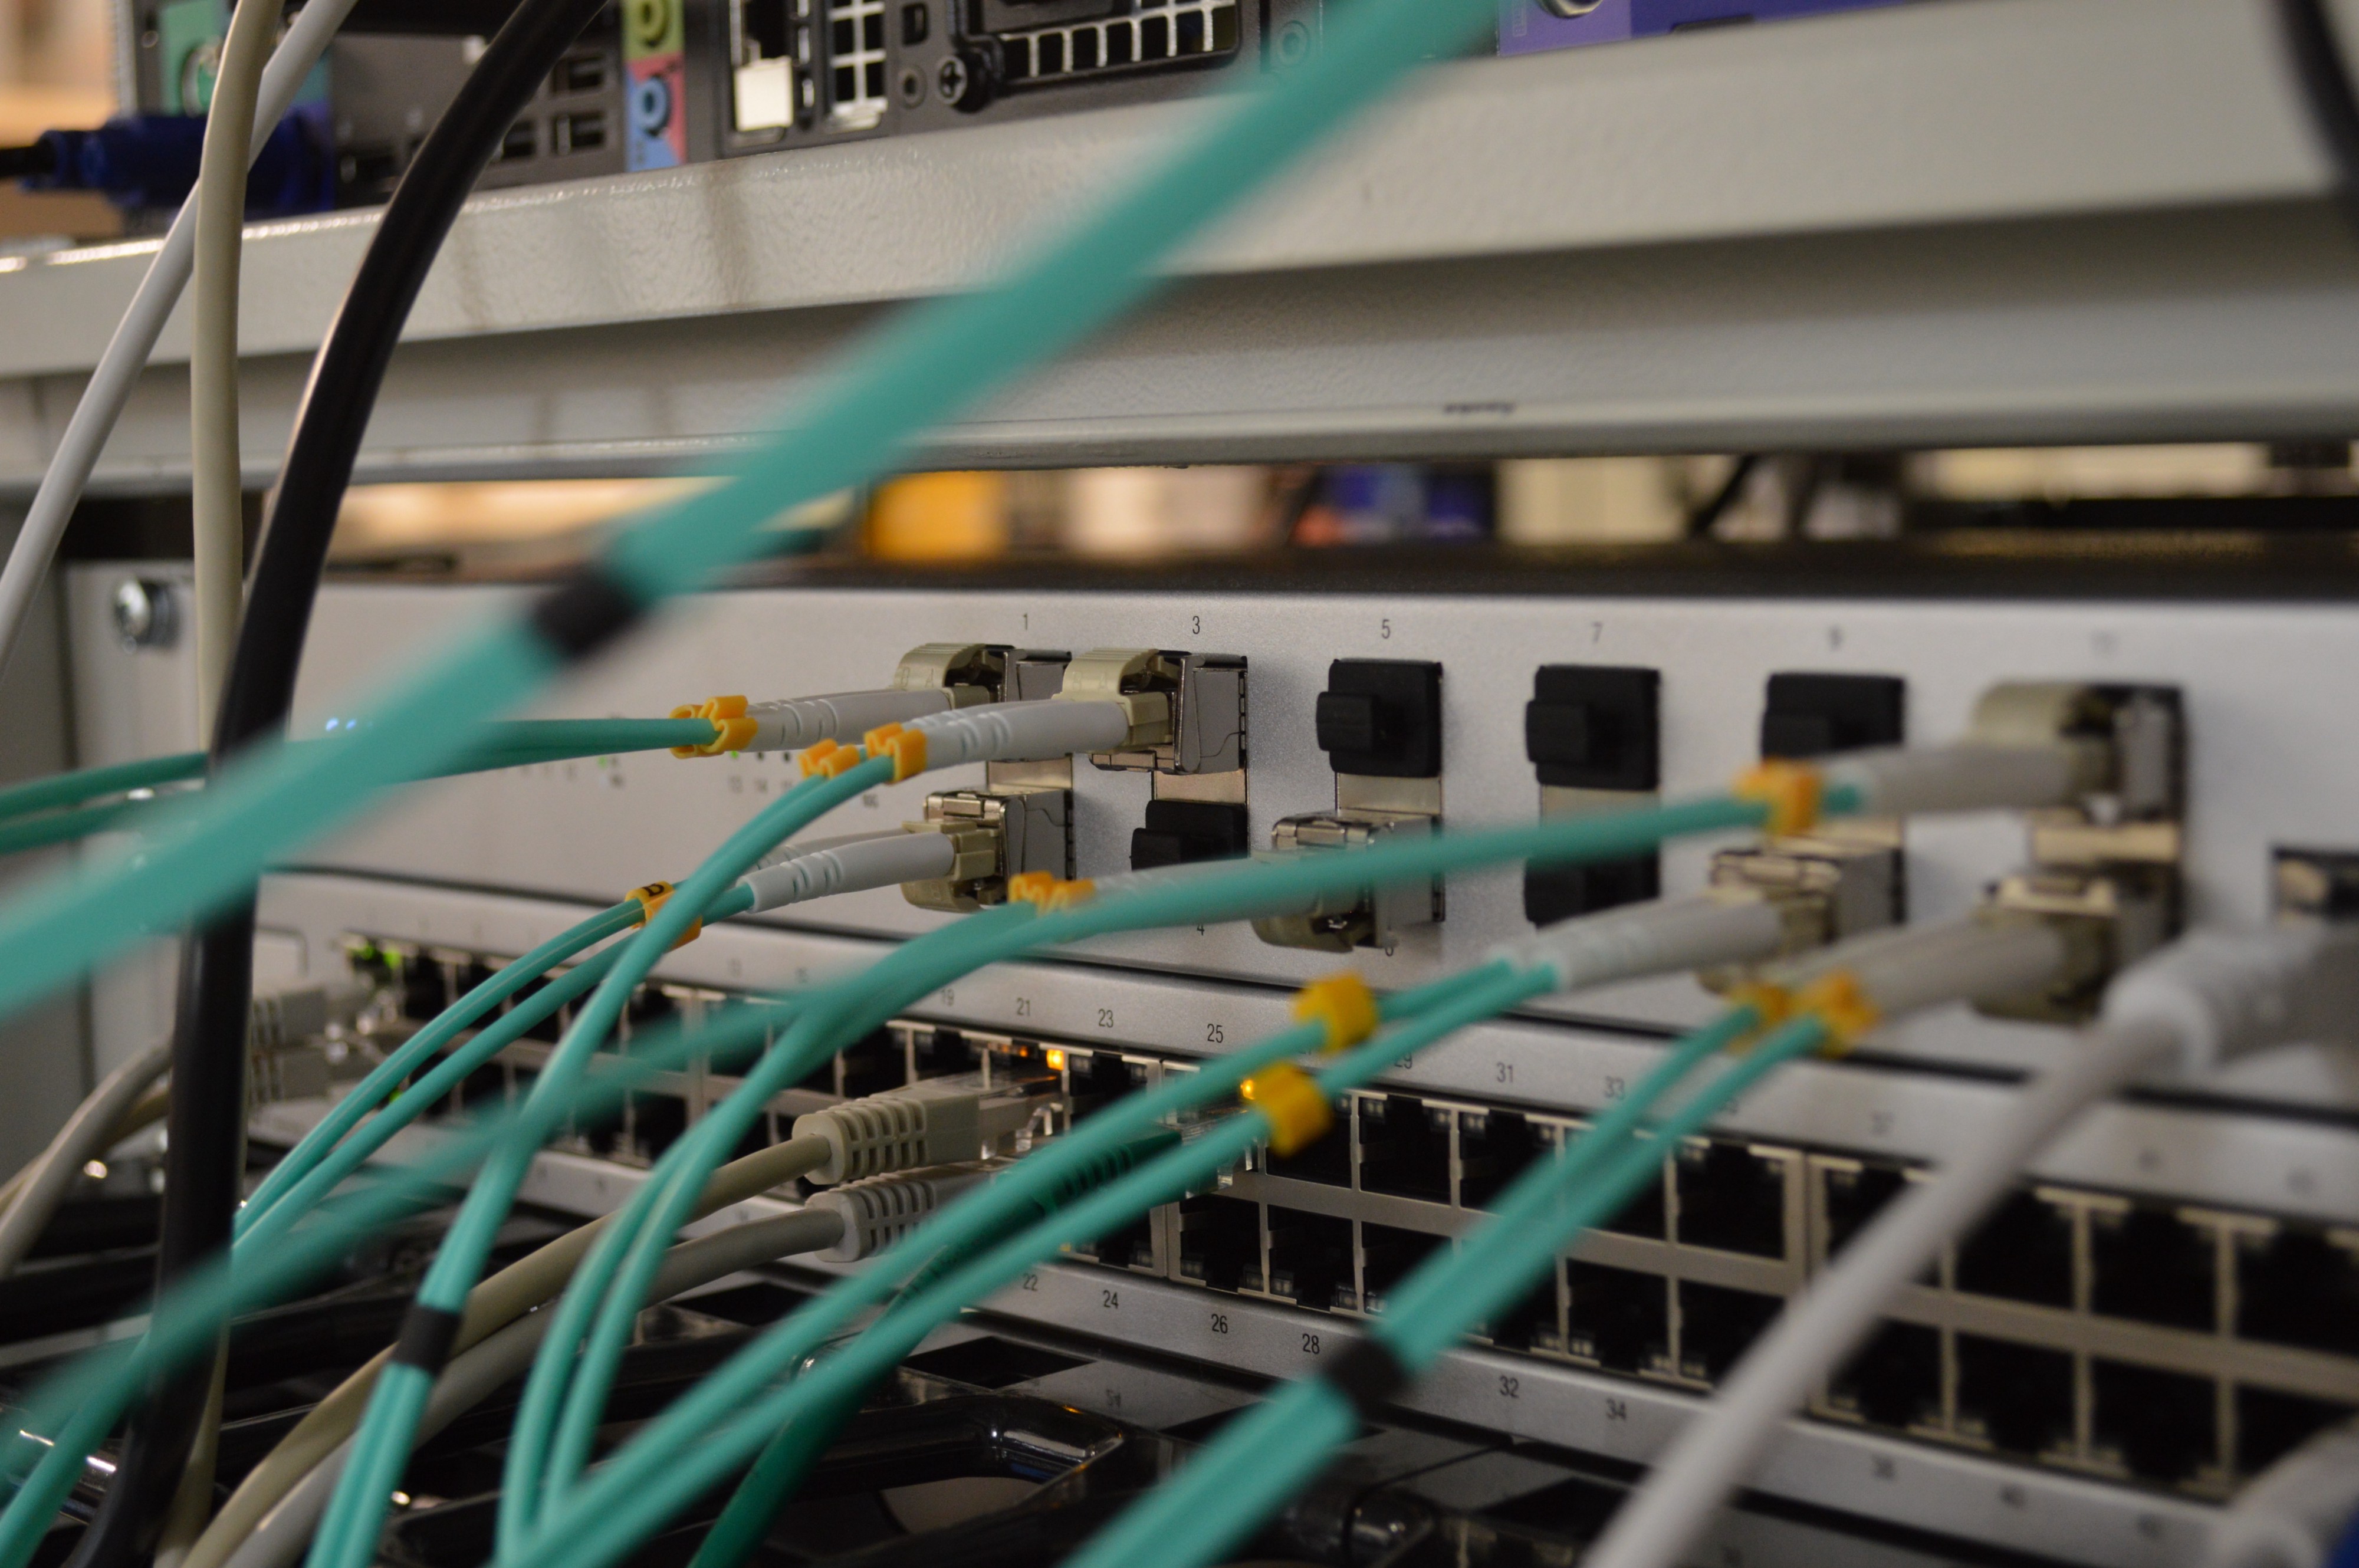 Photo by Thomas Jensen on Unsplash
Network
In 2019 everything runs on the network. Whether you are building a lab at home, or hosting a hyper-scale cloud application, that hardware does you no good without a working network. Luckily, the network tends to be one of the easiest things to handle when building a home lab.
The requirements are pretty simple here. Get a gigabit (or 10 gigabit if you have storage that supports it) network switch that supports jumbo frames. While VLANs and routing are nice, the simple fact of the matter is that most people are not making use of multiple VLANs for their home labs, and even less for their home networks. I also like a web management portal for home lab networks. If the CLI on your home network isn?t helping you learn something effective to improve your job, there is no reason to insist on a CLI. Use a GUI, make your life simpler.
I have had very good luck in the past with Zyxel fanless switches for my home lab. They support jumbo frames, they are quiet, and they are reasonably priced. My current lab actually is a mixed network with a Meraki gigabit switch and a QNAP 10 gigabit switch. I originally ran the network on the Meraki switch, which worked great, but then I bought the 10 gigabit NAS. When that happened, I also bought a QNAP 10 gigabit switch and retired the Meraki switch. Since I didn?t need more than 8 ports, there was no reason to run both. After adding a second host to my lab, I brought the Meraki switch back out to add some additional ports. While the Meraki works great, the subscription model is cost-prohibitive for many home labs. The QNAP was the cheapest option at the time for a quiet 10 gigabit switch. MikroTik has since introduced new inexpensive 10 gigabit switches that are worth considering too.
While many people buy used enterprise switches for their home lab, I do not recommend it. While these switches work great, they have the same noise problems as used rack mount servers. The same comments about usefulness of CLI on a home lab switch apply here too.
 Photo by ?? Claudio Schwarz | @purzlbaum on Unsplash
Operating System
The operating system to run on your home lab is often something that causes a lot of contention. There are many options for operating systems that allow virtualization, ranging from vSphere to Proxmox. There are plenty of aspects that can have a bearing on which would work best for you, and I want to look at some of these here.
The first thing to consider is applicability. If your job involves using a particular hypervisor, this should be your first choice. This allows the building and management of the lab itself to give you experience that can help you do your job better.
The second thing to consider, of course, is cost. This one can be a bit tricky. Most of the various hypervisor options have some level of free or discounted licensing, but you will want to make sure you consider all of the costs involved though. If you want backups, monitoring, anything like that, ensure that the costs of these add-ons also fit your budget. Free is not always FREE, and in fact, it often isn?t.
The third thing to consider is what you are most comfortable with. If your experience is with Windows servers and that is all you know, it might make sense to choose Hyper-V as your hypervisor. Alternatively, this could be an opportunity to learn Linux or vSphere and expand your skill-set. There is no wrong answer here, but it is something you should consider.
The final thing to consider is support. This doesn?t necessarily mean a help desk that you can call and get help, but also application and hardware support. Things like backup/monitoring is often only compatible with specific hypervisors. In addition, most hypervisors have some limitations on what hardware they support. All of this must be considered when choosing the operating system.
That all being said, my recommendation as the most universal choice is VMware vSphere. VMware began the world of x86 virtualization, and they still own the lion?s share of the virtualization market outside of cloud-scale systems. This gives valuable work experience whether you are working in systems, network or security. vSphere hypervisor is available in a free license, and has the largest ecosystem of supporting applications. While vSphere does have limitations on hardware support, the aforementioned Dell Precision workstations run vSphere just fine.
 Photo by Kevin Jarrett on Unsplash
Putting it All Together
So now that you?ve heard my logic on all of the components involved in a home lab, let?s take what we?ve learned and choose a solution. For someone building a home lab right now, I recommend a Dell Precision T7600 workstation, with the sweet spot on processors being the Intel Xeon E5?2650 processors. This gives a quiet system that can fit under a desk, with plenty of cores for virtualizing most anything you might want in a home lab.
To go with this workstation and processor choice, I would recommend starting with at least 32GB of RAM. Again, this won?t do a huge virtual environment, but it gives you enough RAM to start. As your lab grows, you can go up to 512GB of RAM on this workstation, enough for even the largest home labs. A Dell Precision T7600 with 32GB of RAM and two processors can be had for as little as $255.25 on Ebay.
Local storage can work to start, but I recommend going with a small NAS. Whether you get a two drive Terramaster or an 8 drive QNAP, gigabit networking should be fine for your initial build. The T7600 already has Intel gigabit NICs built-in, which are just fine to get started. These pair well with the recommended Zyxel fanless switch. If you need to move up to 10 gigabit storage in the future, the QNAP TS-332X NAS is a great system. The two-bay Terramaster with 2TB WD Red NAS drives is under $300 on Amazon, and Zyxel 8 port switch is less than $40.
Finally, the operating system should be VMware vSphere. The price is right, at free, and this gives you not only the opportunity to learn the most popular hypervisor, but also the large world of supporting applications that work with VMware vSphere.
Using these recommendations, you get a great little home lab for less than $600 to start that can grow as your needs do. For those who might wonder whether or not I actually follow my own advice, there is a T7600 under my desk and a TerraMaster NAS on top of it right now. While I have grown past them and added a second faster host and NAS, these are still valuable parts of my lab here at home. This lab has helped me excel in multiple jobs, and continue to be used every day to test and learn new things.

