If the headset socket fails on your Xbox controller, your only option is a headset adapter.
As you have maybe seen, I already wrote about how I fixed the poorly designed headphone socket on my sons Xbox One controller here: https://medium.com/@mrvectrex/fixing-an-xbox-one-controller-64c7ced8ca83
However the situation got worse, possibly due to frantic Fortnite playing by the kids, and it seemed the only solution was to switch to the Xbox One headset adaptors. But they are so expensive, nearly 30 in the UK, which is pretty close to the price of a controller!
I checked on ebay and found these bits:
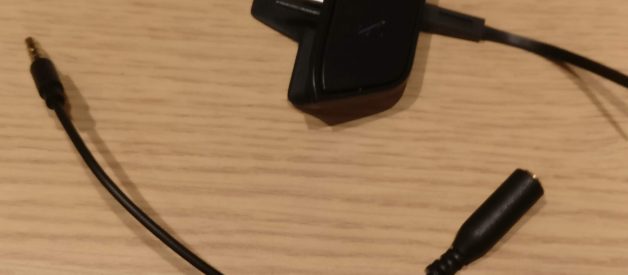
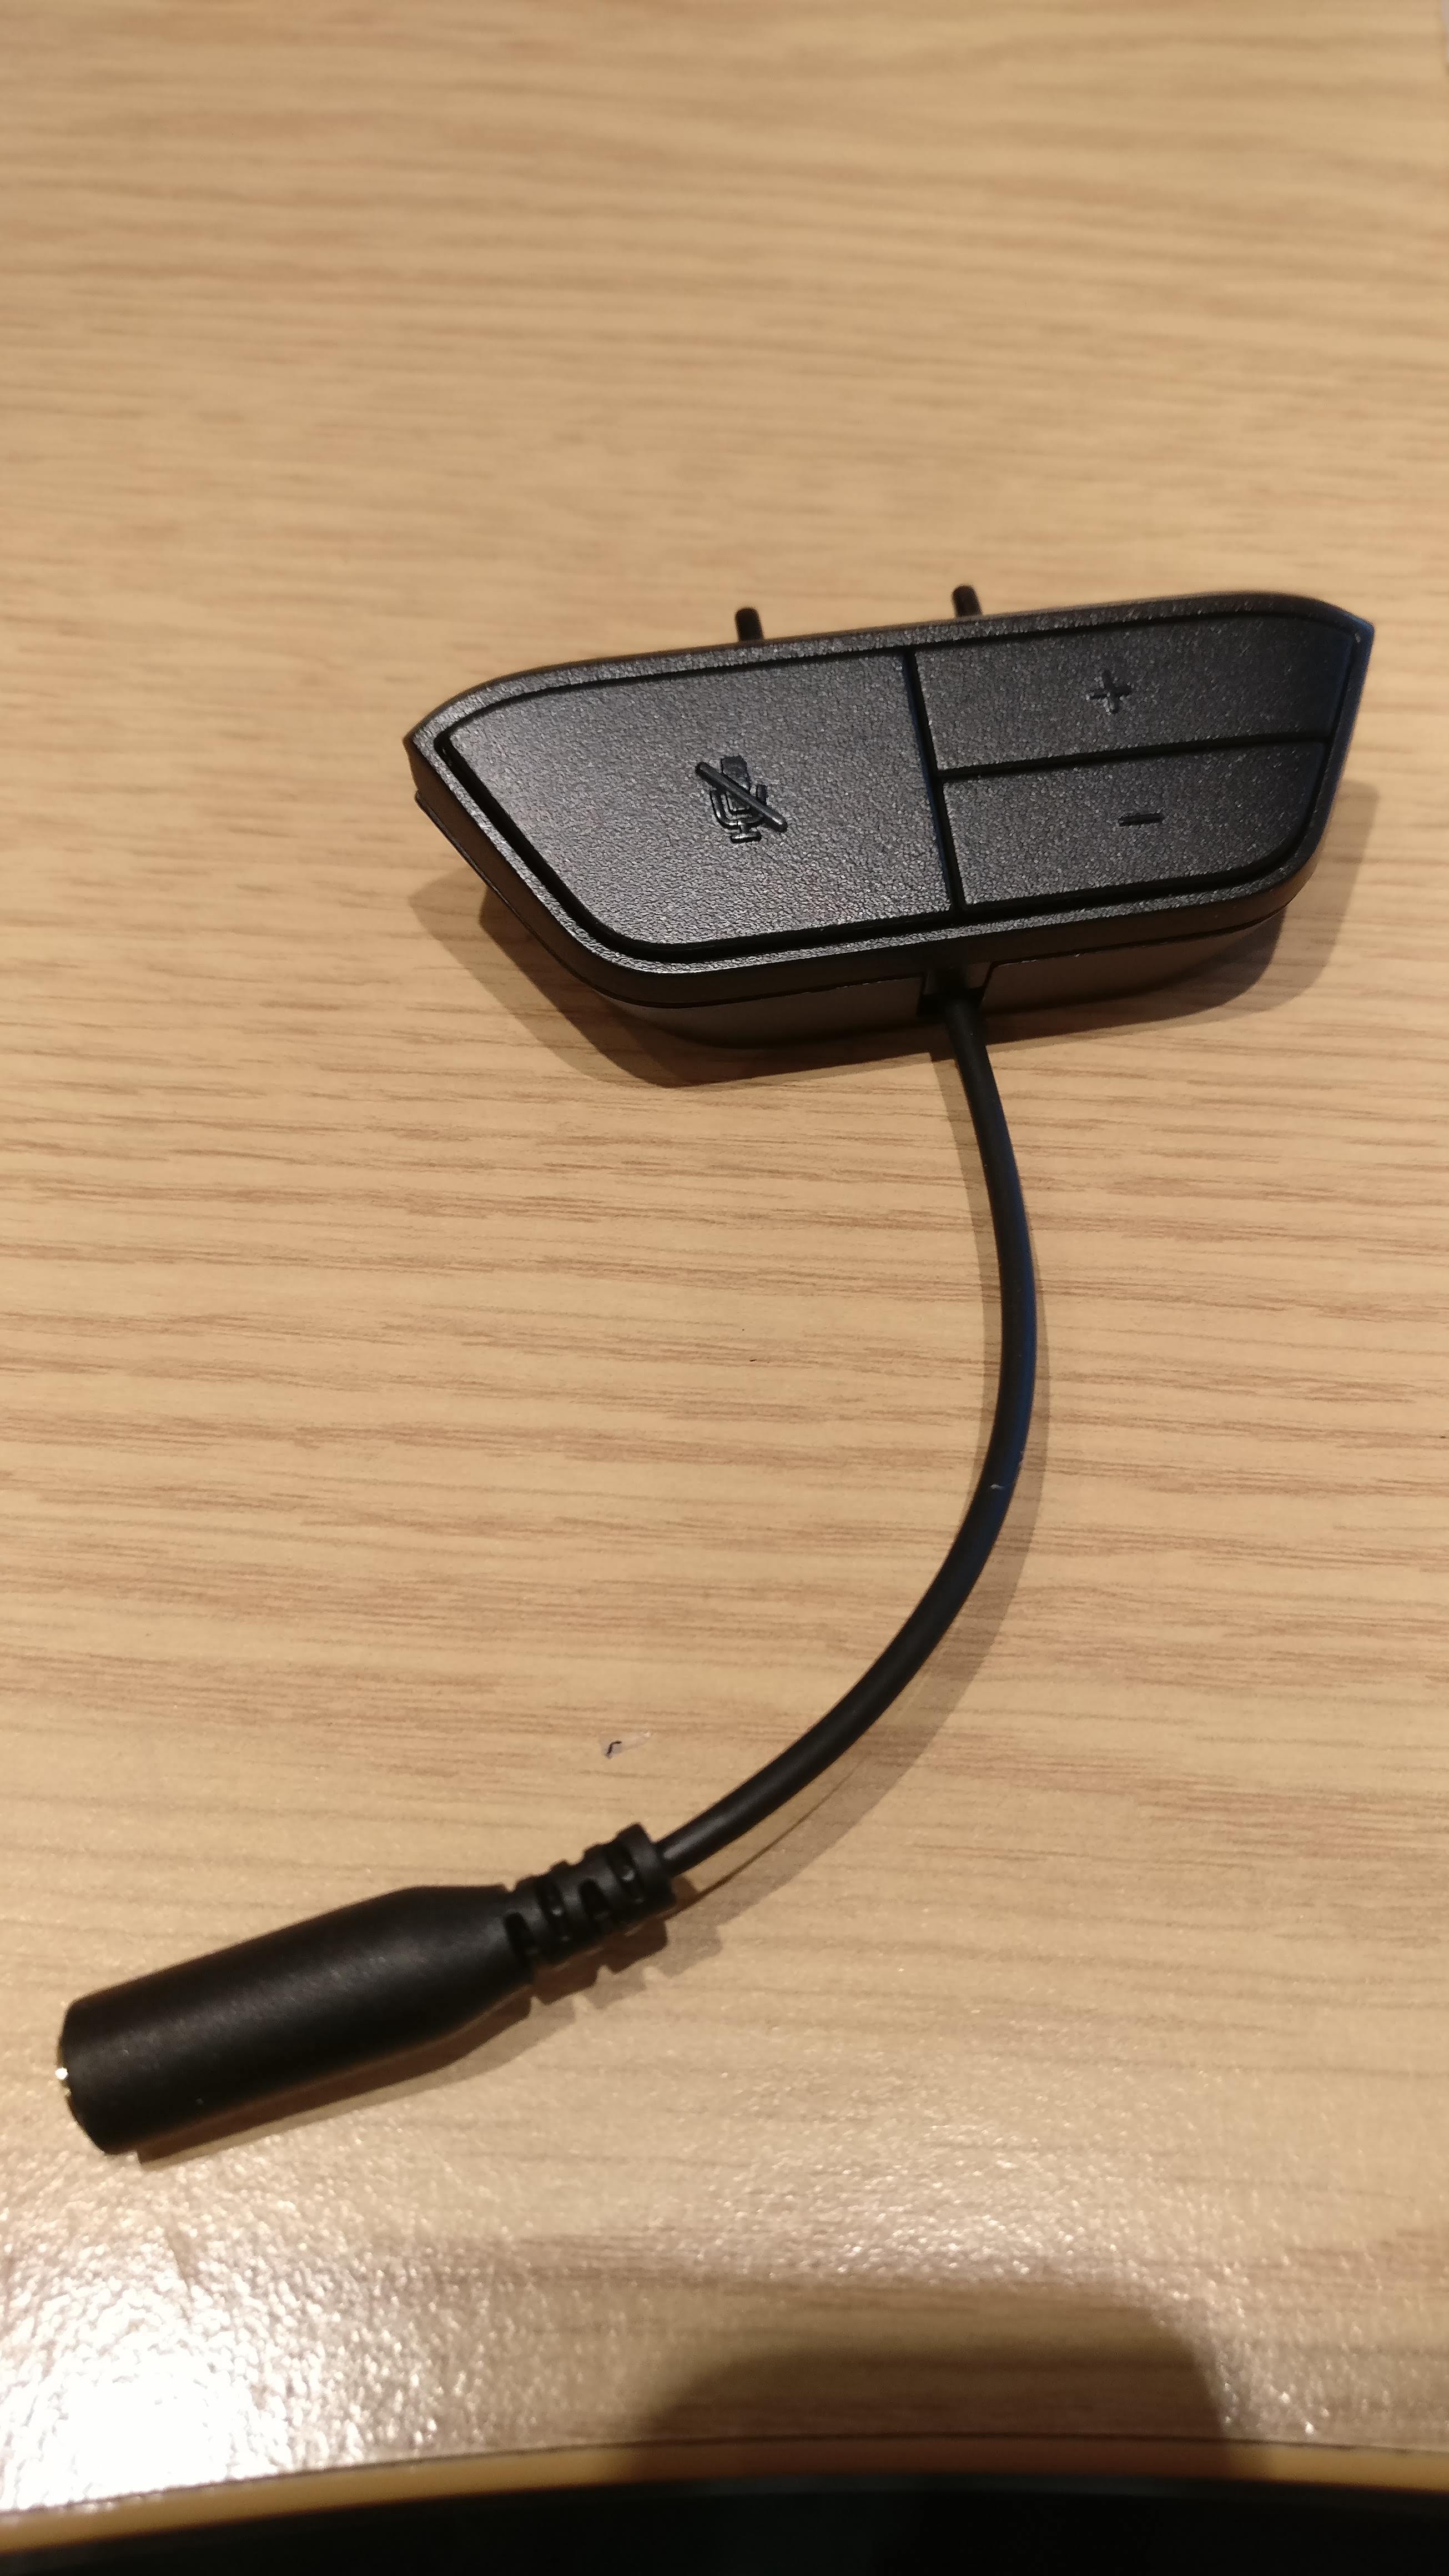
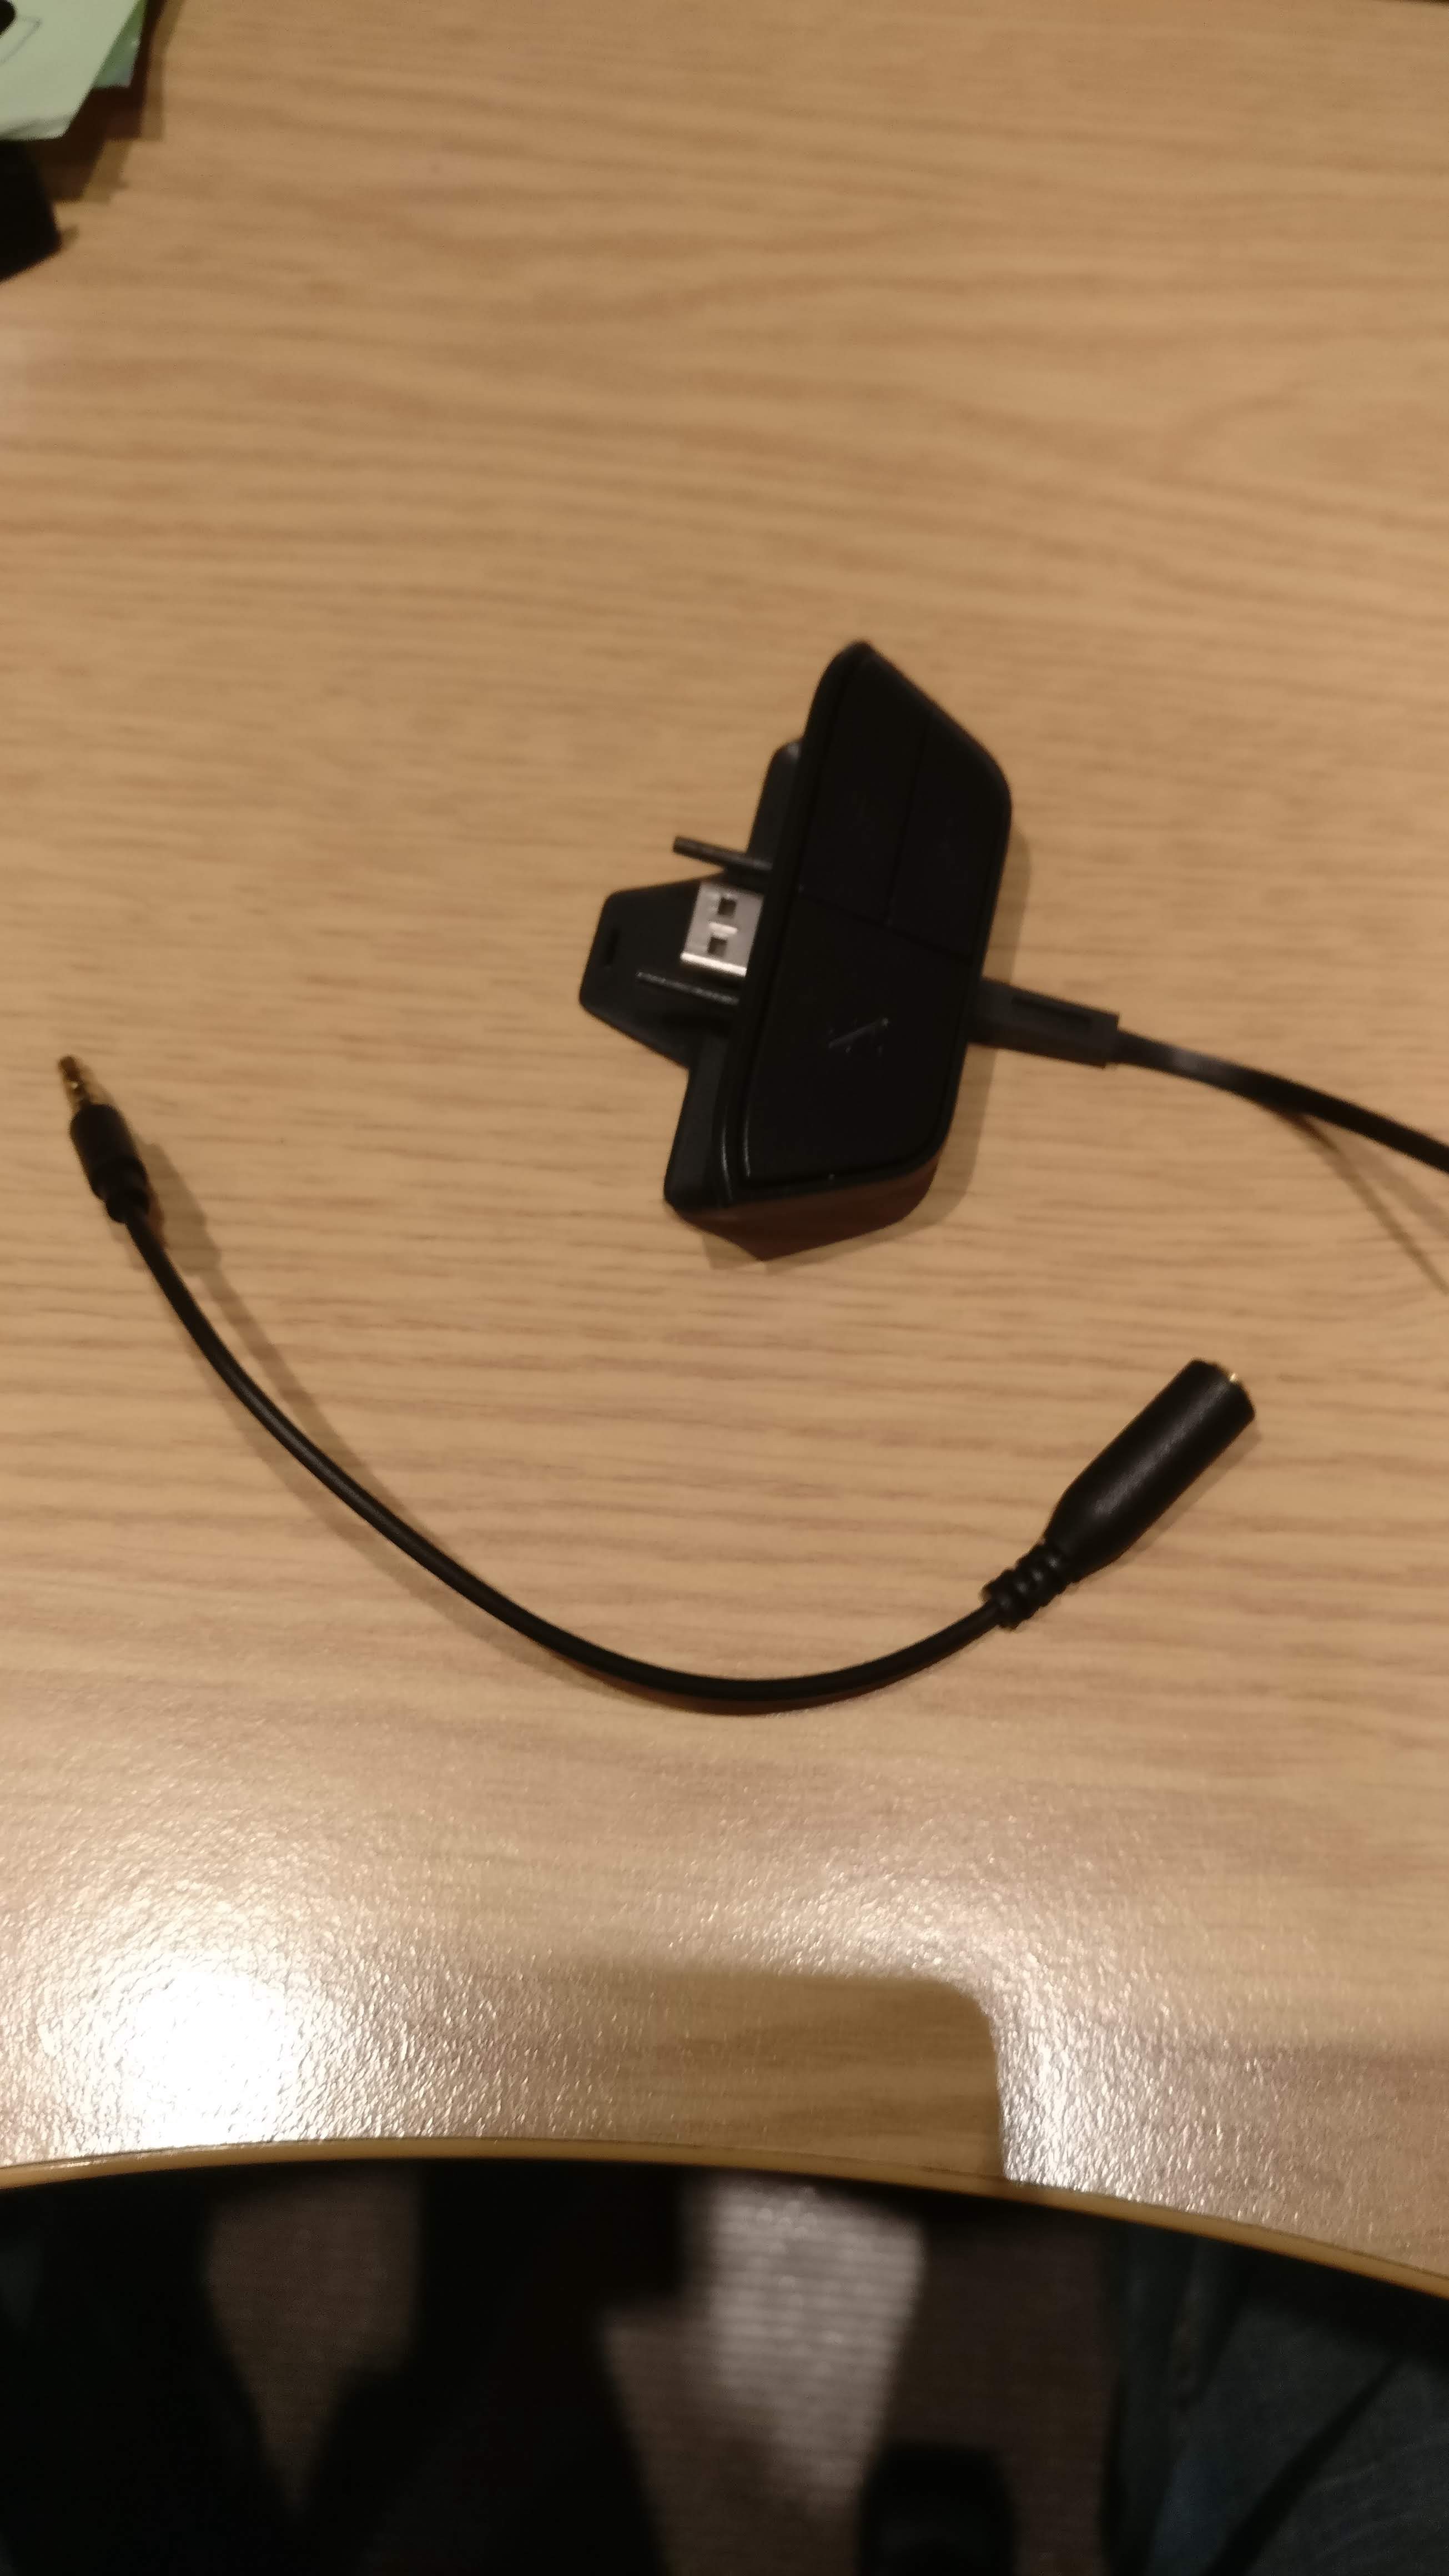 I bought a headset adaptor with the headset cut off and a 4 pole headset extension
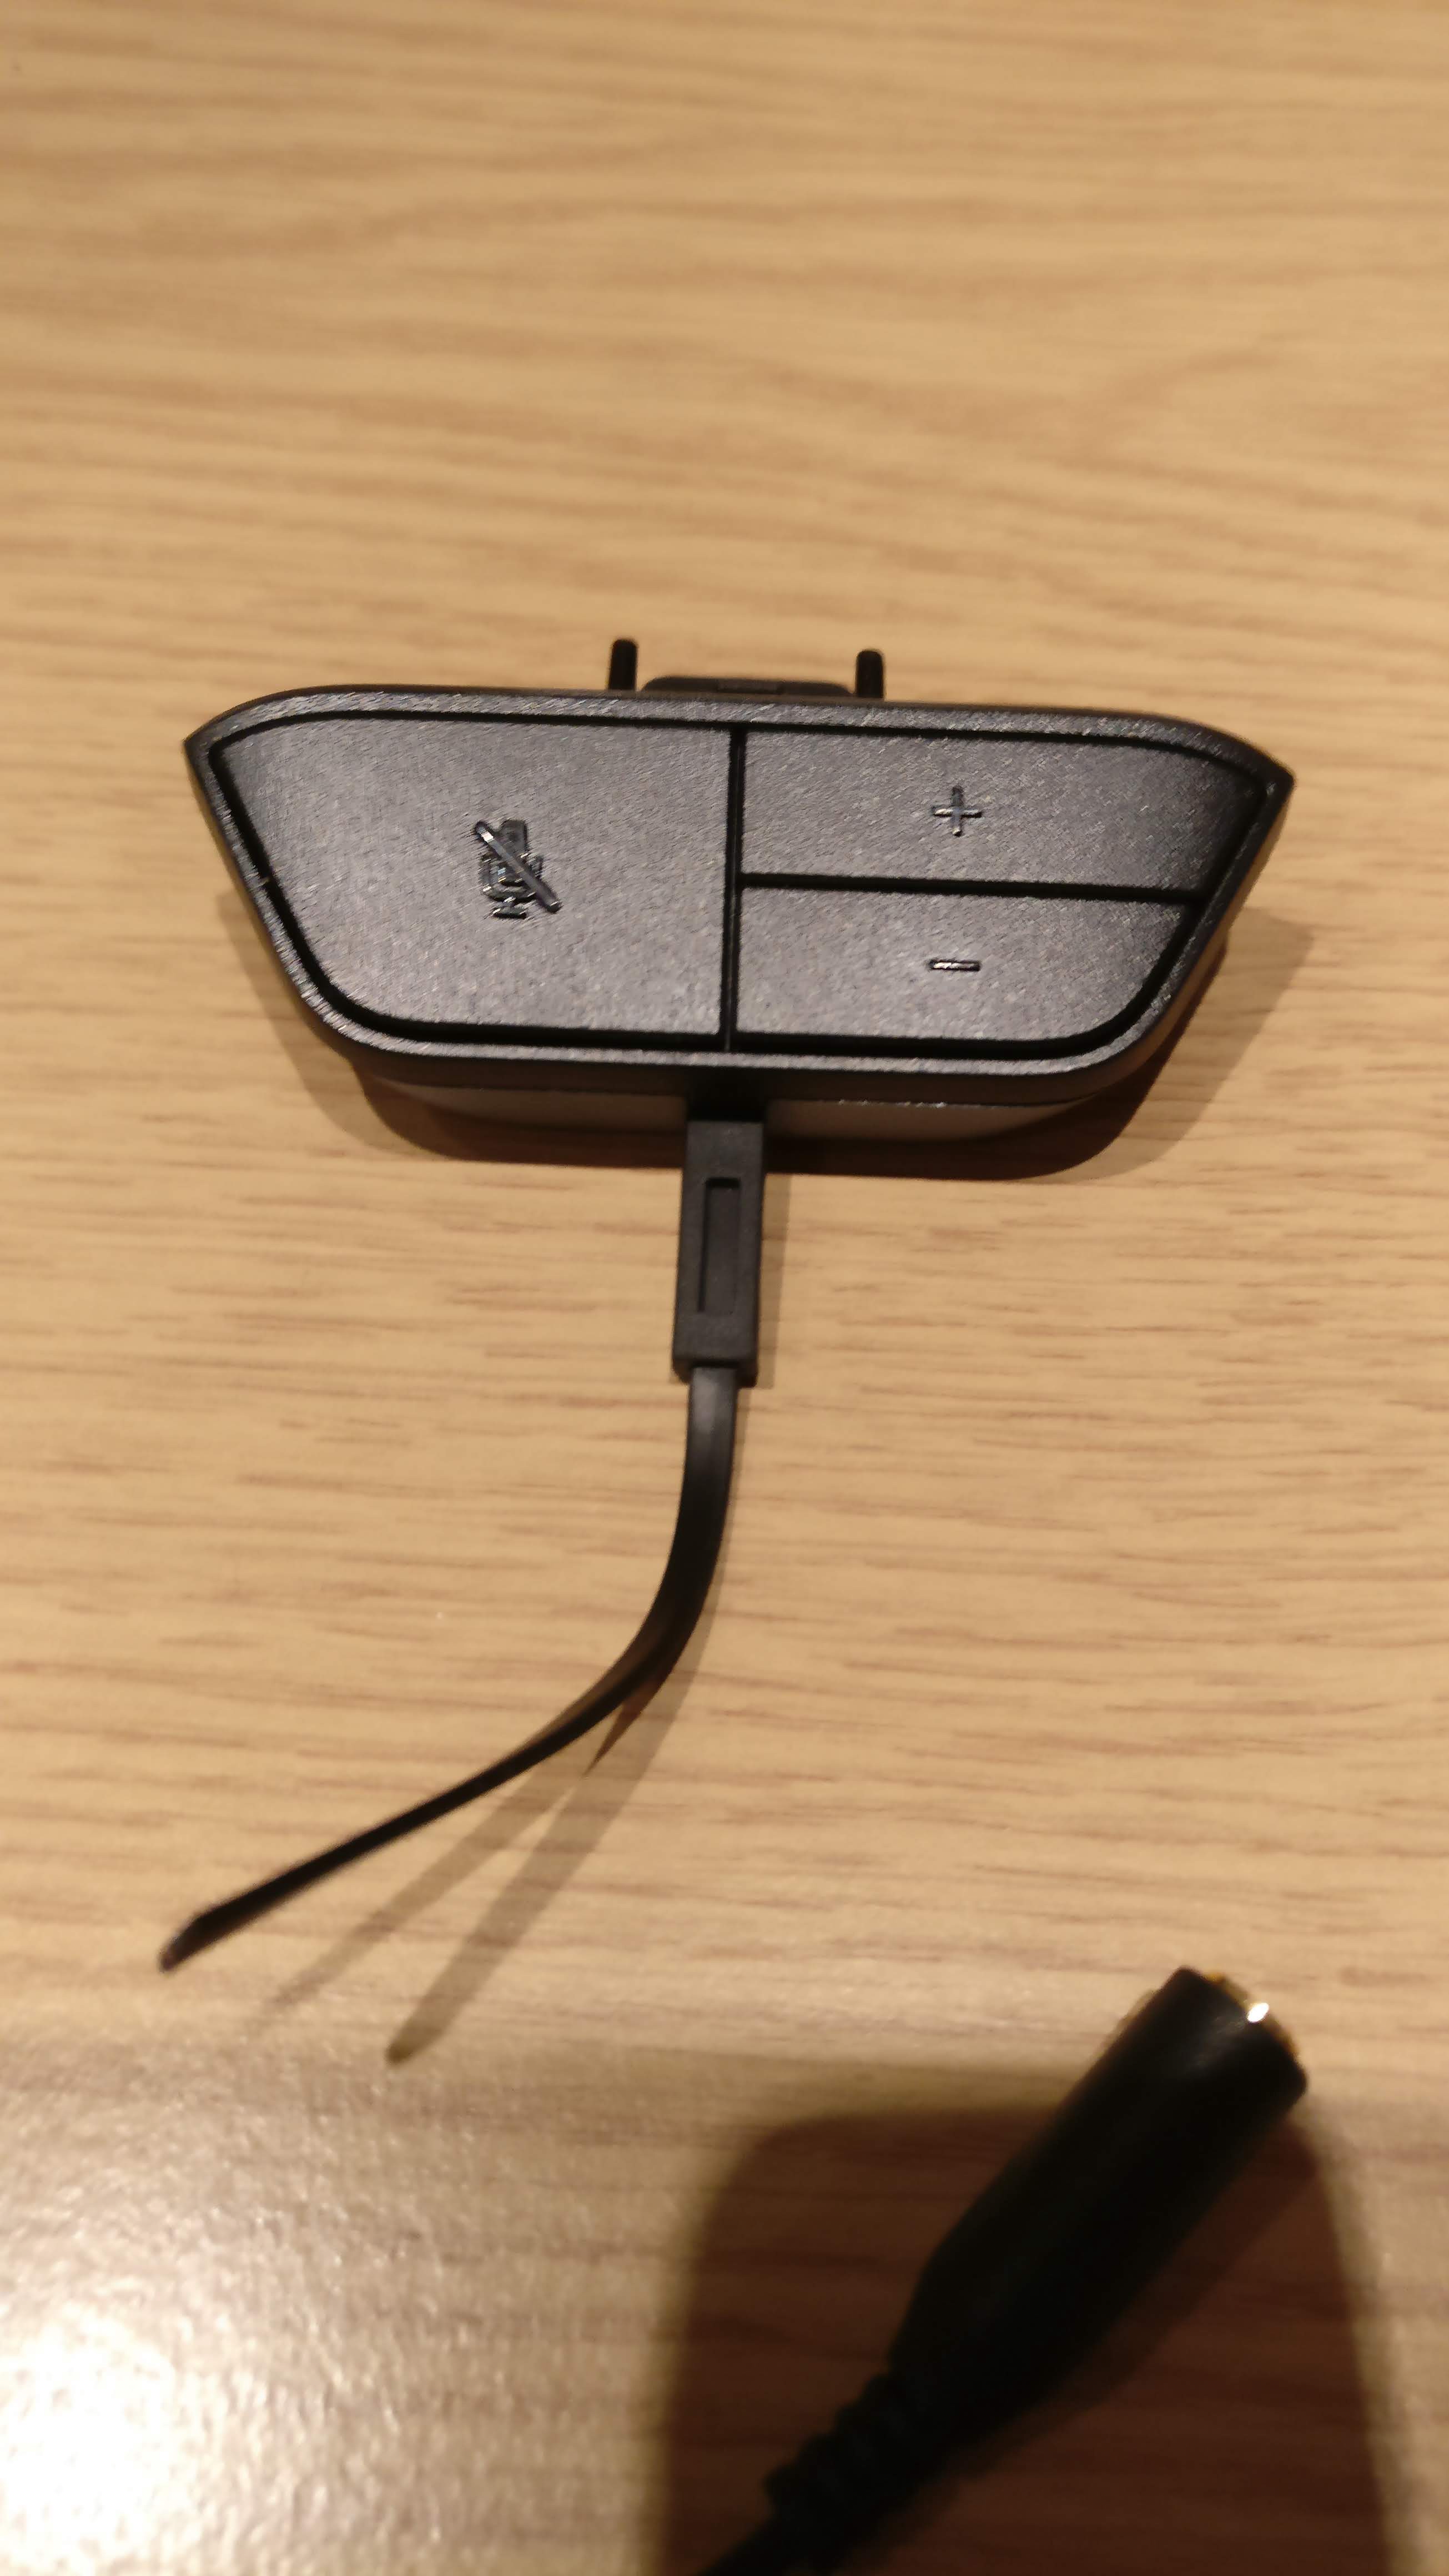 A better view of the headset adaptor with the headset cut off
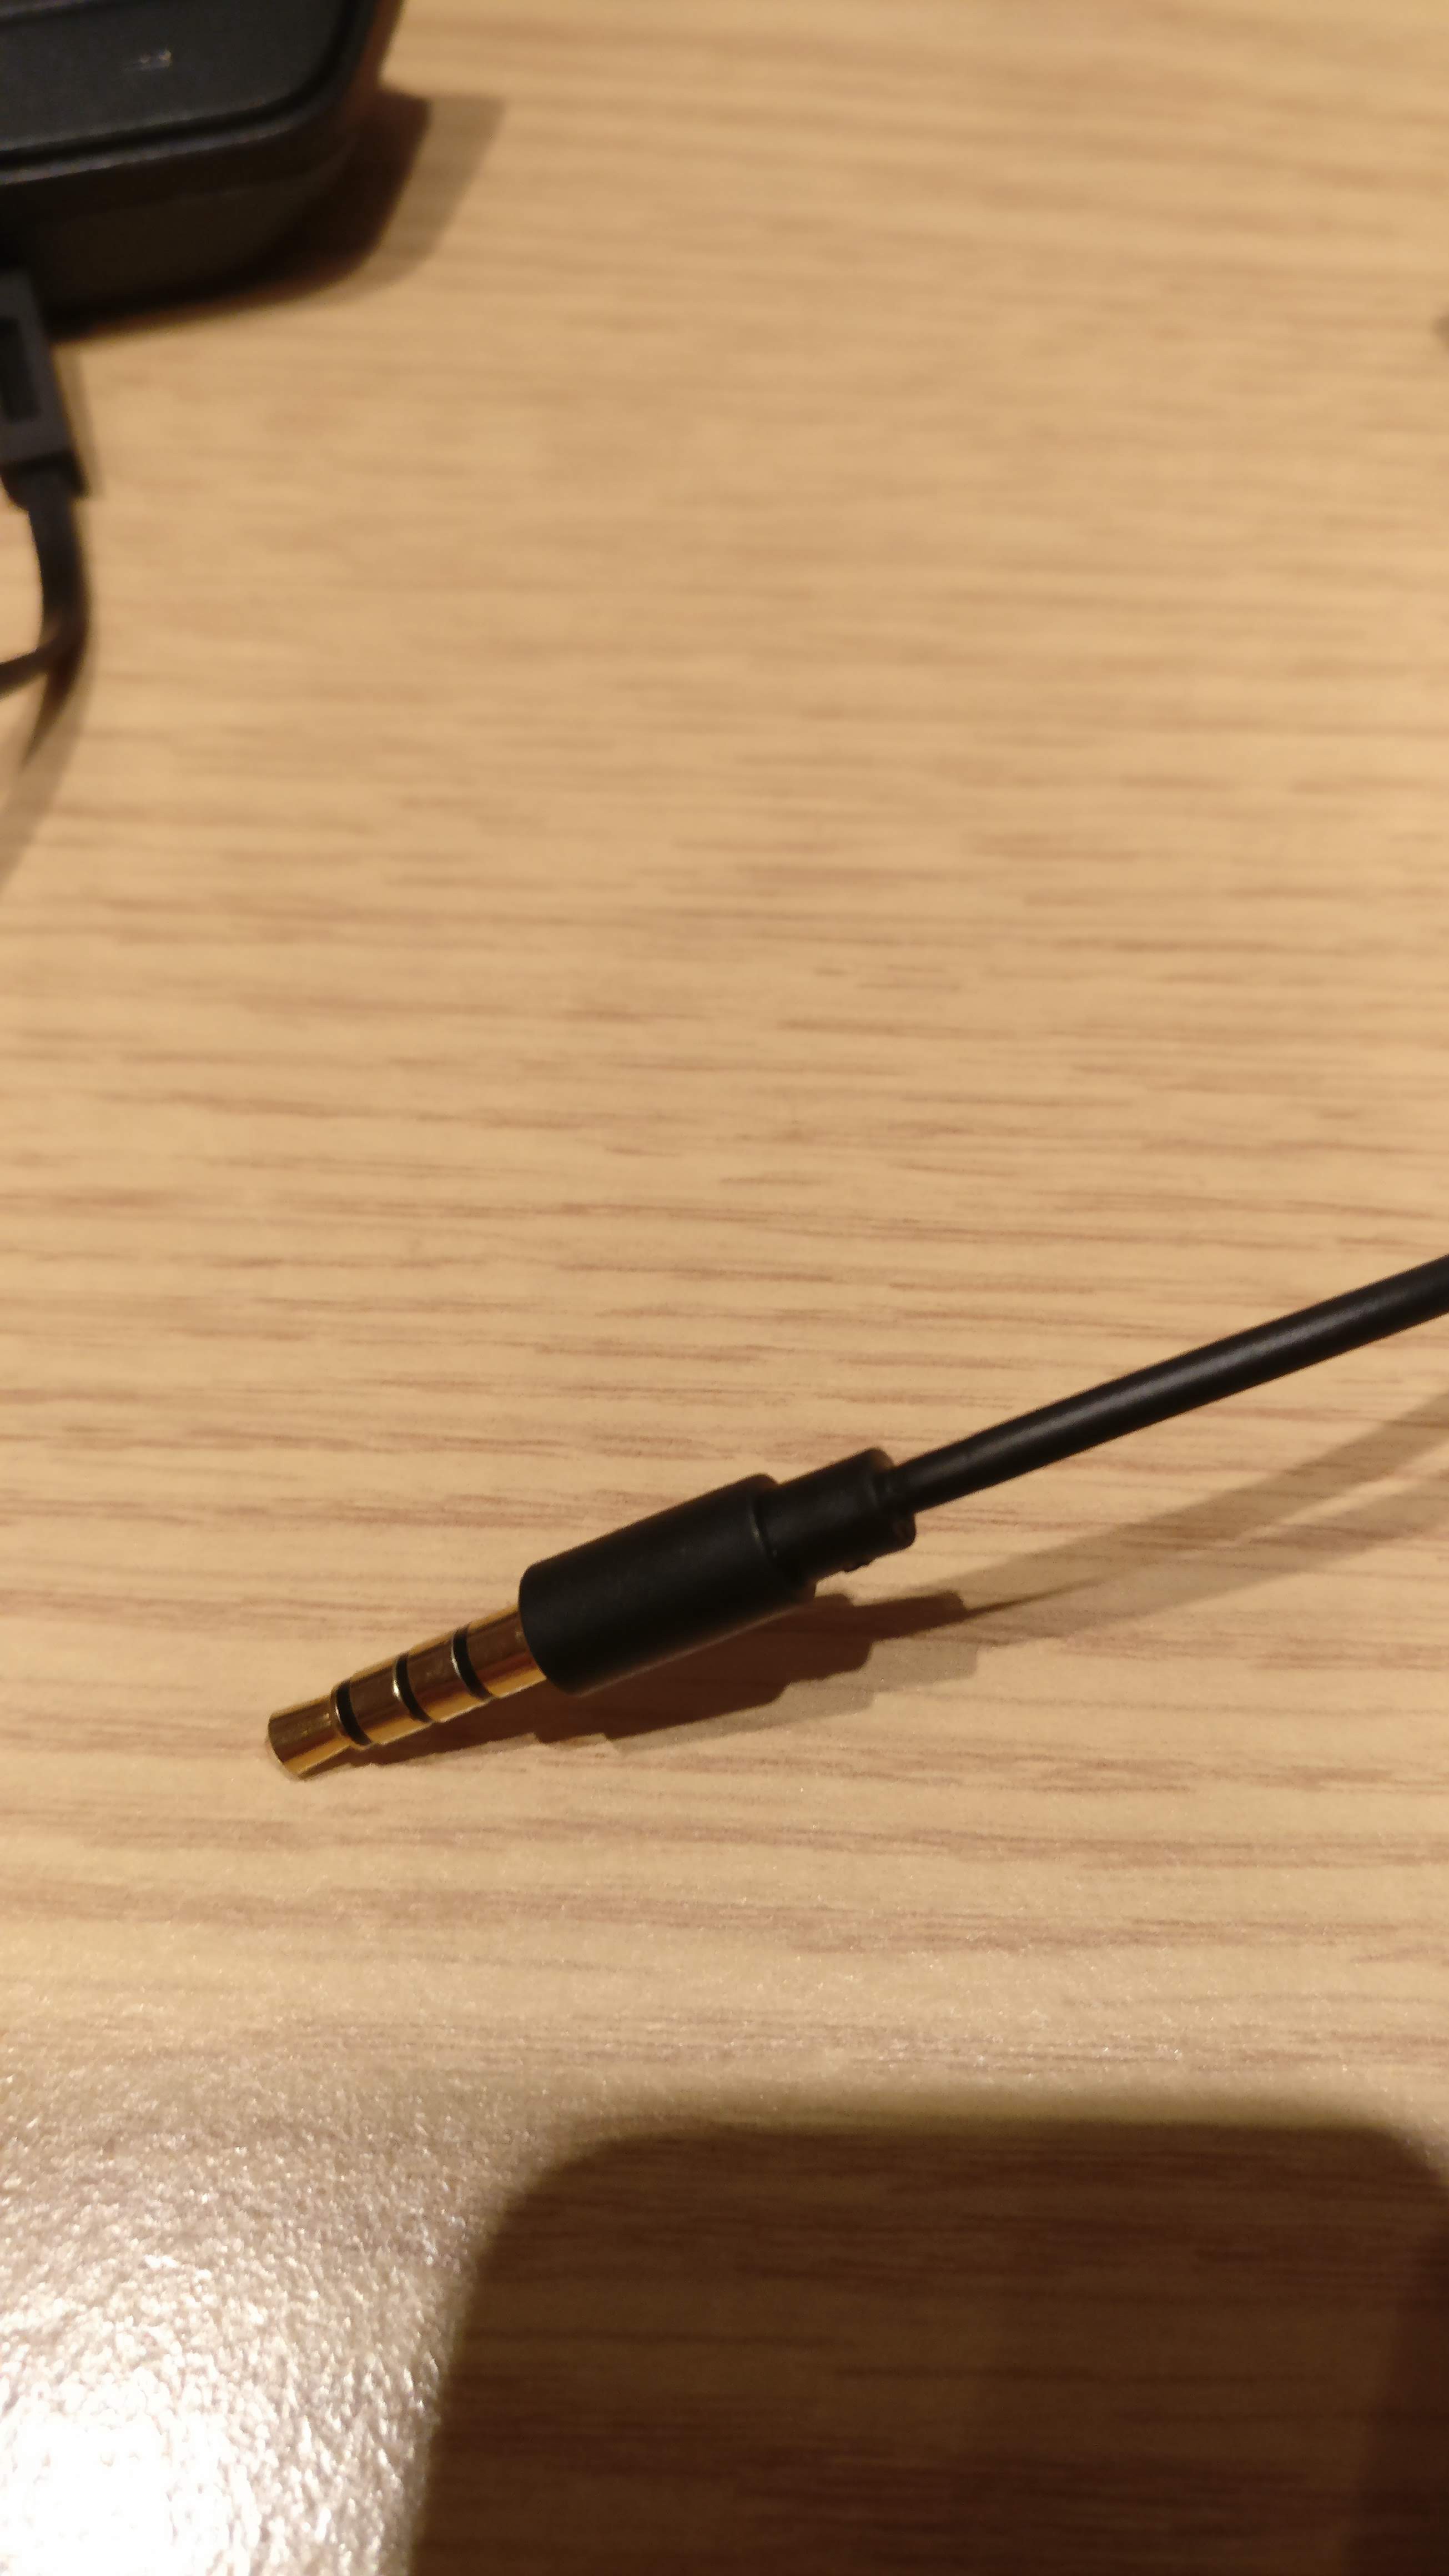 The 4 pole extension lead
Someone was selling the headset adaptors for a couple of pounds, these had had the original Xbox chat headset cut off ? presumably because it had broken. I also found a cheap 4 pole stereo headset adaptor lead.
Total price for the bits was 3.09 which included the postage.
With a bit of effort, I turned those two pieces into this:
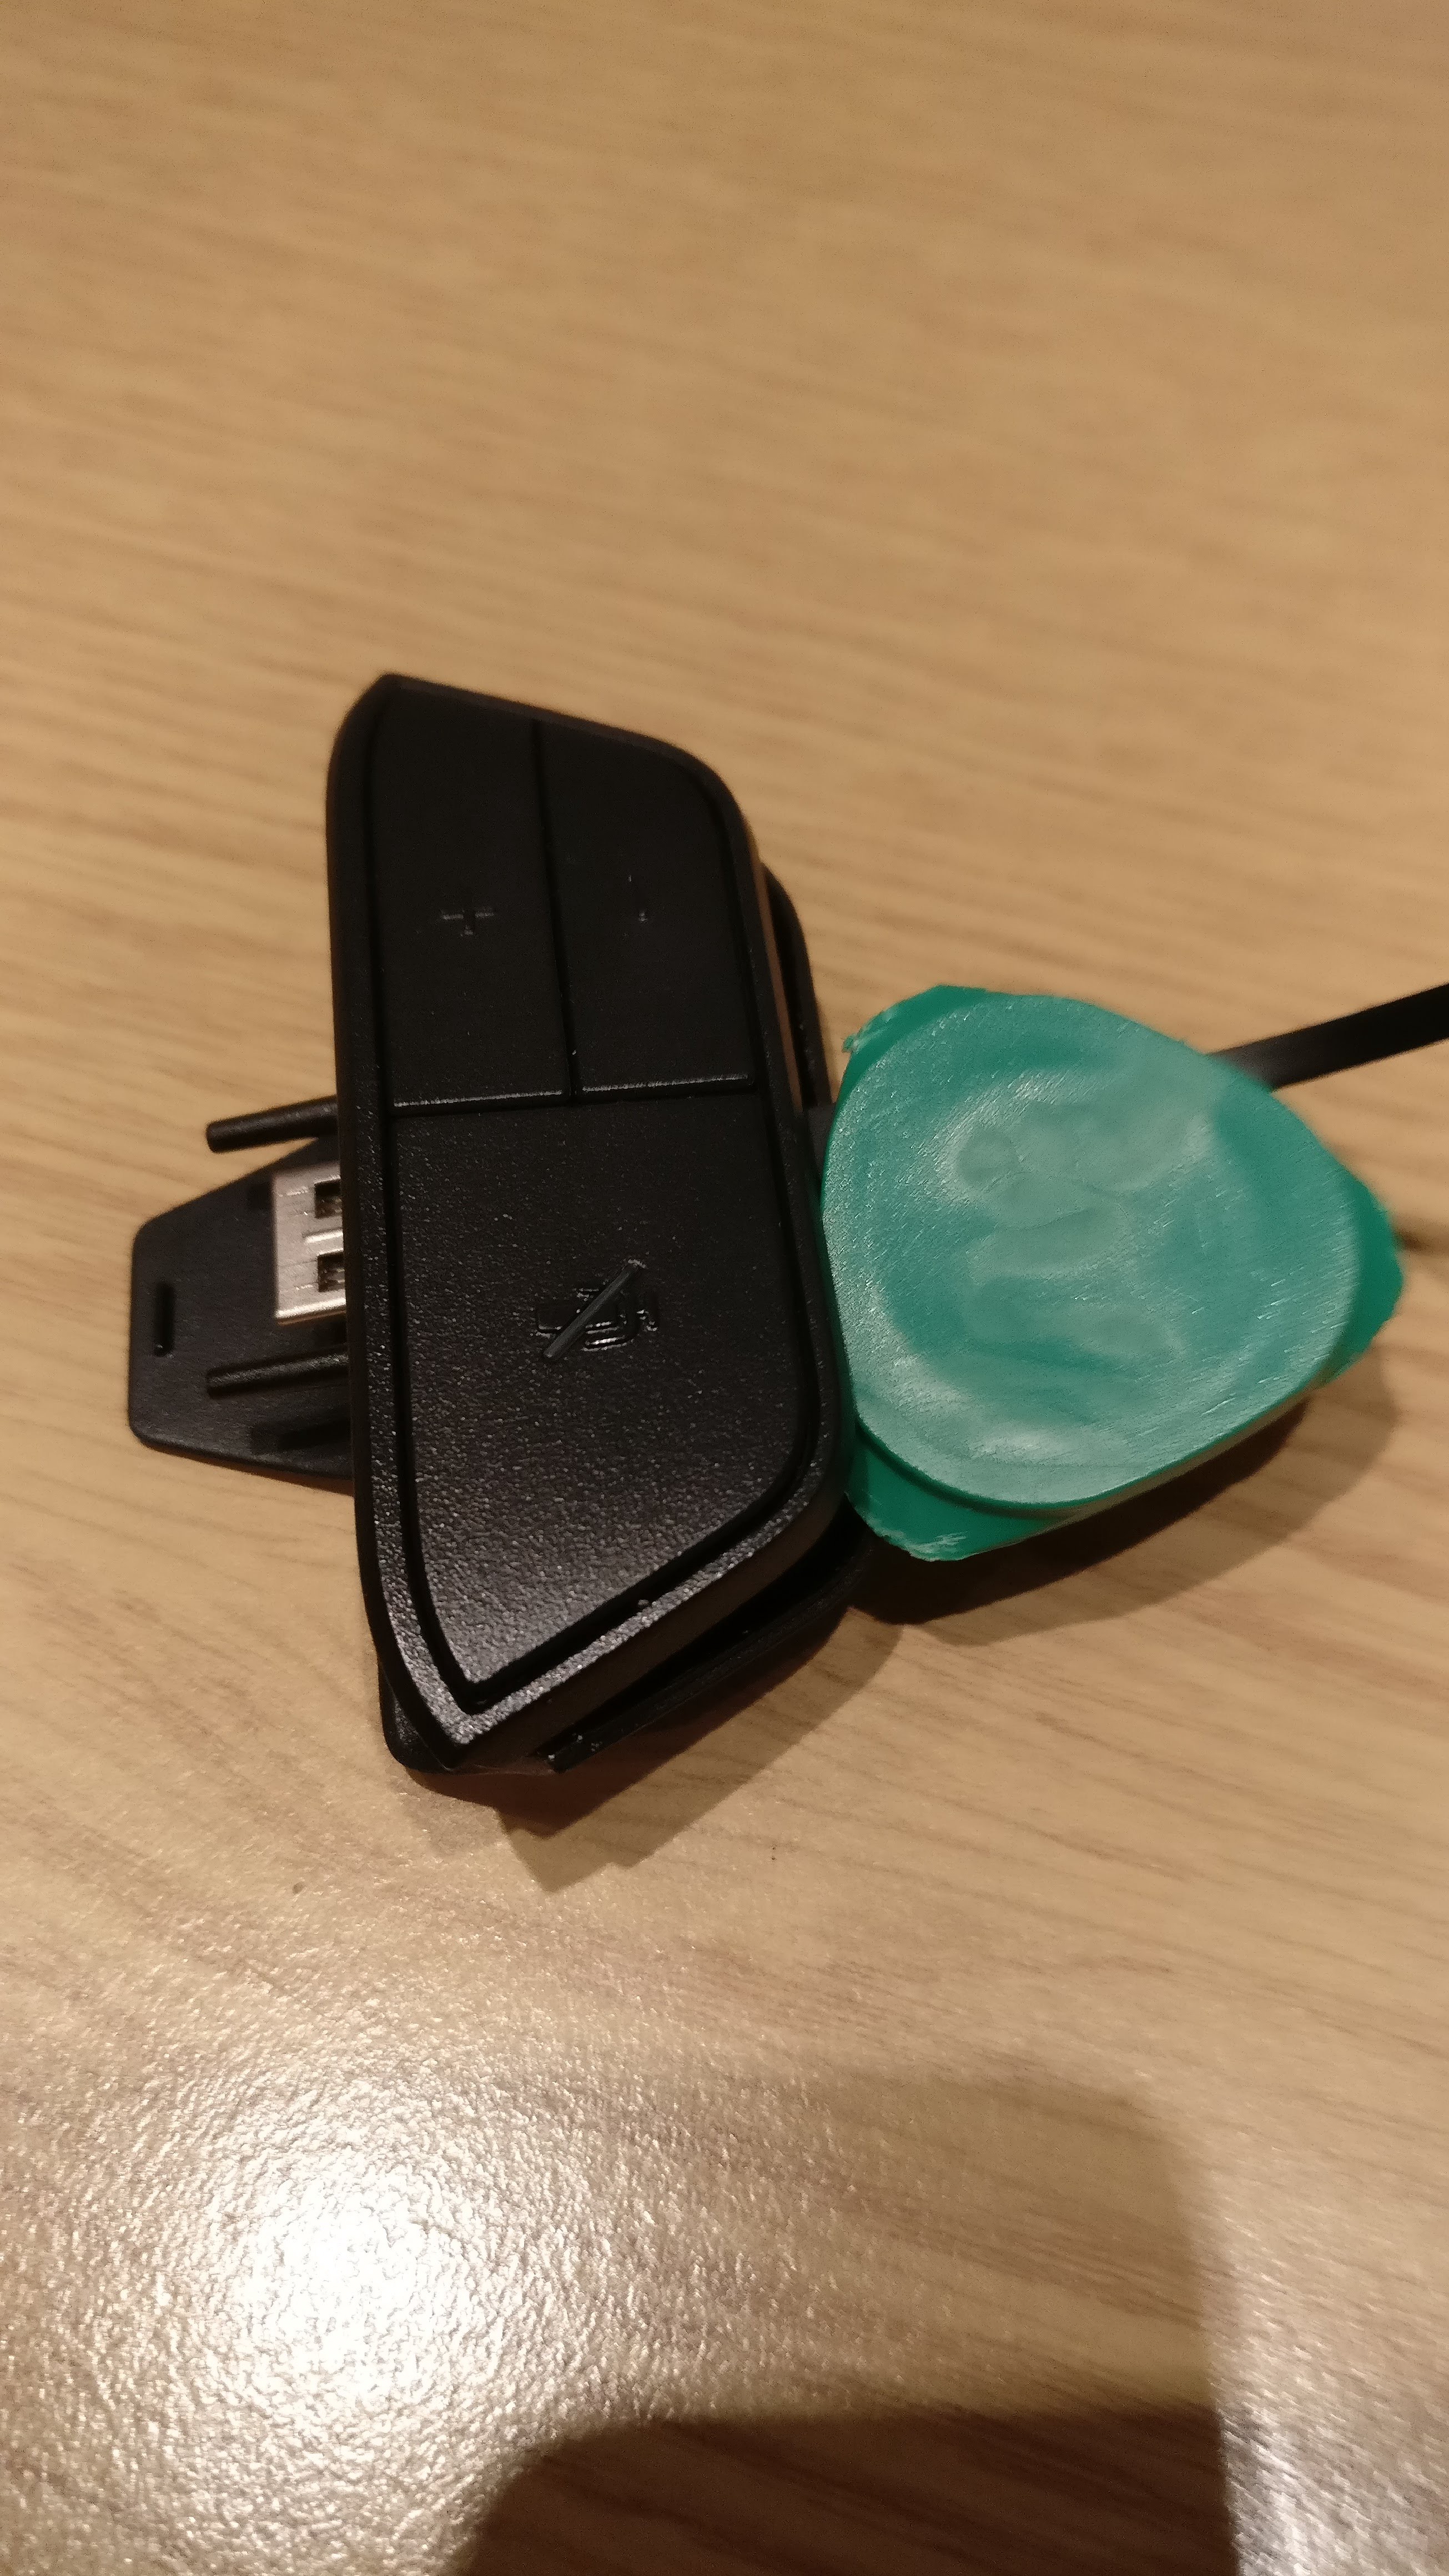
Step 1 ? Open up the headset adaptor
This part is easy enough ? use your finger nail or a plastic spudger to pry the back off the headset adaptor:
 Using a spudger to get started
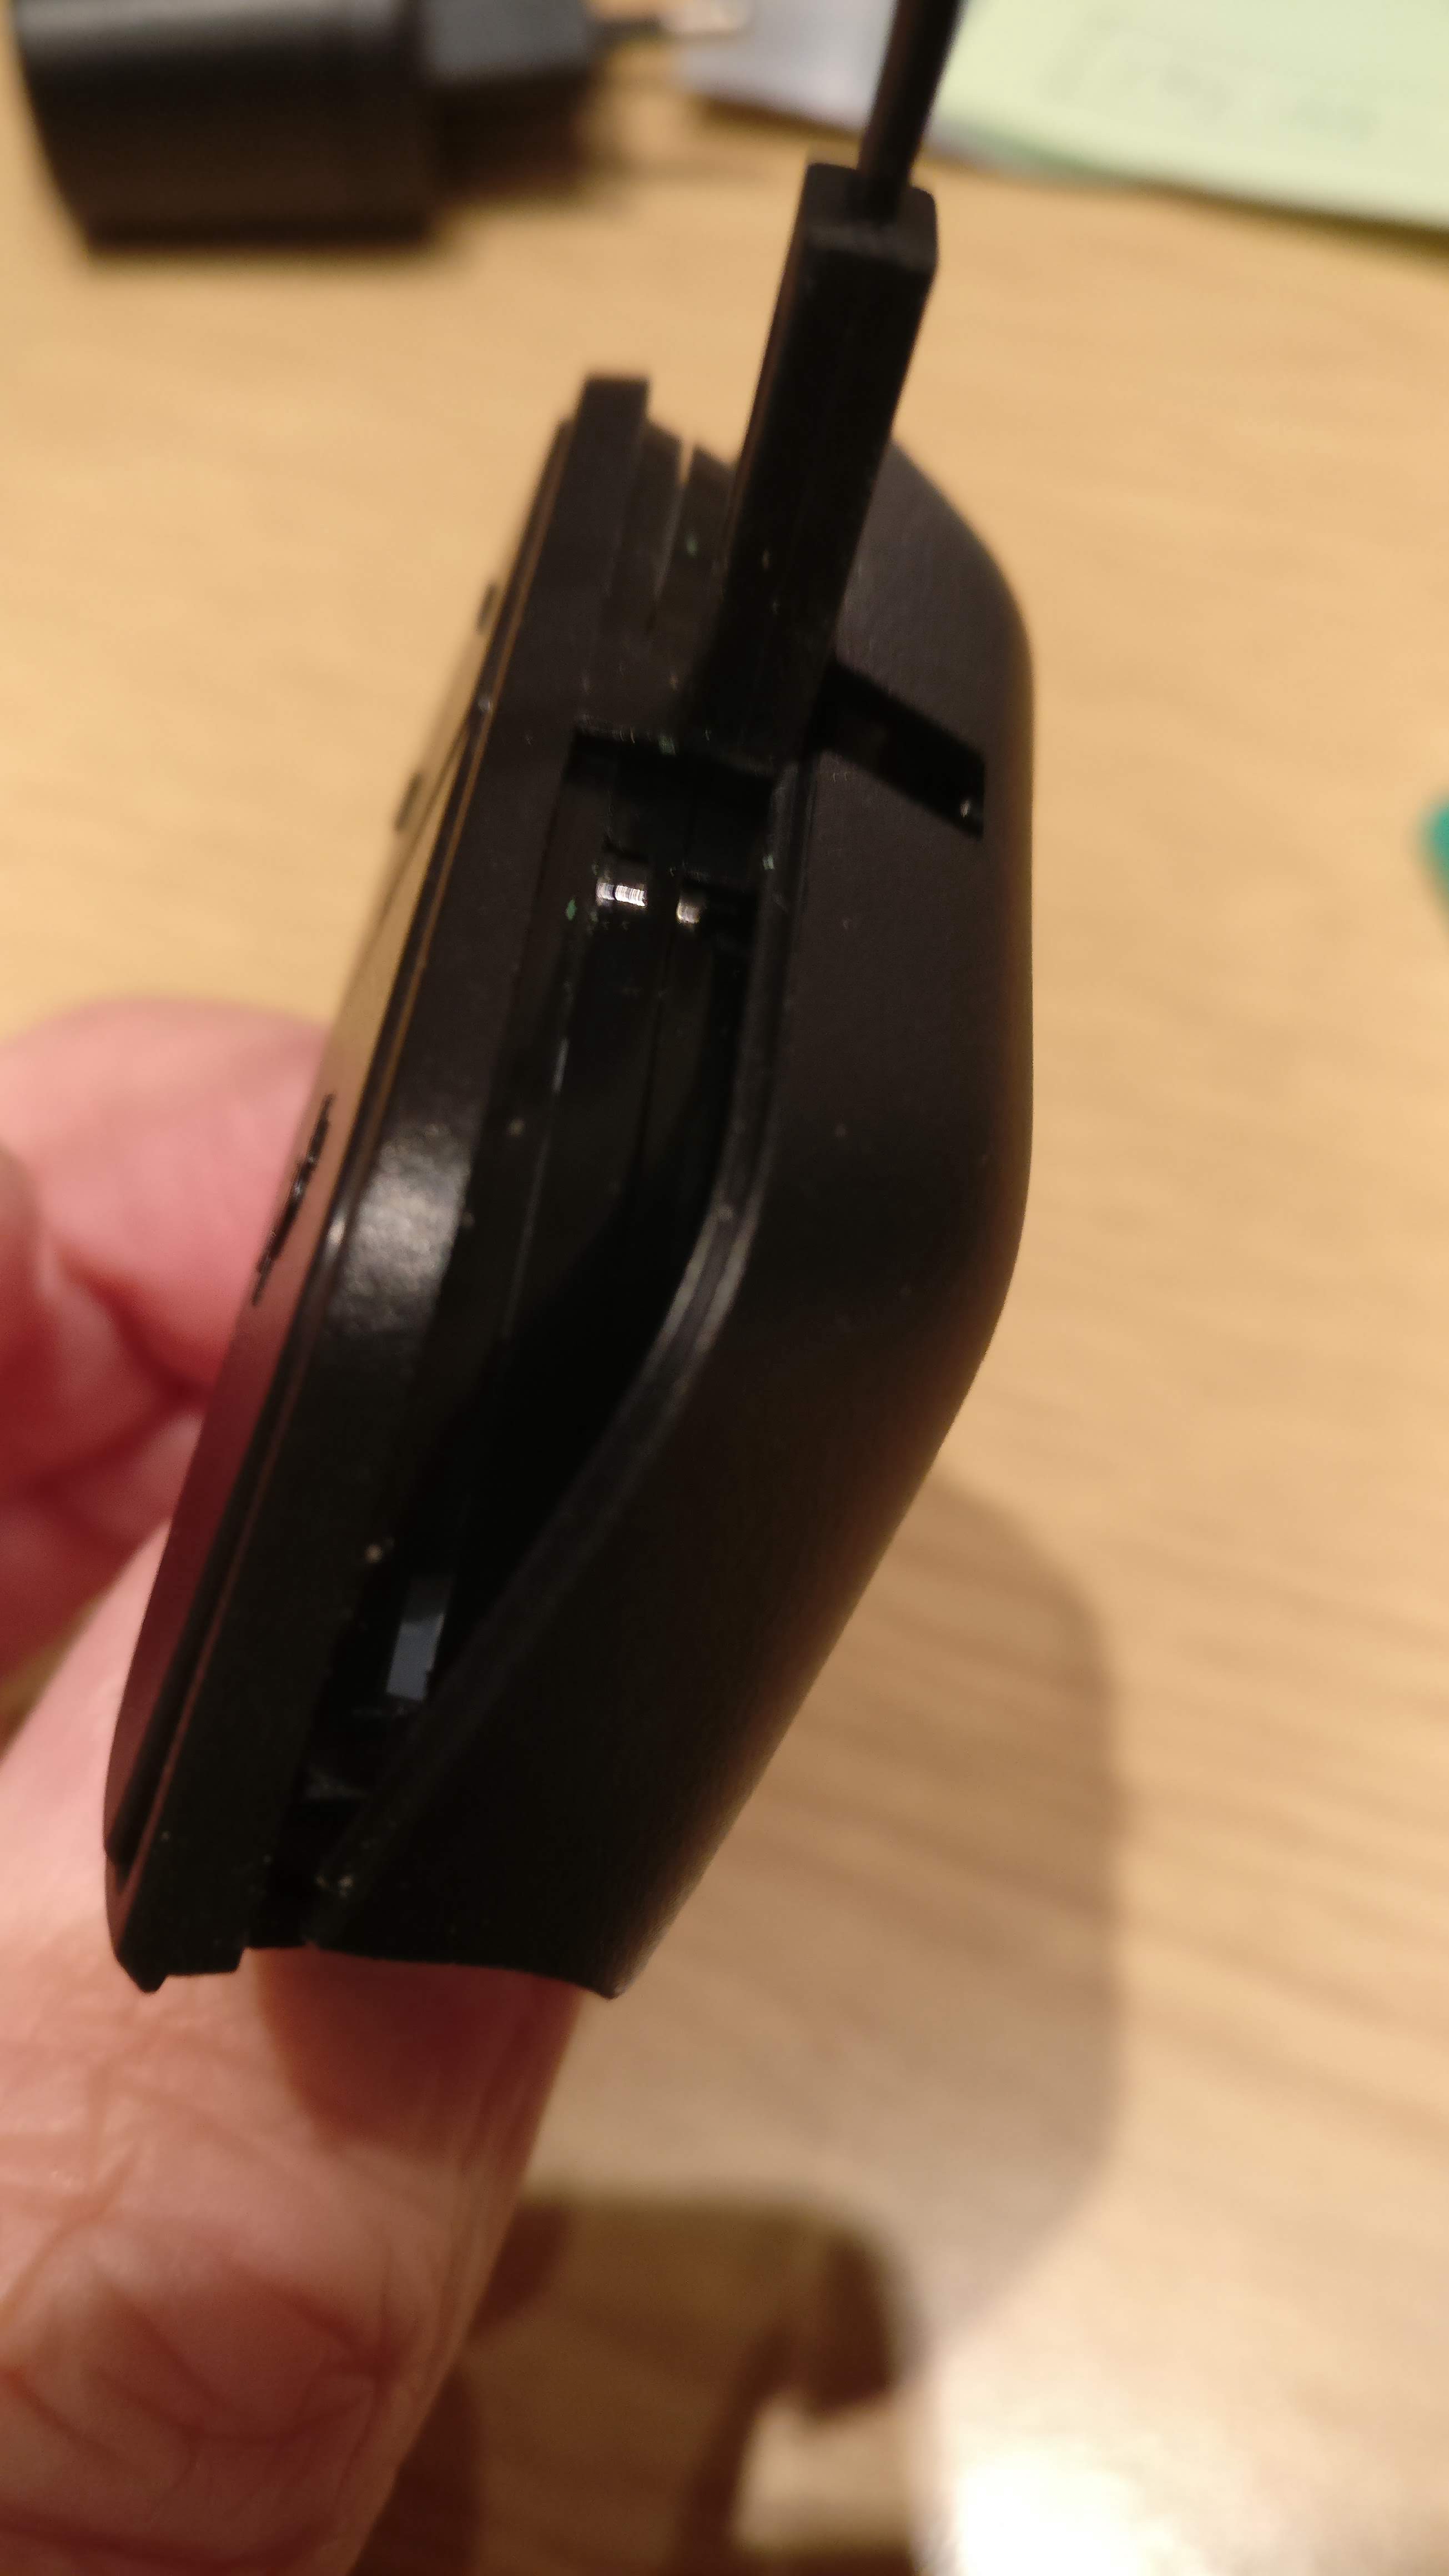 The back piece comes off easily
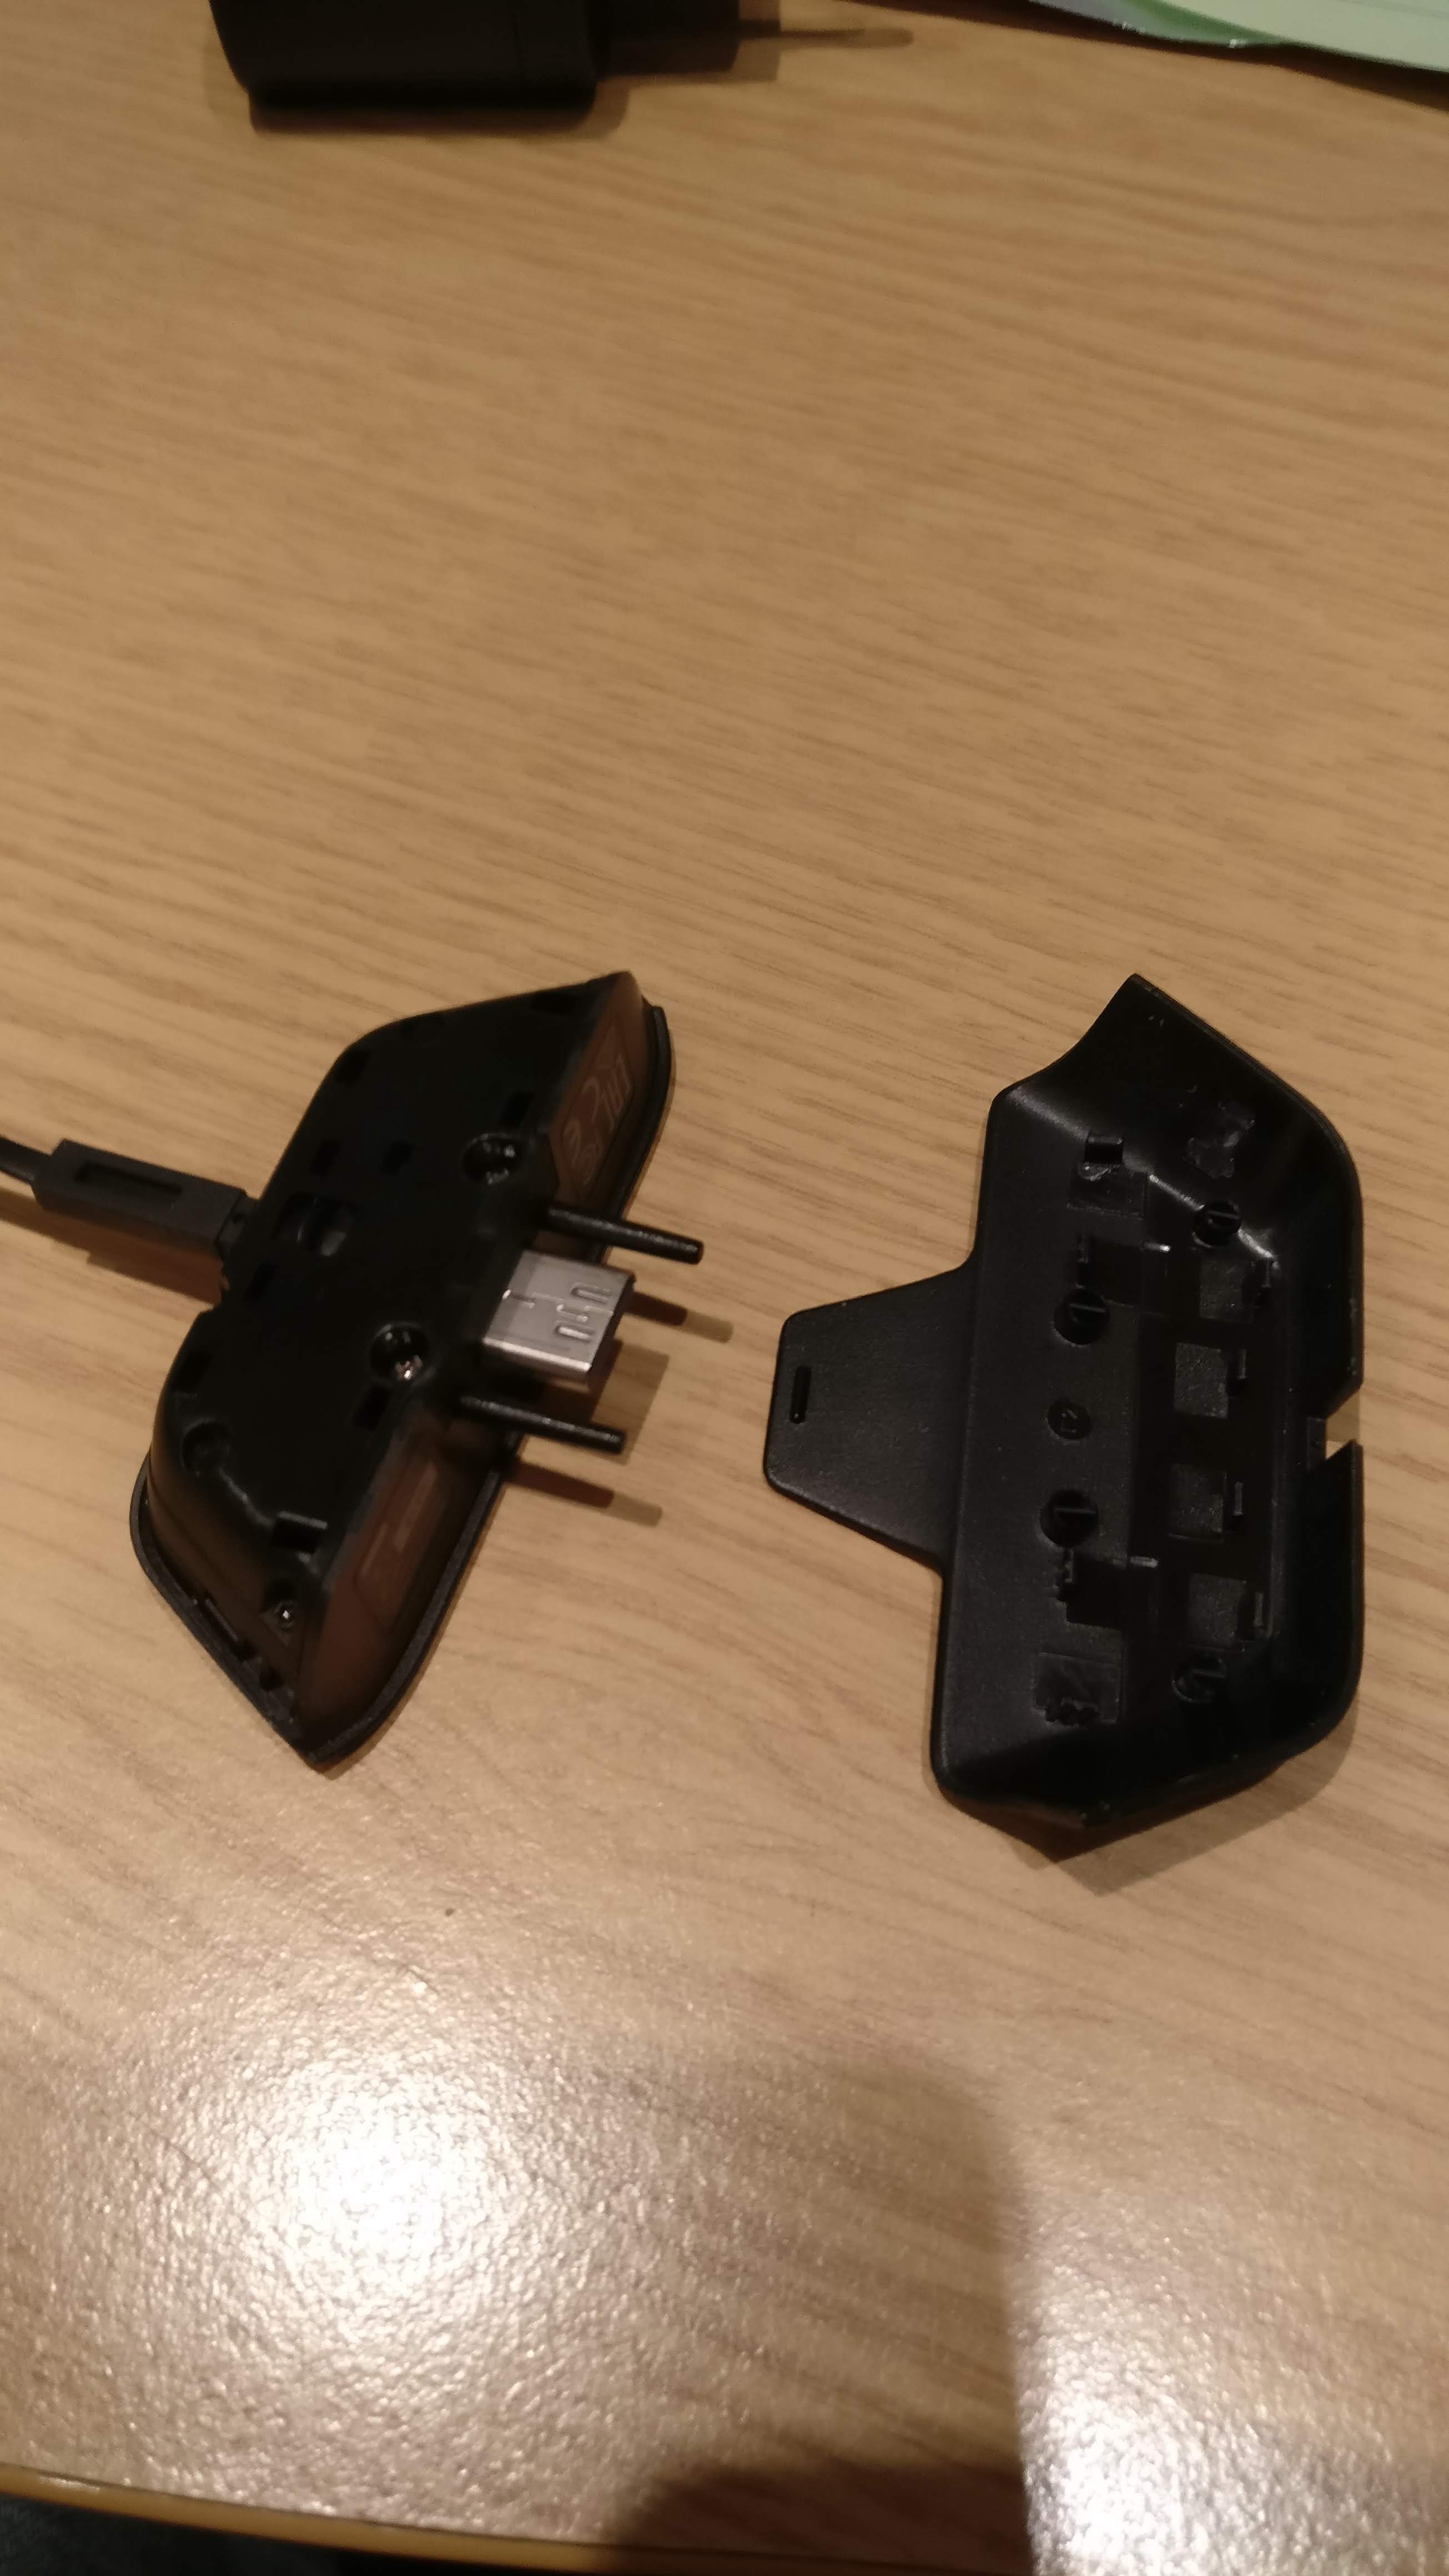 The back removed
Step 2 ? Use a T5 star driver to open the back of the headset adaptor
Using a T5 star driver, I undid the 2 silver and 3 black screws on the back of the headset ? these are revealed when the plastic back is removed.
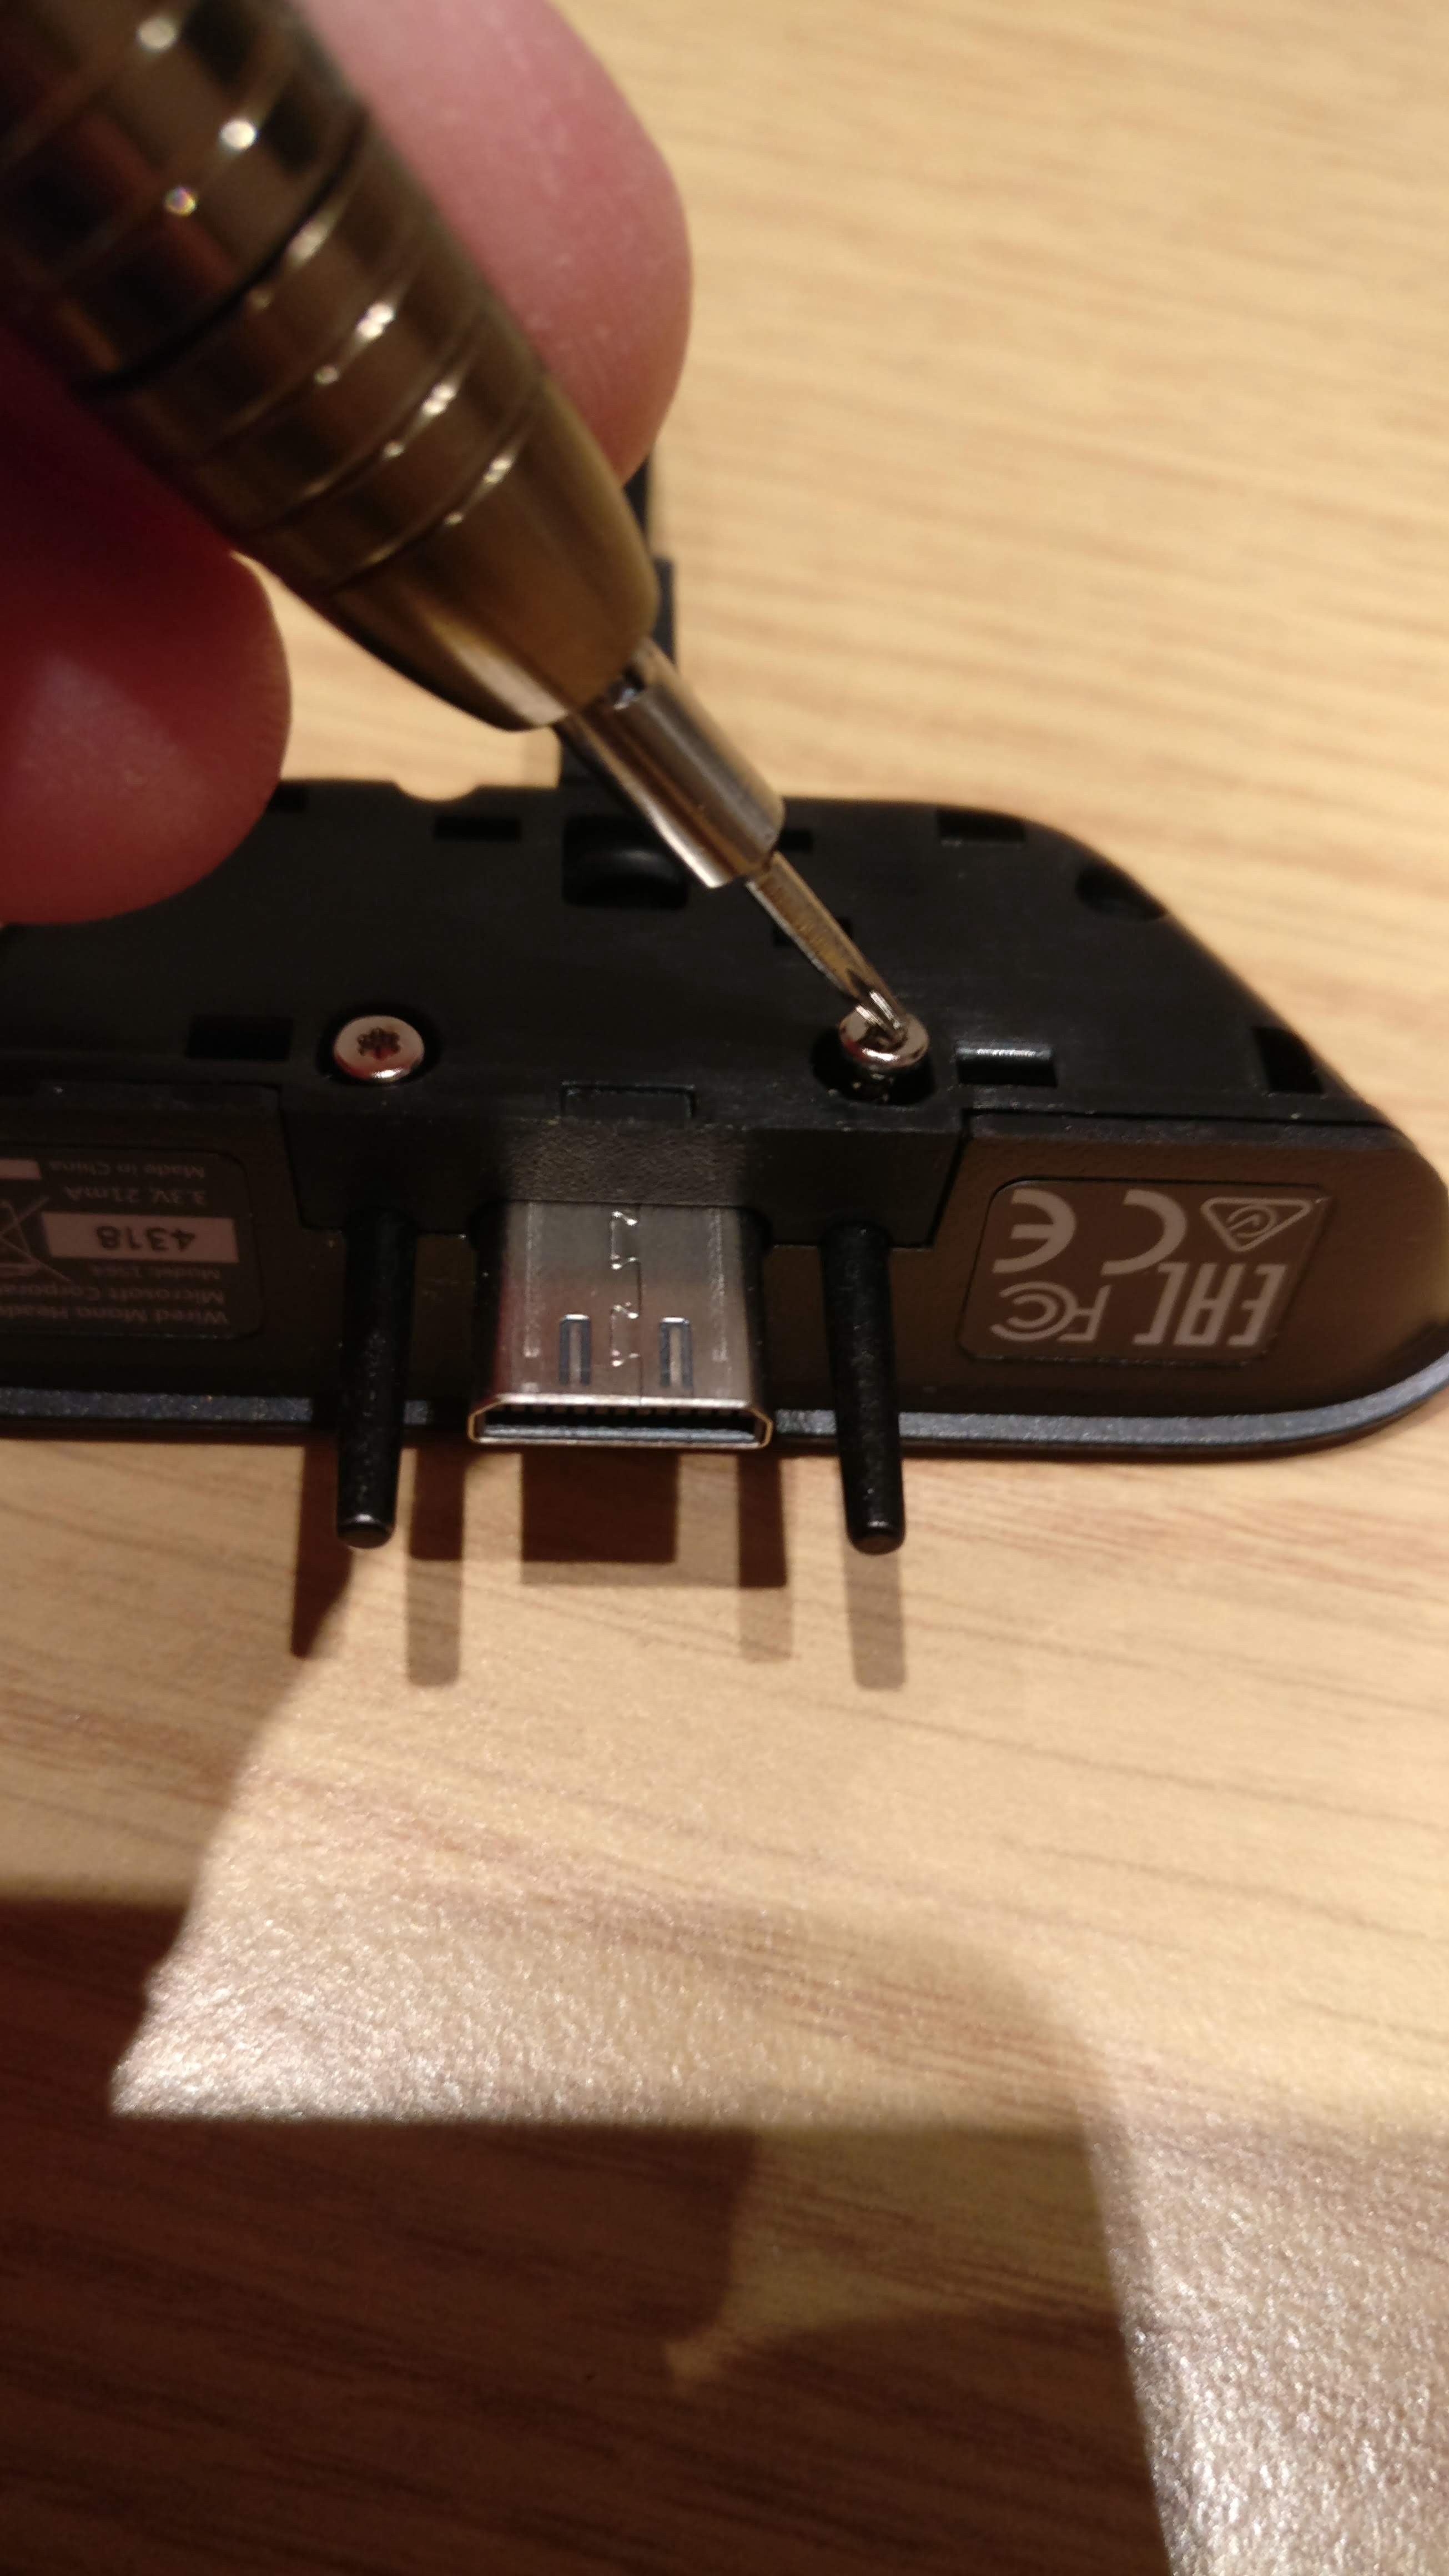 Remove the 2 silver and 3 black screws
Step 3 ? Remove the old wires
As there was about 3in of old, flat cable left on the headset adaptor, I de-soldered the wires and revealed the solder pads.
 Here are the wires for the removed headset
Step 4 ? Carefully strip the wires to the 4 pole plug
I used a scalpel and a lot of care to remove the 4 pole plug and then strip the wires back, revealing the following coloured wires:
- red
- blue
- green
- gold
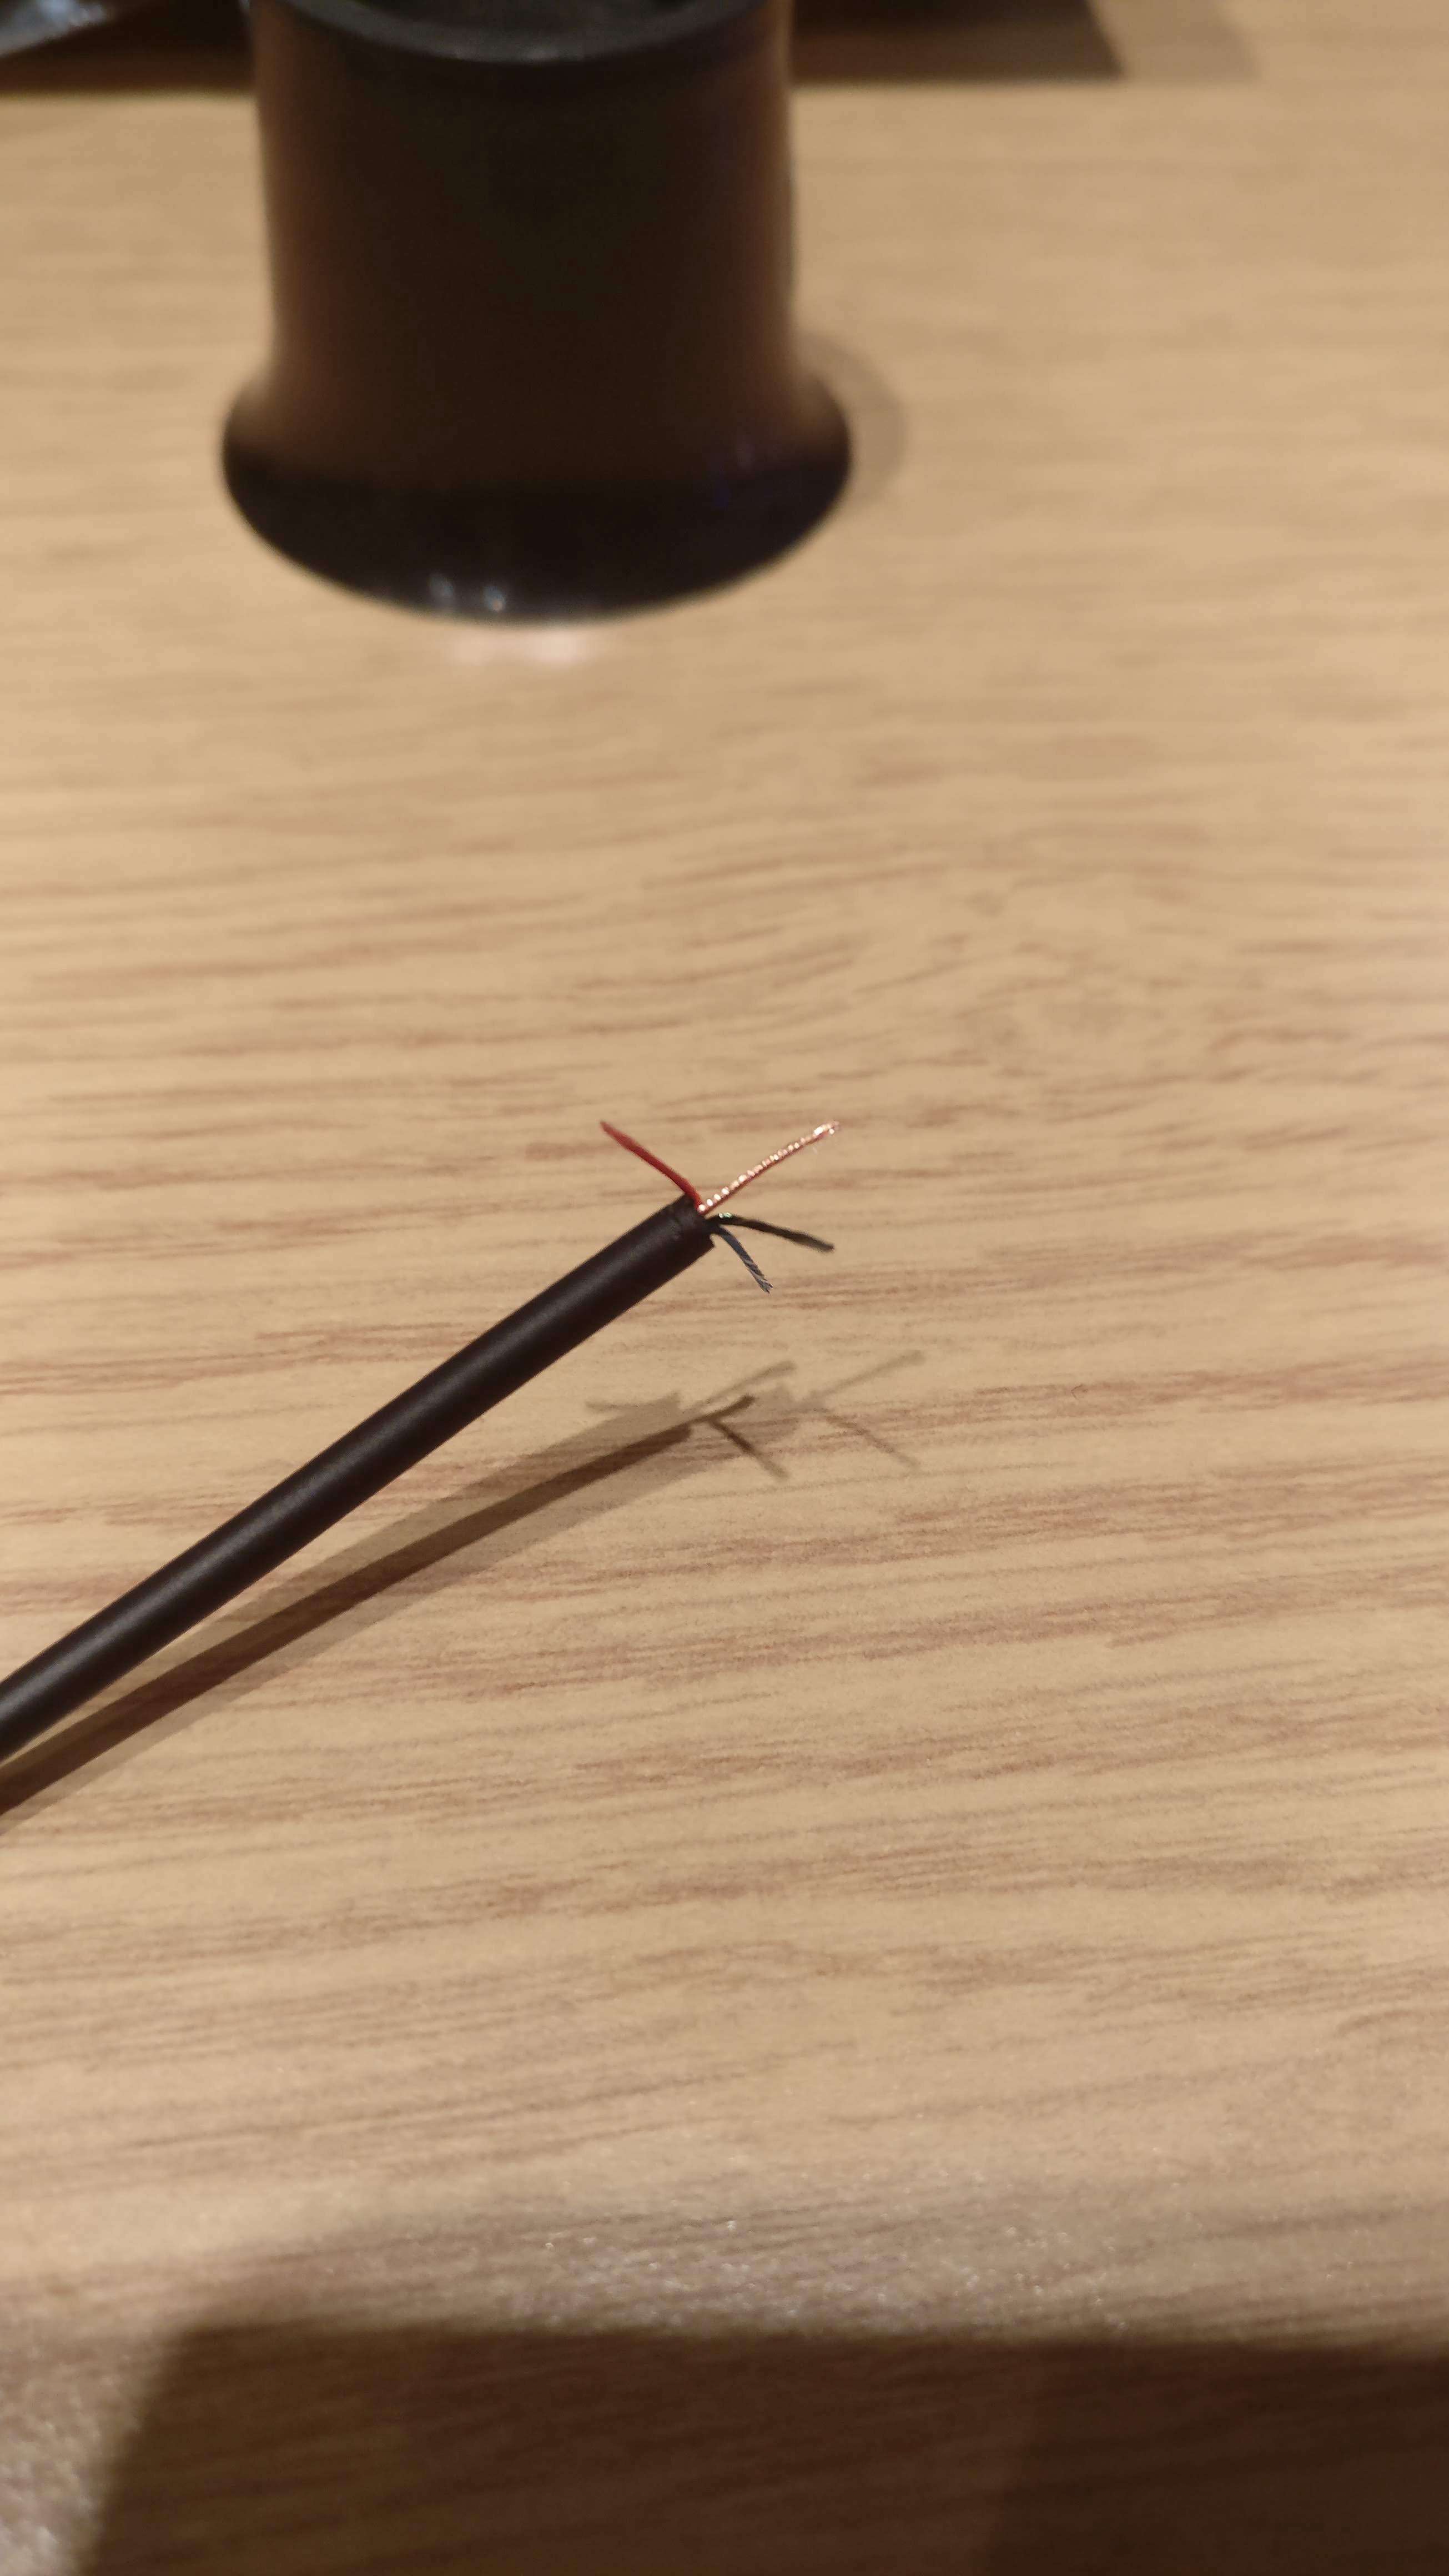 Carefully strip the wires
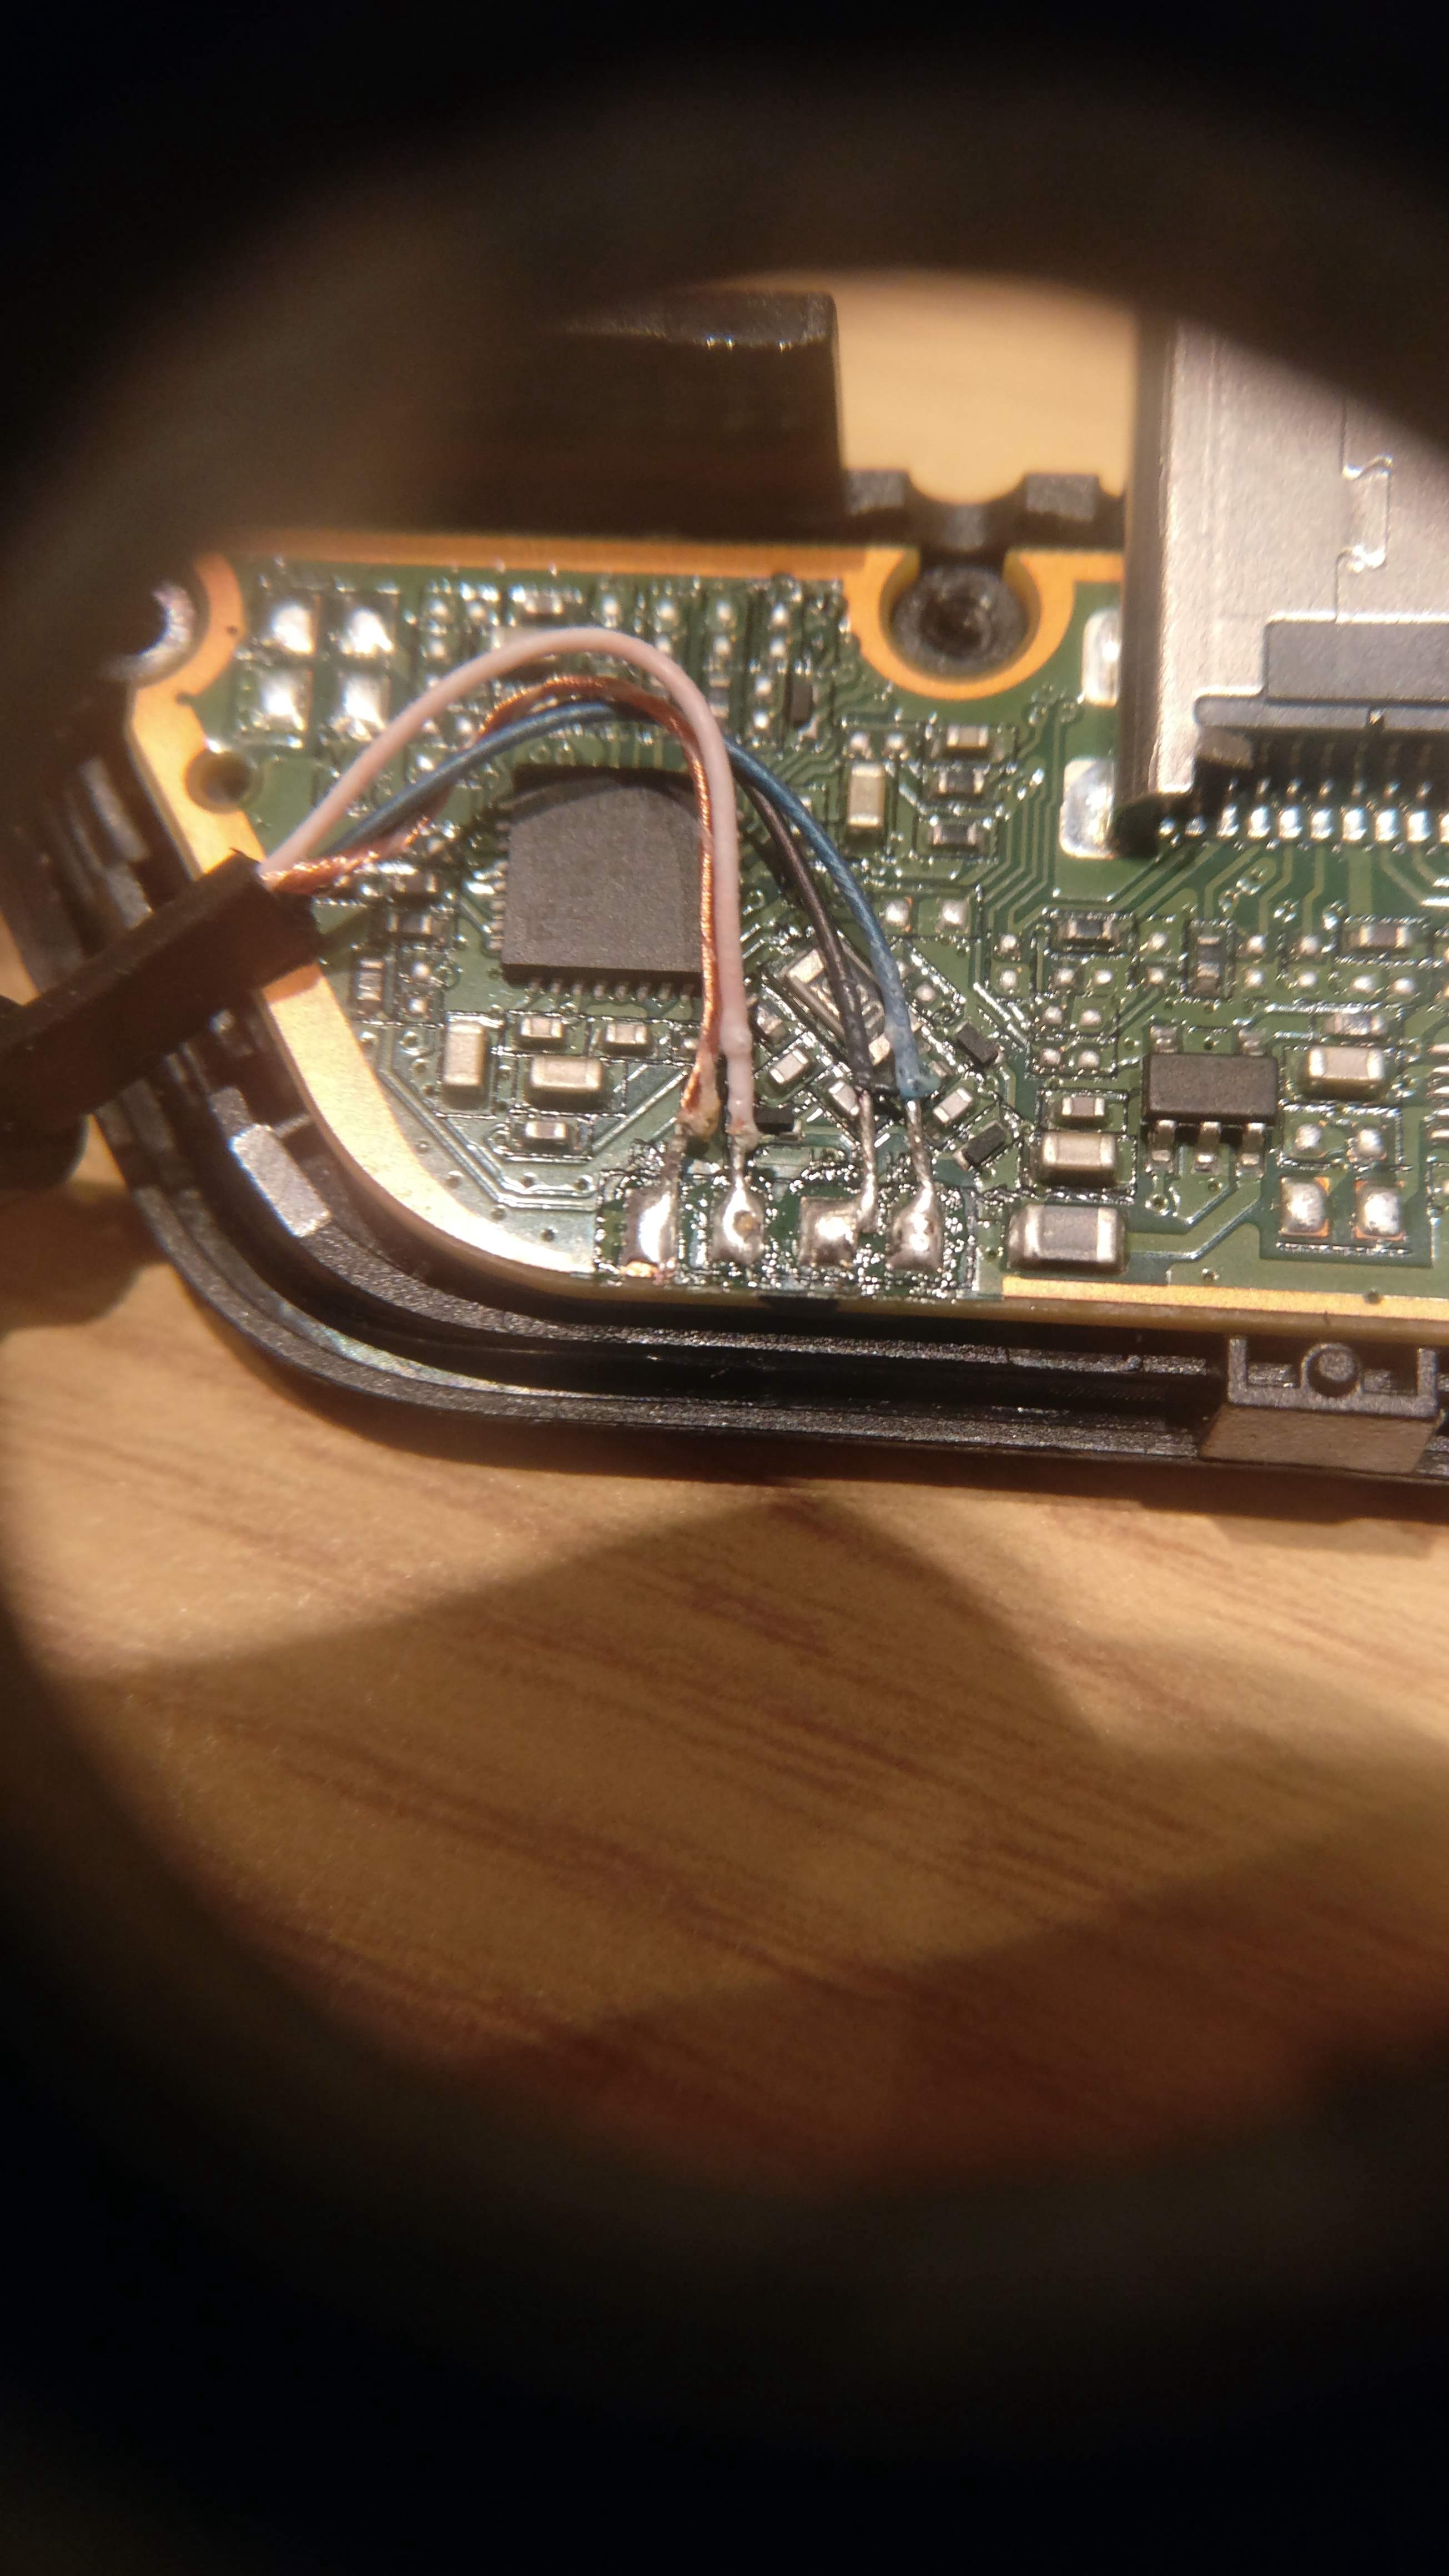
Step 5 ? Solder the wires to the headset adaptor pads
Next, using a very fine tipped soldering iron I soldered the wires to the pads on the headset adaptor.
 Solder the wires to the adaptor
The pads on the headset adaptor from left to right:
- GND ? Ground (common) ? to be used for both the speaker and microphone
- MIC ? Microphone (+)
- HPR ? Headphone Right (+)
- HPL ? Headphone Left (-)
For the 4 pole headphone adaptor I got, the wires therefore ended up being soldered as follows:
- GND ? blue
- MIC ? red
- HPR ? gold
- HPL ? green
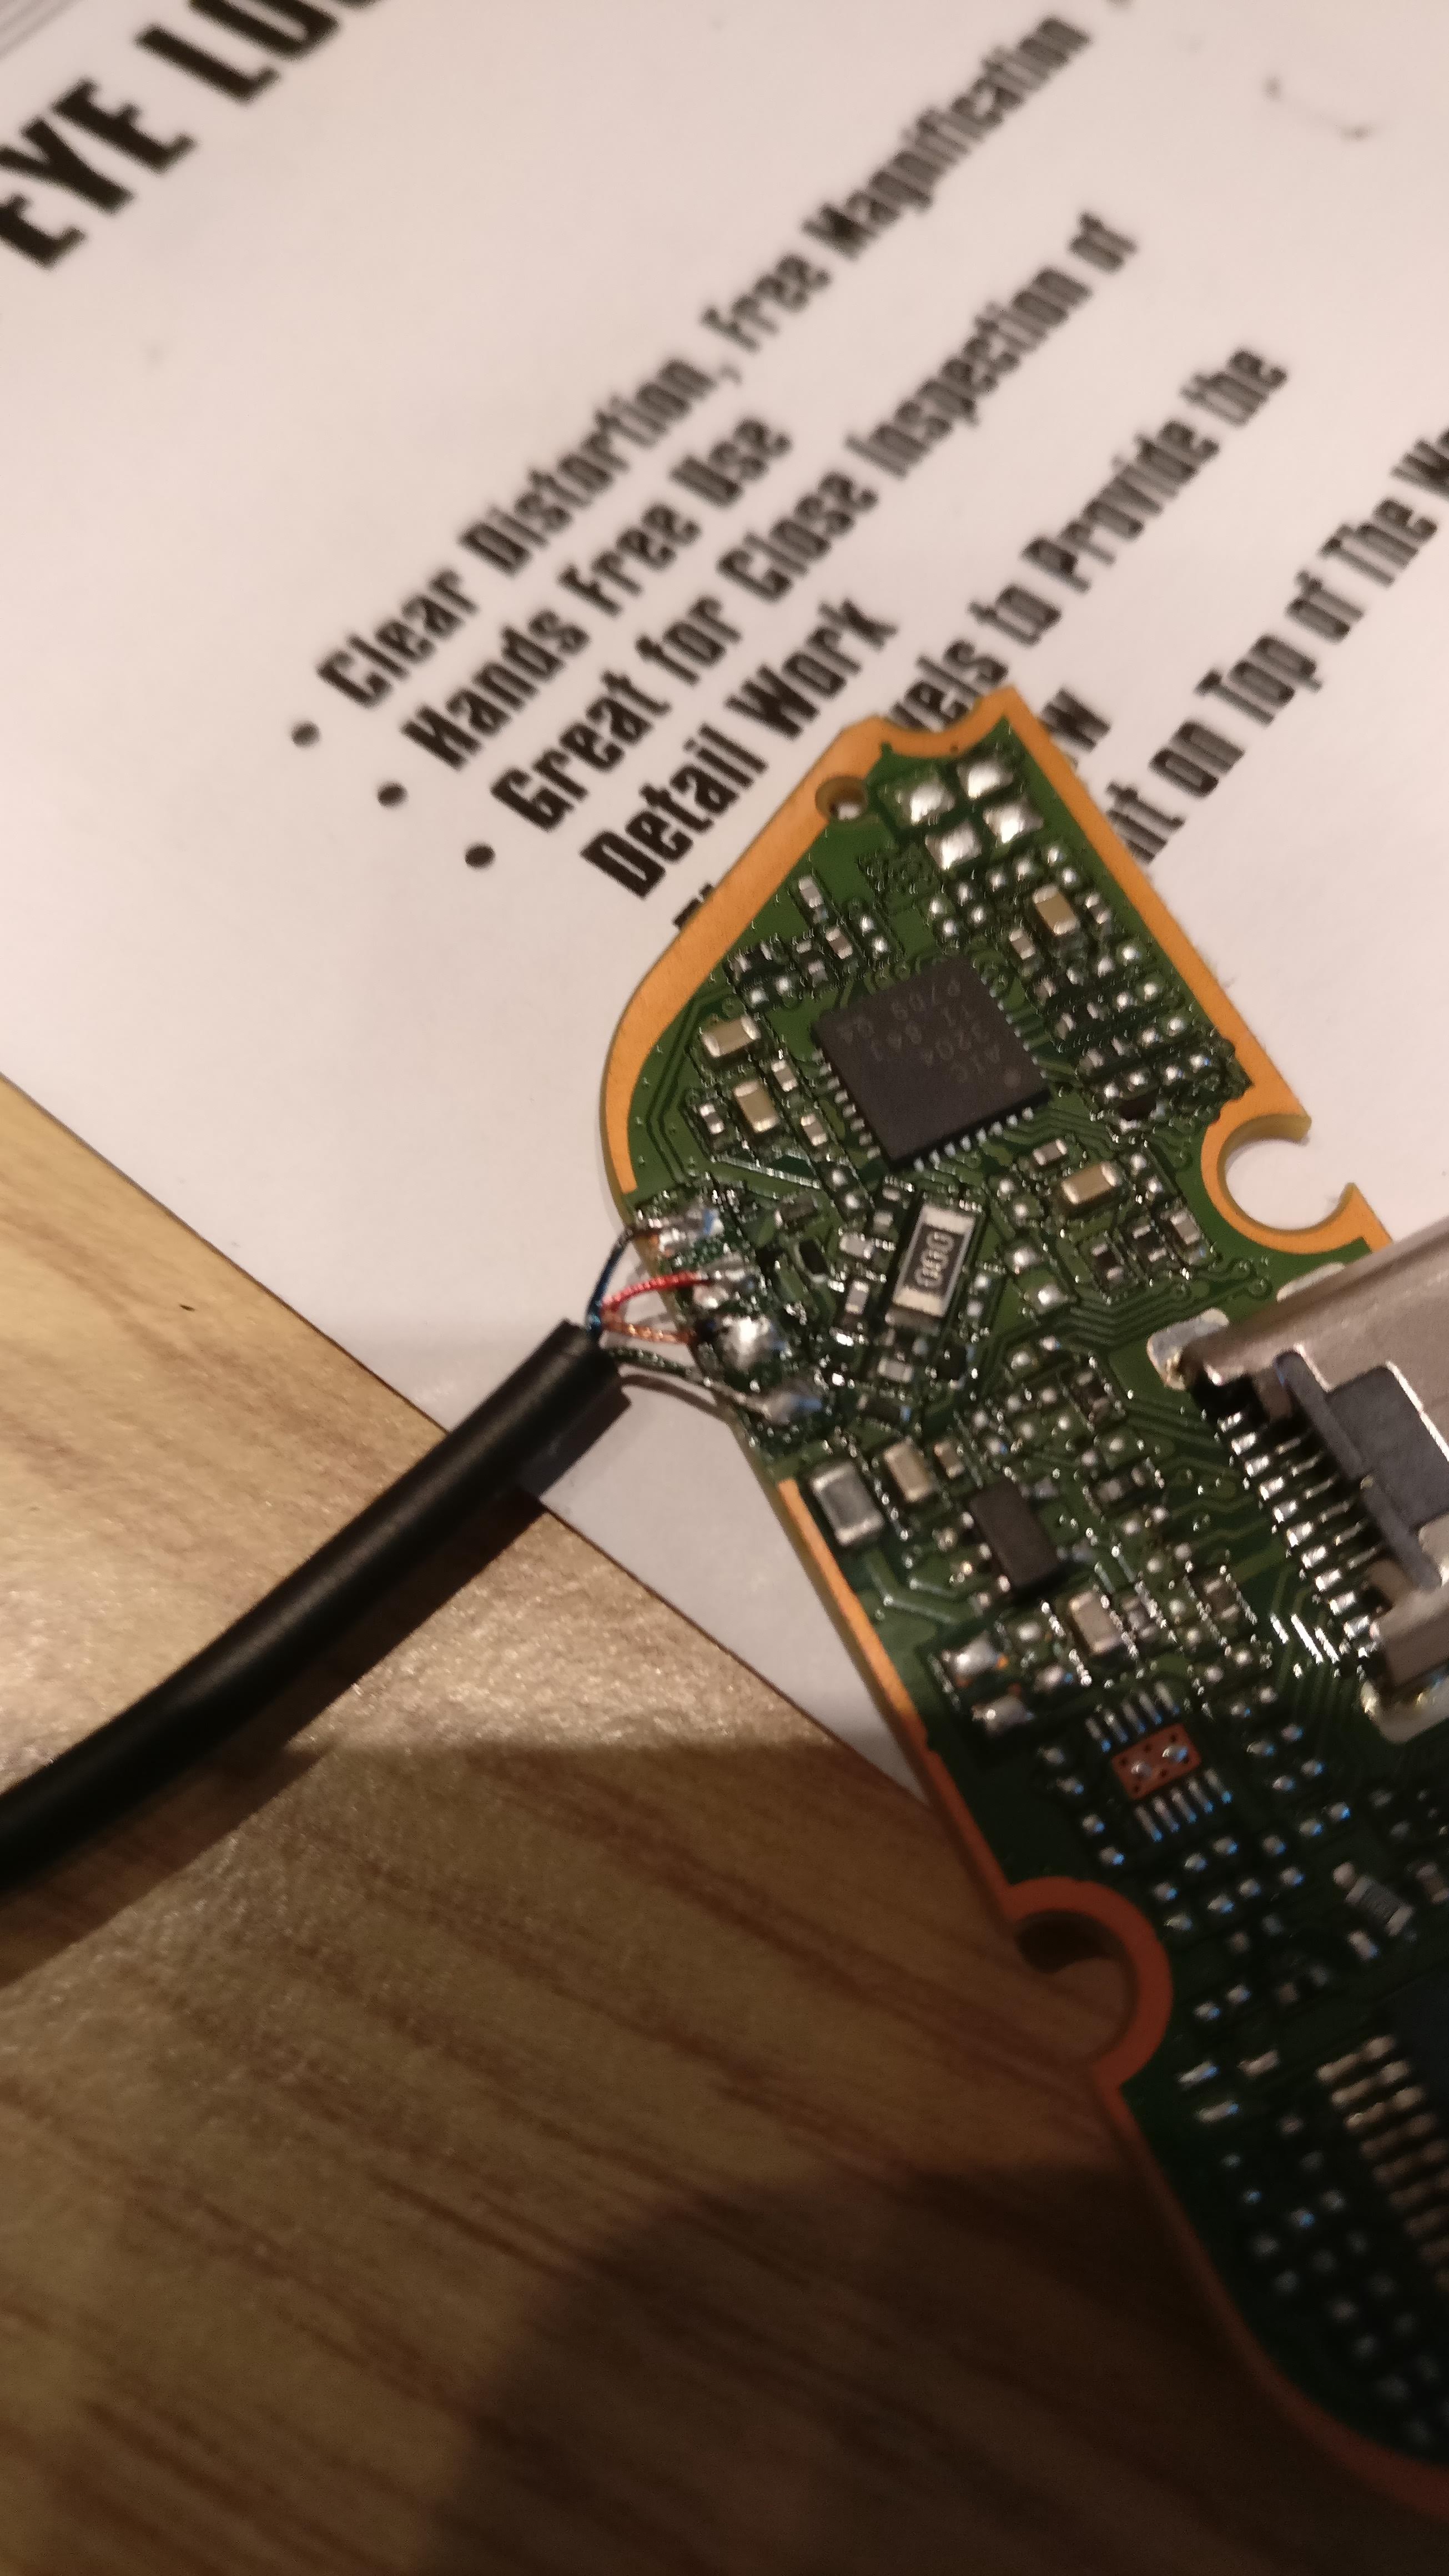
Step 6 ? re-assemble
Once I tested that all was working, by attaching the headset adaptor to an Xbox One controller, I then put a drop of hot glue on the connectors I had soldered, tied a knot in the wire (to stop it being pulled), and then re-assembled the headset adaptor.
Here?s what I ended up with:
Complete!
So, for 1/10th of the price of a new headset adaptor, I have a working adaptor that I know how to fix, should it get damaged again in the future.

