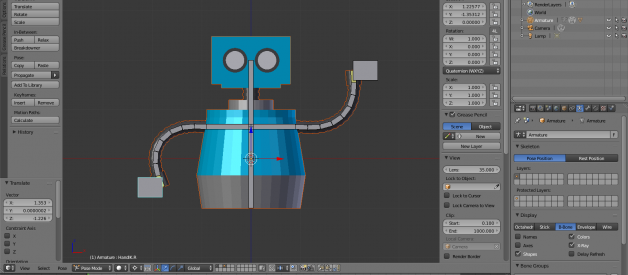
Let?s bring our robots to life! We will do so with bones. Yes, bones. And bones compose armatures. In Blender, rigging is the process of connecting an armature to a mesh to make it move. In this tutorial, you will learn how to rig an armature to animate your robot.
If you?re just joining us, you will want to start with Part 1, Beginner Blender Tutorial: How to Model & Animate a Robot.
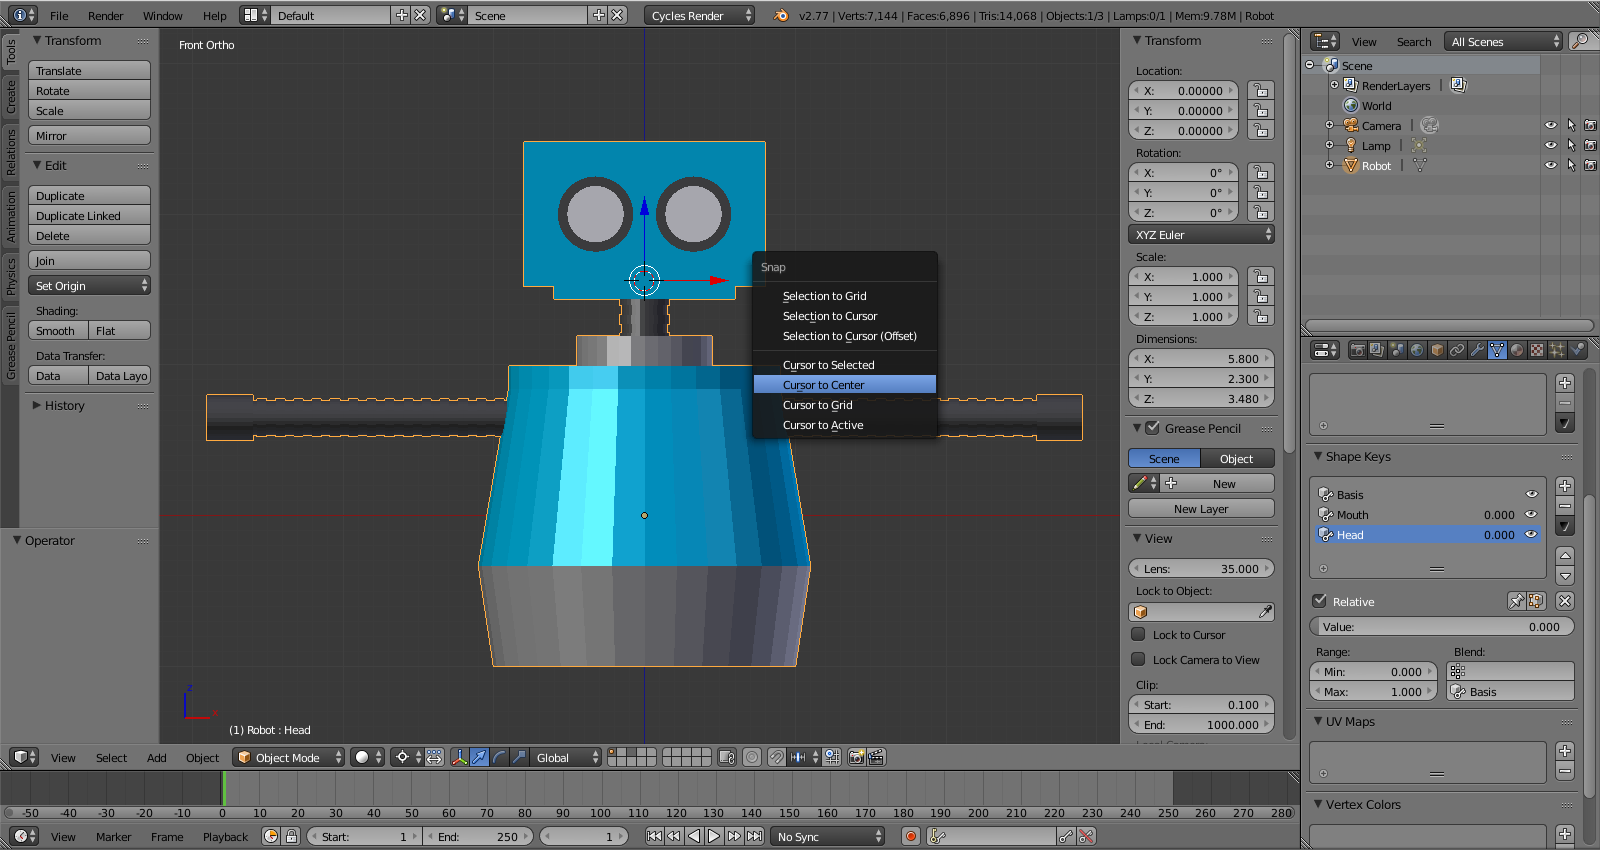
Before we create our first bone, make sure the 3D cursor is at the center of the 3D View. SHIFT + S and select Cursor to Center.
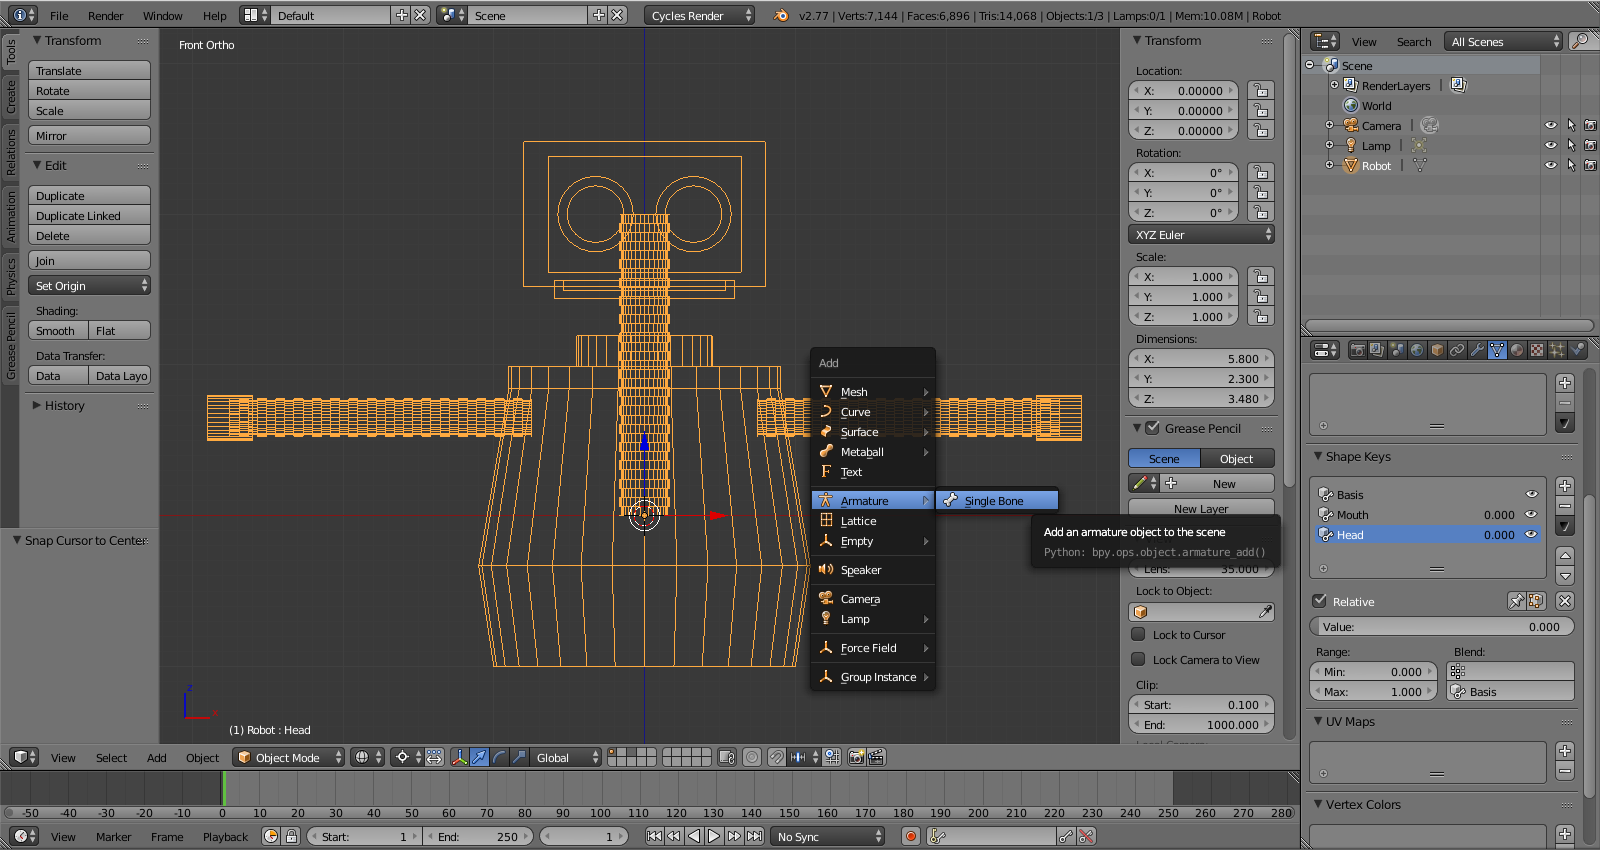
Now Z to wireframe and add a bone with SHIFT + A and select Armature, Single Bone.
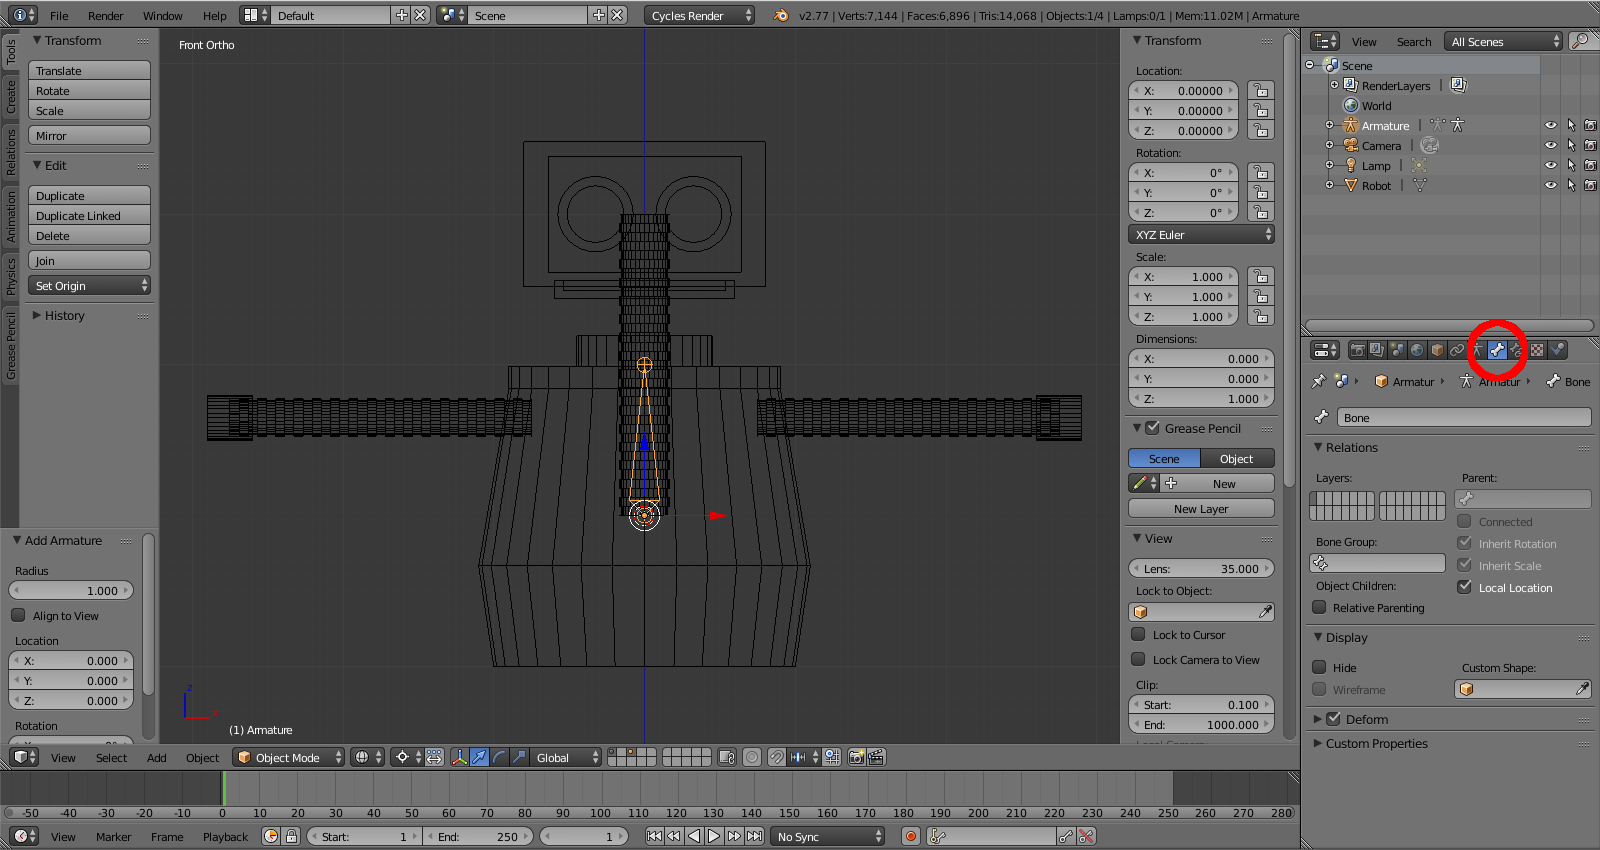
Tab
Select bone tab in Properties panel
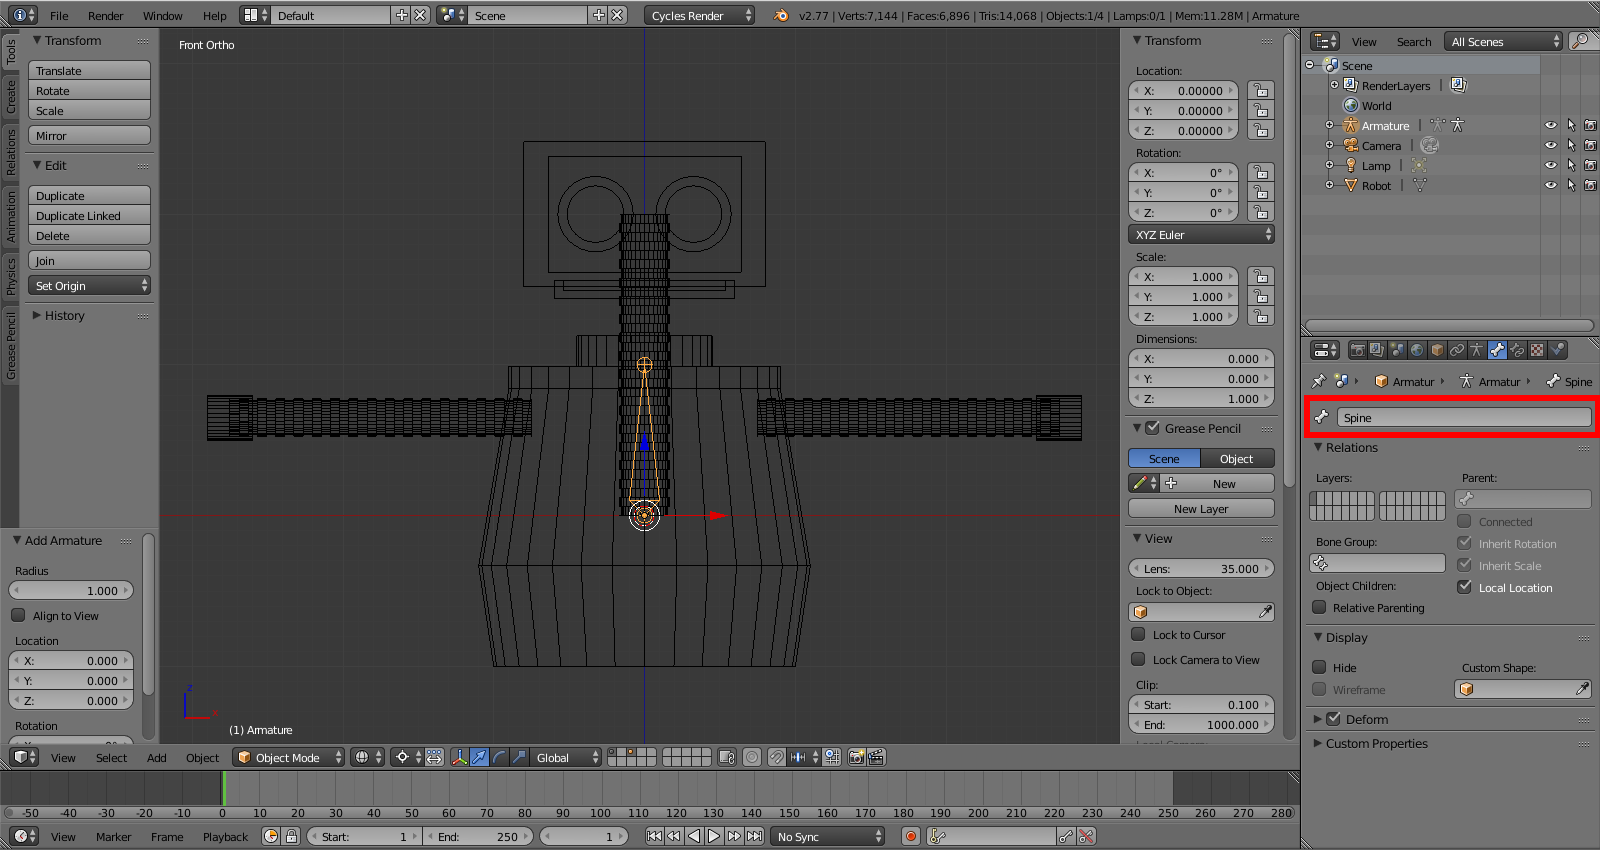
Rename ?Bone? to ?Spine?.

TAB to Edit Mode. Use RMB to select the bottom of ?Spine?.
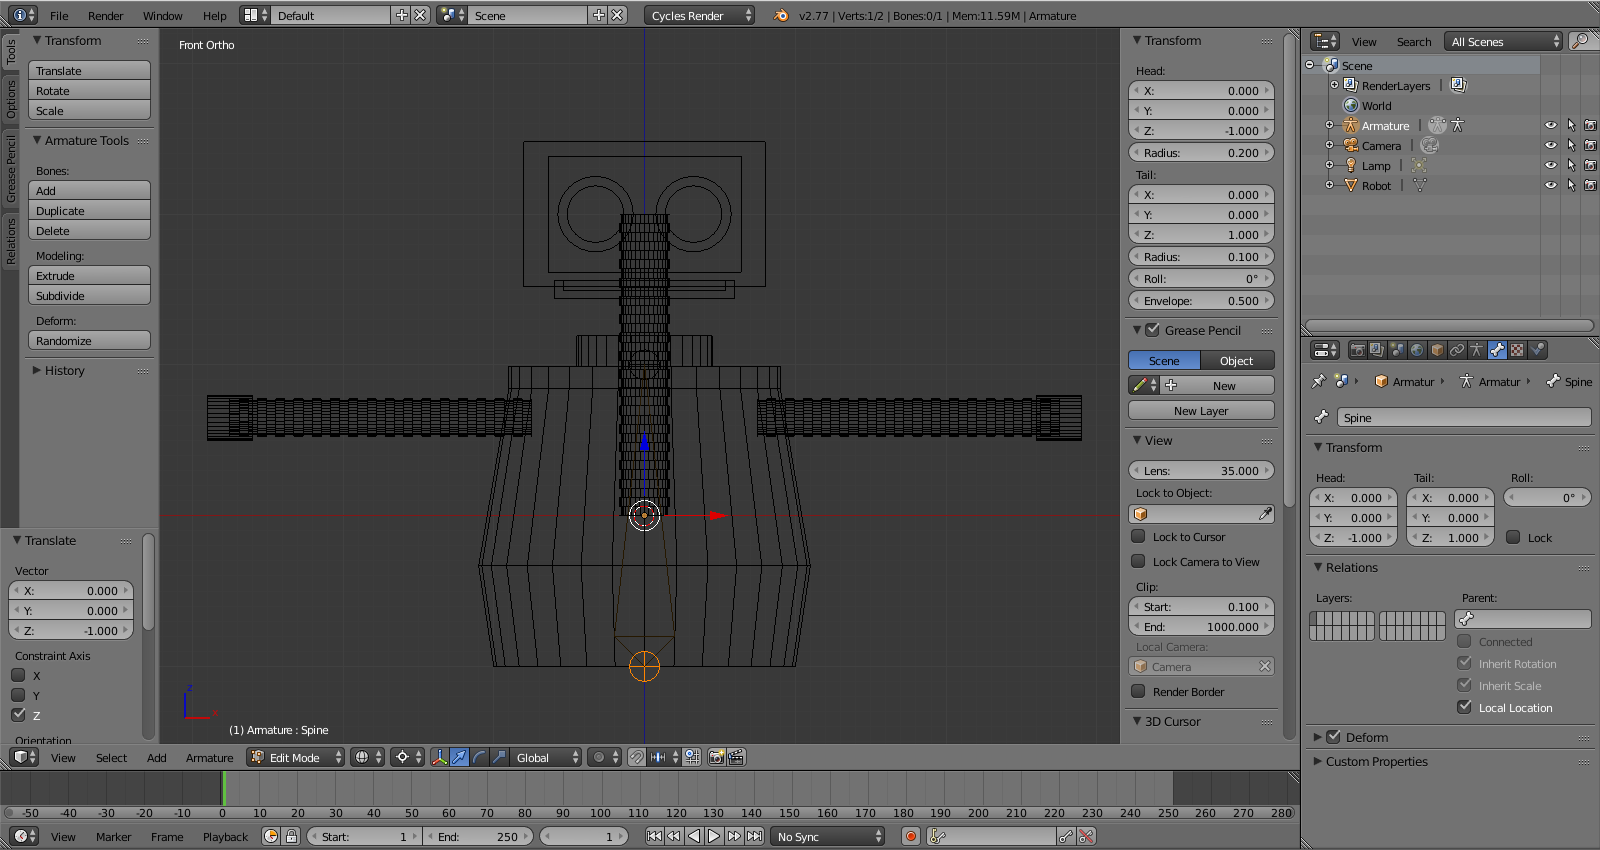
Press G to Grab and Z to move it only on the Z-axis, then enter -1, and press ENTER.
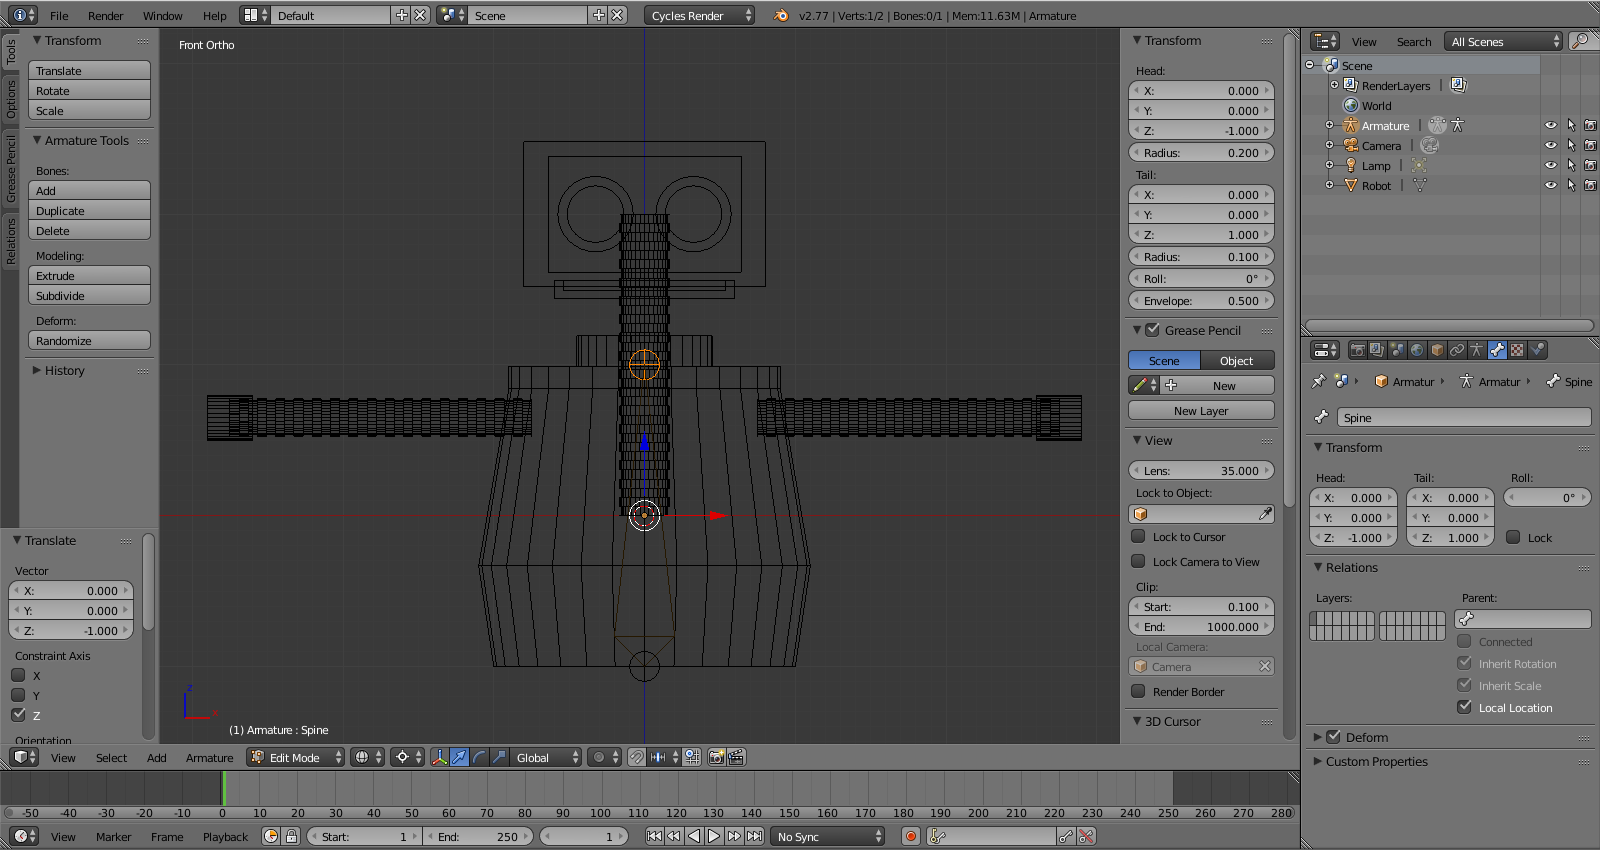
Now select the top, or head, of ?Spine?.
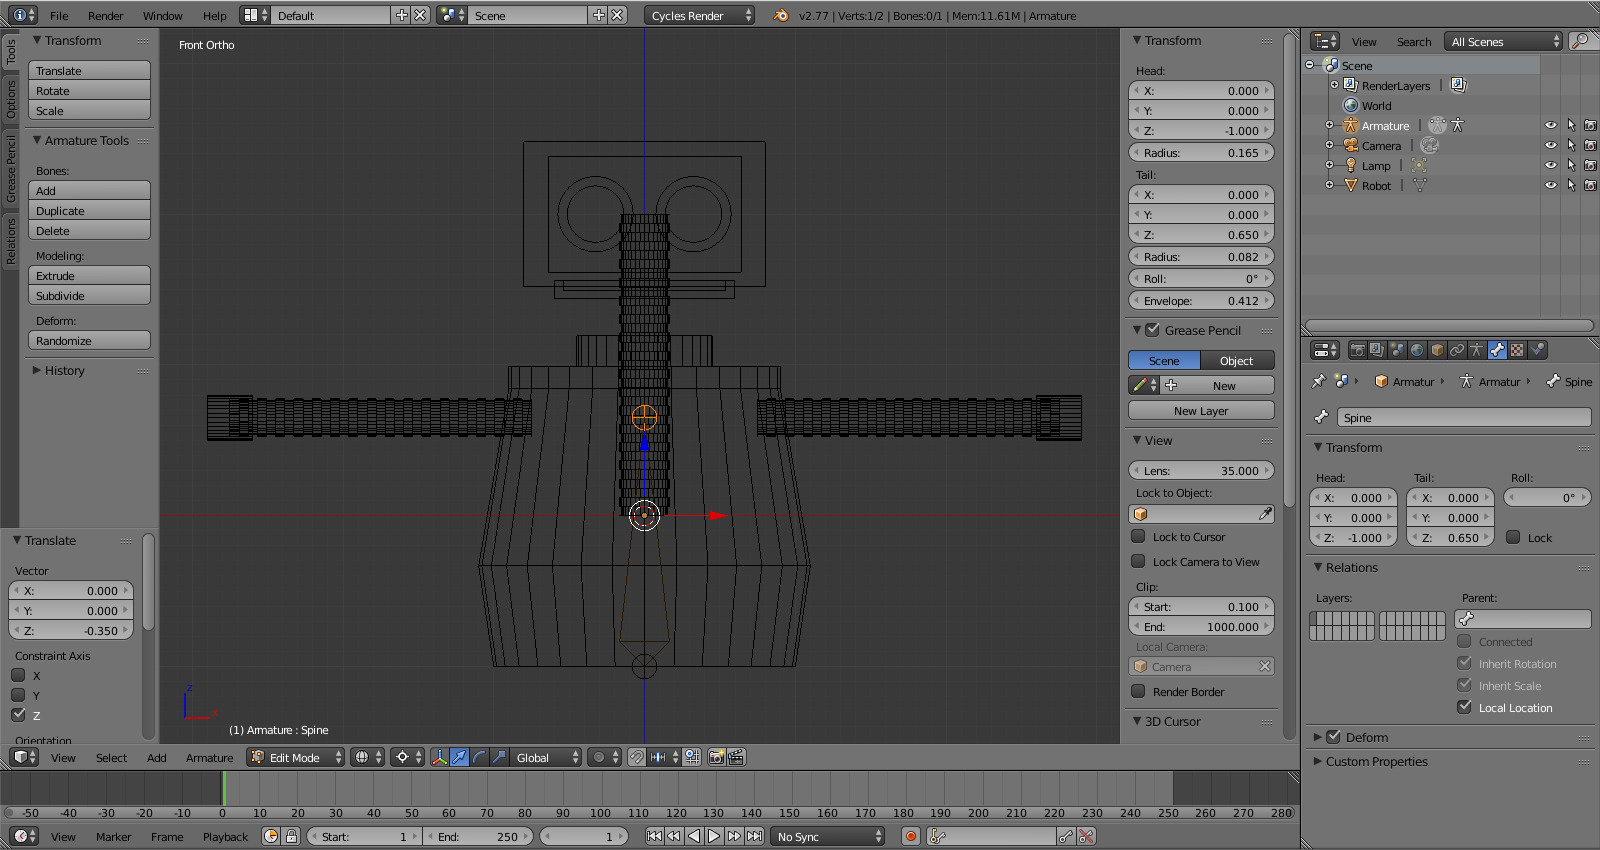
Grab with G, constrain to Z, and move it down -.35. Press ENTER.
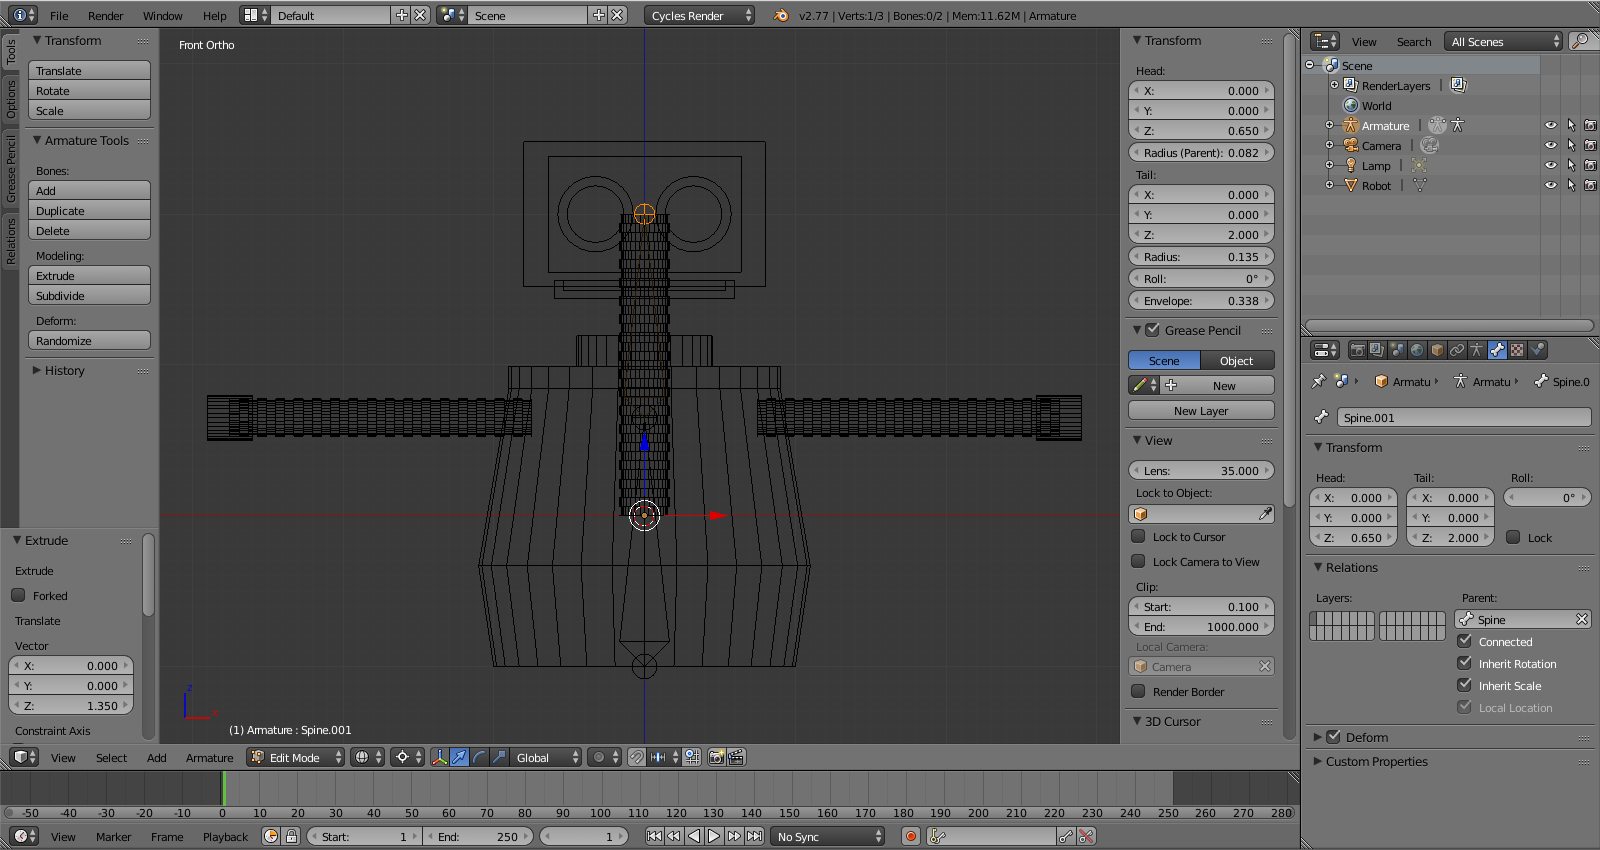
With the top of ?Spine? still selected, press E to extrude a new bone, and Z to constrain it to the Z-axis, then enter 1.35 and press ENTER.
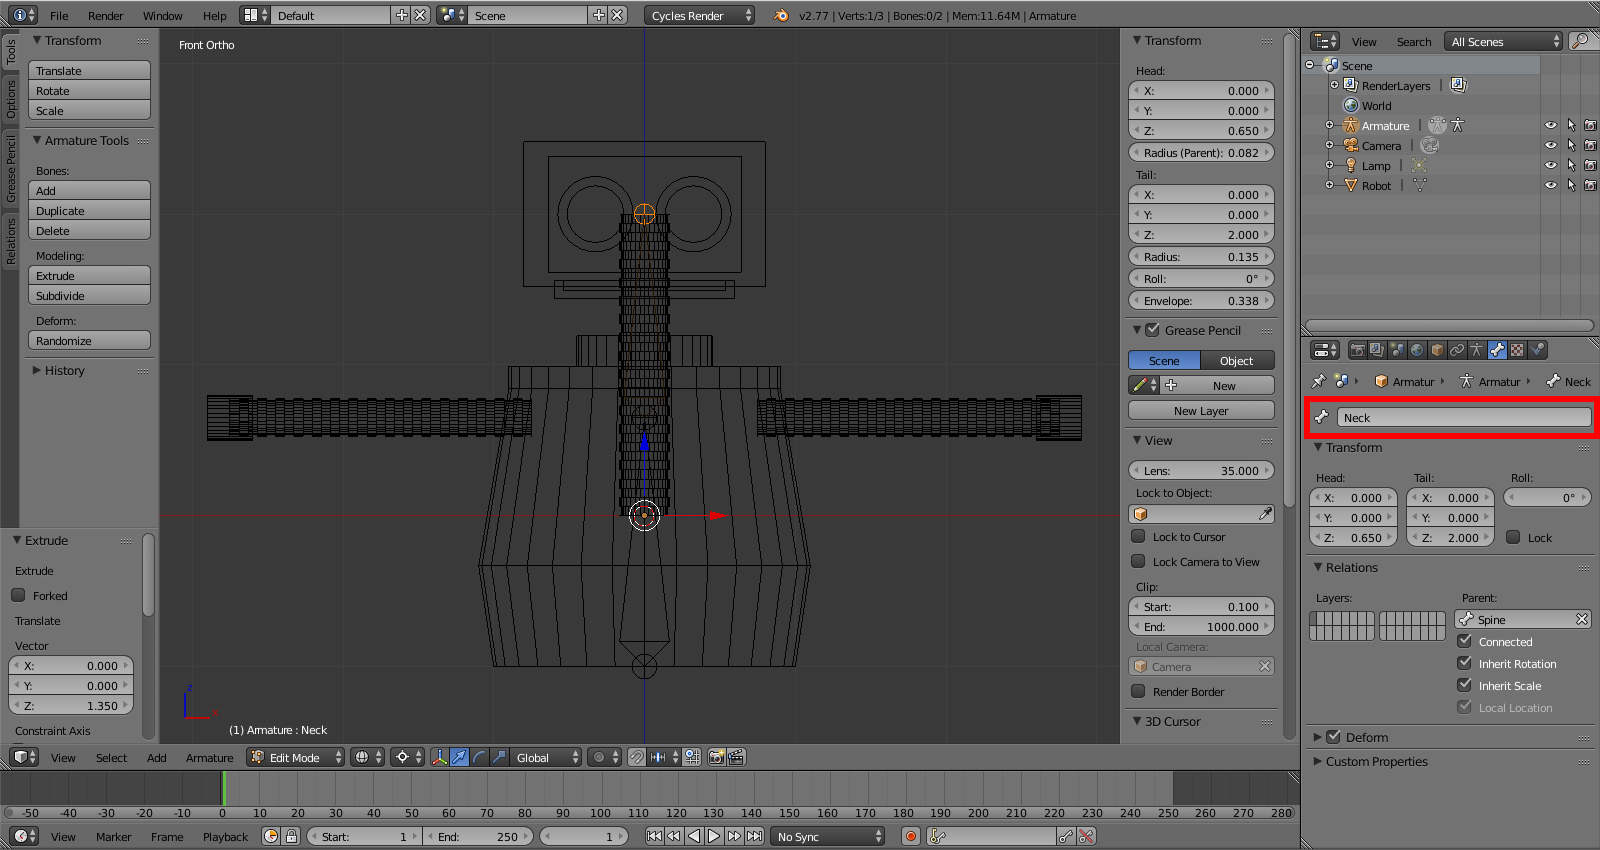
Rename the new bone to ?Neck?.
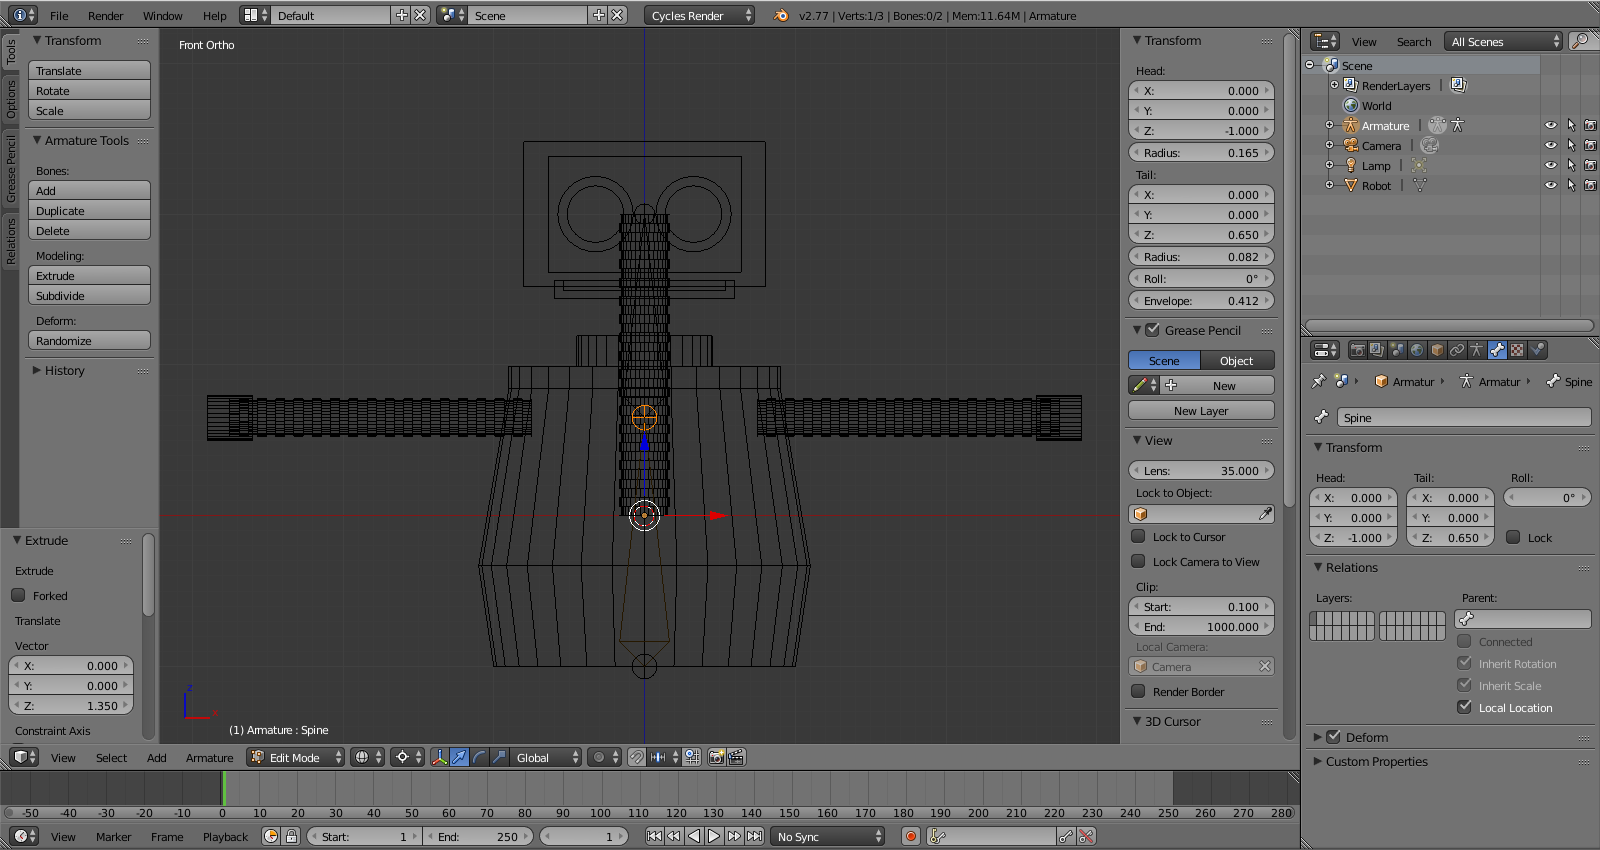
Select the top of ?Spine? again.
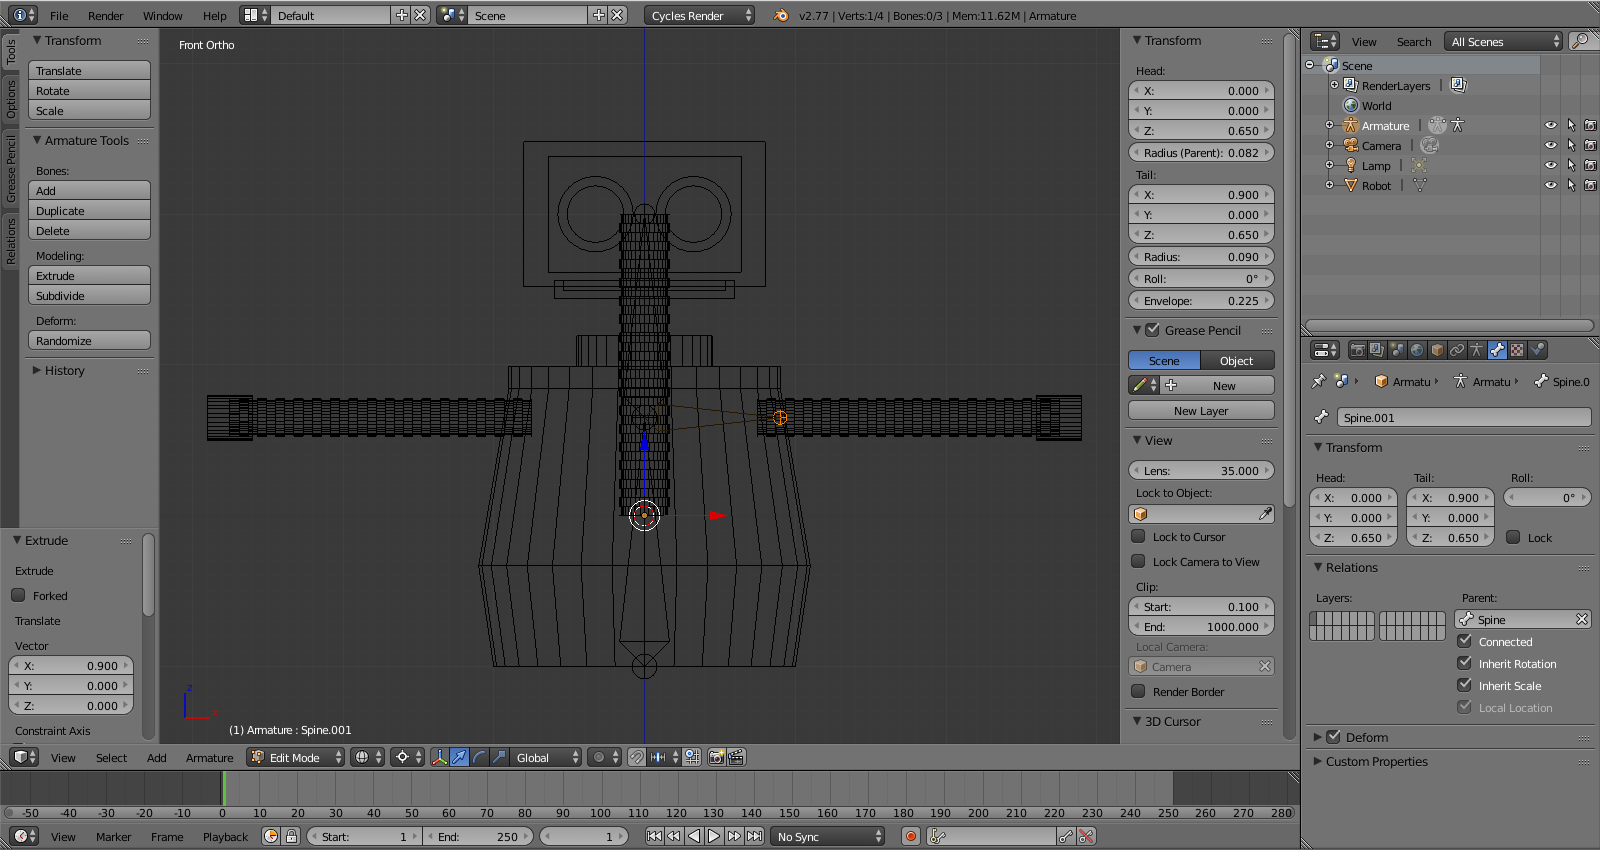
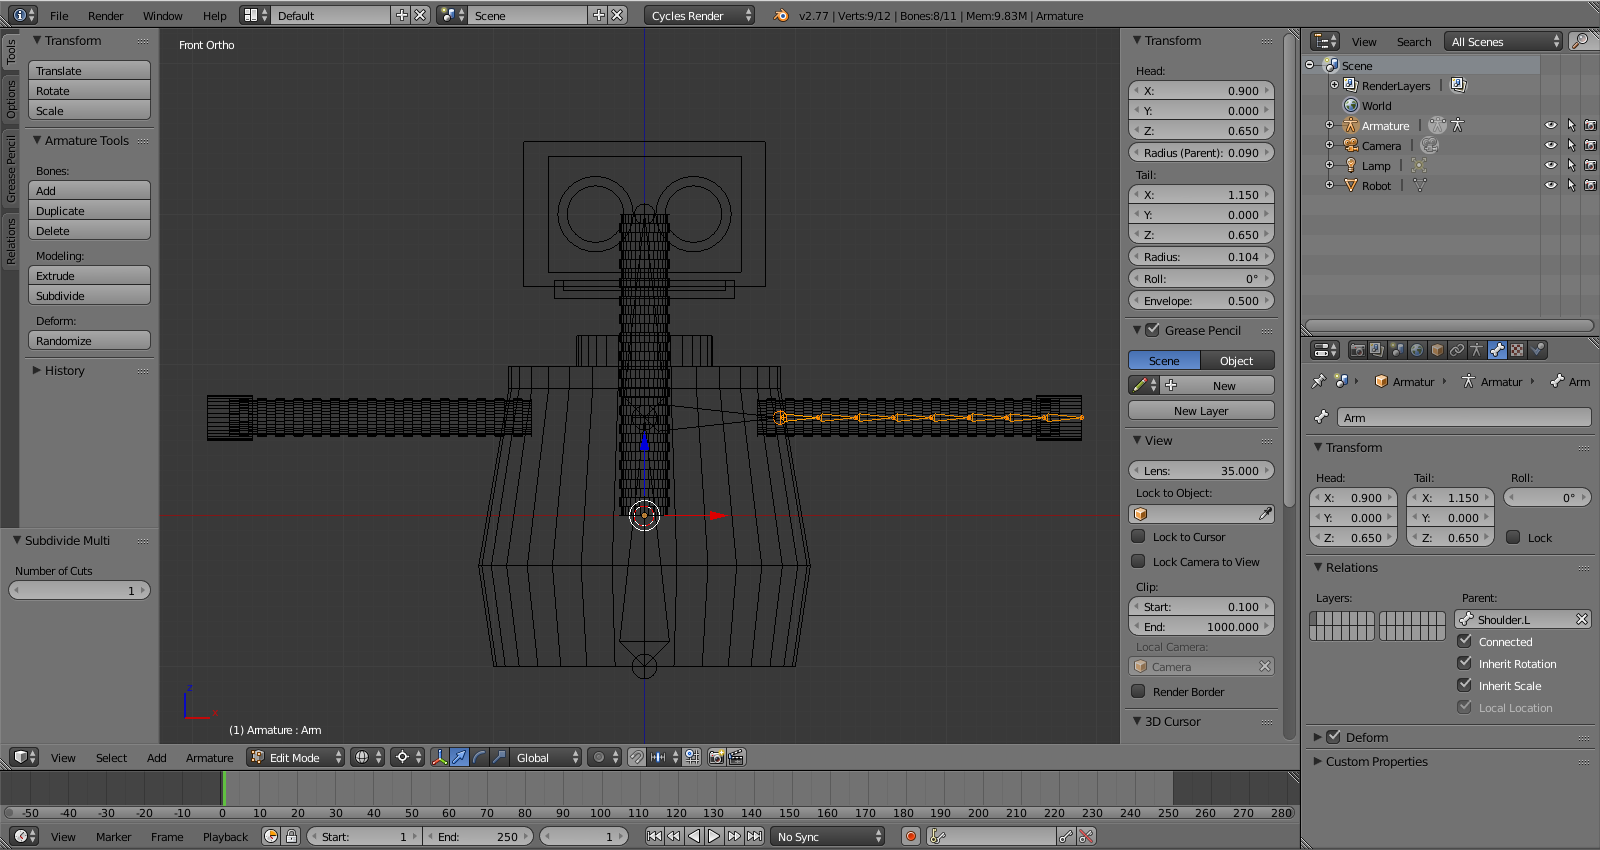
Press E to Extrude a new bone and X to constrain it to the X-axis. Enter .9 and press ENTER. Rename this bone ?Shoulder.L?.
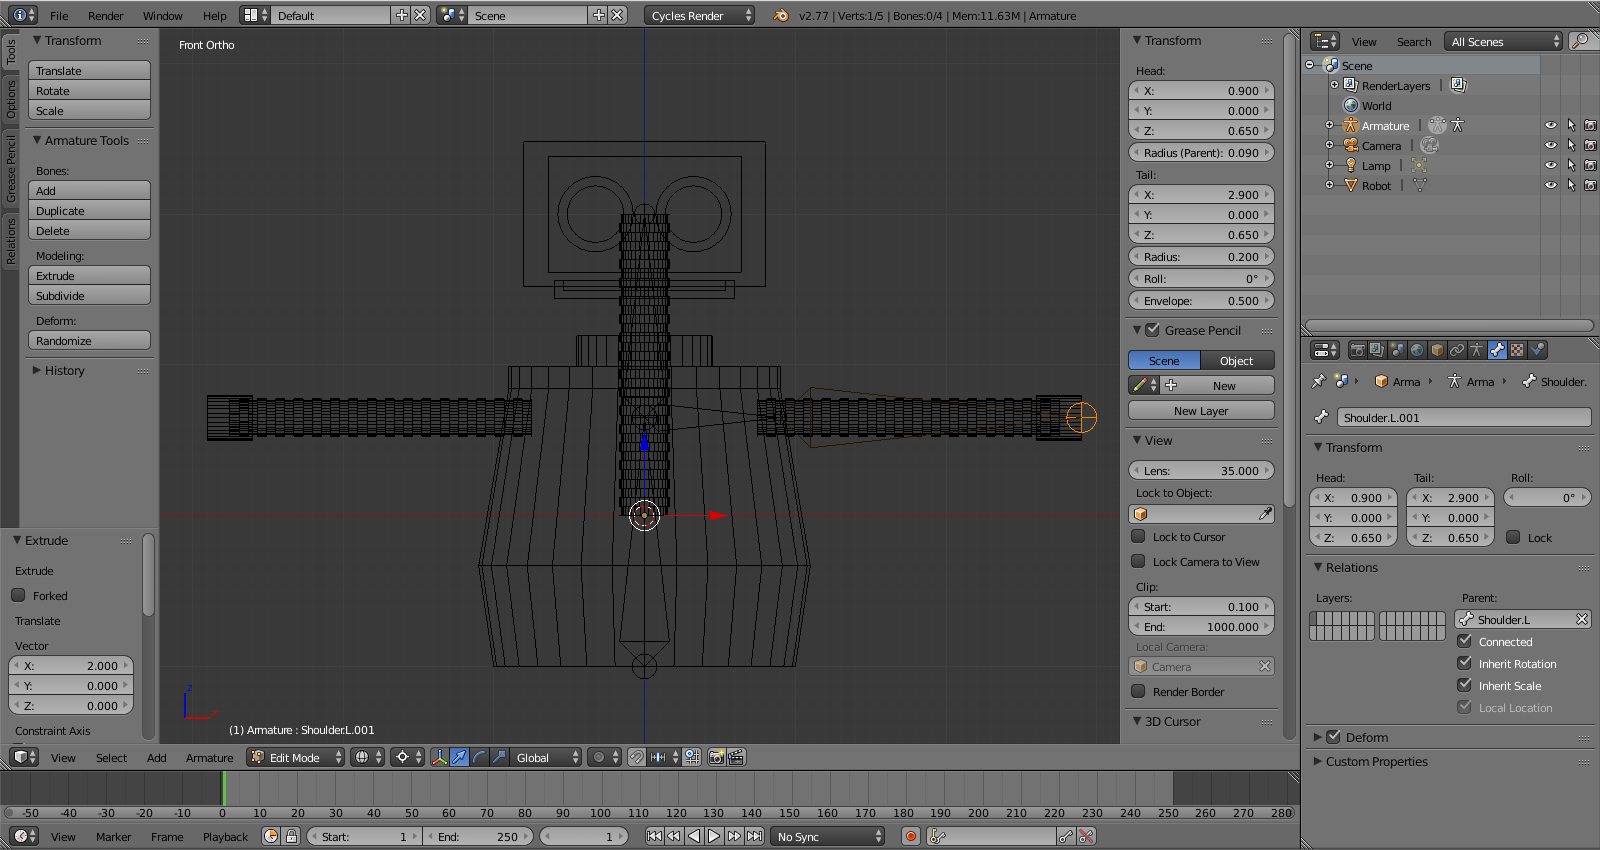
Select the head of ?Shoulder.L? and Extrude it 2 Blender units on the X-axis. E, X, 2, ENTER.
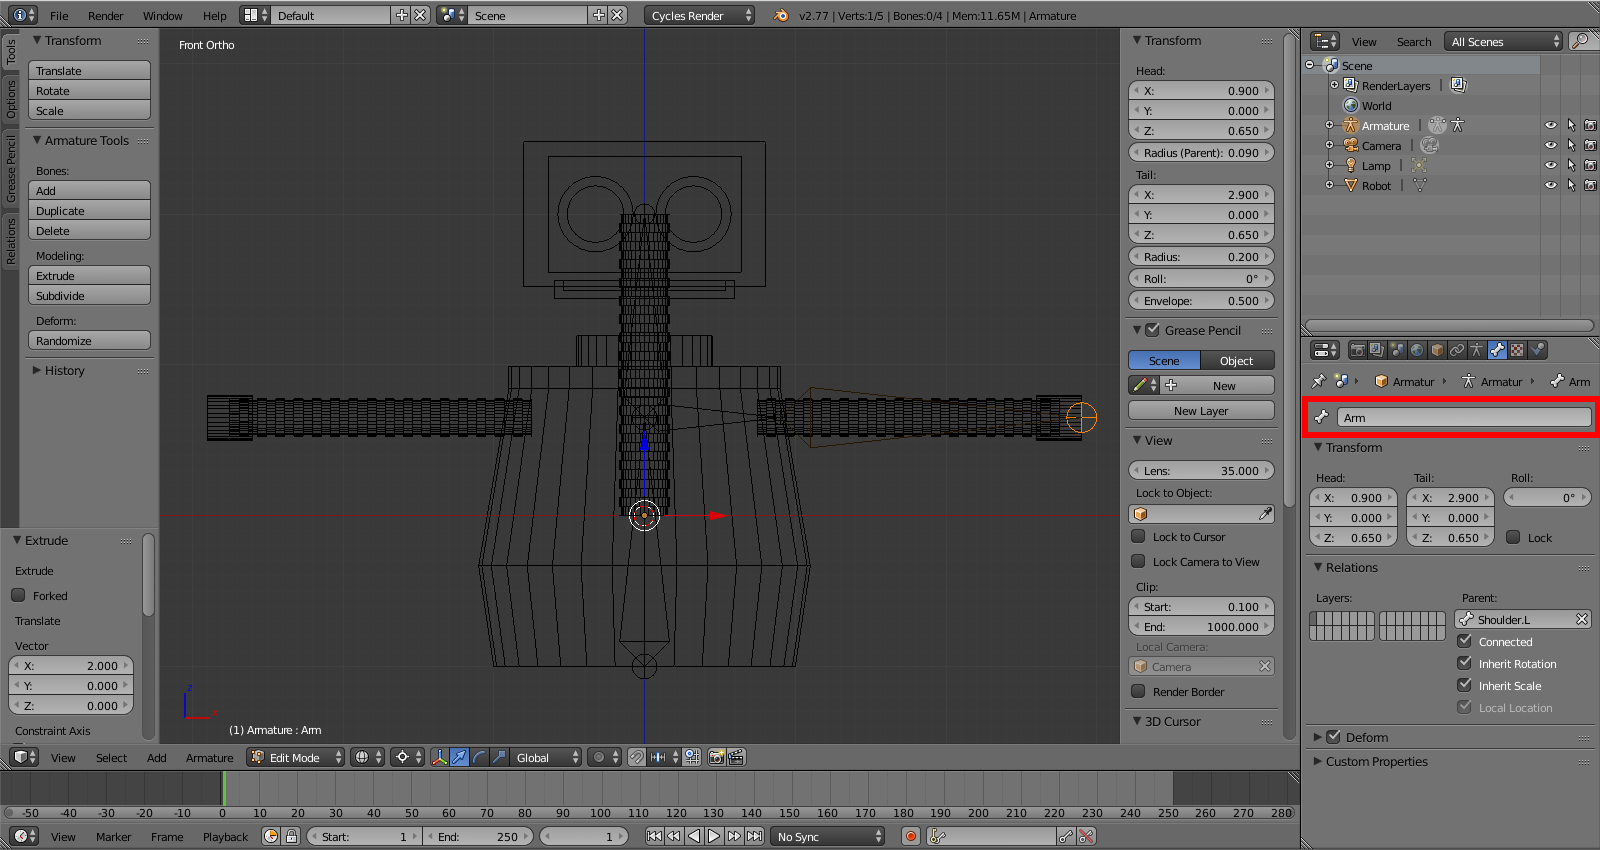
Rename this bone to ?Arm?.
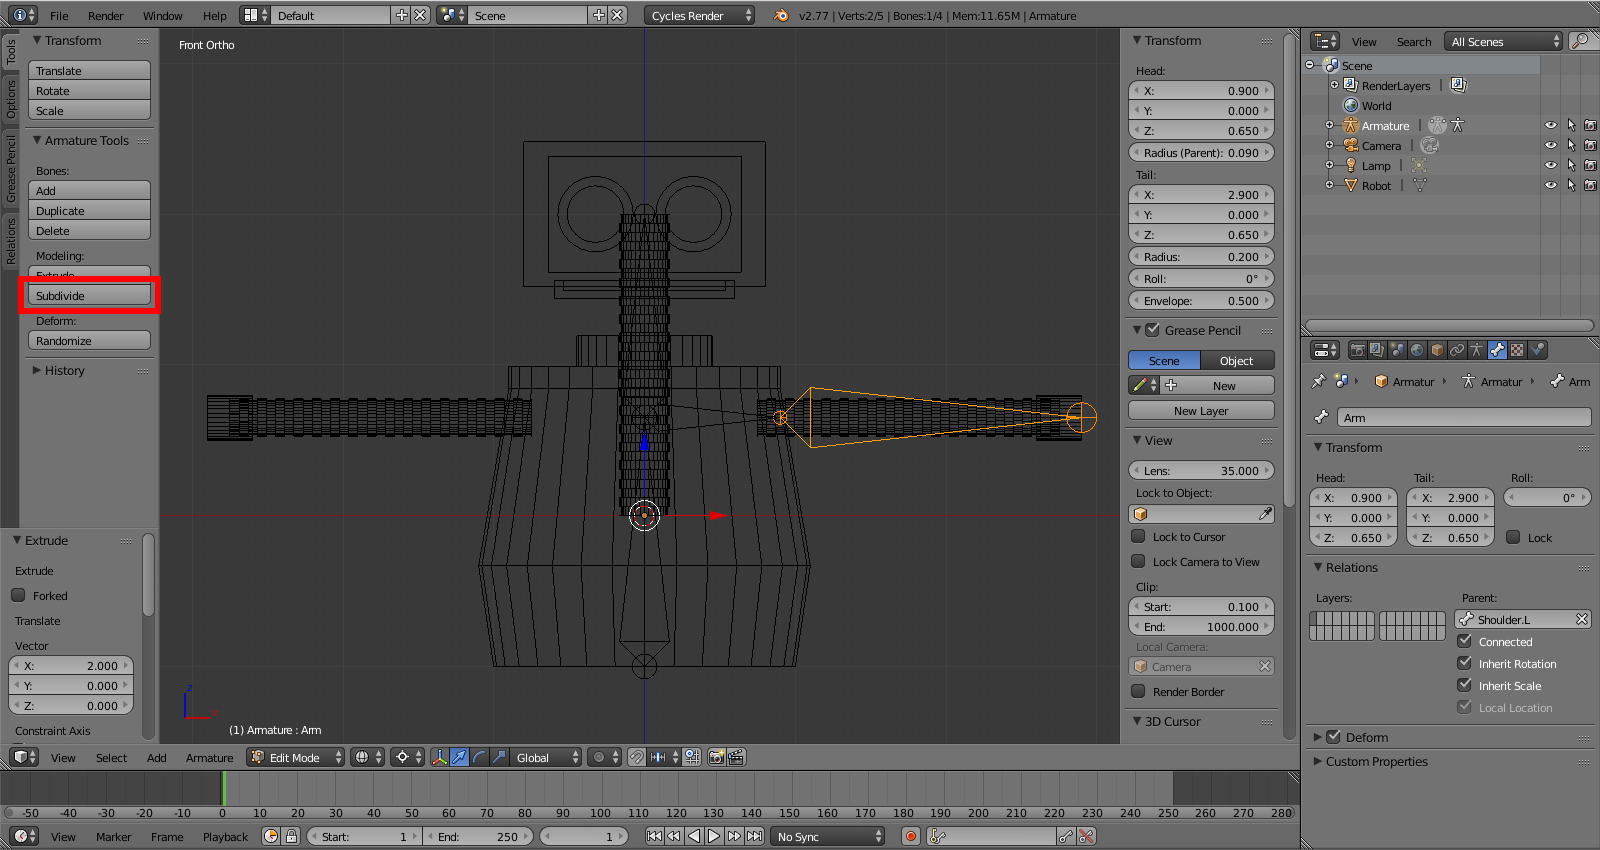
Select ?Arm? bone and in the Tools panel click Subdivide three times.
This will divide ?Arm? into eight bones. Don?t worry about renaming them.
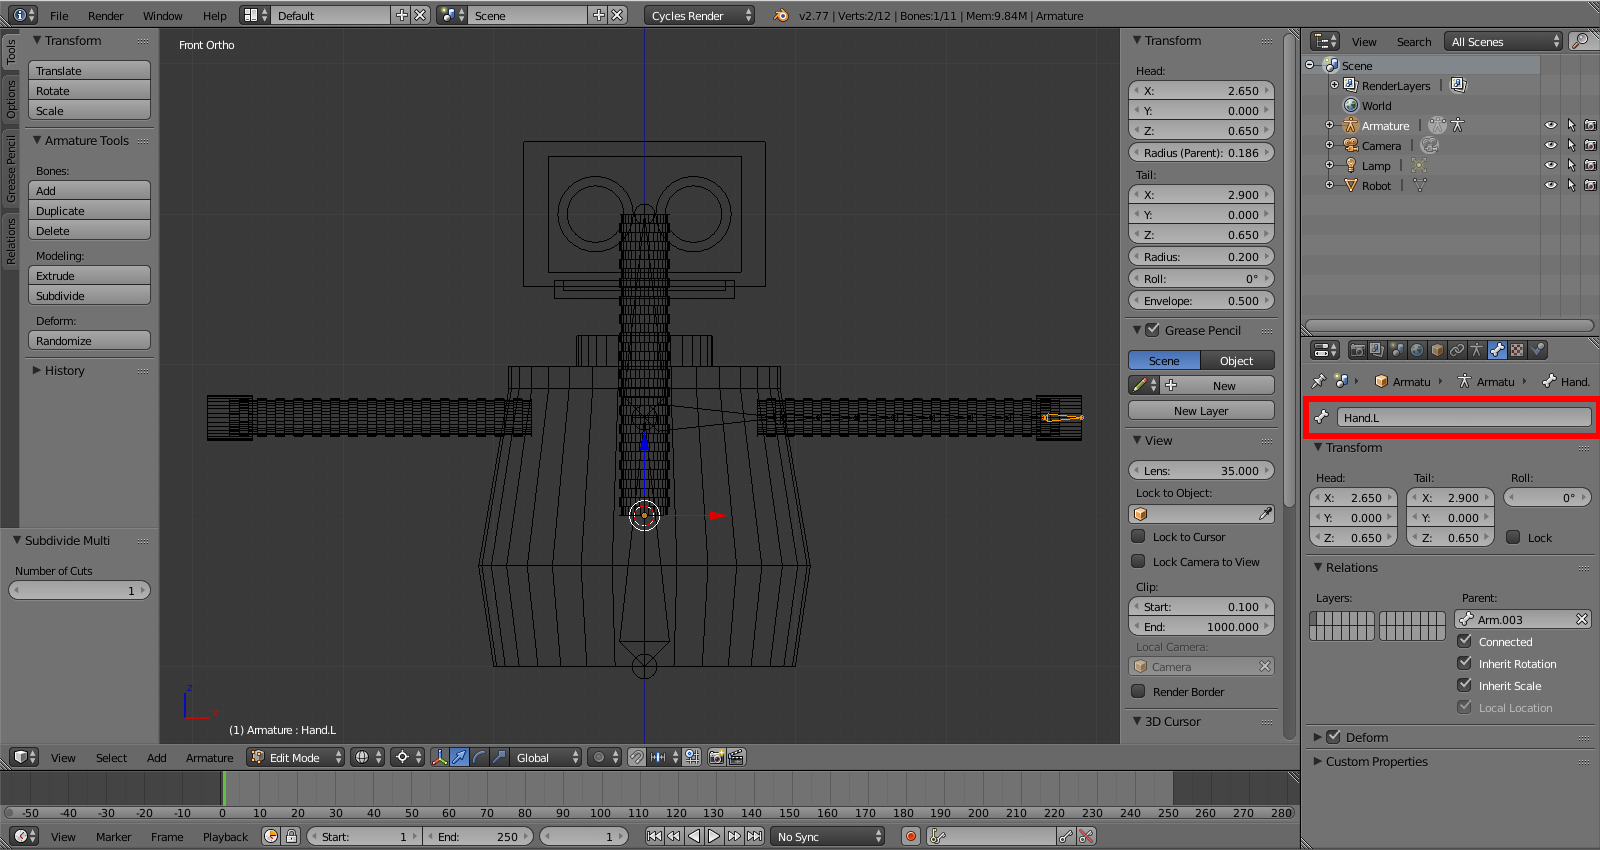
Select the last bone, and rename it ?Hand.L?.
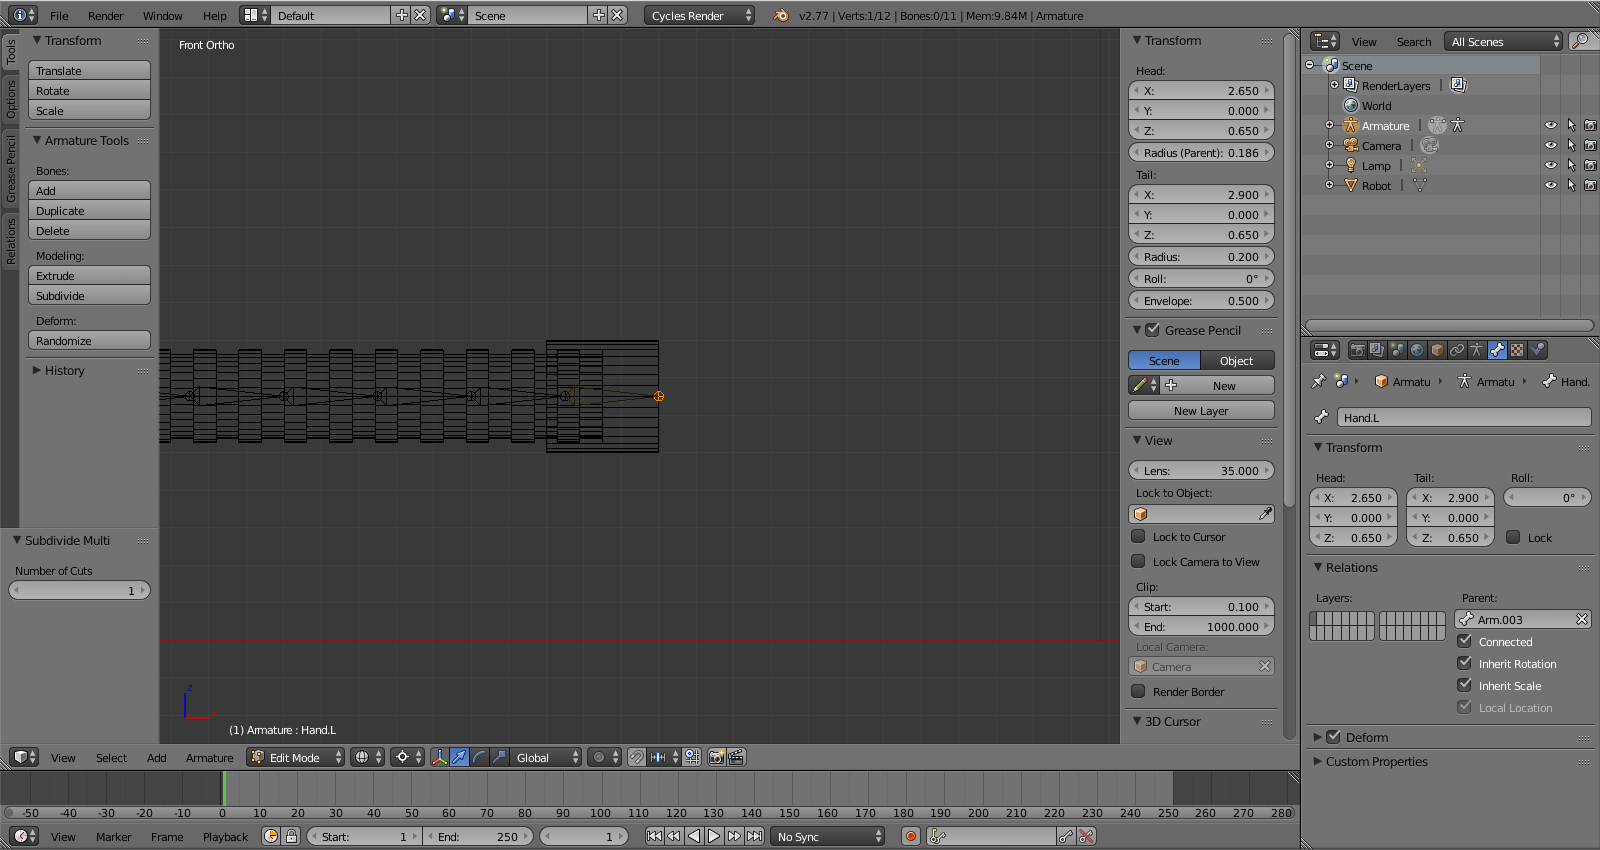
Zoom in with the scroll wheel if you need and select the head of ?Hand.L?.
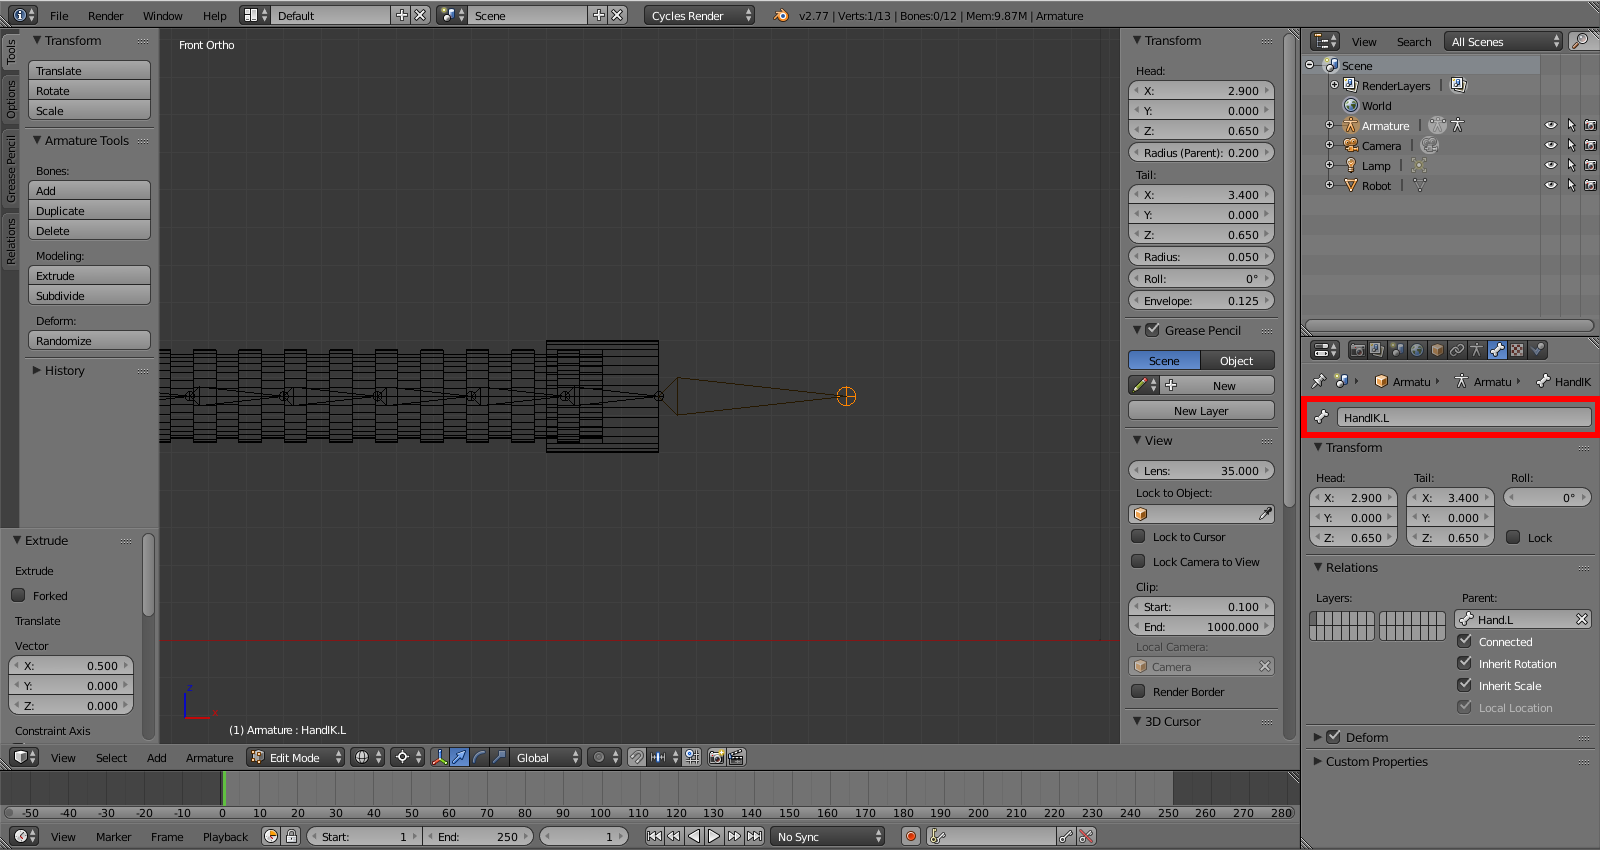
Extrude a new bone, E, X, .5, ENTER. Rename the new bone ?HandIK.L?.
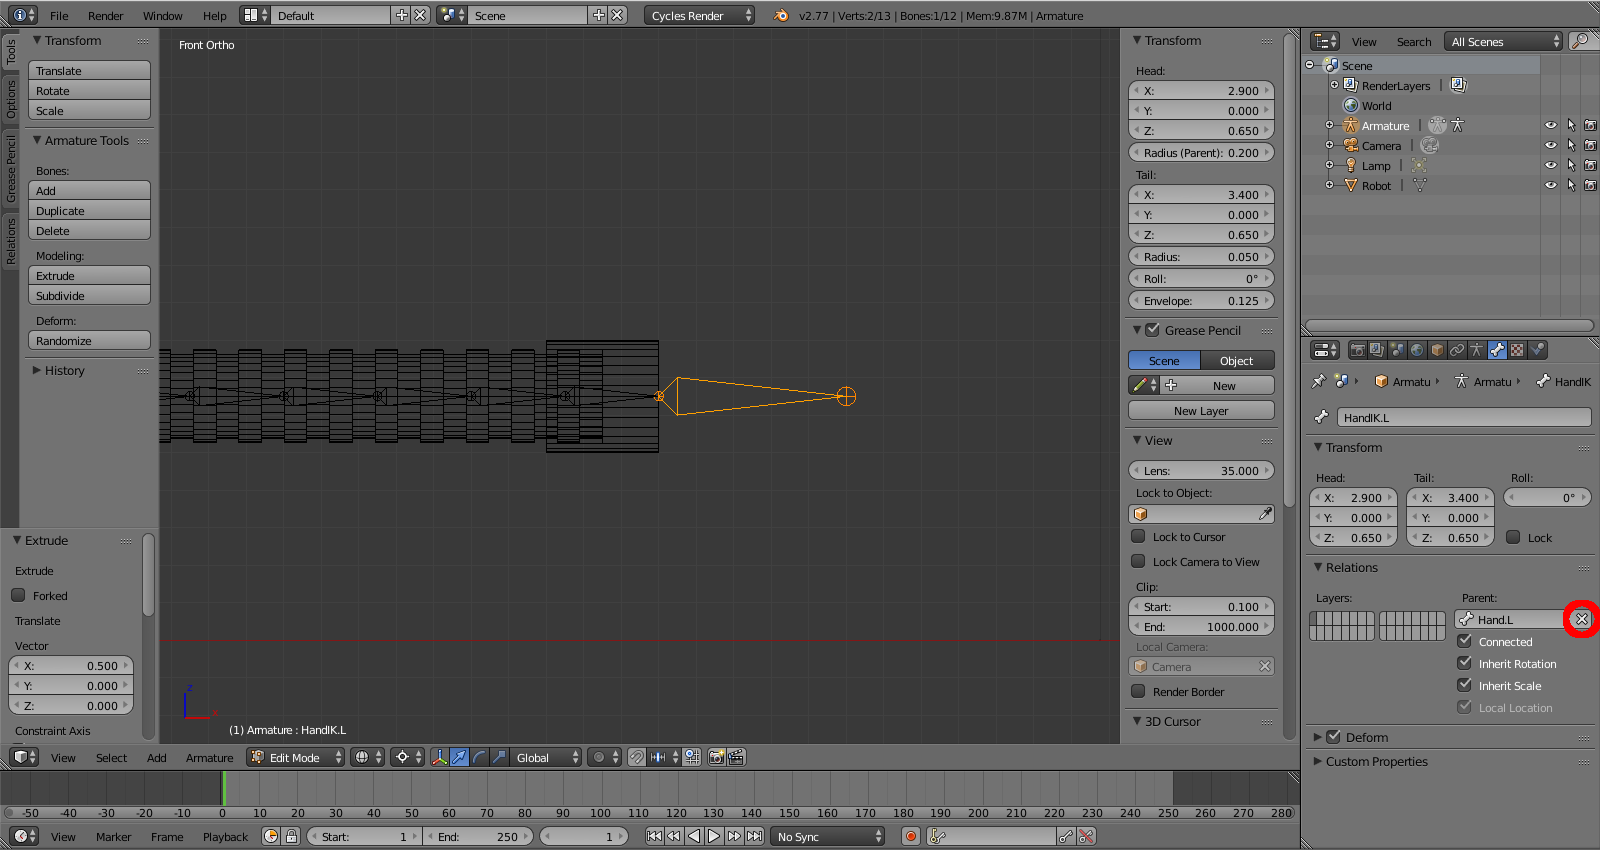
Select HandIK.L and in the Properties panel, under the Bone tab, under Relations, click the ?x? next to its name in the Parent field.
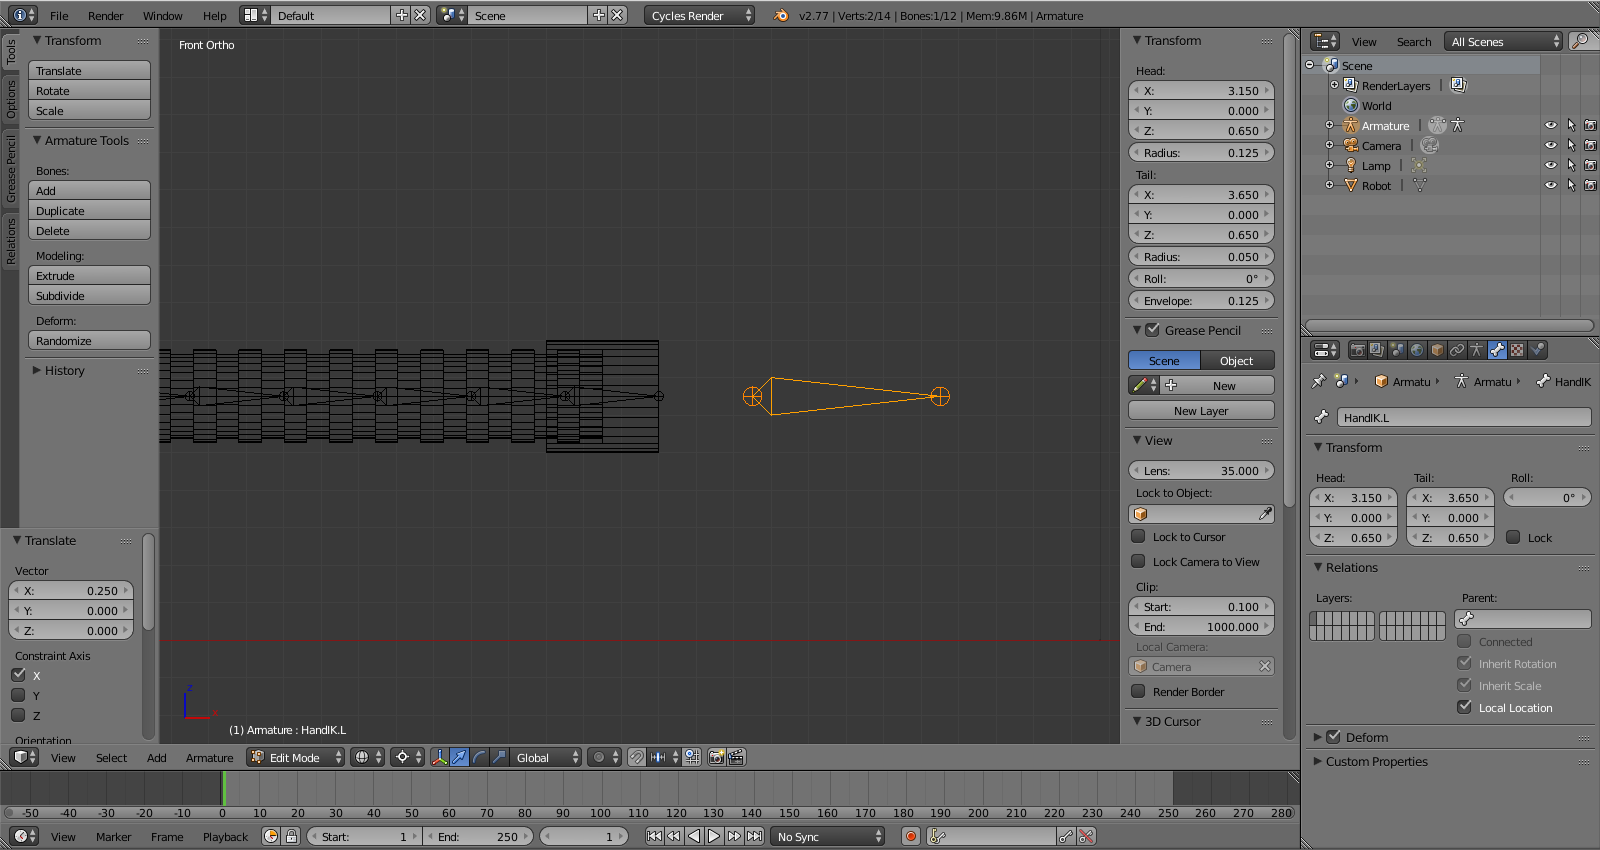
Grab HandIK.L with G and move it on the X-axis .25: X, .25, ENTER.
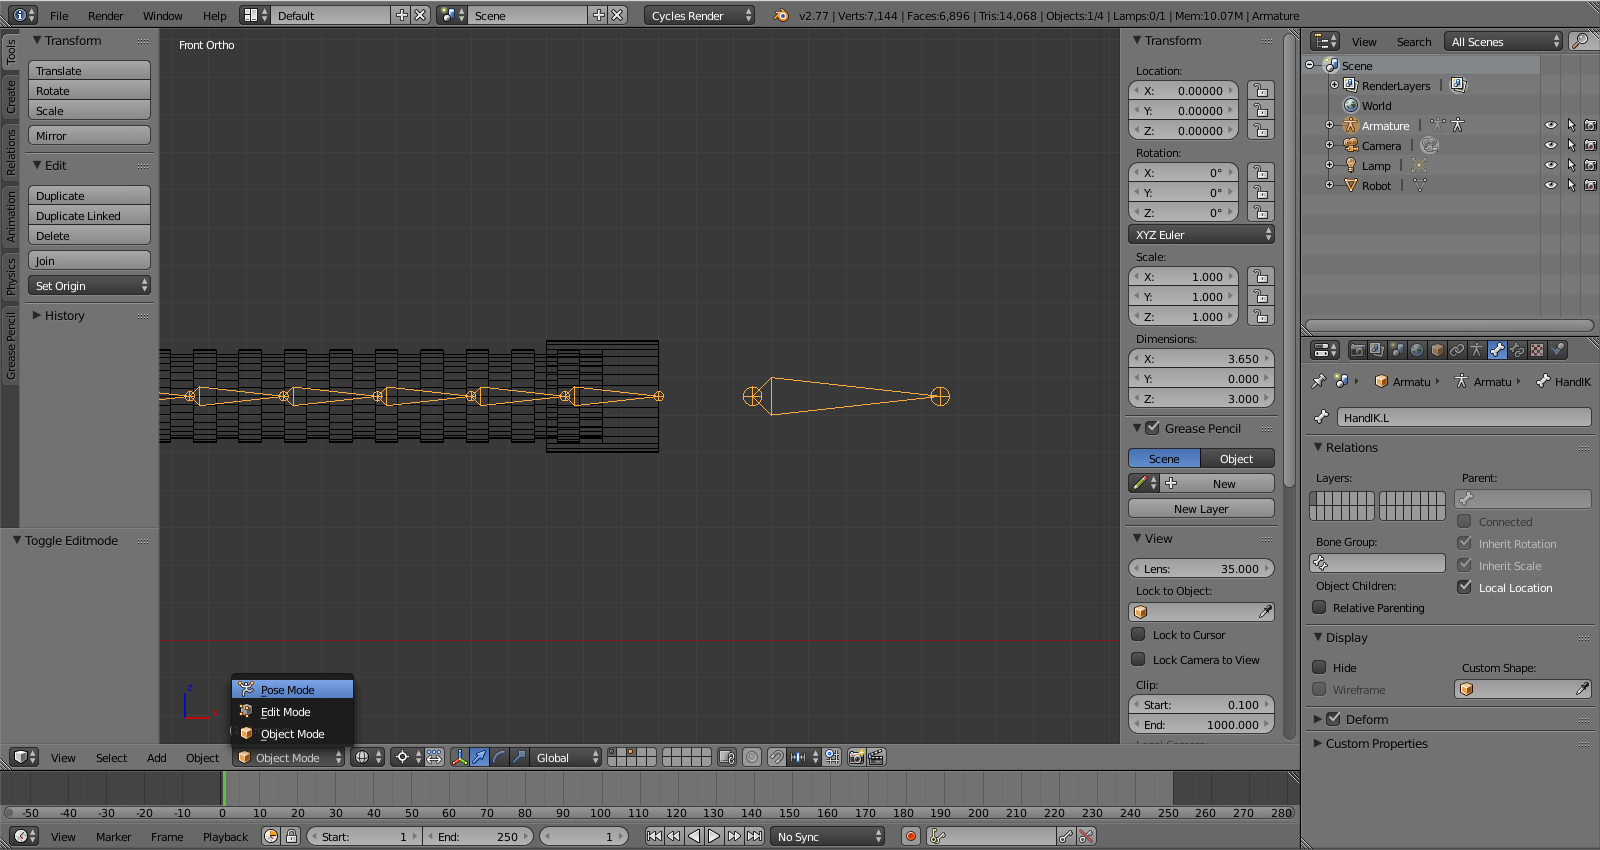
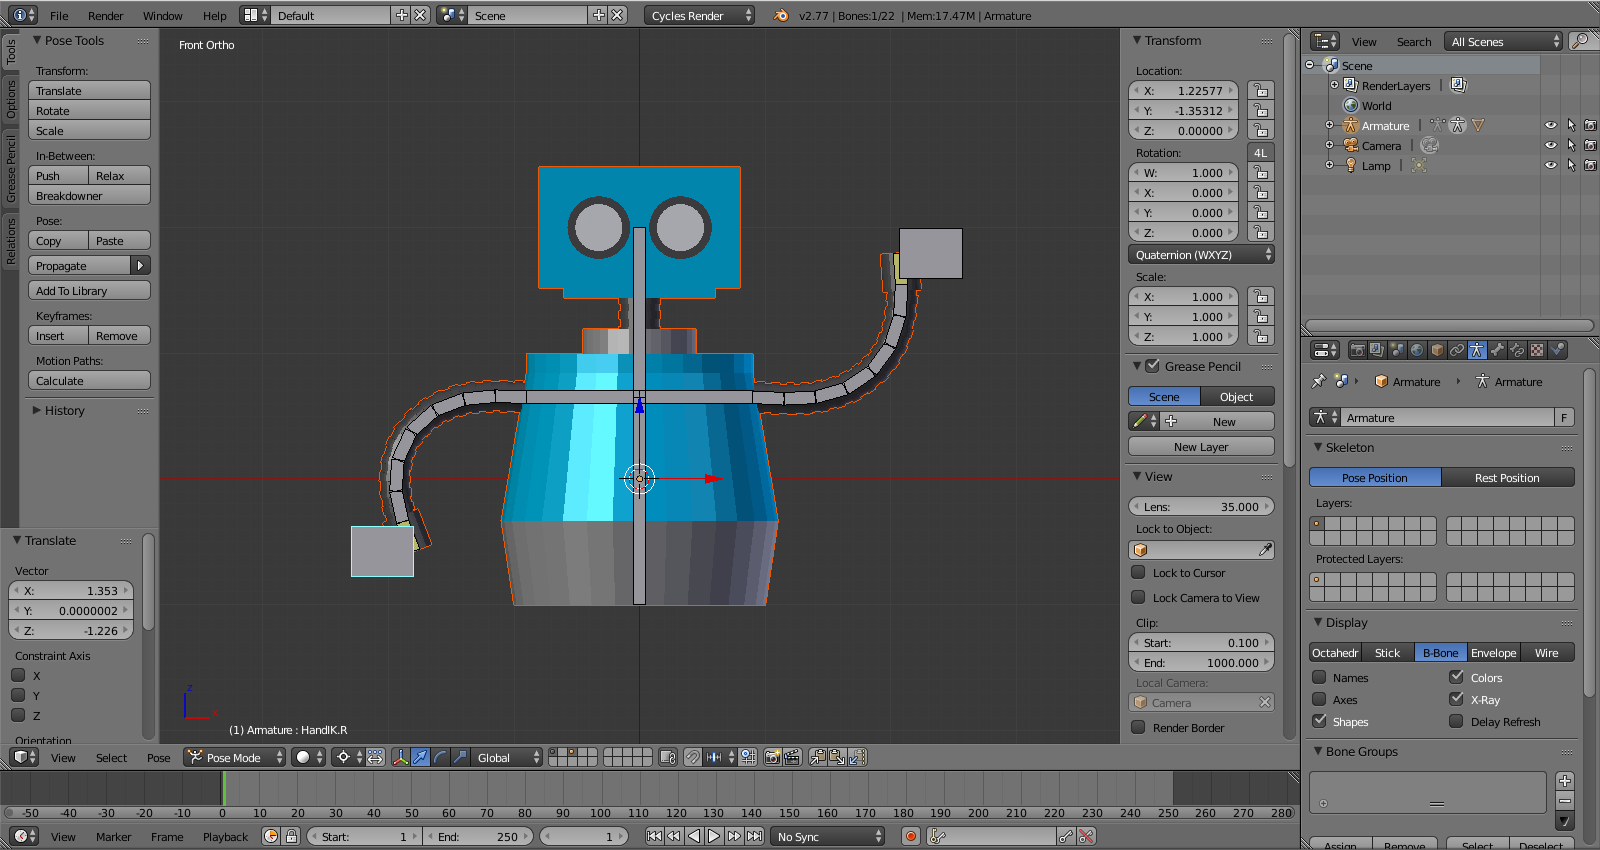
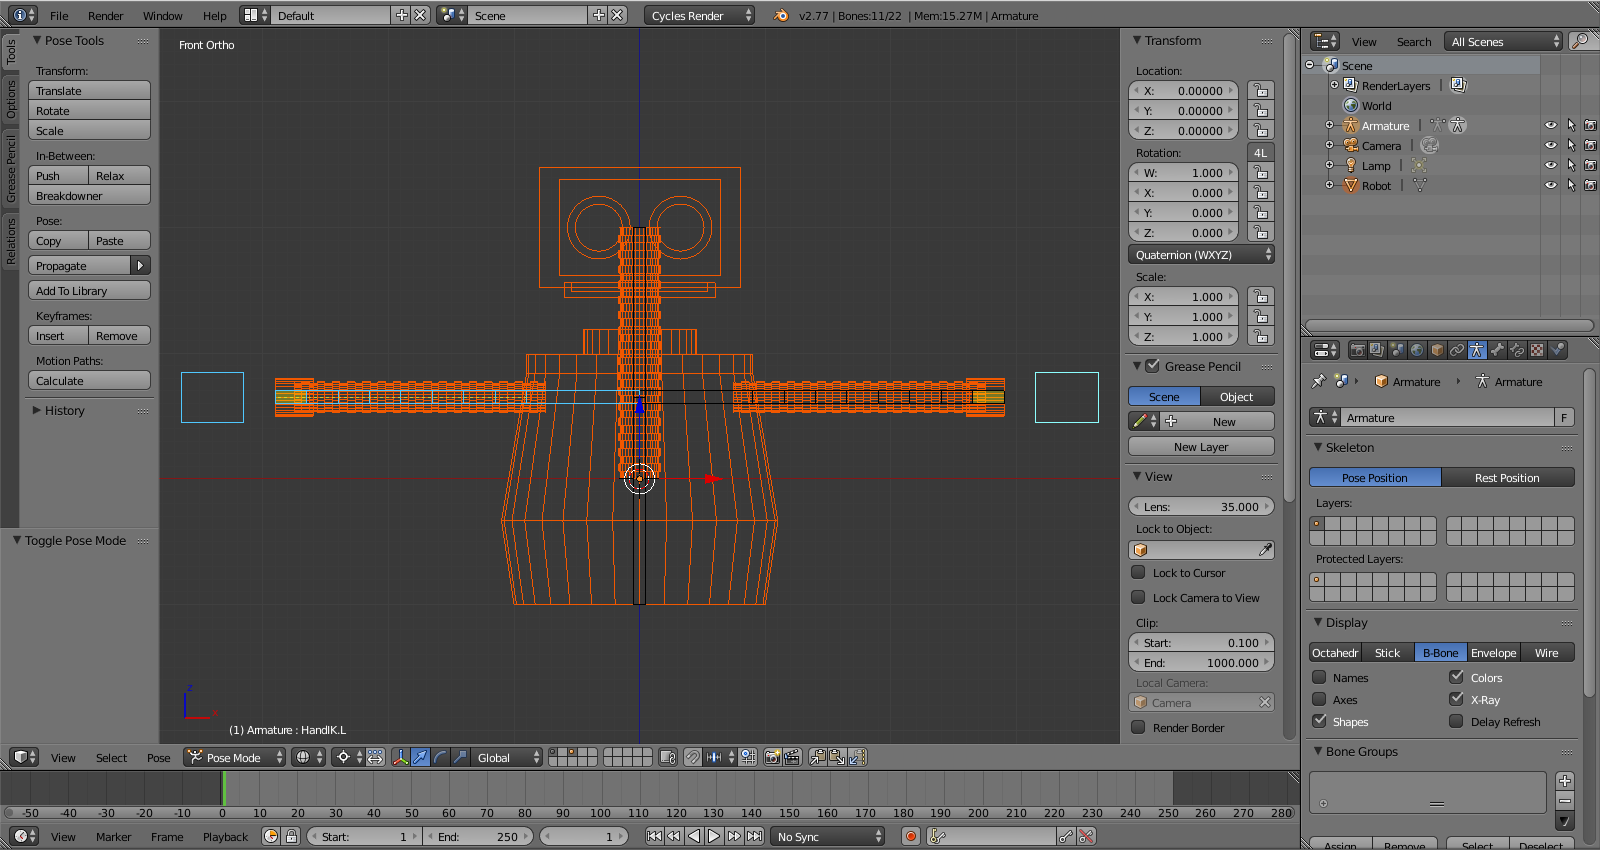
TAB to Object Mode and from the Object Interaction Toggle, select Pose Mode.
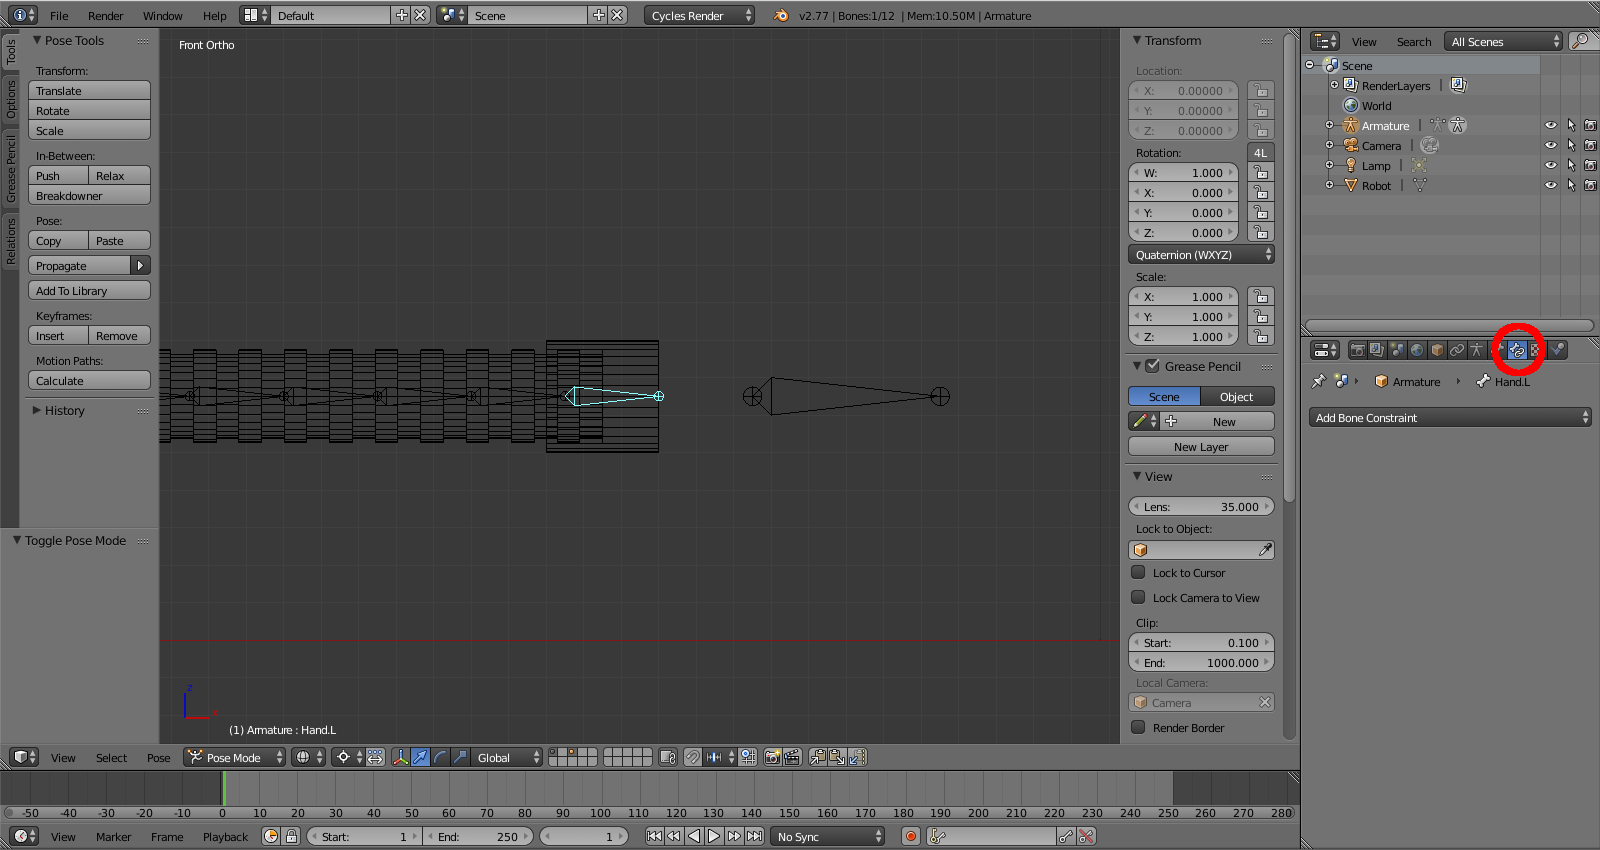
Select Hand.L, and in the Properties panel, select the Bone Constraints tab.
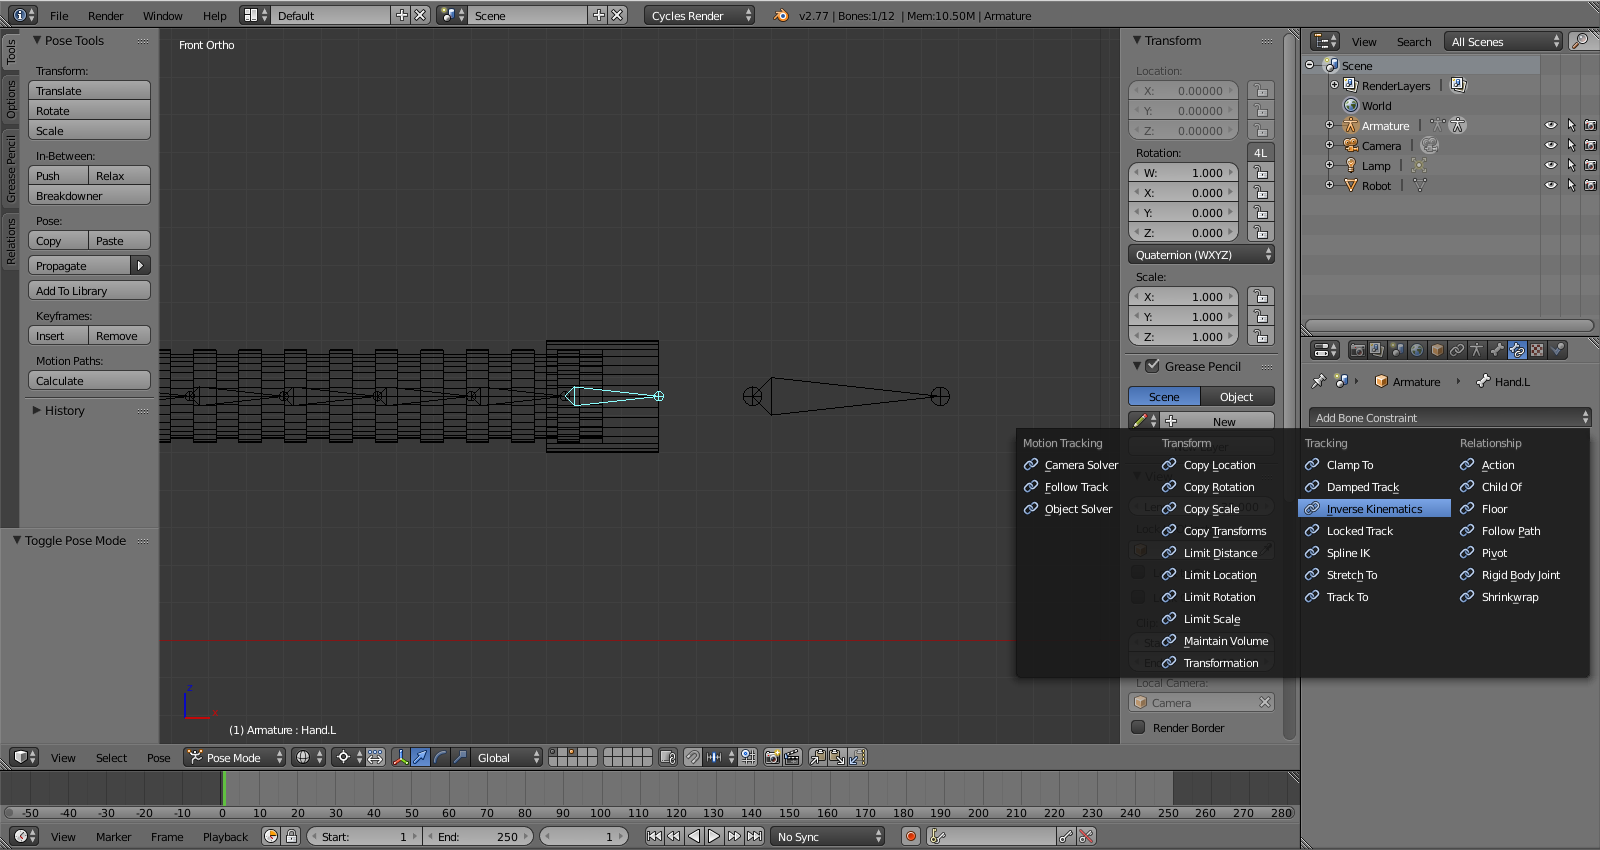
Click the big ?Add Bone Constraint? button and select ?Add Tracking: Inverse Kinematics?.
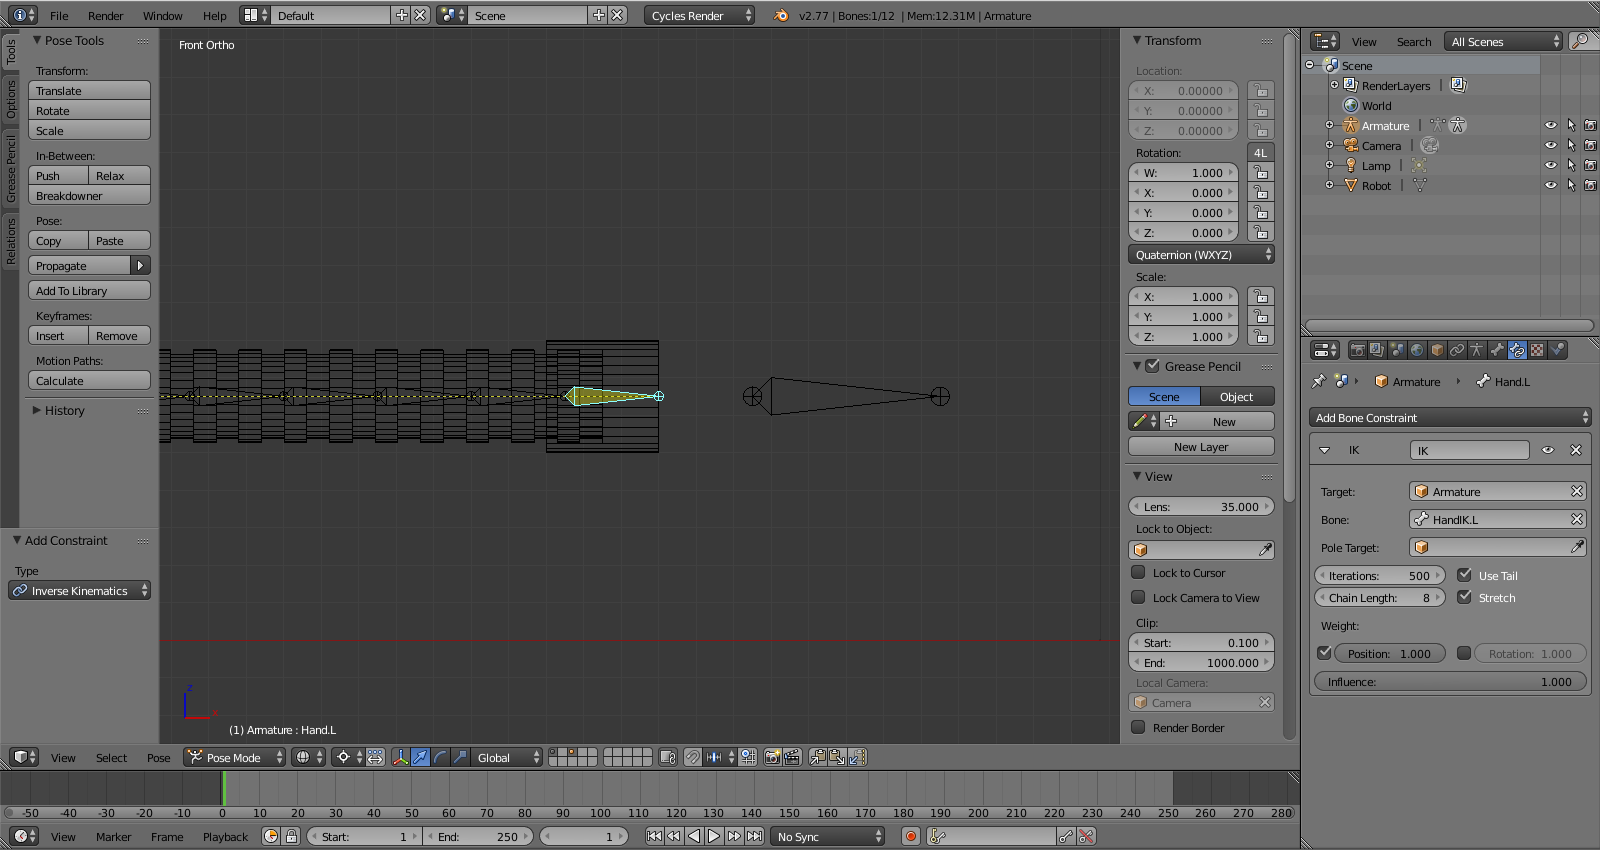
In the IK panel, in the Target field, select ?Armature? and in the Bone field select ?HandIK.L?. Set the Chain Length to 8 (because we made eight bones when we subdivide ?Arm? and we need the chain to connect back to the body).

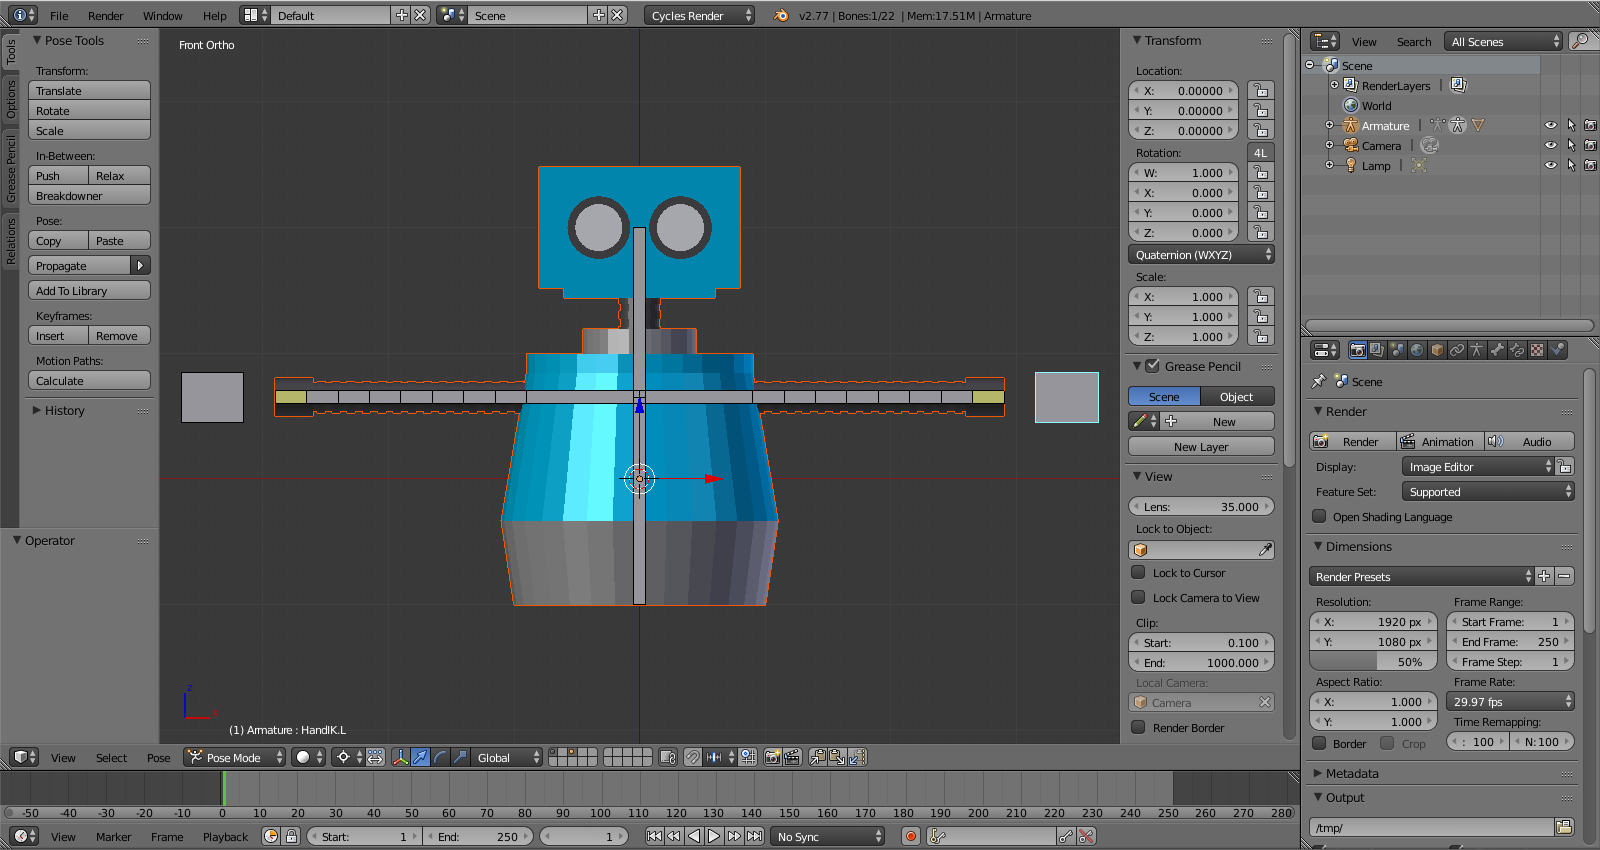
Select HandIK.L and grab it with G to move it around and see that it works properly. Press ALT + G to reset the pose.
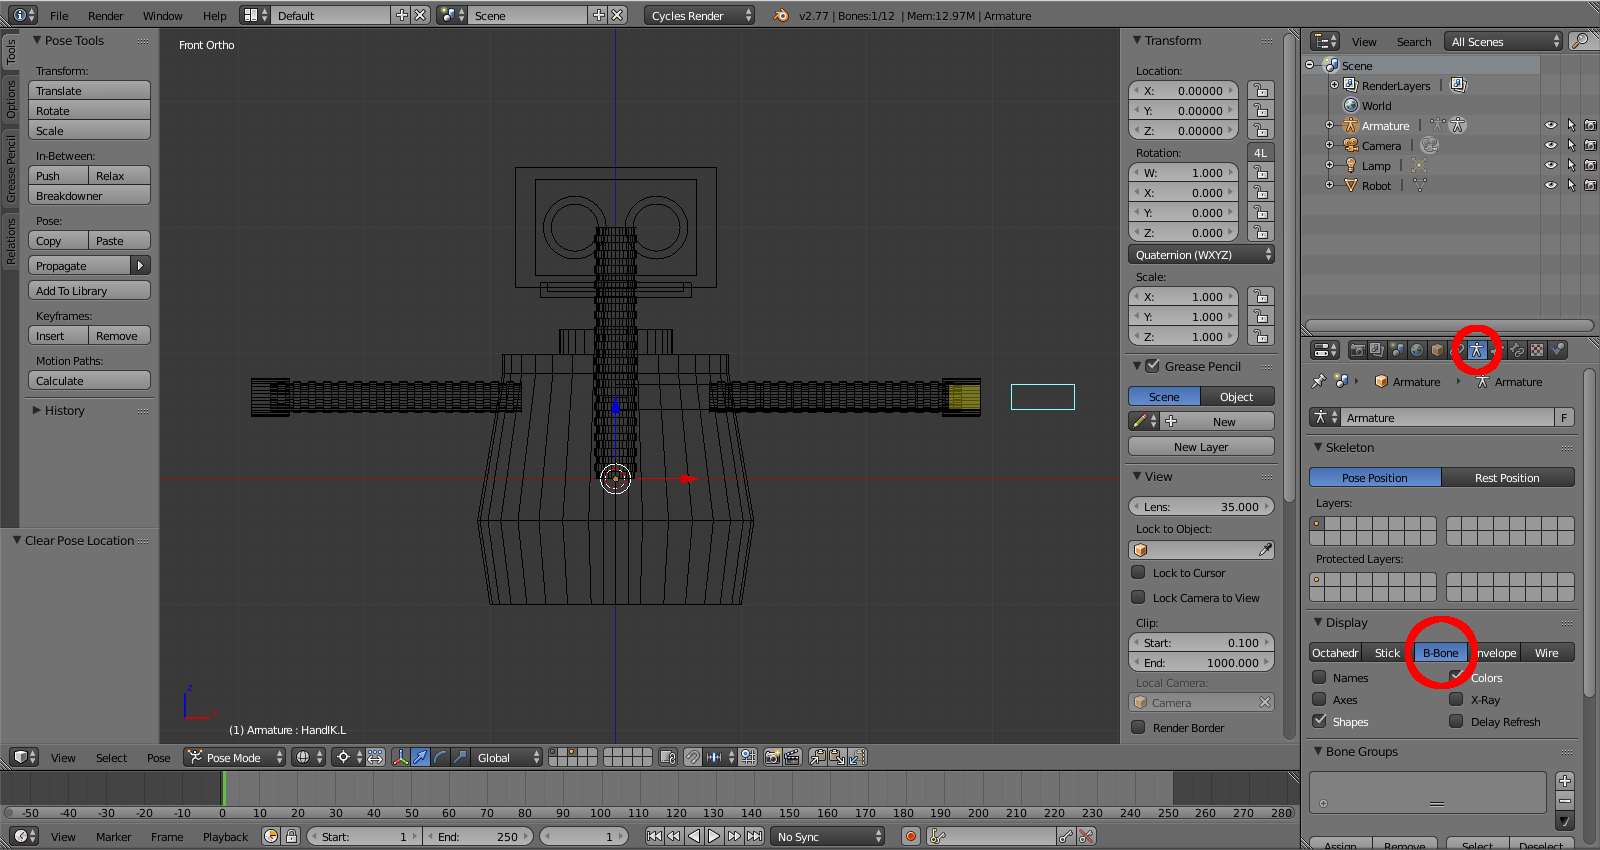
In the Properties panel, select the Armature Object Data tab. Under Display, select B-Bone.
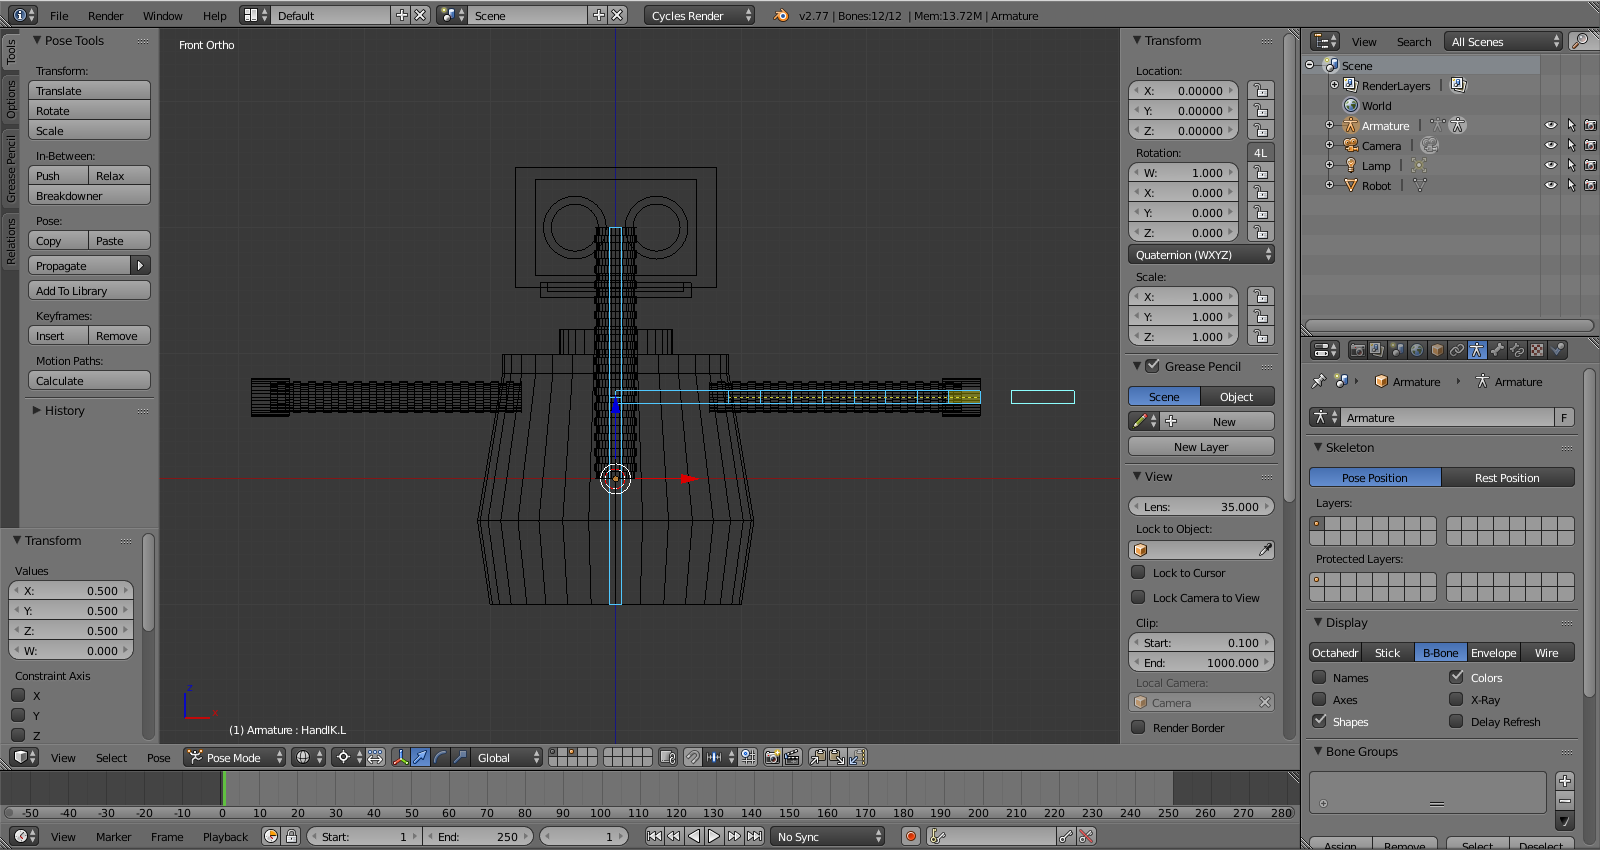
Press A until the entire Armature is selected, then press CTRL + ALT +S to scale the bones and enter .5, then press ENTER.
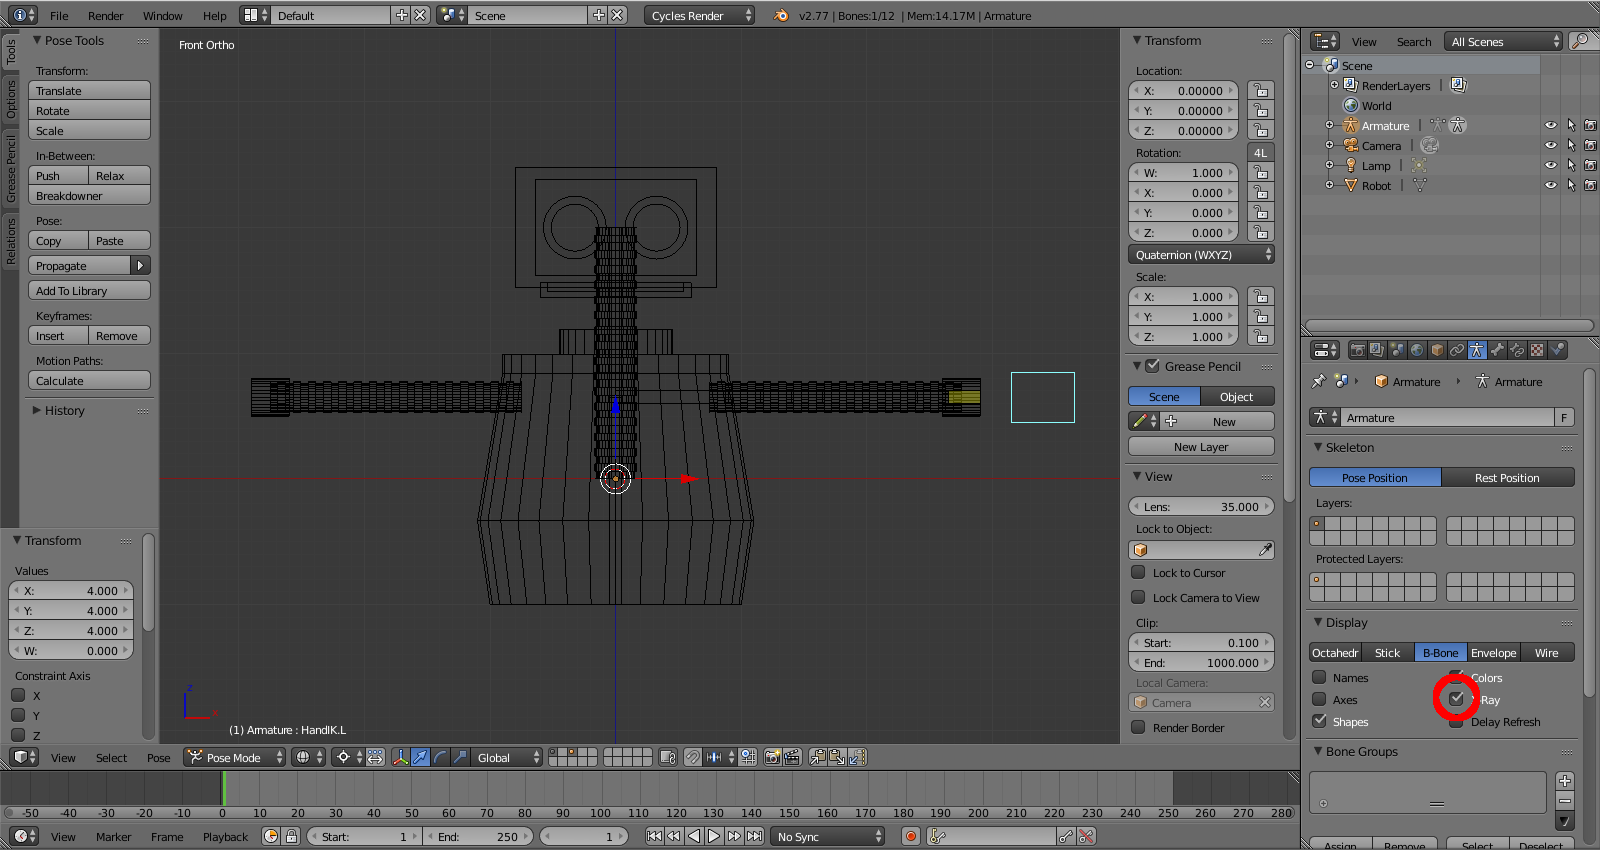
Select ?HandIK.L? and scale it up with CTRL + ALT + S and enter 4. Then press ENTER.
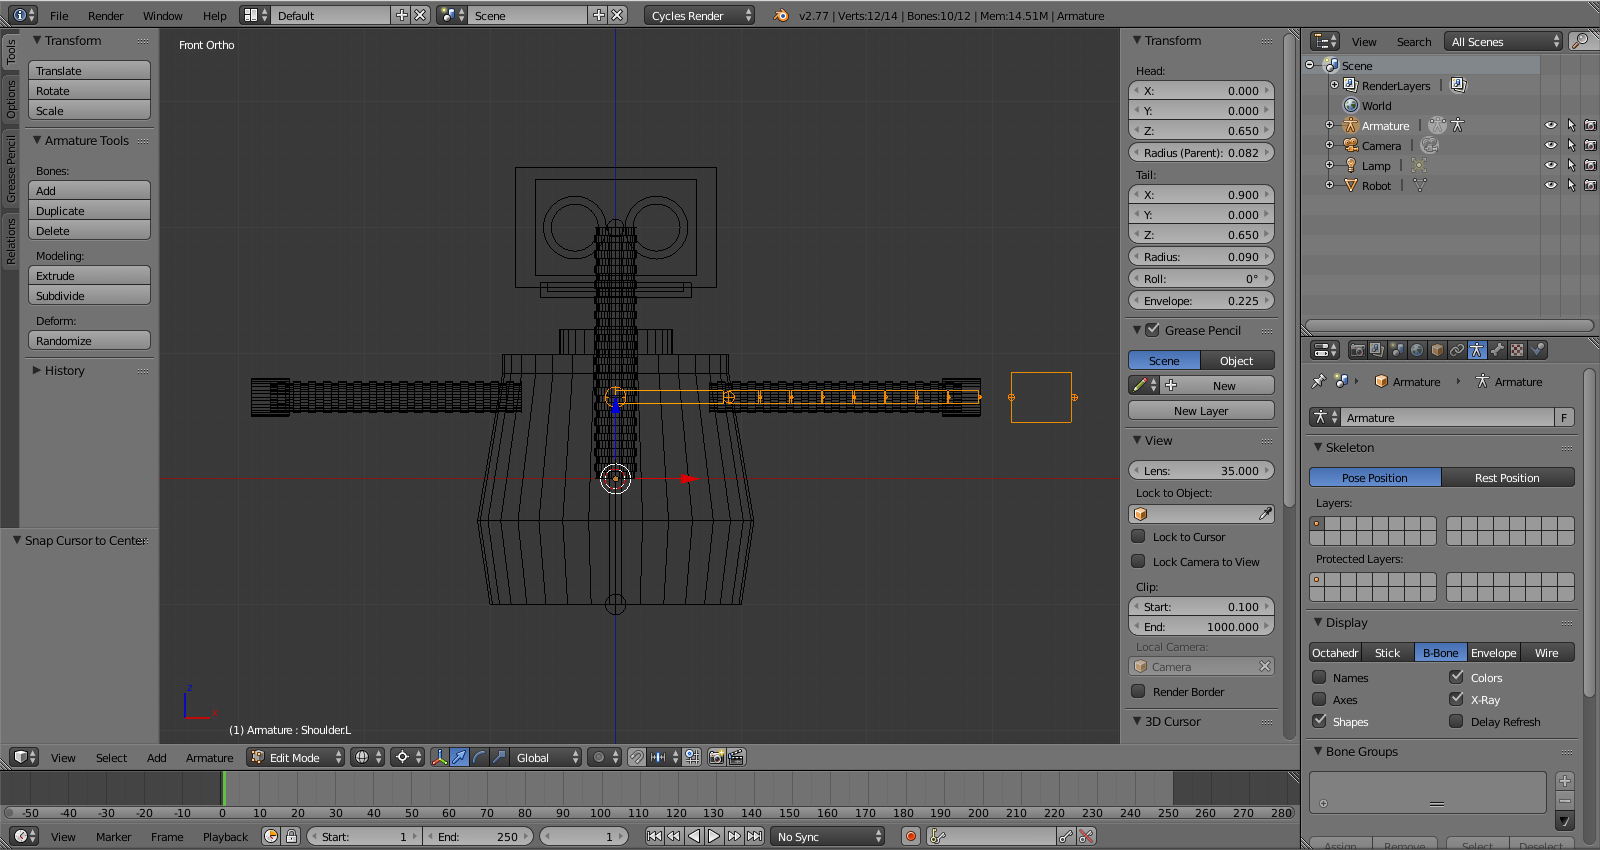
TAB into Edit Mode. Press SHIFT + S and select Cursor to Center. Be sure the Pivot Point toggle is set to 3D cursor. Holding SHIFT, select Shoulder, Arms, Hand and IK bones. Don?t select Spine or Neck.
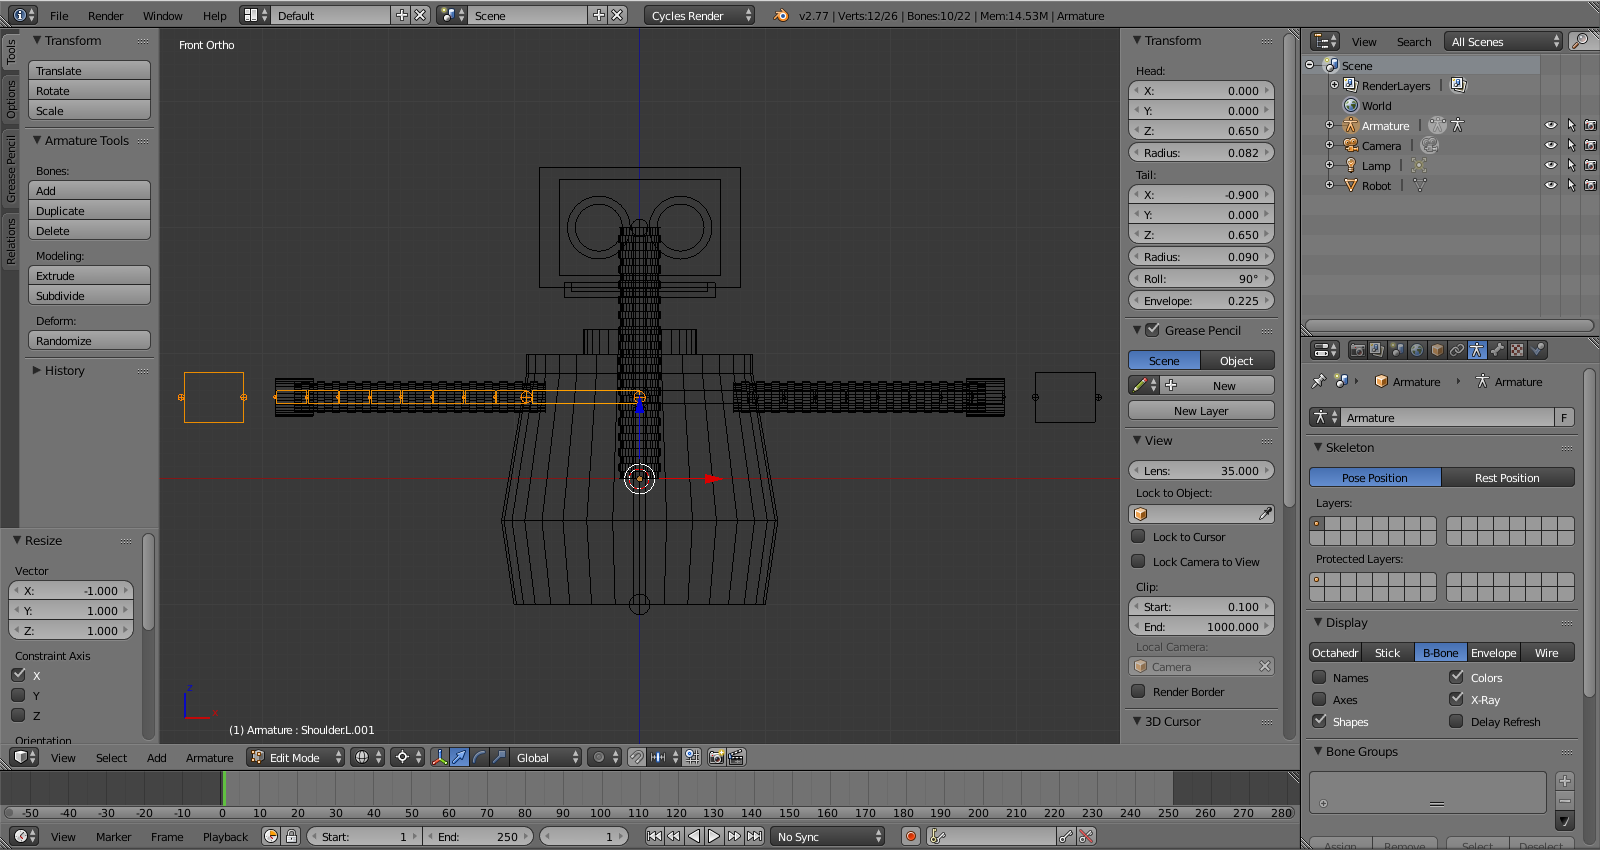
Press SHIFT + D to Duplicate, then press ENTER. Now we?re going to invite our duplicated arm by scaling it 100% backwards on the X-axis. Press S, X, enter -1 and press ENTER.
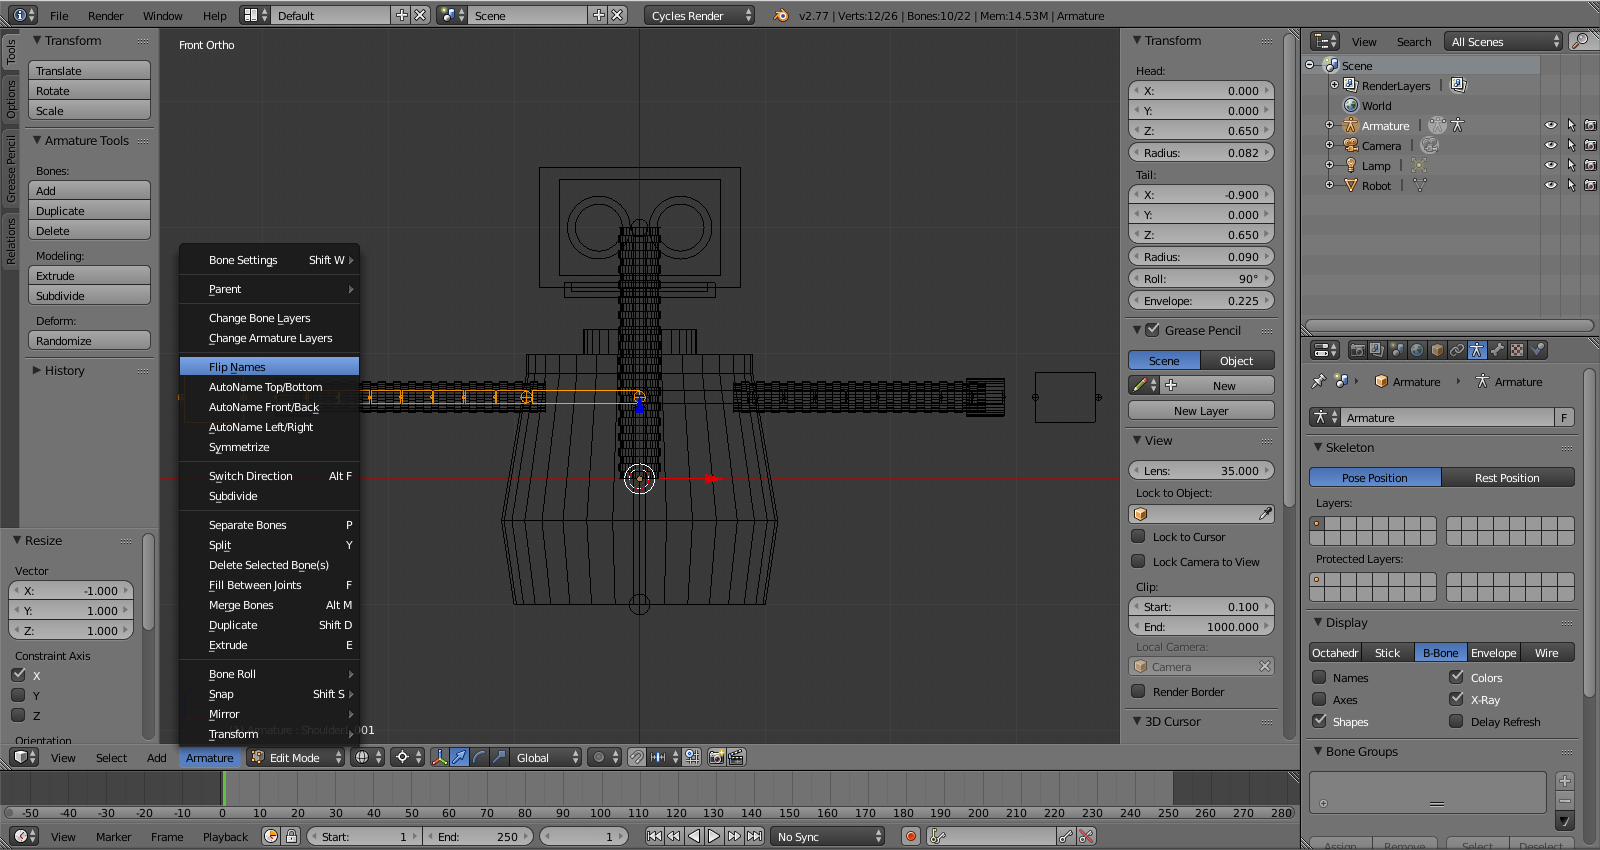
Under Armature, select Flip Names
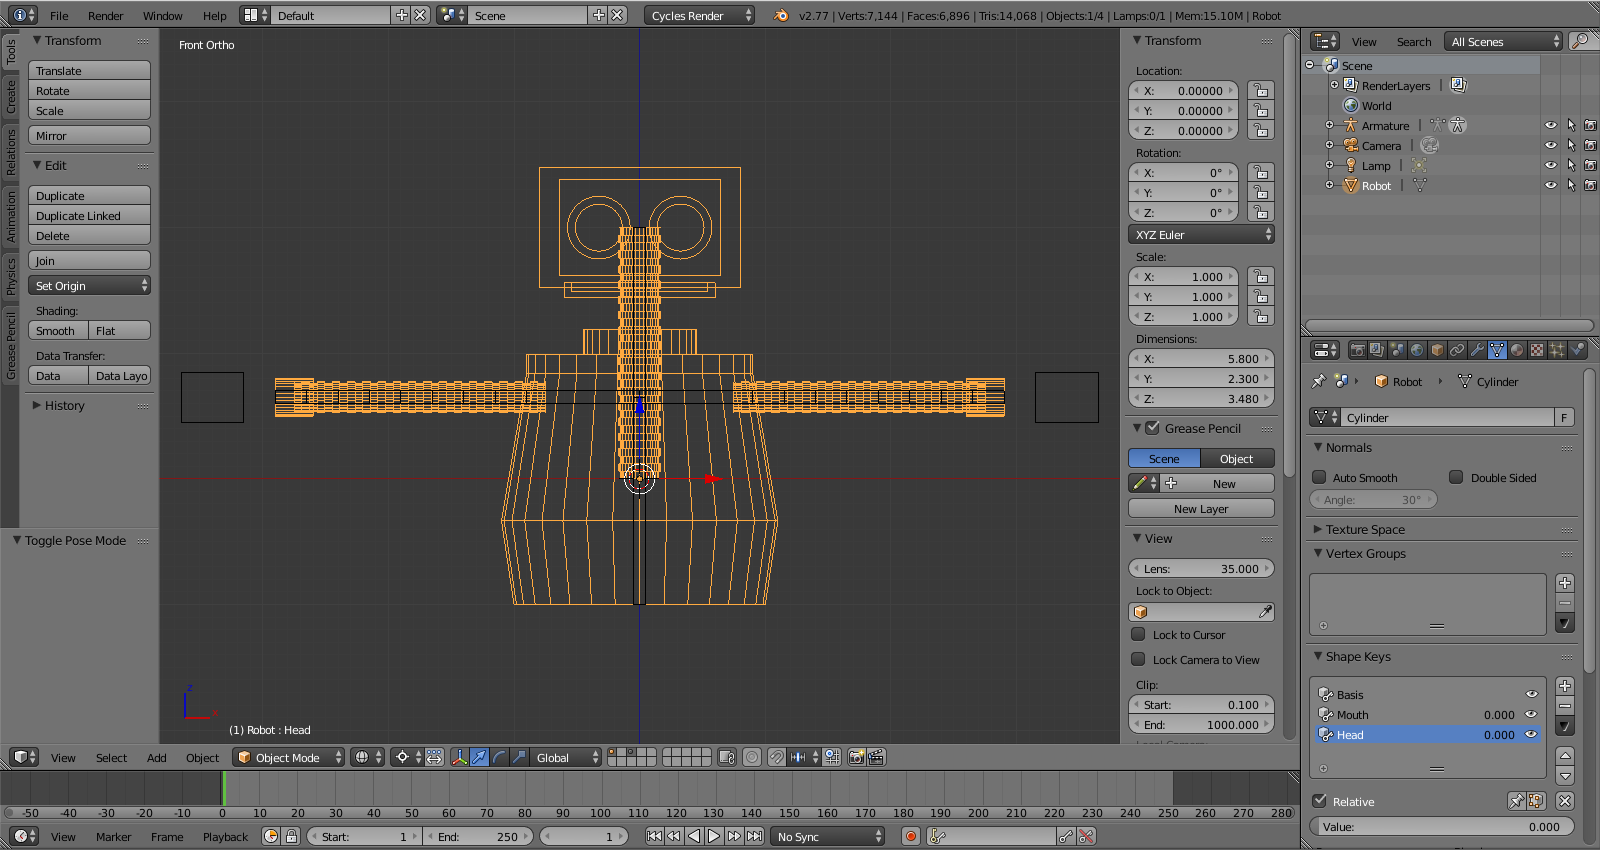
In Object Mode, select the Robot mesh.
Holding SHIFT, select any bone.
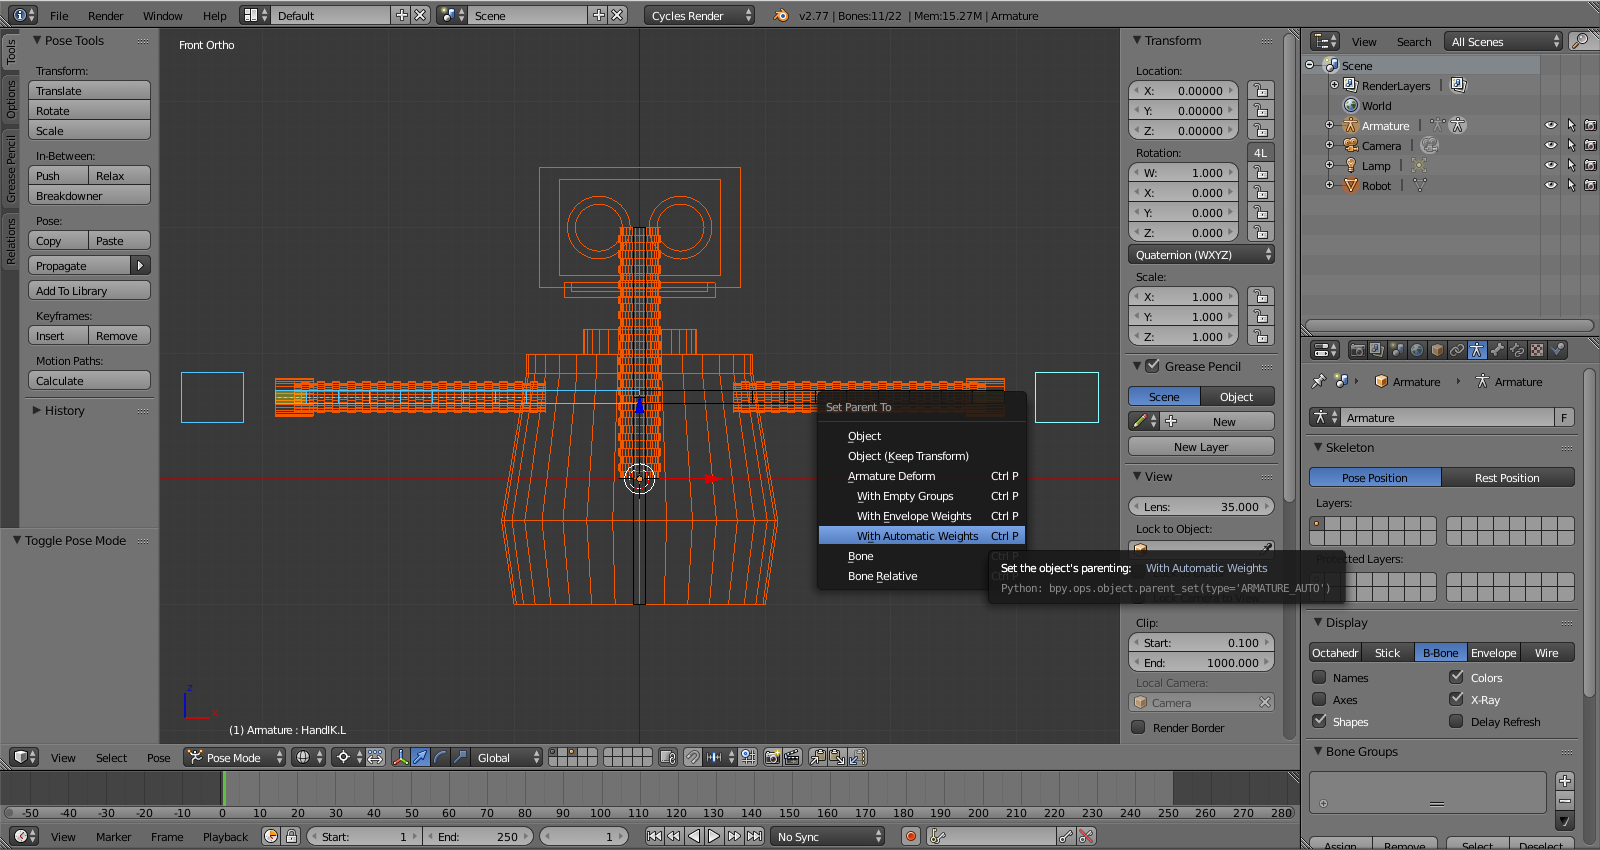
Press CTRL + P and select Armature Deform, With Automatic Weights.

Grab the HandIKs and move them around to see that everything works properly. Then press ALT + G to return them to their original position.
In the next chapter, we will pose and keyframe our robot to audio. Sound good?

