A few months ago, my partner Aurimas and I embarked on one of the most stressful activities two people can do together: buying a house. We live in the Bay Area, so this was no easy feat. We visited over 60 open houses over every single weekend from December to February, tore our hair out over getting together all our financial documents, got our hearts completely broken by crippling prices, and took a massive breath as we made the scariest decision of our lives to date.
But after all this work and research, I was very unprepared for one of the most time-consuming parts of homeownership: Pinterest. Before home ownership, I had a few boards for haircut ideas and nails; now my life is subsumed with pins for the backyard, front yard, bathroom, you name it. A few weekends ago I fell down a rabbit hole of backyard ideas and decided to show Aurimas a few Pinterest pins of patios.
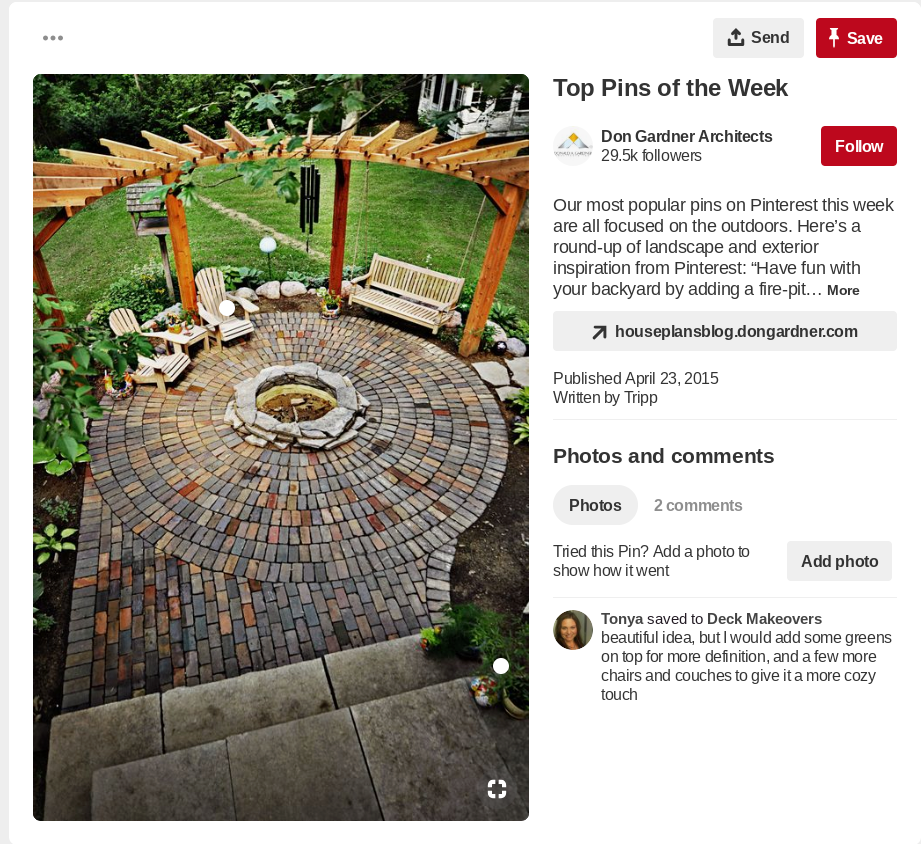
Our conversation went something like this:
Me: ?Isn?t this adorable???
Aurimas: ?We already have a concrete patio?why should we build another one? It?s just going to make the backyard look smaller.?
Me: ?ugh, you?re no fun.?
I thought nothing of it and left for a four day vacation to Vancouver with some college friends. I came home to this:

Aurimas: _(?)_/
Welp, I guess we?re doing this.
Step 1: Commit to the patio
As you know, Aurimas decided on this step on his own (or maybe all of our lives are predestined by Pinterest, and we?re just discovering it one DIY project at a time). It?s a big change to the backyard ? you lose space that could be used for grass or garden. We wanted a place for more outdoor seating in the backyard and had grand dreams of a firepit and summertime s?mores; it was also a plus that we?d have to water less.
Step 2: Decide on location and size
We decided to extend the patio off our existing concrete patio and make an 11′ by 13′ rectangle.
Step 3: Planning and equipment gathering
Here are the materials and tools we used. If you live in the Penninsula, Lyngso in San Carlos is a garden materials wonderland.
A patio is basically a layered cake. From bottom to top:
- Existing dirt
- Landscaping fabric to block weeds
- 2.5 tons of base rock (calculated based on 4′? deep)
- 0.75 ton of gray sand / top sand (1′? deep)
- Pavers (we picked these)
- Two 50lb bags of polymeric sand (they each cover 65?85 sq. ft)
Total cost of materials: ~$1,300 (most of it was the pavers)
Tools:
- 10′ 2×2 (any straight, long piece of wood will do)
- Shovel
- Wheelbarrow
- Tamper
- Rake
- Wide broom
- String and sticks (to make sure your patio base is level)
- PVC pipes the length of your patio (we used two hardshell, 1″ pipes that were 10′ long), used for making sure you?ve filled your patio base to the correct level
- Garden hose with a ?sprinkler? setting (you could use a bucket if you really had to)
Be smarter than us ? acquire all the materials and tools for the project before you start, instead of as you go. We were sidelined for an afternoon because we got a wheelbarrow stuck inside my car?if you ever want a cheap team-building exercise, try picking up a wheelbarrow together from a stranger on NextDoor, getting it inside a small sedan, and then getting it out. 5 star relationship results if you survive the process.
When you pick and buy pavers, you?ll need to decide what pattern you want so you can order the correct number of tiles for your patio. This is what we went with (small are 12″ x 12″, medium are 12″ x 24″, and the large squares are 24″ x 24″.) Aurimas wanted to optimize for the easiest pattern to lay down. We modified a pattern from the gardening materials store so we wouldn?t have to cut any tiles to fit our 11′ x 13′ space.

Step 3: Dig a big hole
Aurimas did this while I was in Vancouver, so I can?t say that I contributed at all to this process. His tip: ?Have a good shovel.? My tip: Have an entrepreneurial, slightly masochistic significant other.
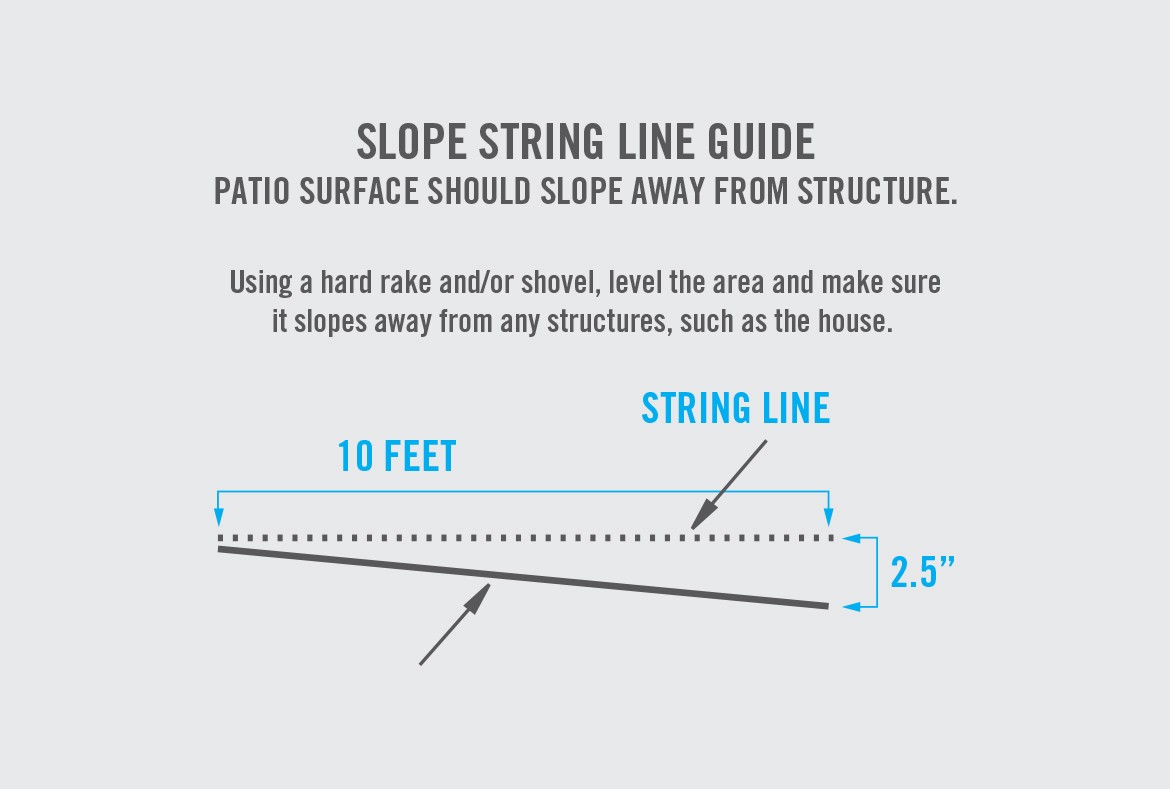
You want your patio to slope away from your house, so that when it rains the water drains off away from your foundation and doesn?t pool next to your house. We made the dirt two inches deeper on the far side and gradually sloped the dirt to create a tilt in the patio.
To do this, tie a string across the patio that is exactly level (we used a rock on one end and attached it to a stick in the ground on the other end). Then move the string on the far side two inches down, so that you have a built-in slope.
 http://www.brockpaverbase.com
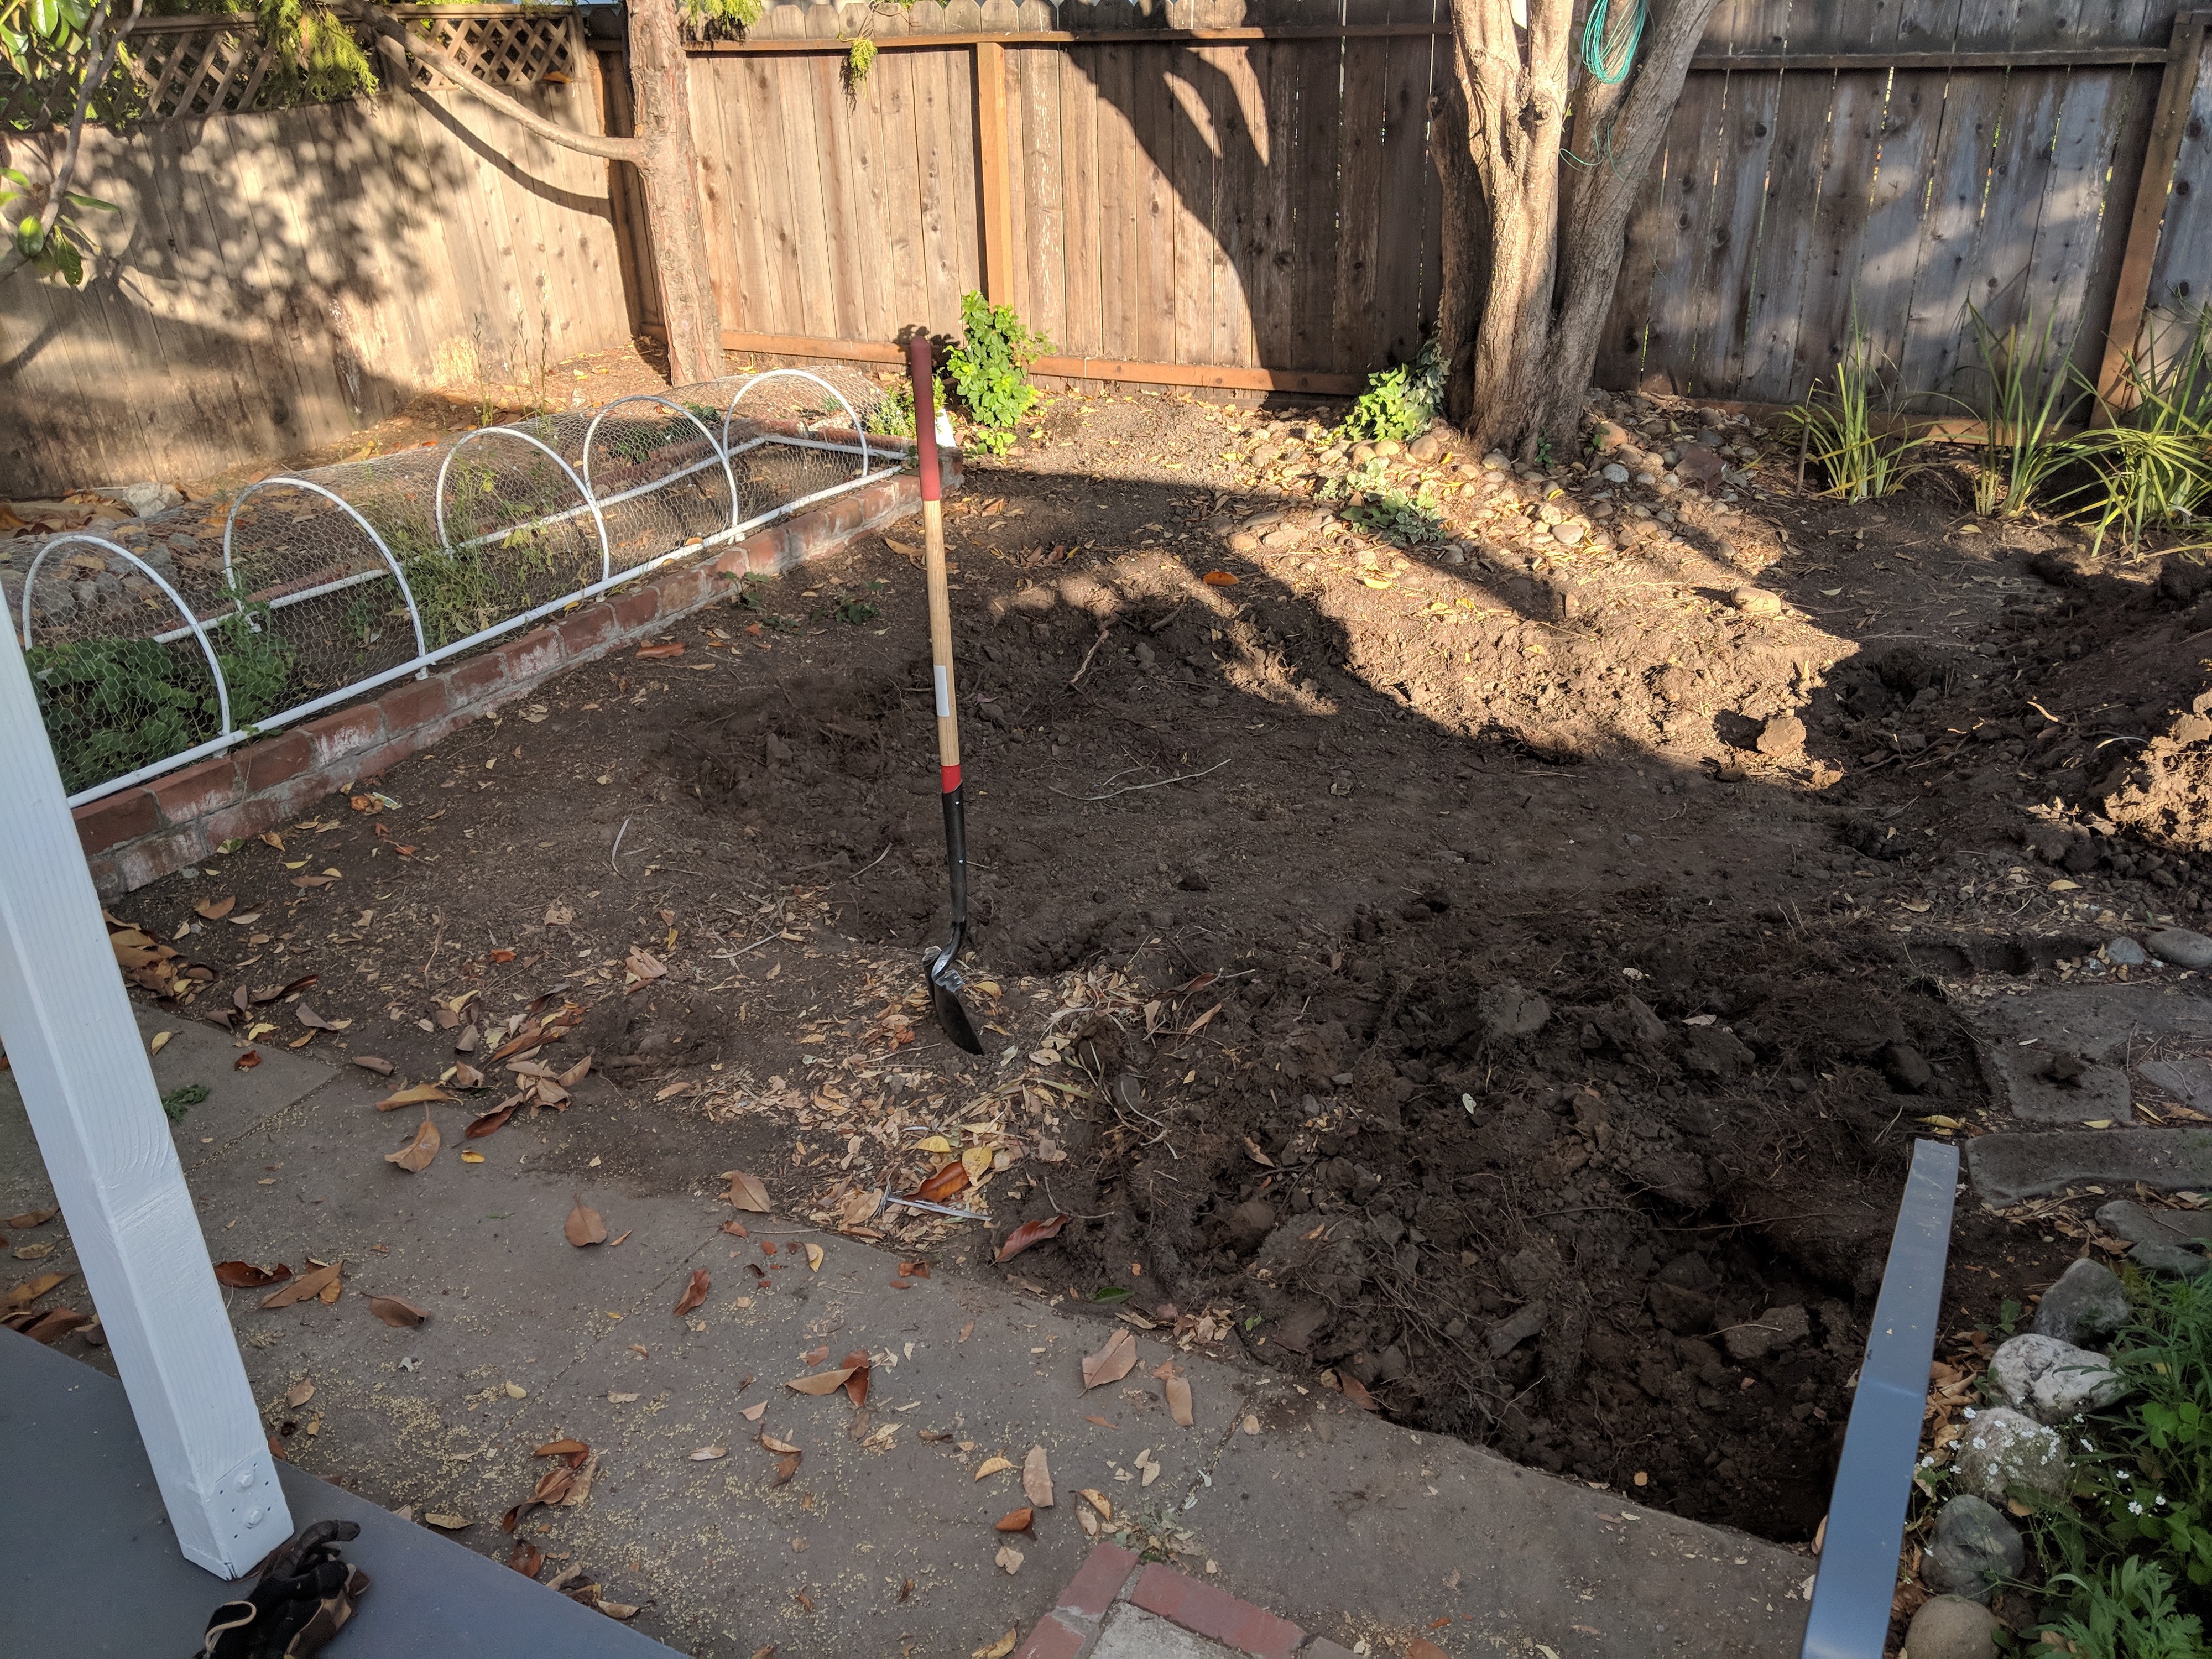 We have a TON of roots in our yard, so a lot of the work was sawing and digging them out.
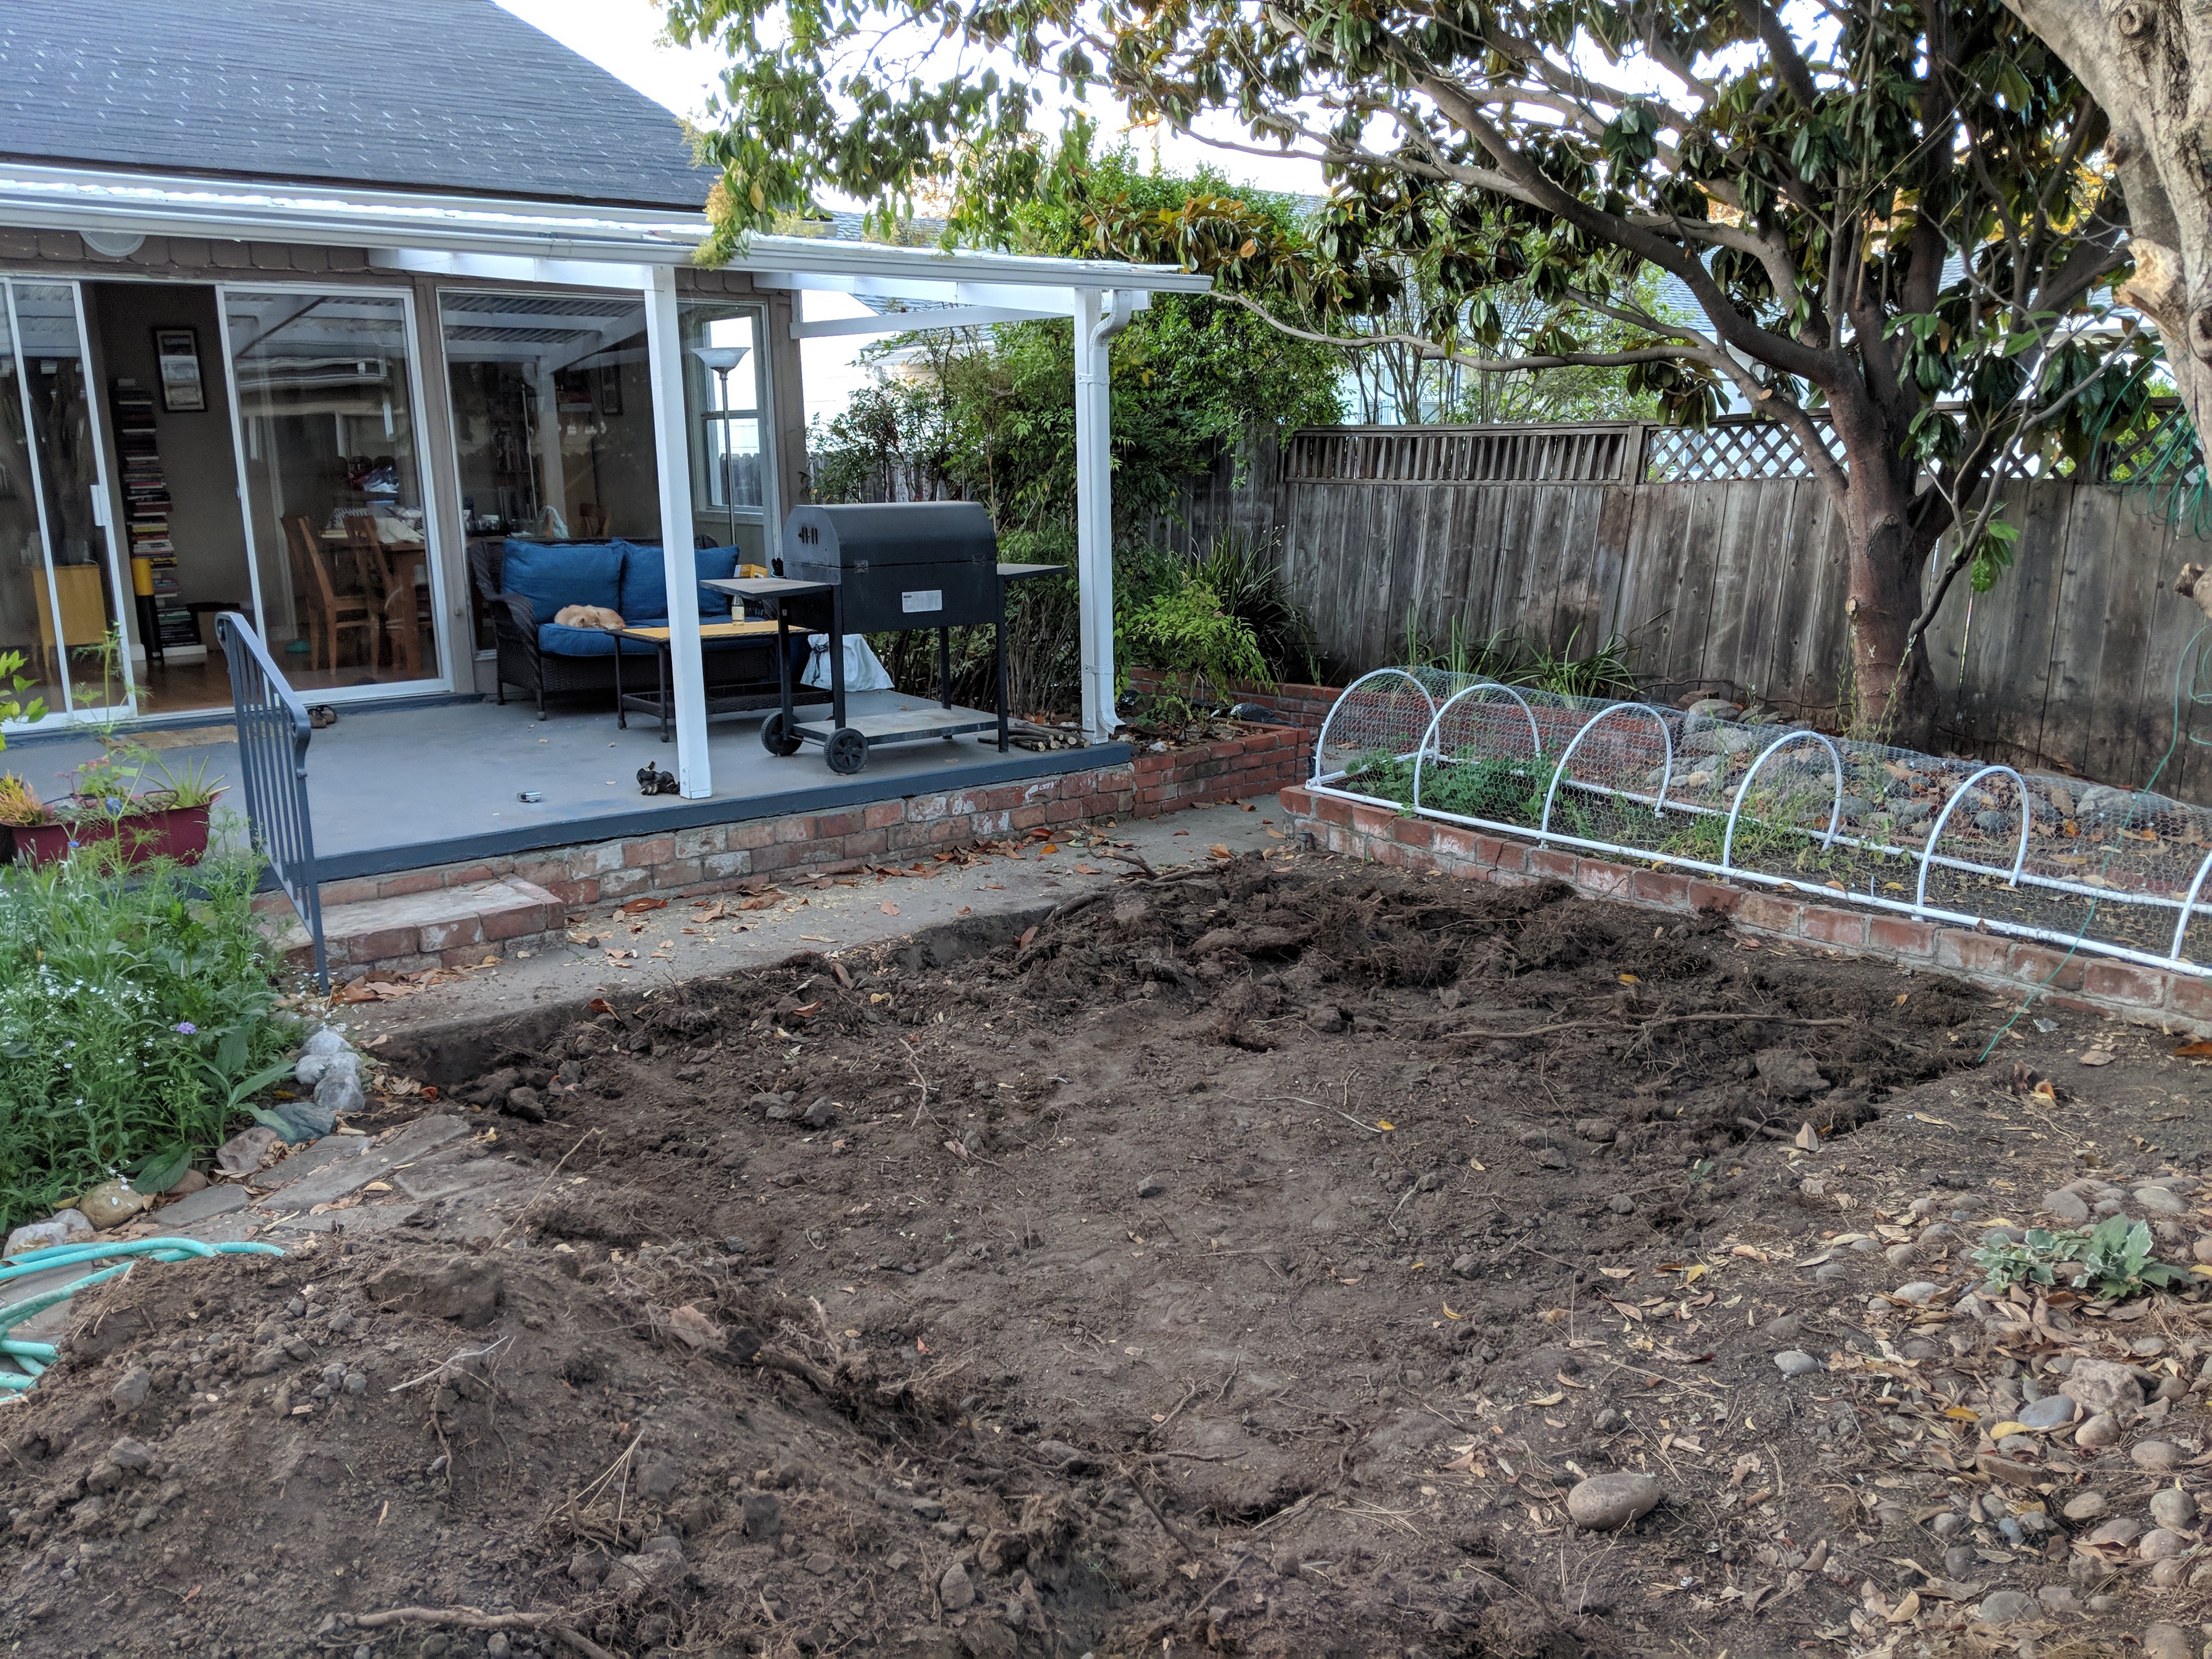 Our dog Jack (on couch) was very unhelpful for digging but always present for moral support. Our existing concrete patio is in blue and covered by a plastic clear roof.
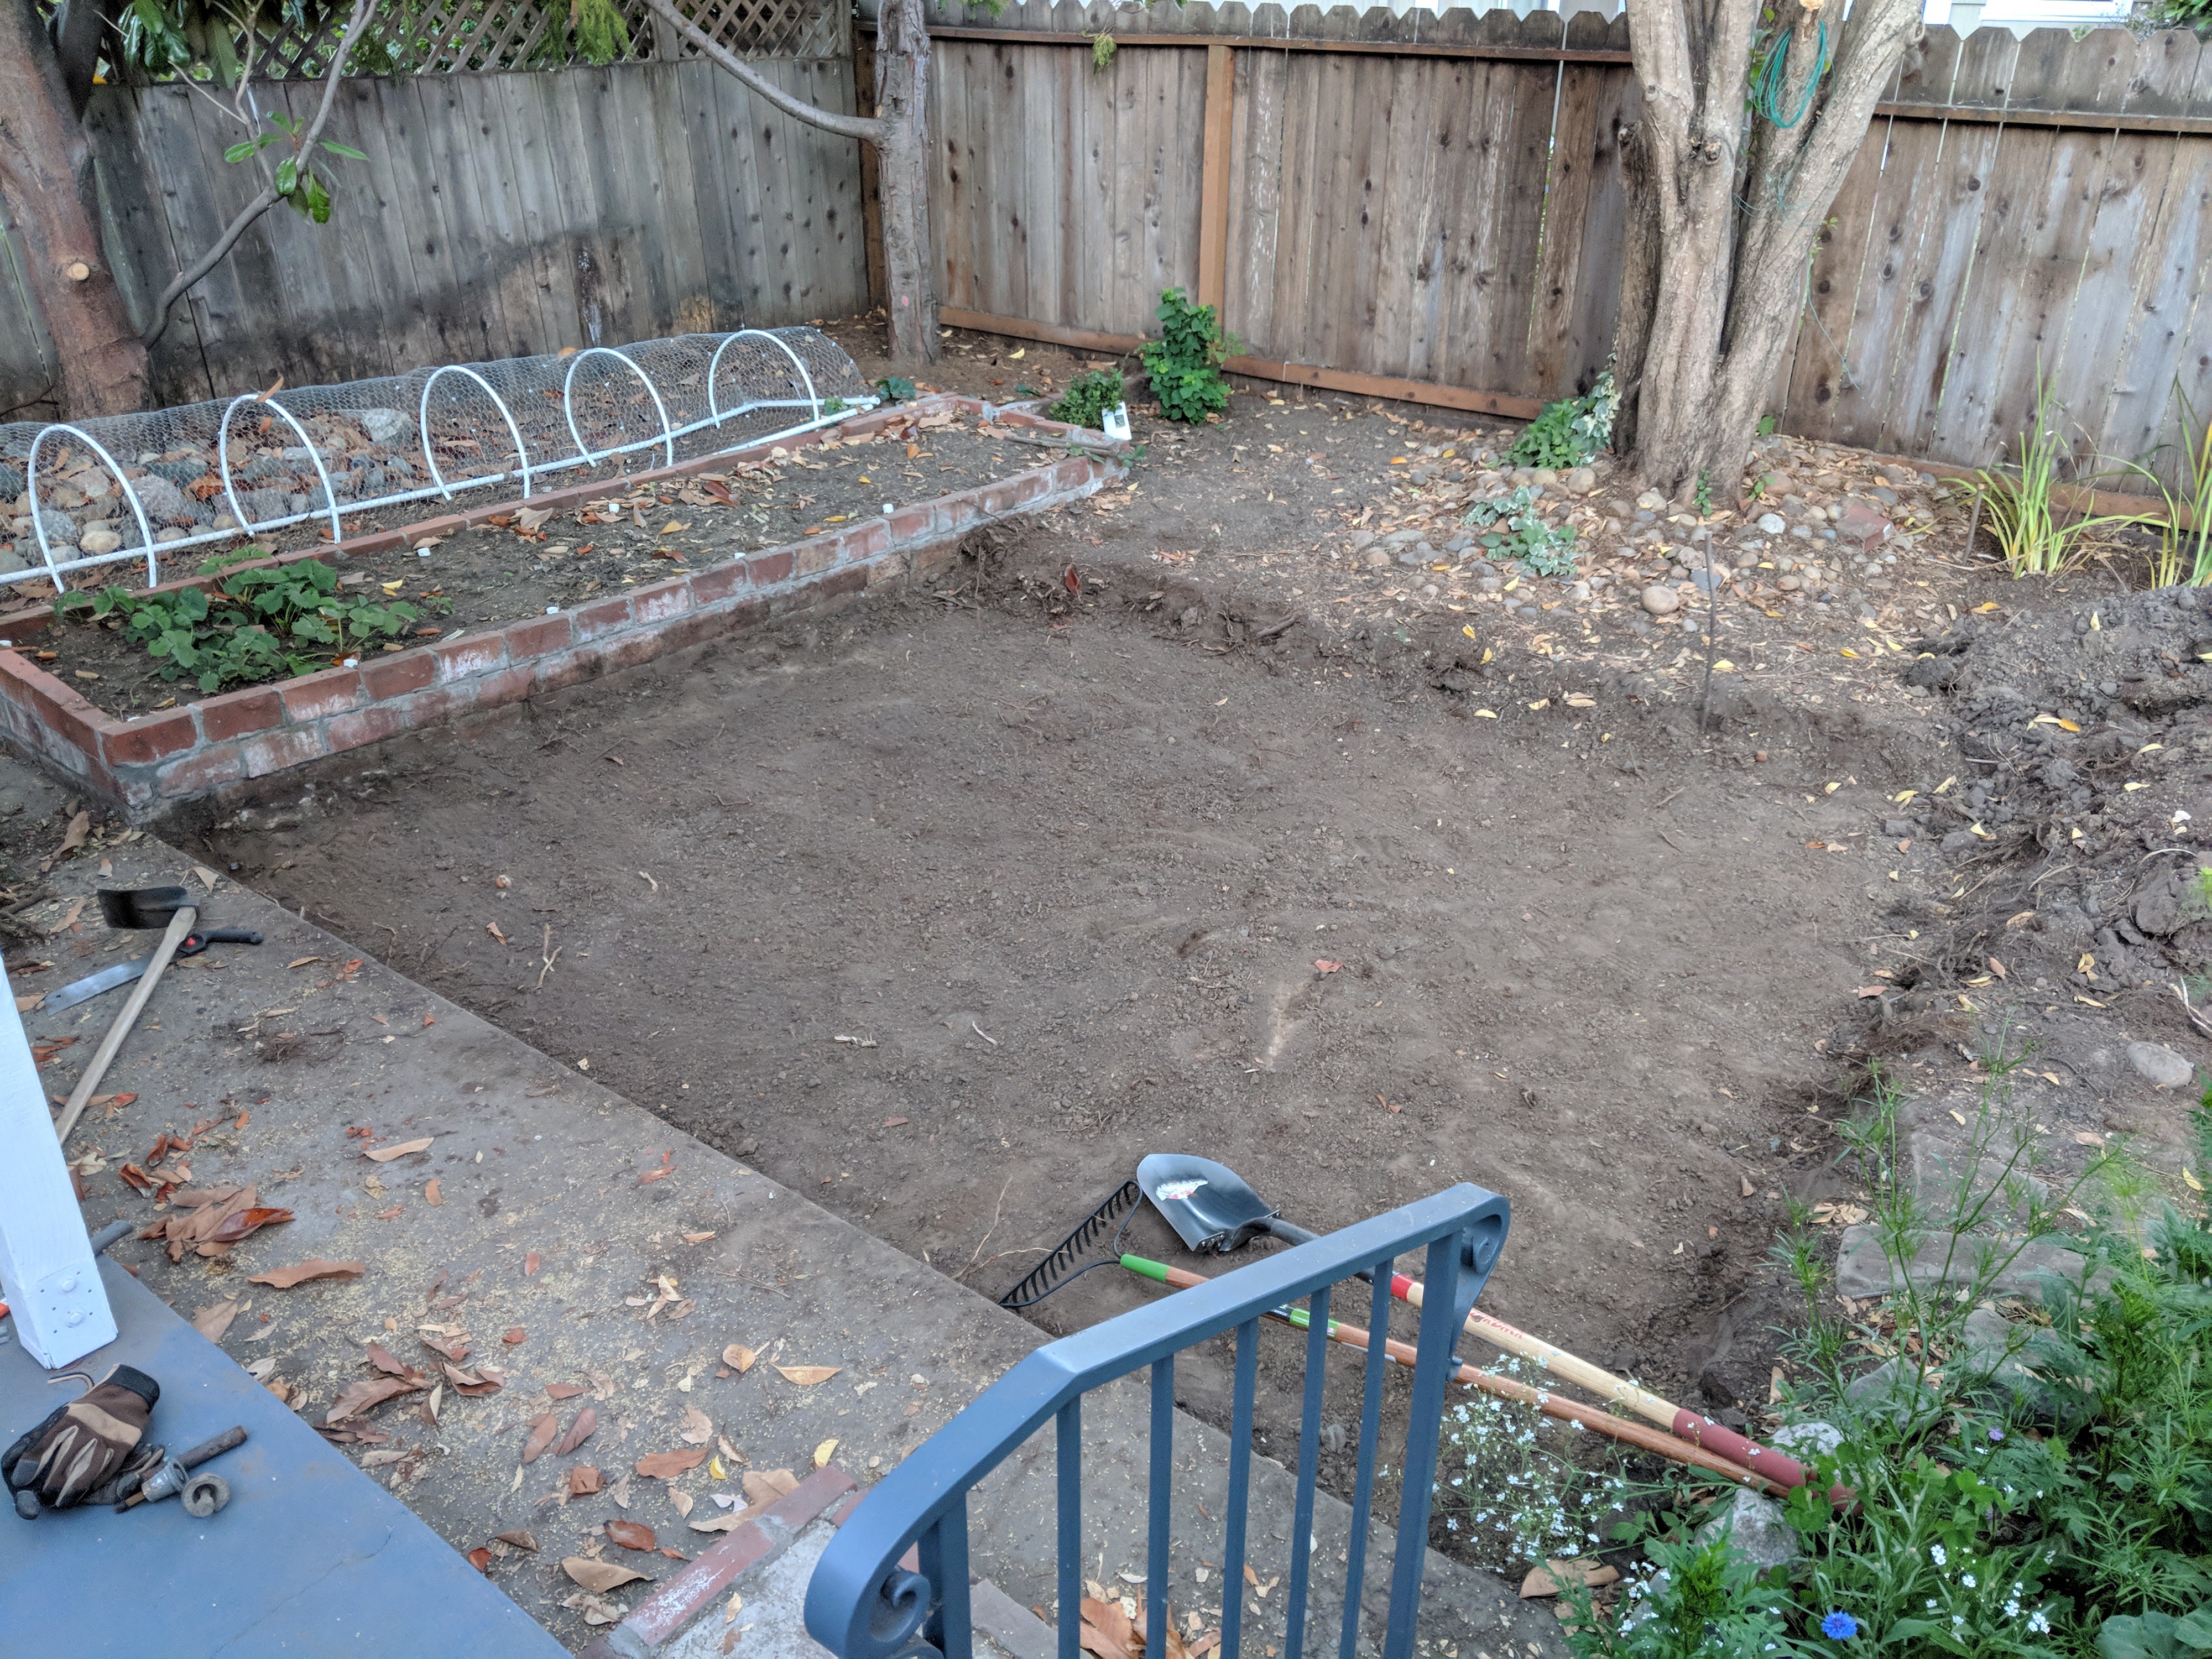 All ready to begin the patio layer cake.
Step 4: Landscaping fabric
Lay down sheets of landscaping fabric over the dirt to prevent weeds from coming up and growing through your patio.
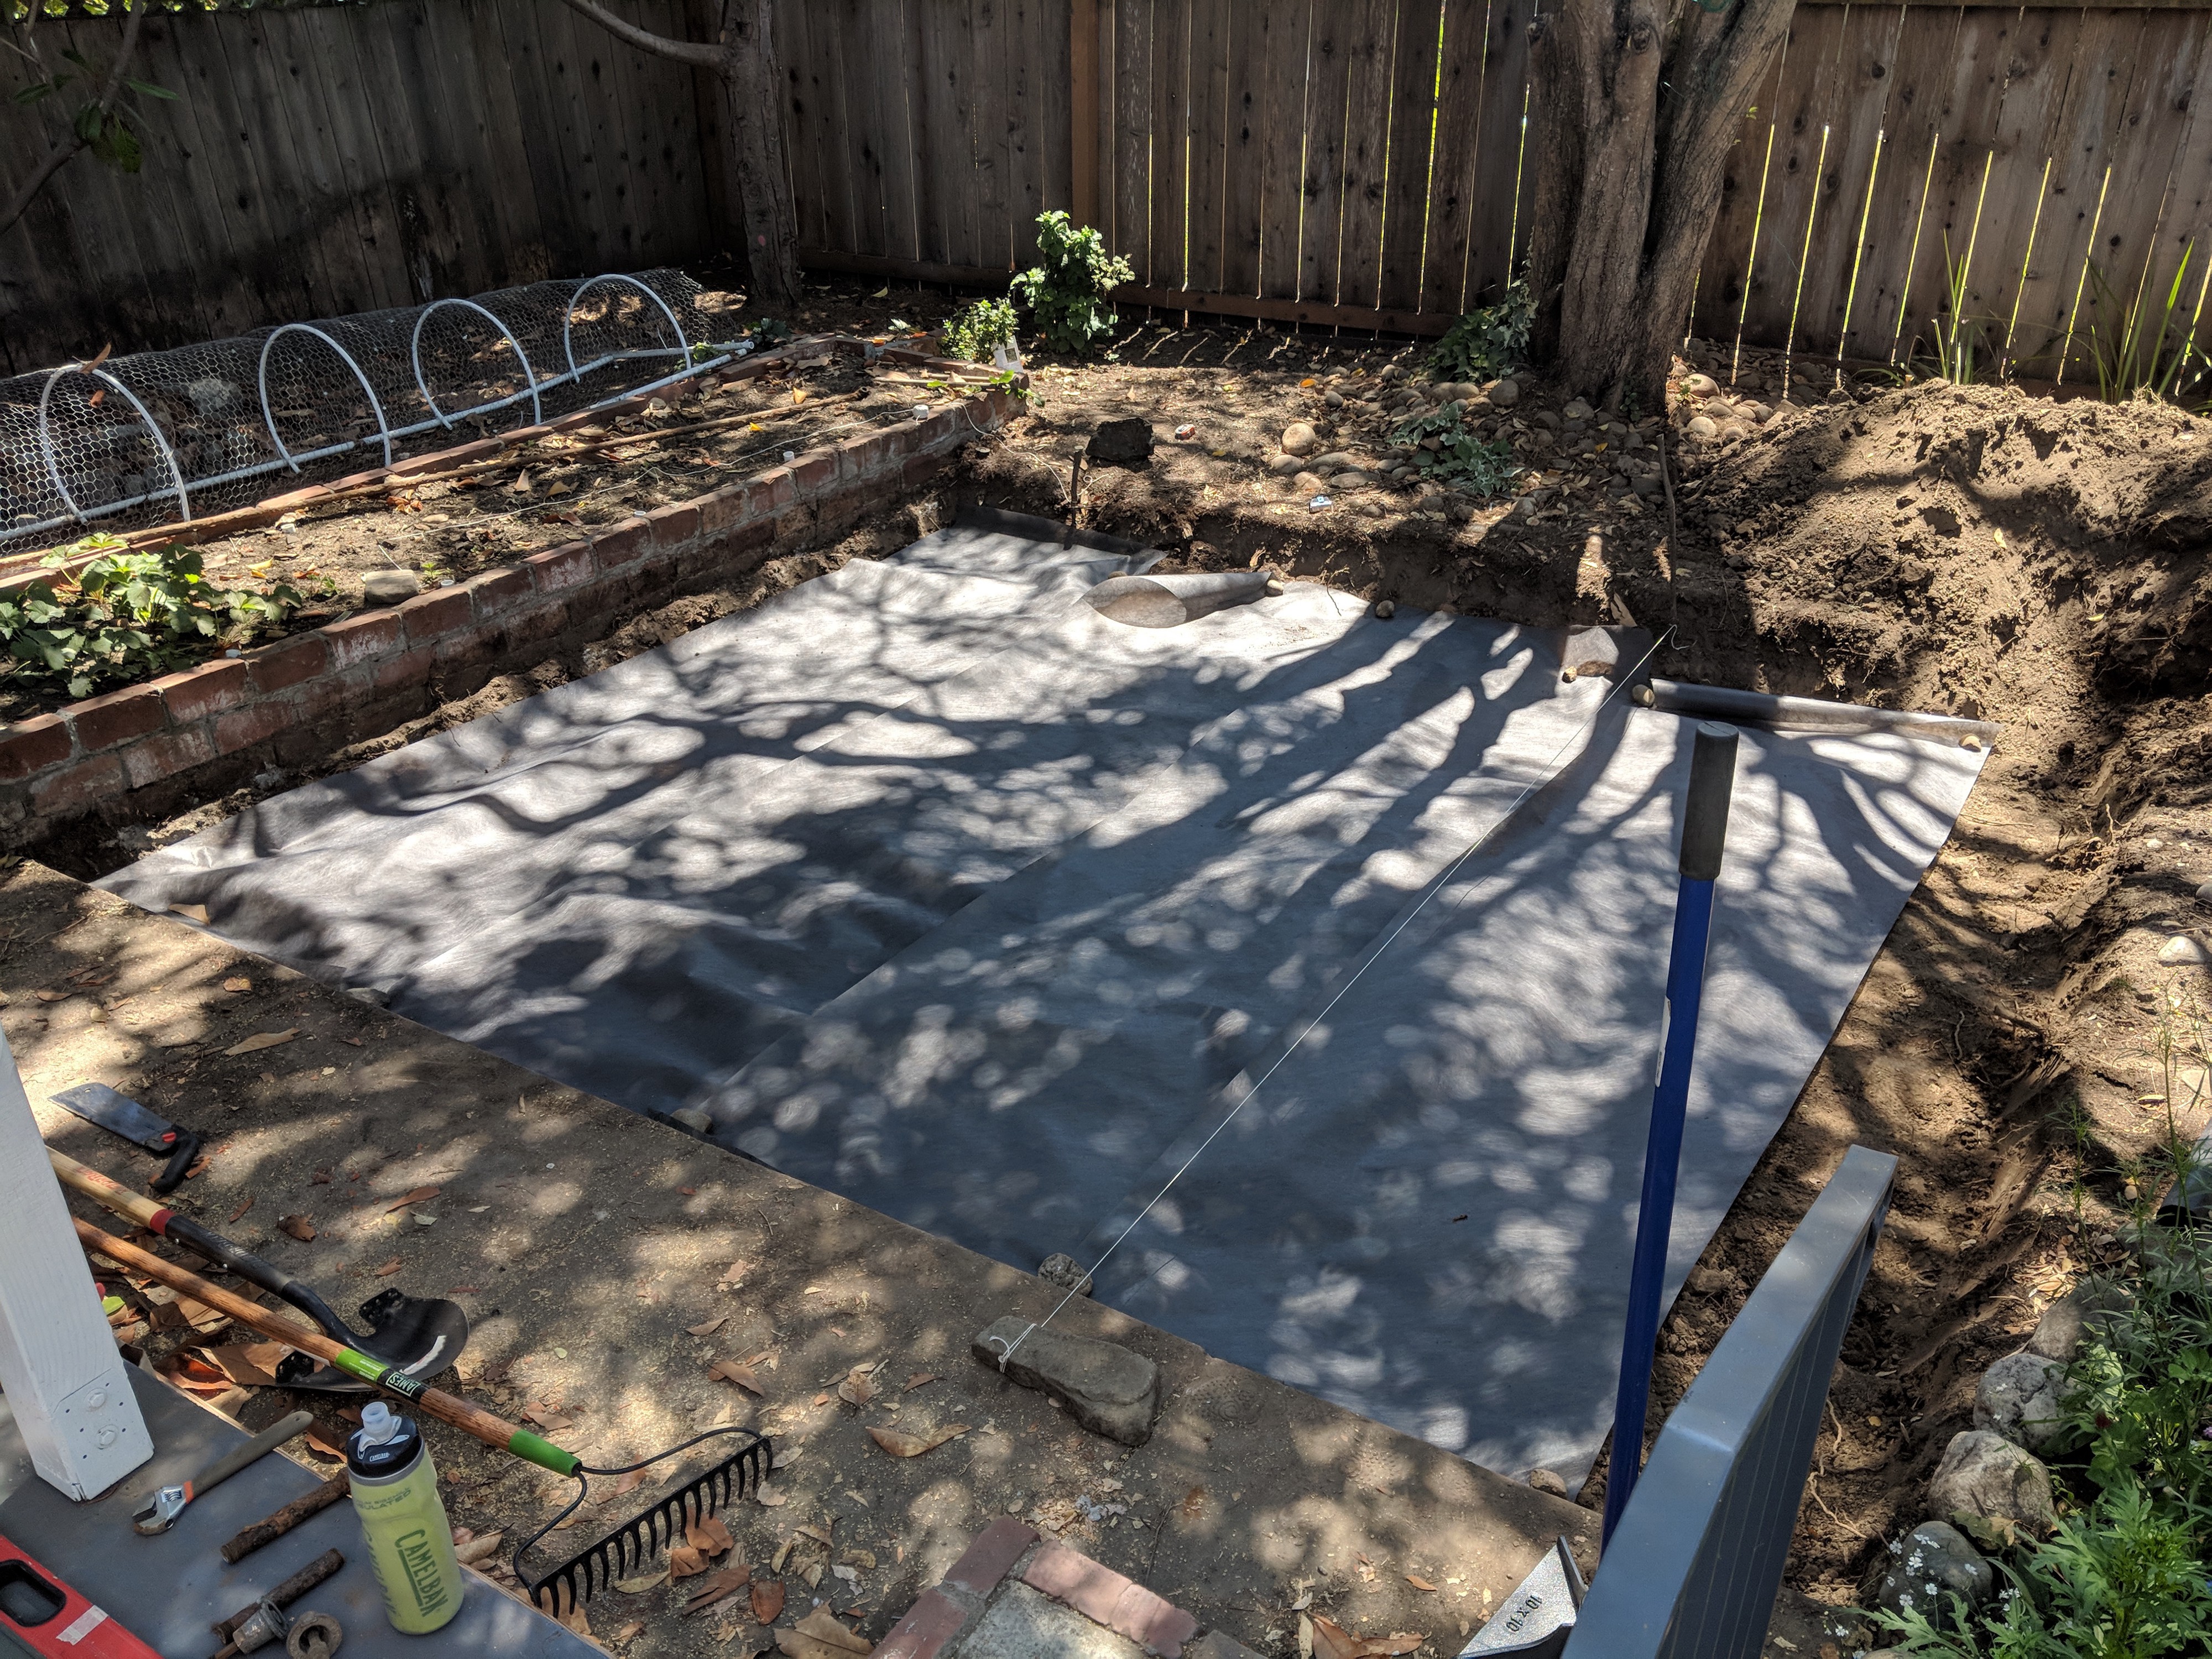 The strings across the patio helped us to stay level (incorporating a 2″ slope downwards away from the house).
Step 5: Fill the hole with base rock
If you?re like us and didn?t acquire the materials beforehand, this step might entail going to your local gardening materials store and renting a dump truck to ?save money? instead of getting it delivered (ahem, someone just wanted the cool experience of driving a dump truck).
We bought the base rock and sand together, but made two separate trips to avoid mixing the base rock and the sand together in the truck.

 Spreading the base rock over the landscaping fabric.
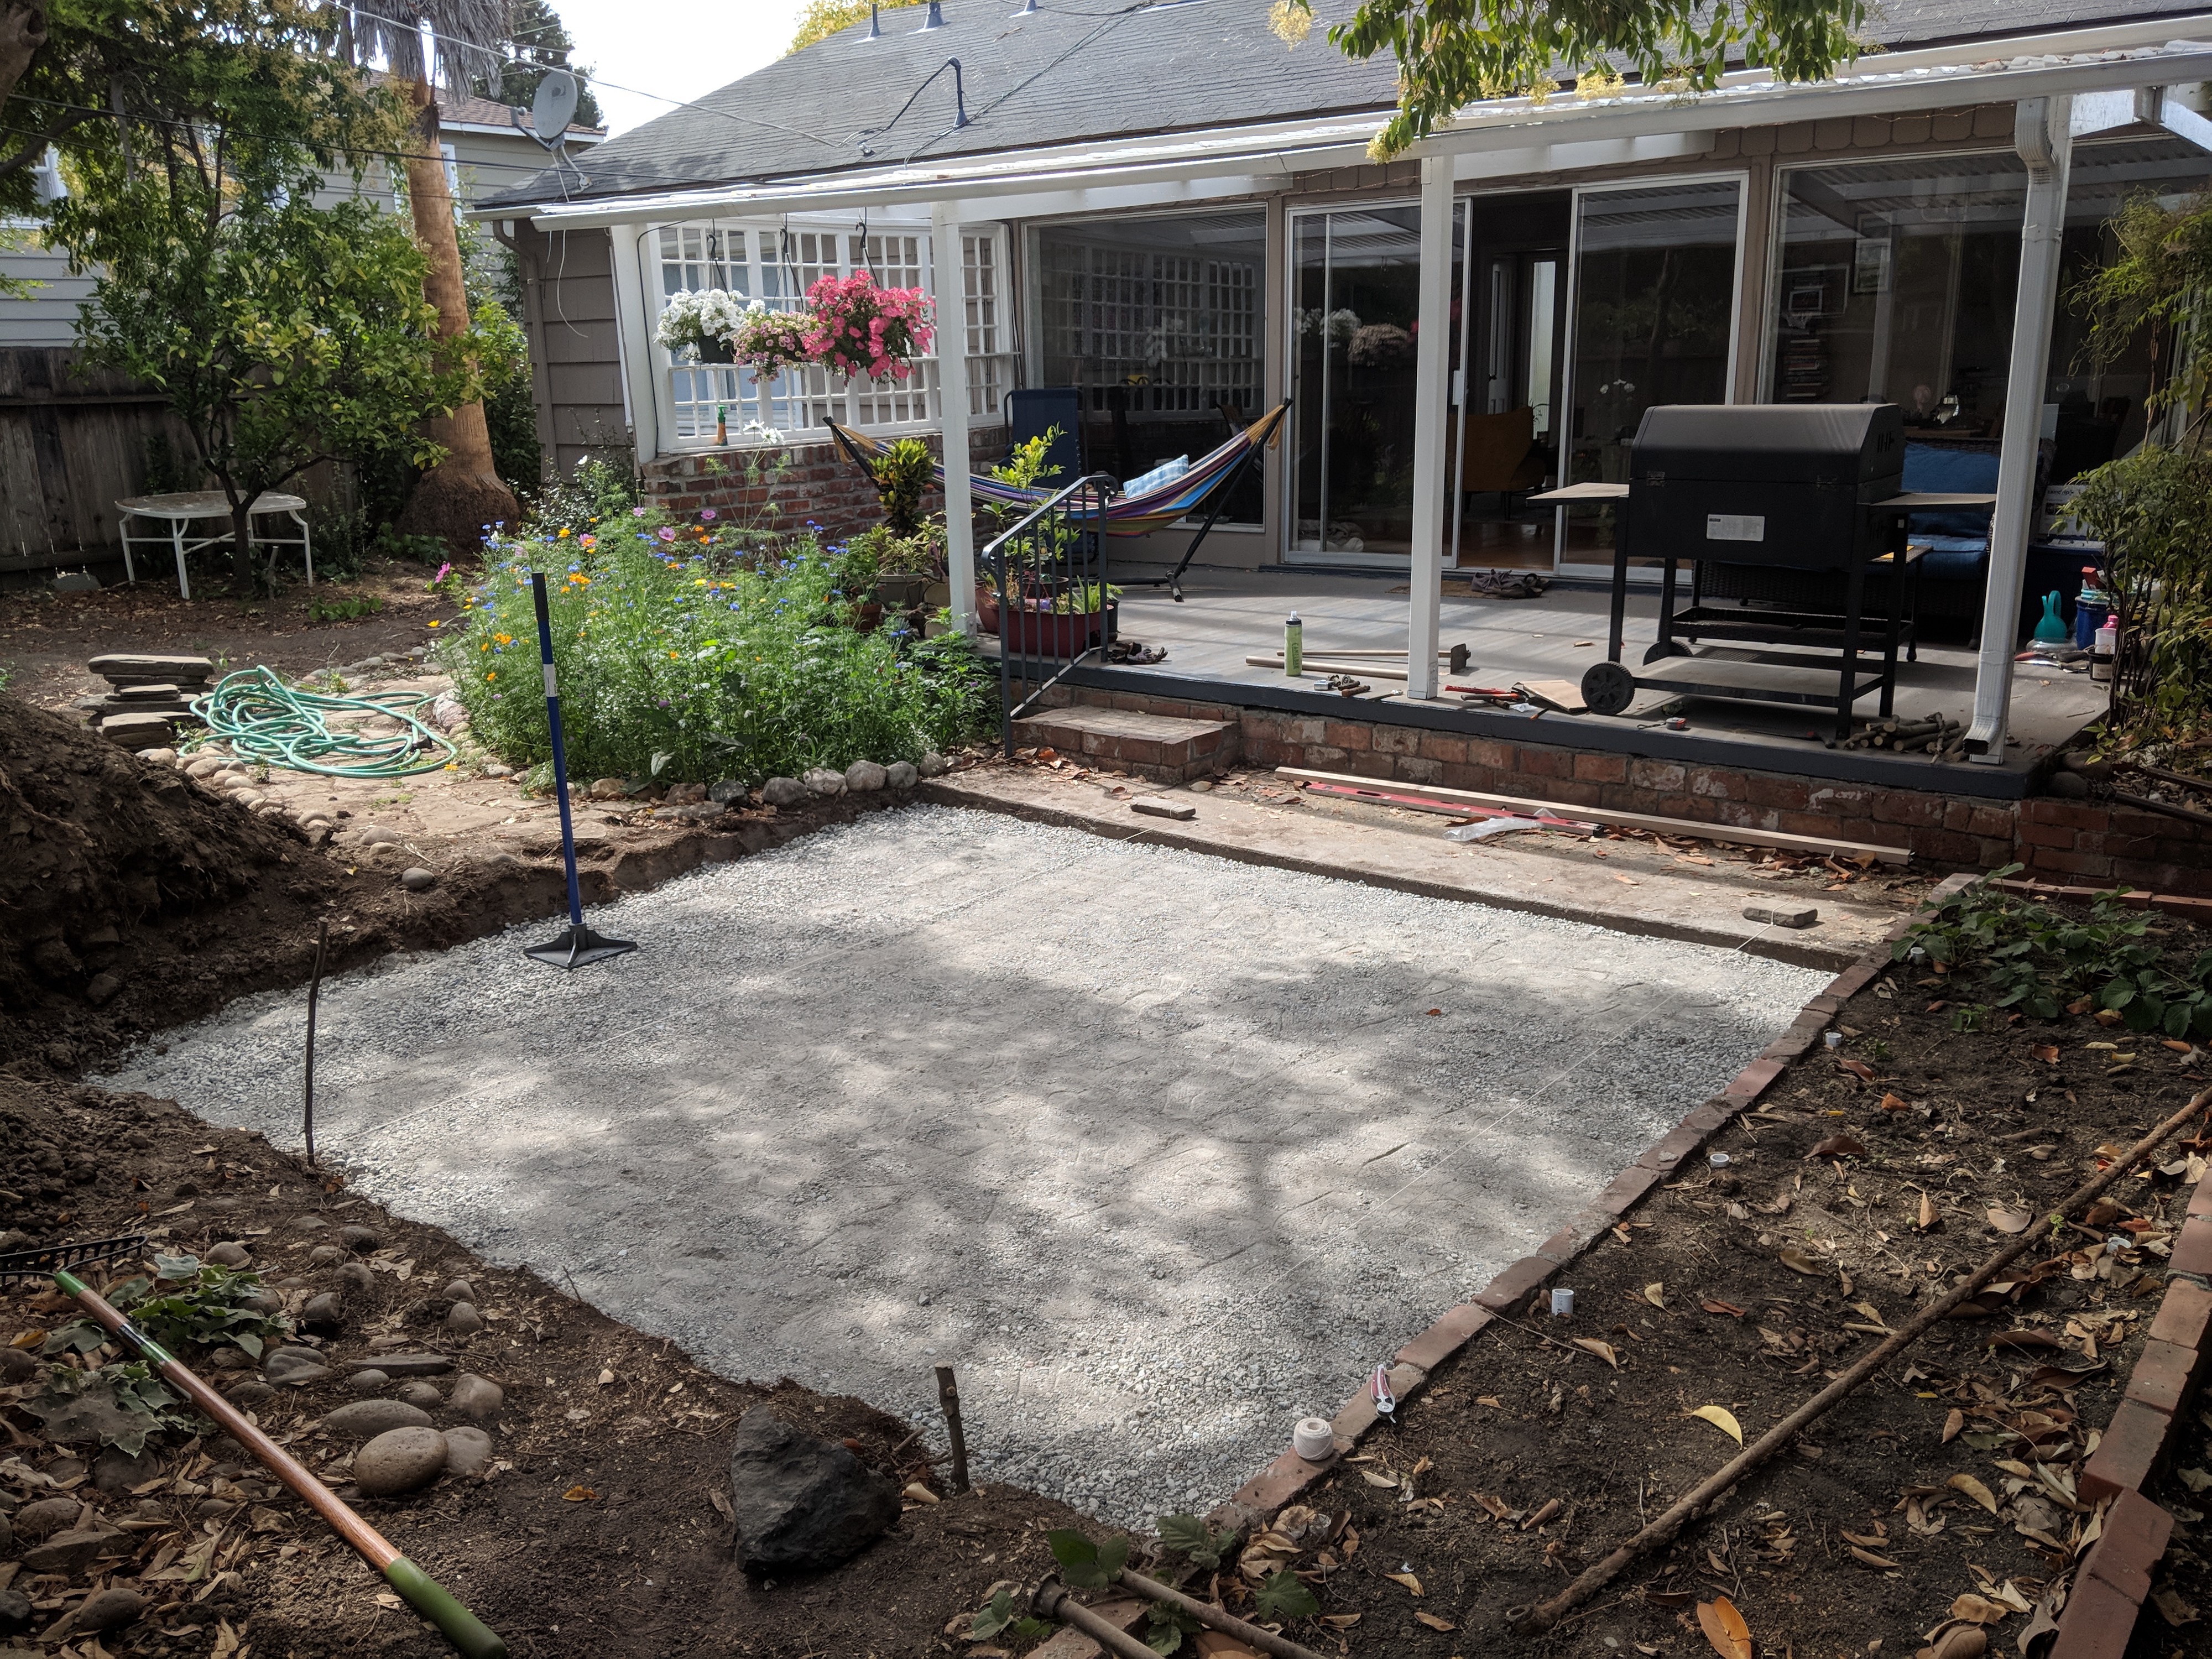 Tamp tamp tamp.
Once you lay down all the base rock, it needs to be compacted with a tamper ? aka thumping a big stick with a metal square attached down on the sand until it?s all flat and level. You can rent a machine to do this, but Aurimas likes to do things the old-fashioned manual way. (Aurimas: ?Tell them it makes you tough, just like the base layer.?) It should be so compacted that you can walk / dance on it without dislodging the rocks.
Step 6: Sand
Spread the sand in piles over the base rock and lay down PVC pipes along the sloped direction. You?ll use them as a railing for a piece of wood that will help you level out the sand.
First spread out all the sand with a rake, then drag the 2×2 wood on top of the pipes across the sand to fully level it out. Then tamp tamp tamp the sand down (Aurimas, now backtracking when he remembers the pain of this process: ?If you have an area larger than 10’x10′, do yourself a favor and rent a plate compactor).
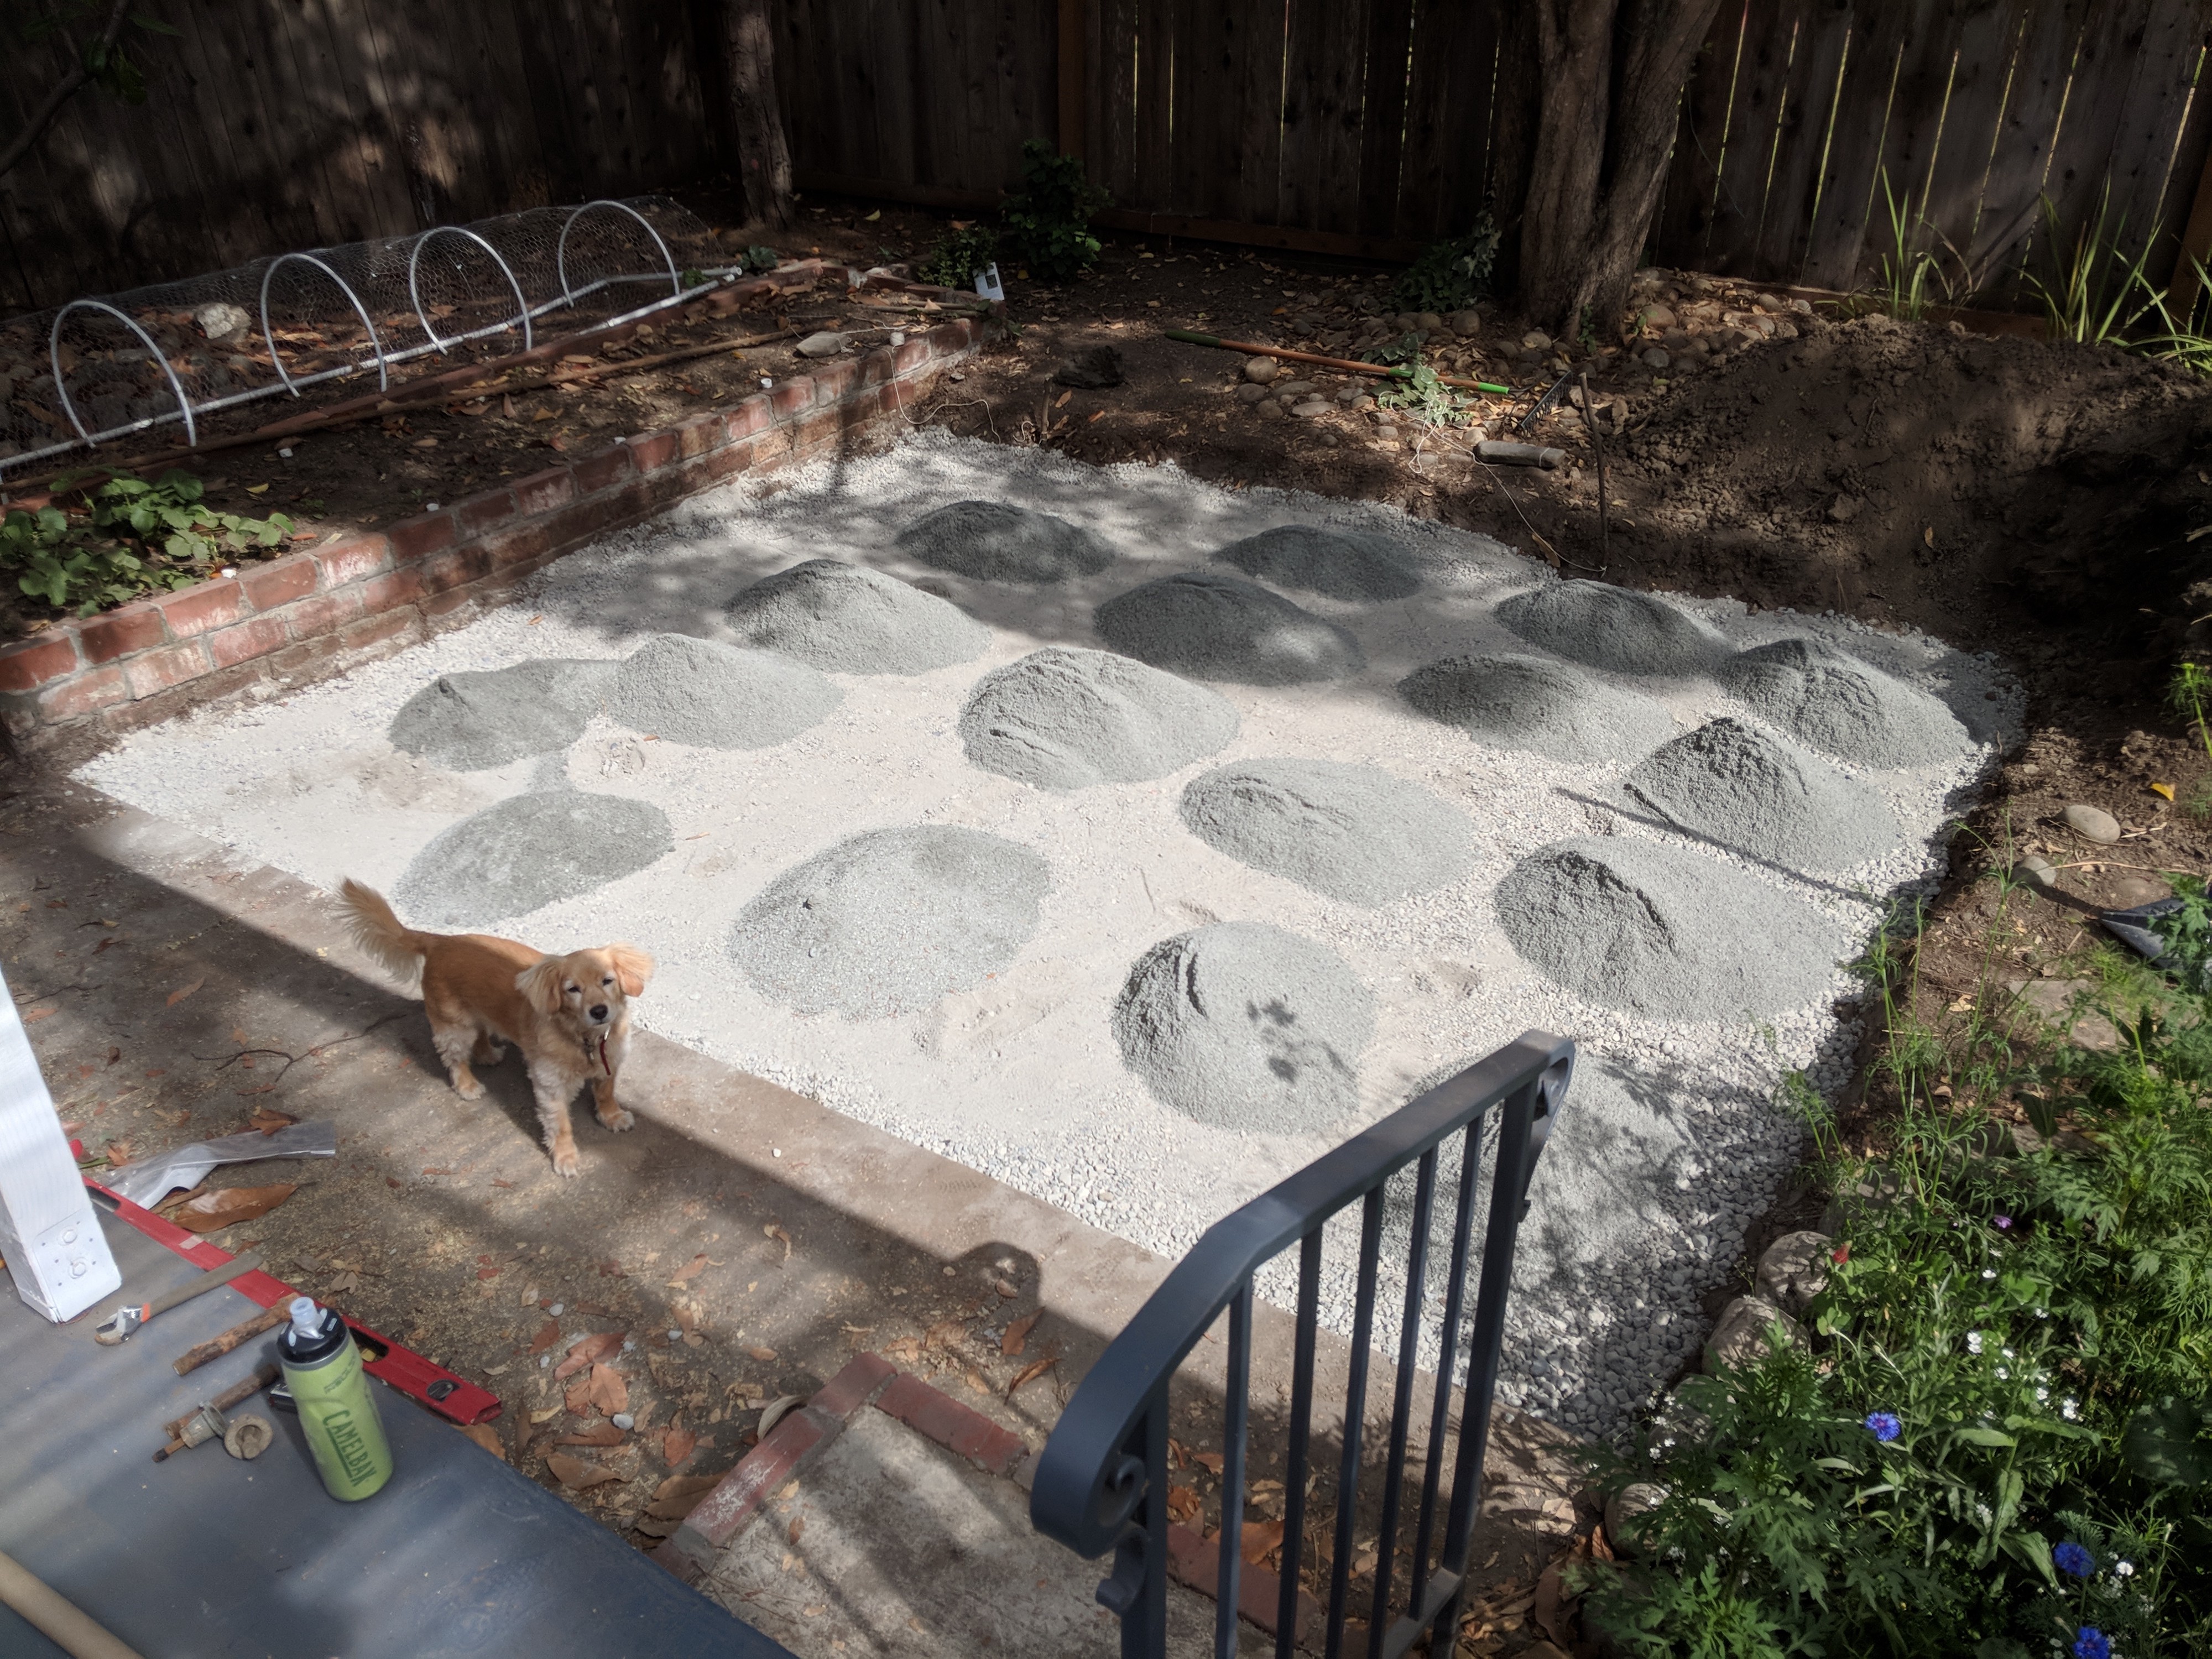 Jack being unhelpful but supportive.
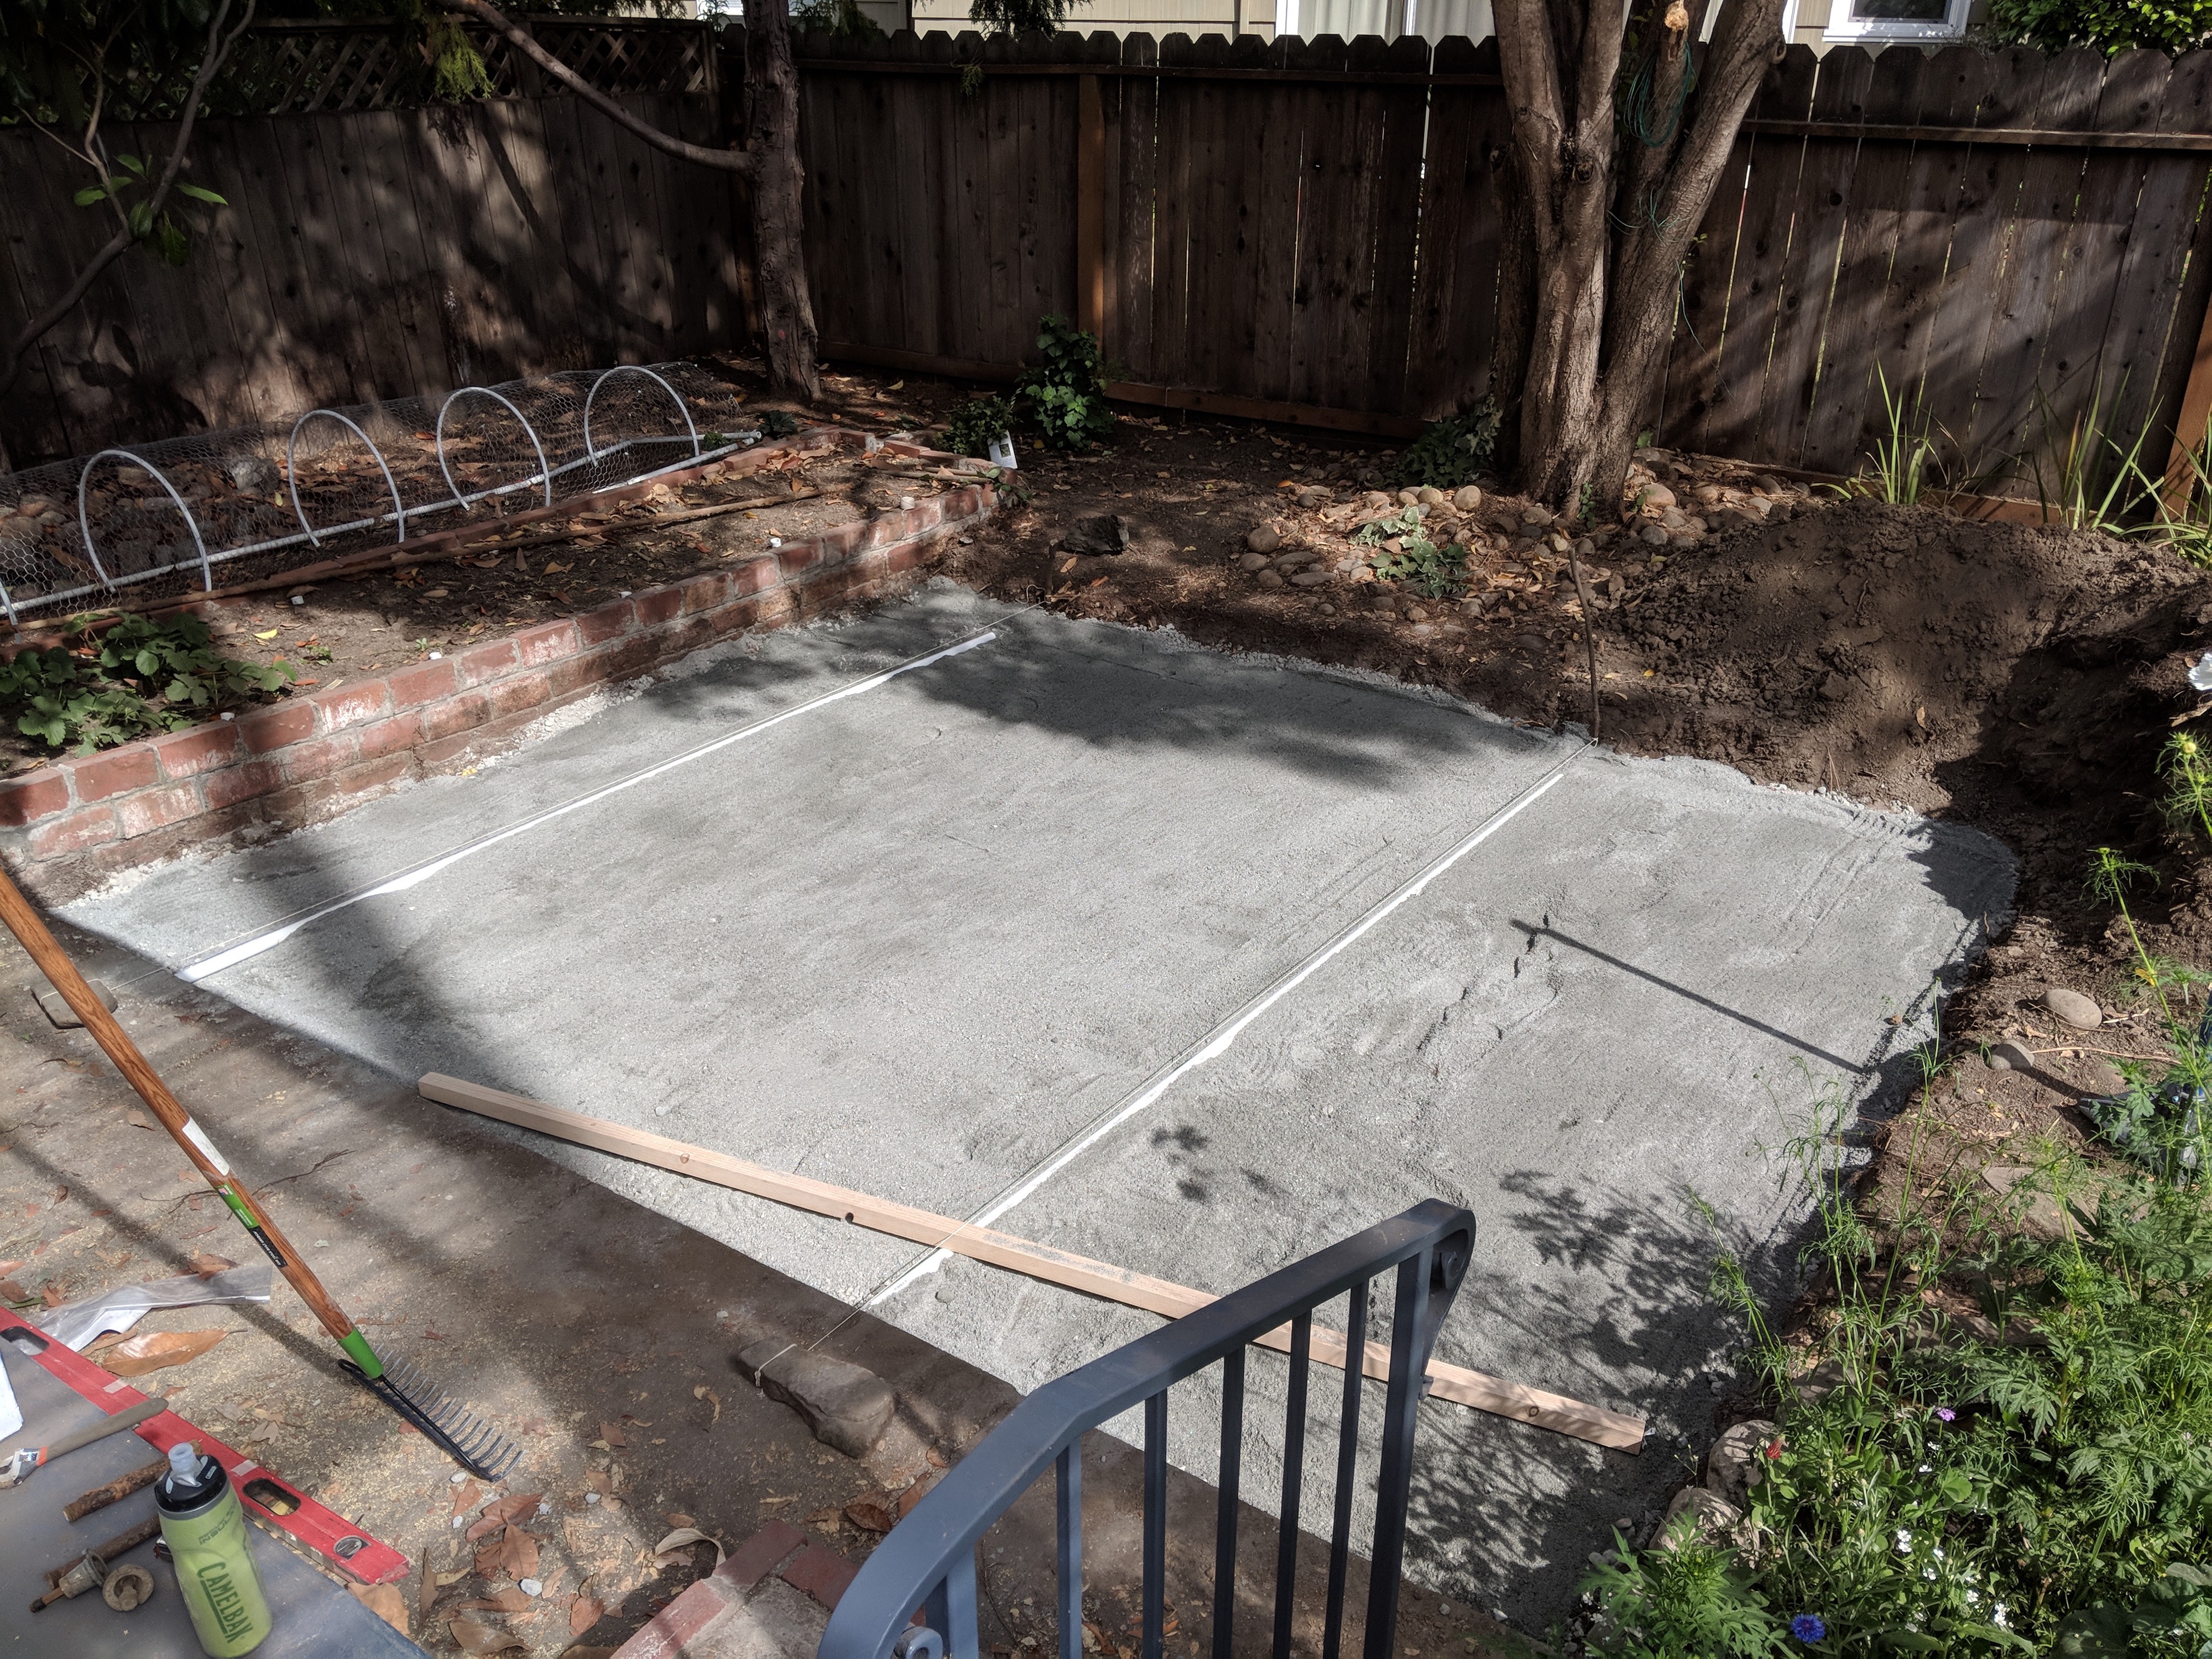 Leveling out the sand with the 2×2.
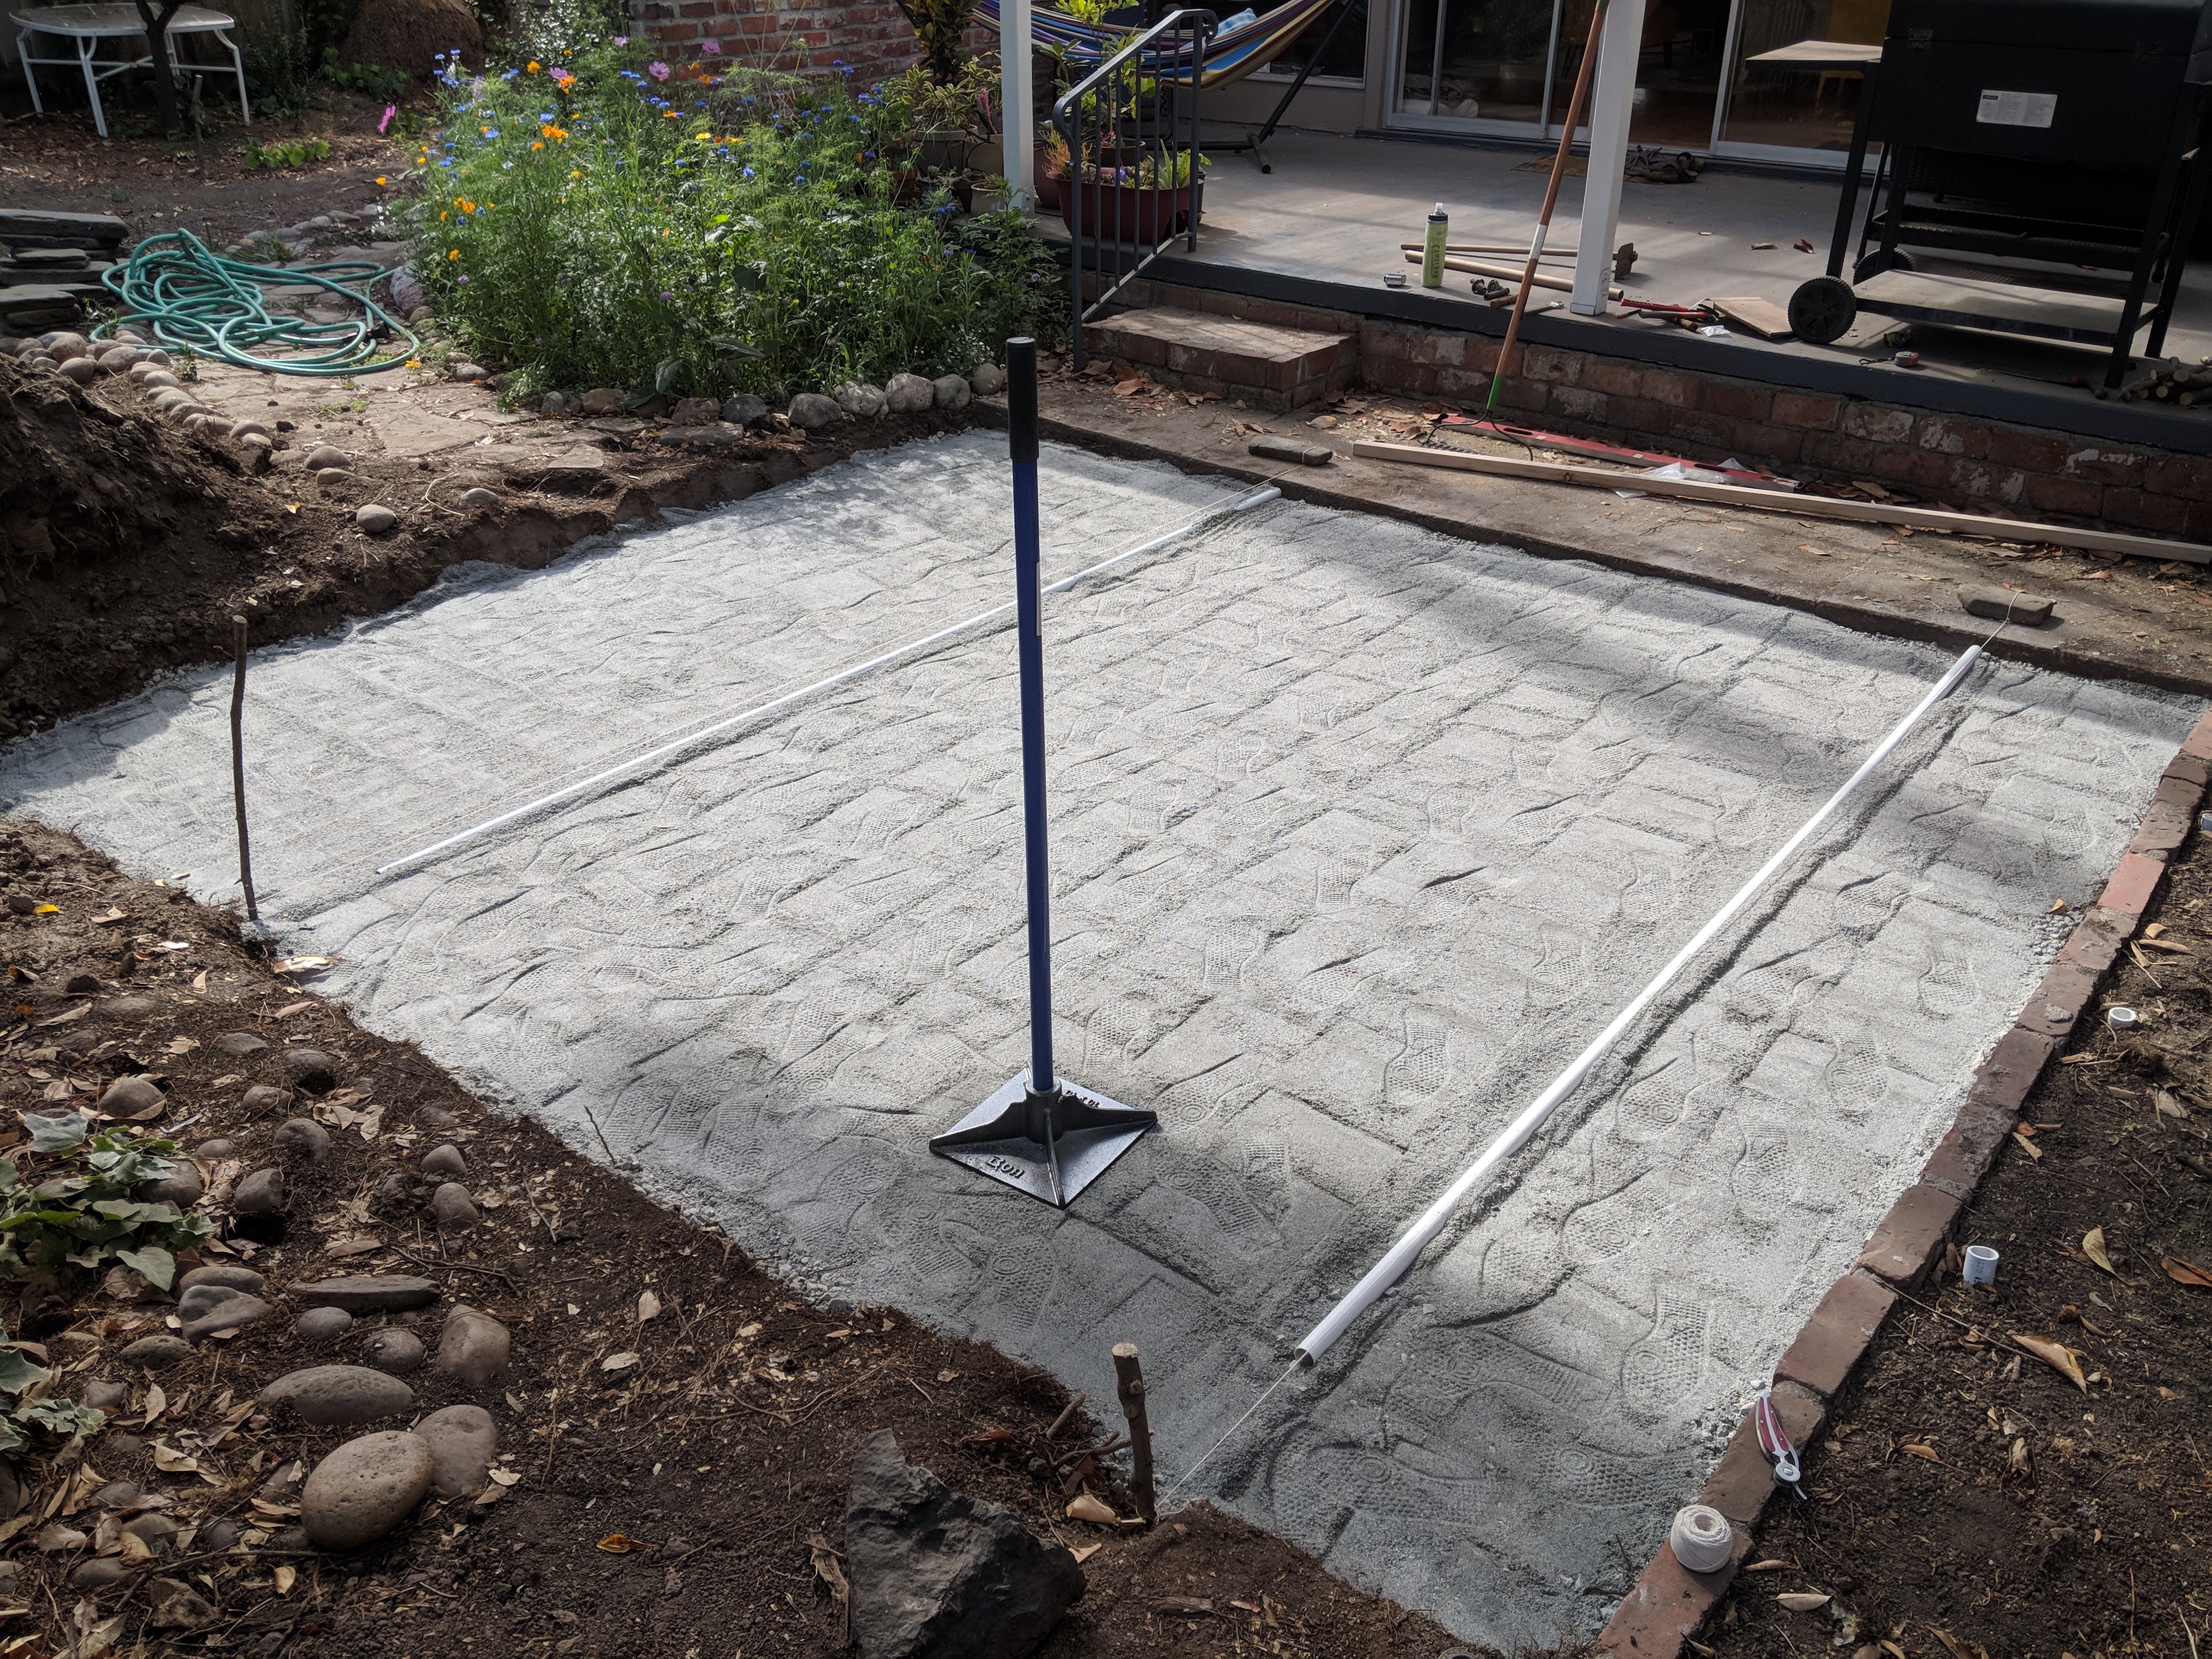 Tamp all day. I love how meticulous Aurimas?s shoeprints are. I clearly didn?t help at all with this process.
You should now be an inch below the leveling string. If you?re not, you?ll have to buy more sand?which may have happened to us. Hopefully you?ll learn from our mistakes and err on the side of buying more sand and base rock.
Step 6: Pavers
This is the fun part ? laying down the pavers. It?s useful to print out your paver pattern so that you can see what you?re doing. We had a freakout moment when we realized we had a bunch of extra pavers ? but it turns out the gardening company just sent us extra ones.
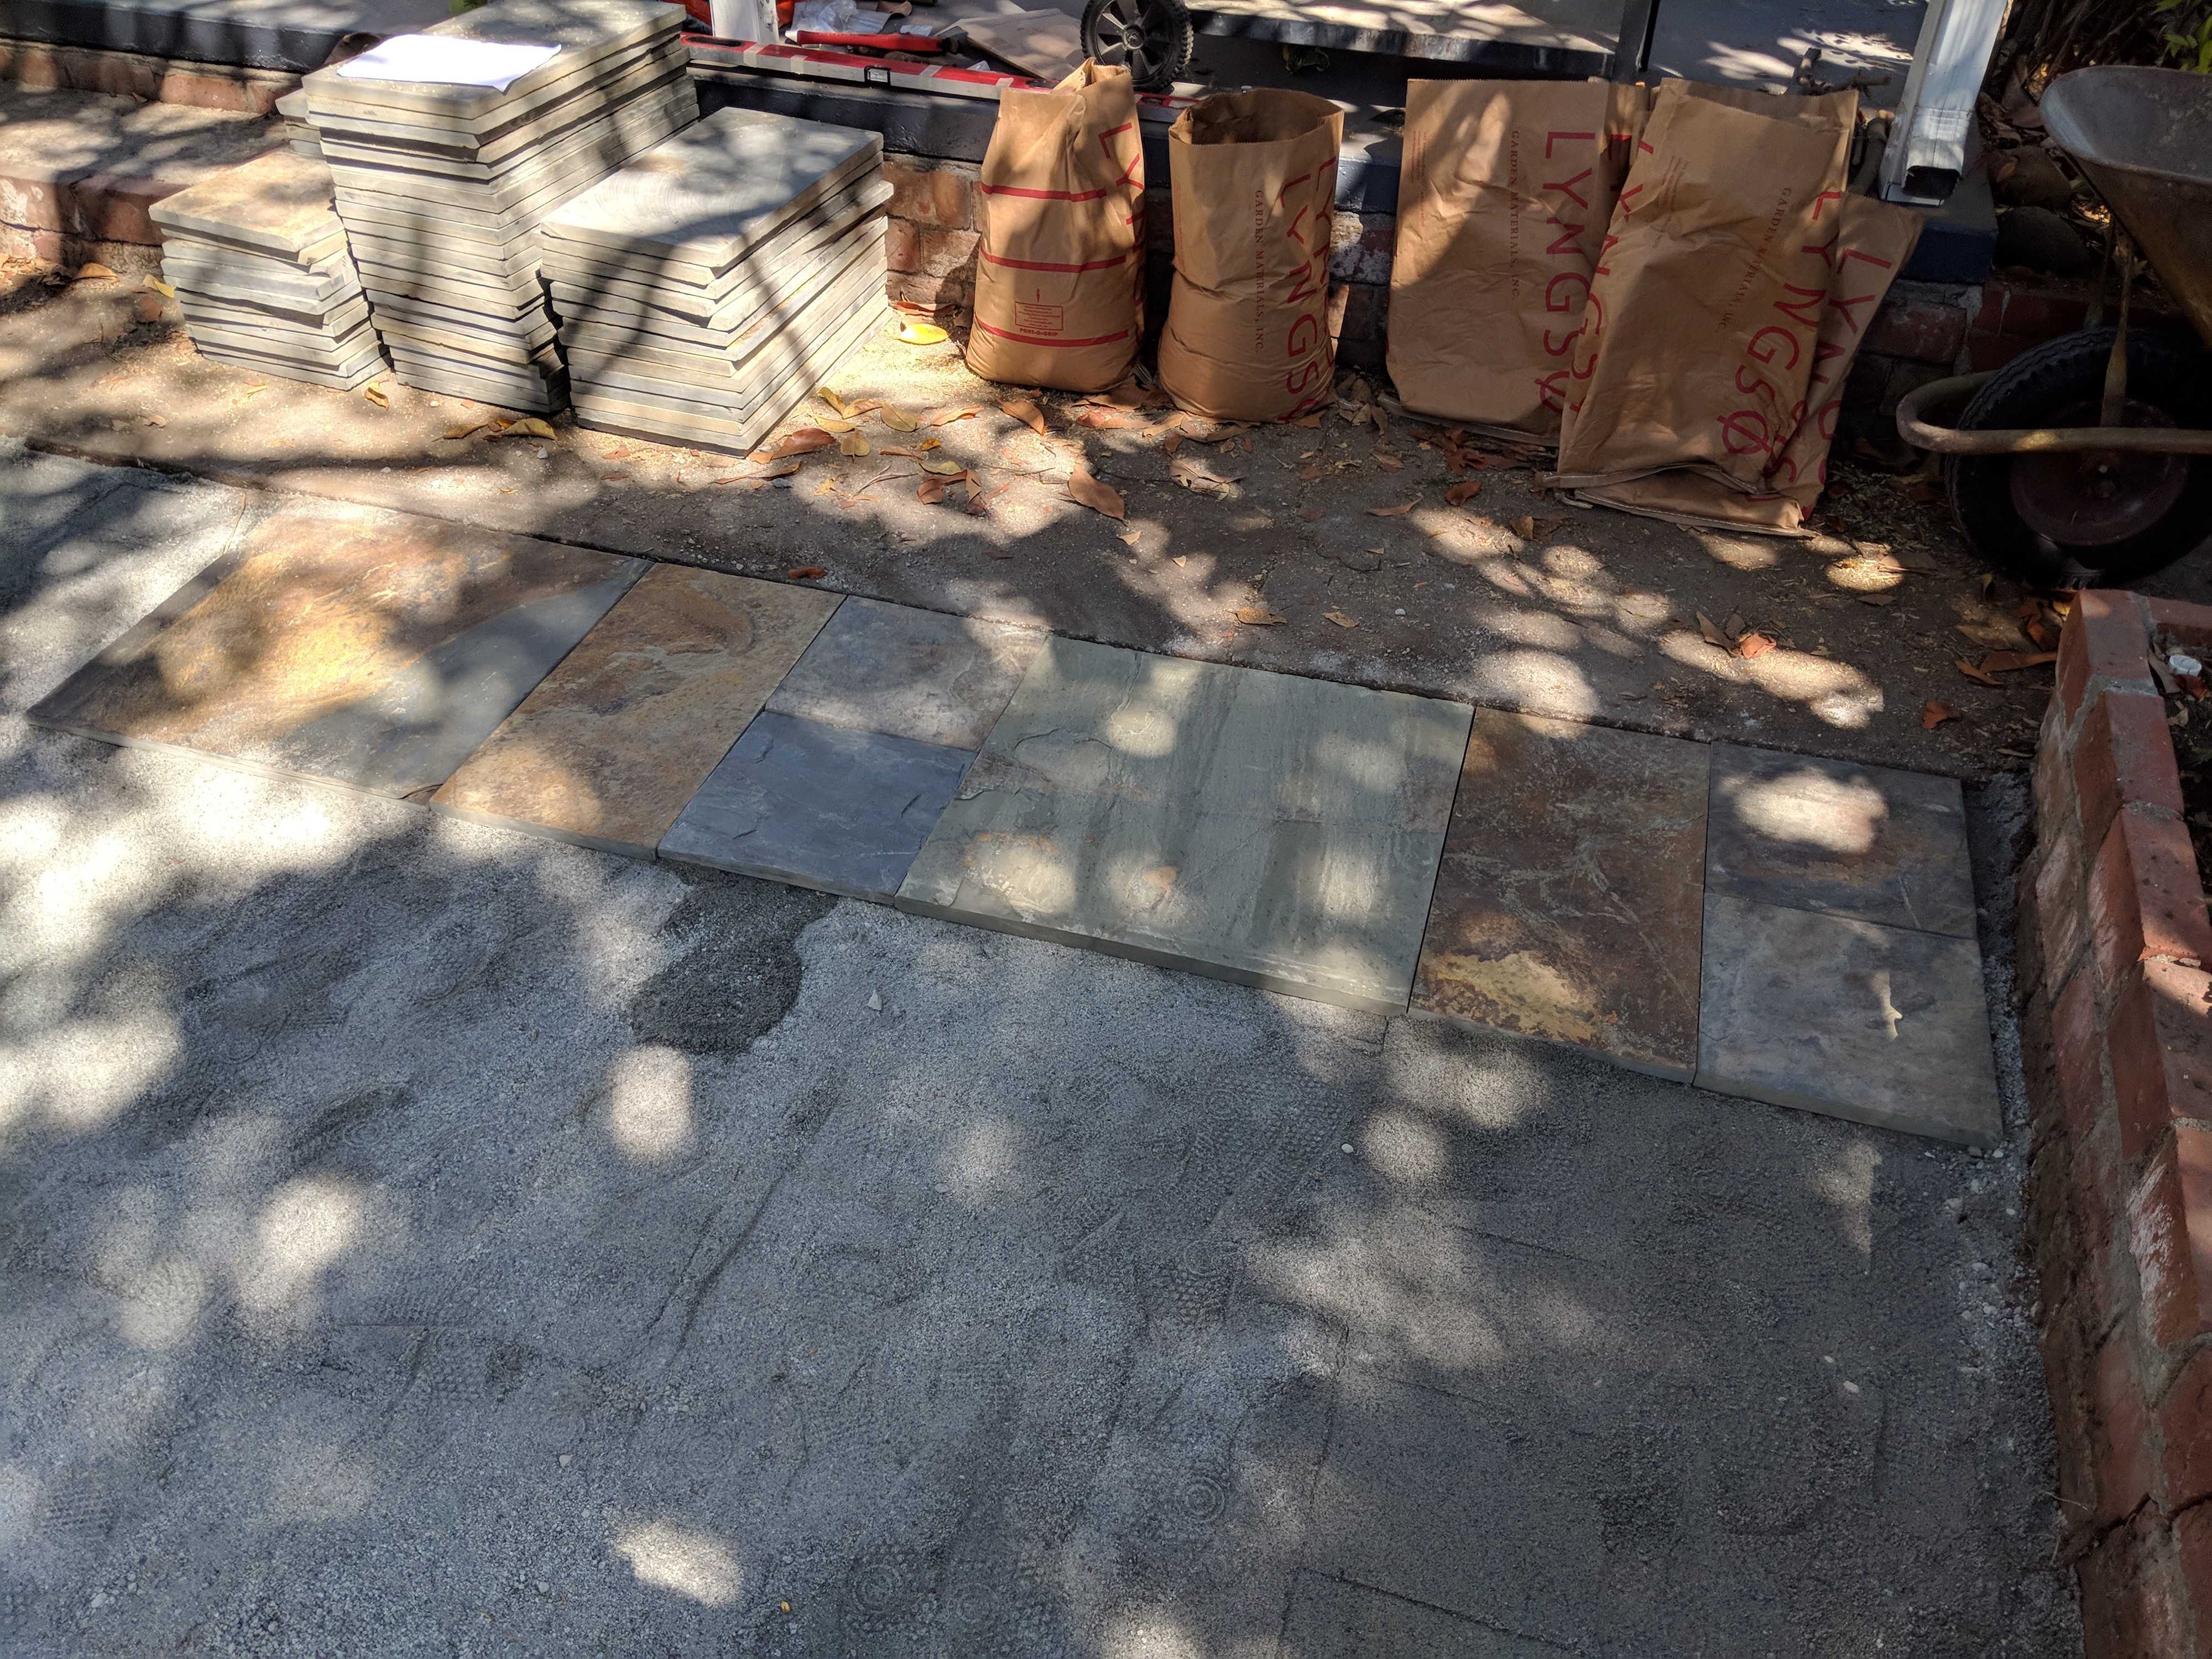 Not pictured: the hour it took for us to hand lug all these pavers from our driveway (where they were left by the gardening company) to the backyard.
Our pavers were annoyingly all slightly different heights, so we had to supplement some with extra sand underneath to make sure they were all (somewhat) even. We did our best. Because all our pavers were different colors (and different heights), we mixed it up as much as possible.
Be smarter than us and leave some slight gaps between the pavers (1/8″). This will make it easier to fill polymeric sand between the pavers later.
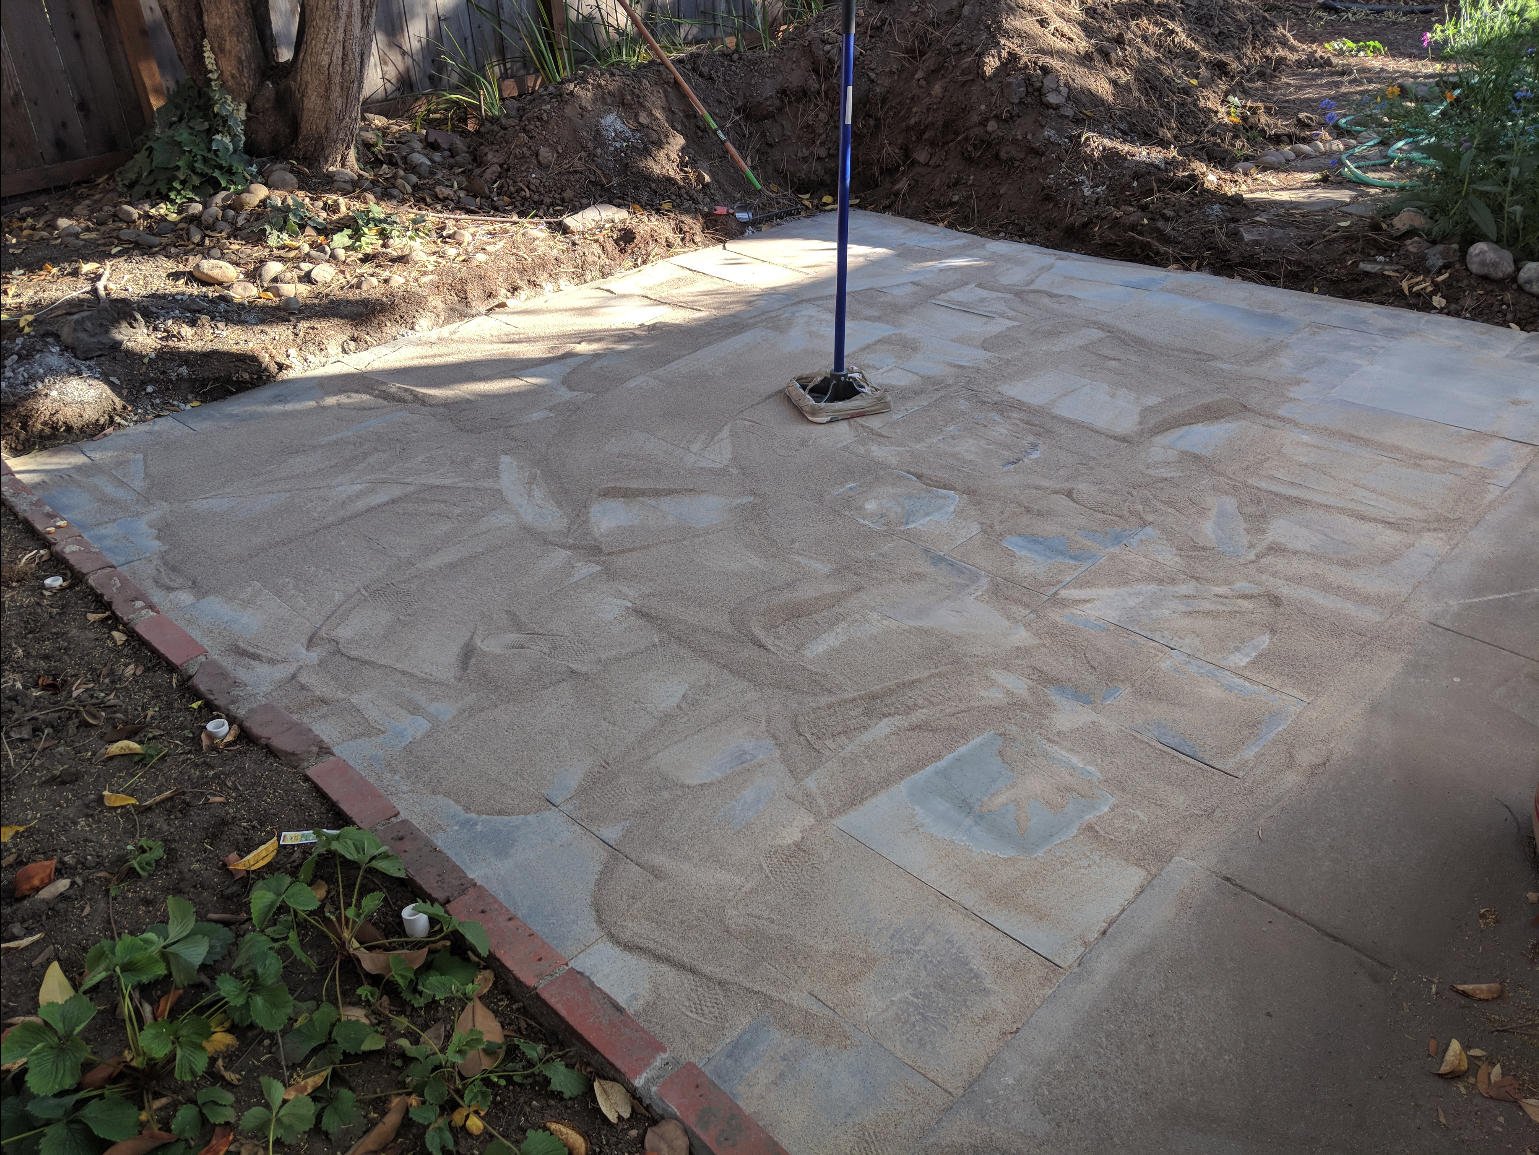
Step 7: Polymeric sand
This is magical sand that acts like glue. We tamped down the pavers, then spread the sand over all of them and brushed it into the cracks between the pavers. Then tamped again so the sand settled down into the cracks. You can watch this video or the relevant one for your sand brand for the full instructions.
The most important part of this process is to make sure all the sand is brushed off of the pavers and only exists in the cracks between them (we had a lot of extra and had to shovel it back into the bags). Otherwise, when you activate the sand, it?ll also stick onto the top of the pavers.
Also, make sure it?s not going to rain within a few hours of you doing this. You don?t want a sudden downpour to stick a mountain of sand glue to the top of your beautiful new patio.
 Cover the tamper with an extra towel or blanket (we duct-taped ours on) so you don?t crack the tiles when you tamp them down.
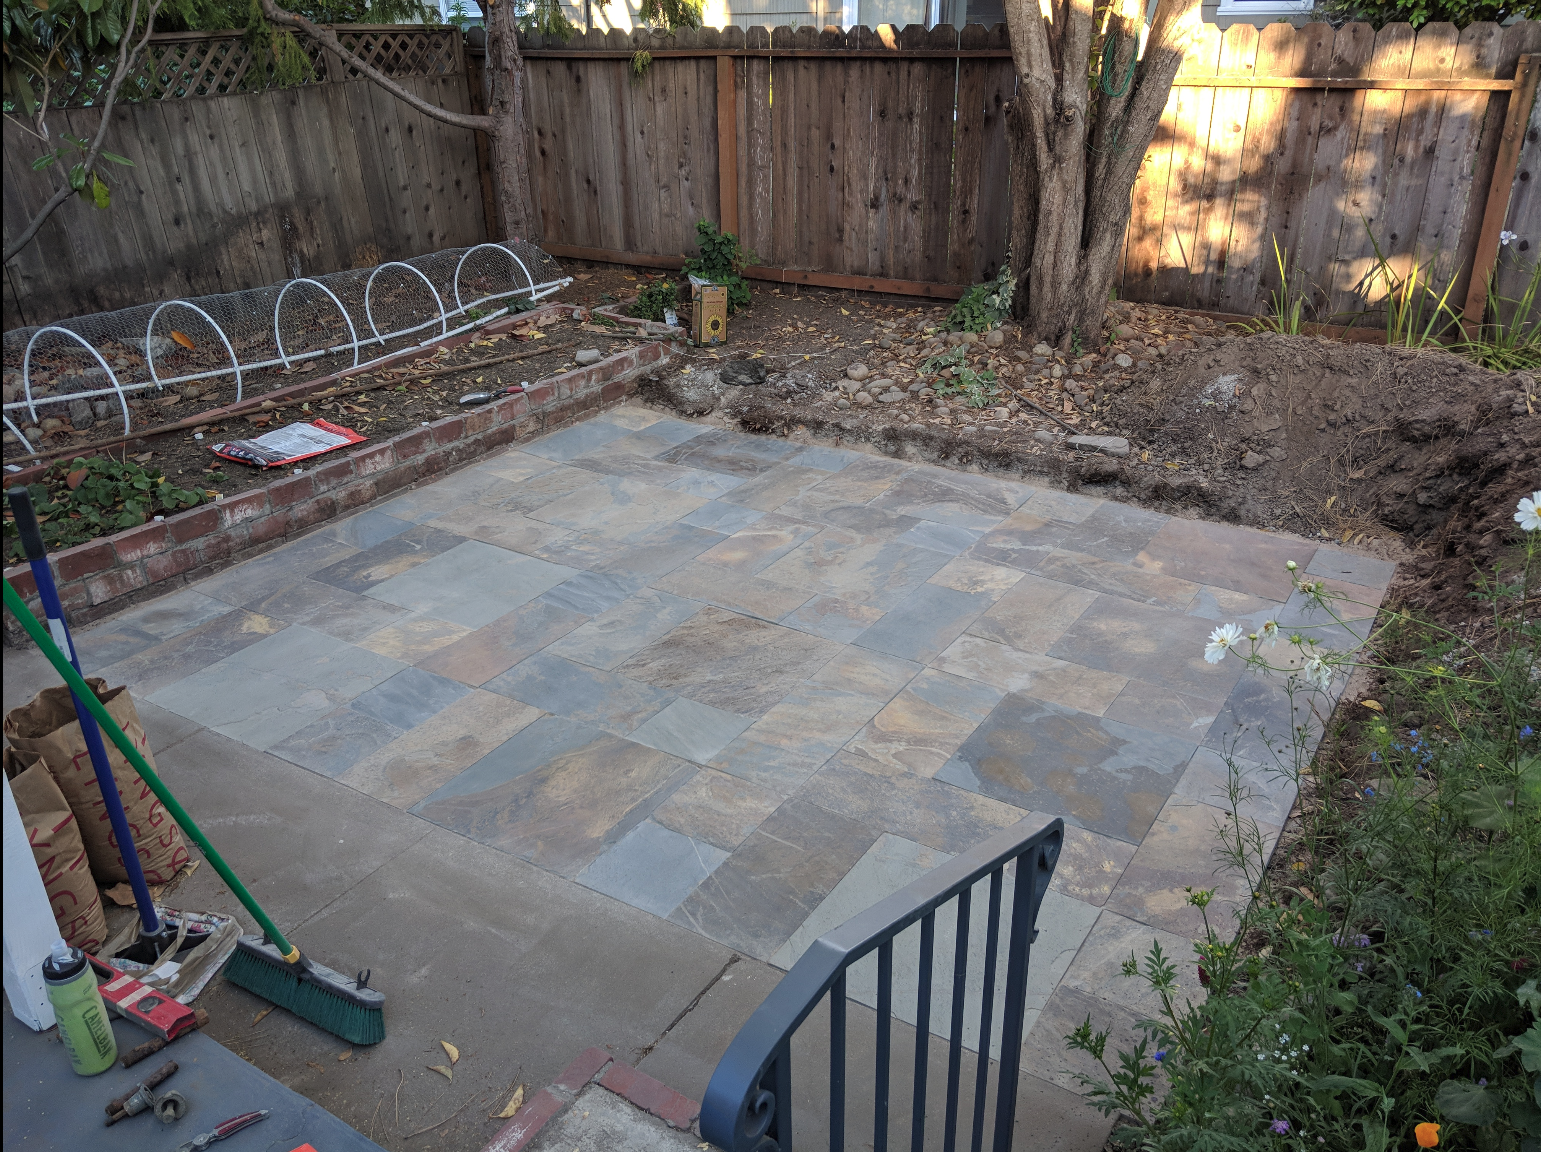 All sand brushed off and ready to be activated.
Step 8: Water (activate) the sand
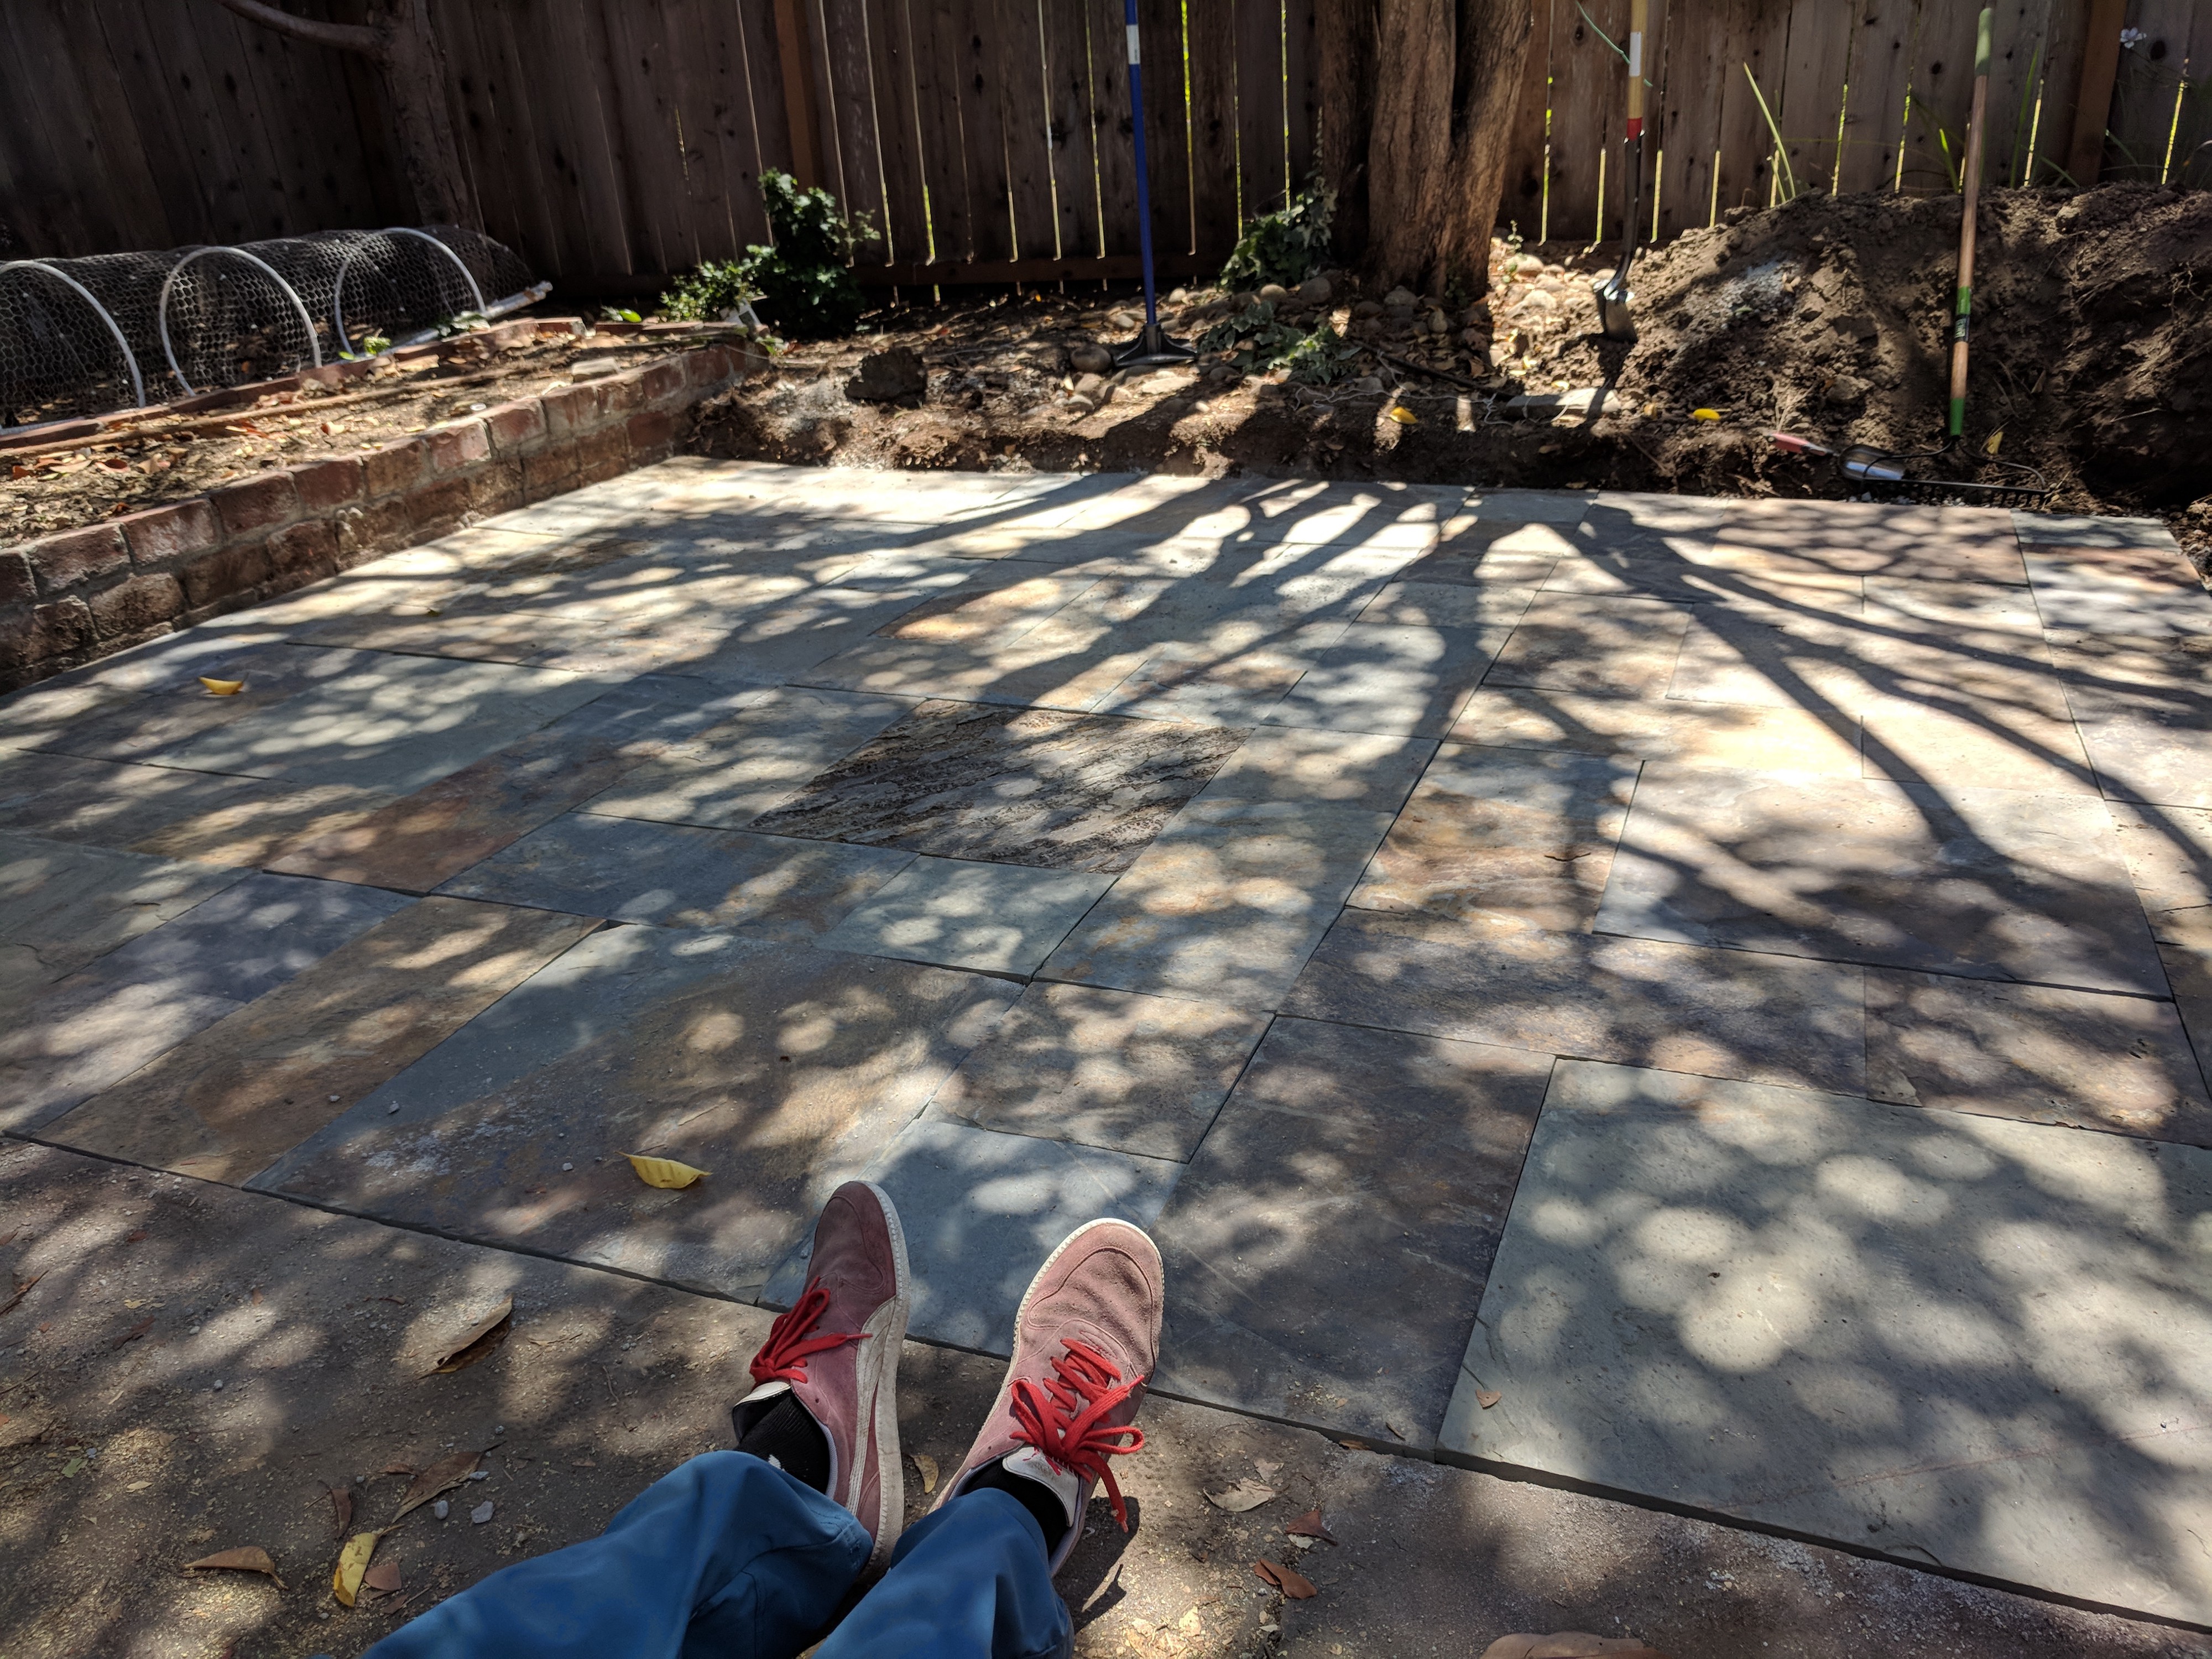
 I did the most backbreaking labor for this patio, obviously.
My greatest contribution to the project. Water the patio with a light spray for 15?30 seconds. Wait a bit, check the sand and see if the water has absorbed. Then water again. Also a great time for you to discover whether or not you did the sloping correctly (if not, it?s too late now!)
Step 9: Let dry and enjoy!
 Phew.
Phew.
We?re planning to add a firepit and benches for seating on the patio.
Have your own patio DIY stories or questions about our process? Want to poke fun at our amateur-ish attempts to build things? Leave it in the comments.