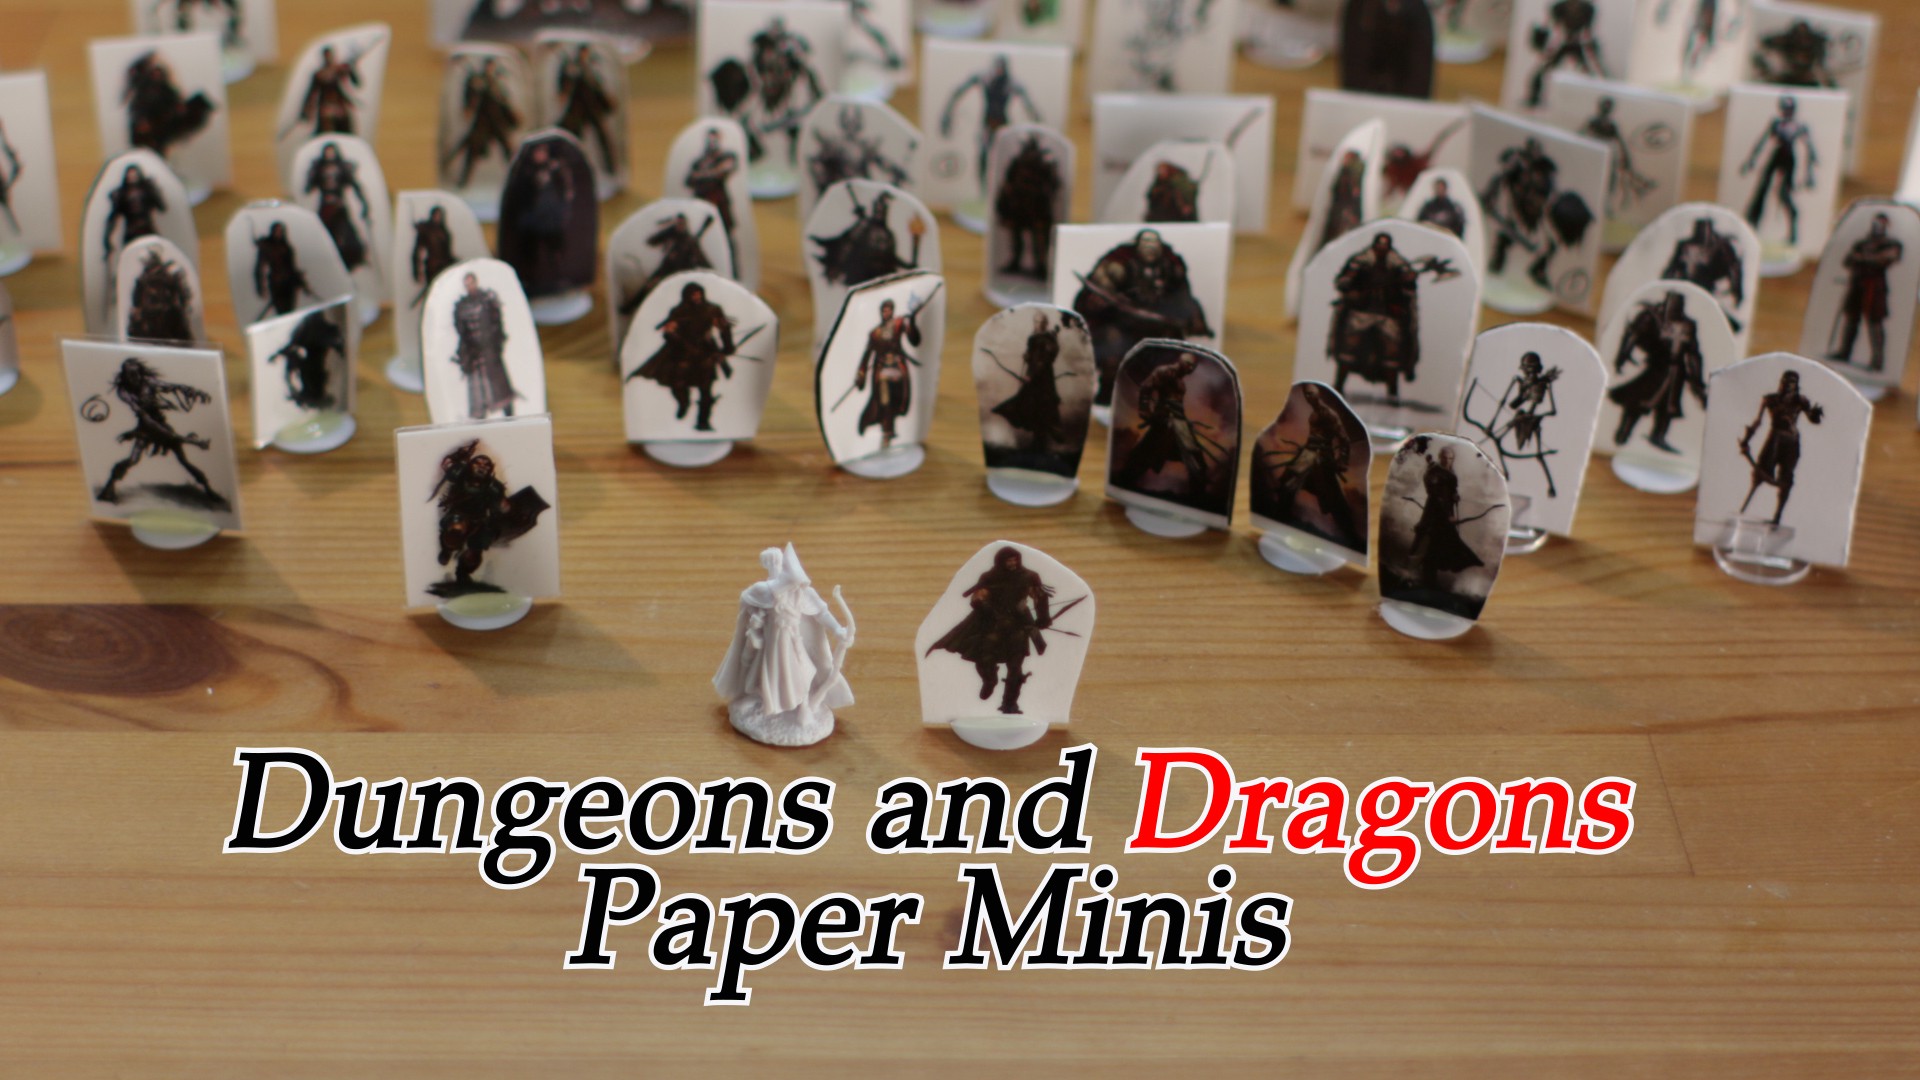
In this article I will show you how to make awesome Dungeons and Dragons Paper Miniatures. The same idea could be used with Pathfinder or Warhammer or any other type of role playing game that uses minis, not just D&D minis. I love playing Dungeons and Dragons. I grew up playing D&D with my brothers and still play the popular role playing game today with friends and family members. There are some awesome miniatures that you can buy which usually cost anywhere from 3 to 4 dollars to 60 to 100 for dragons, etc. If you are running an adventure with very few monsters, it may not be too expensive to spend some money and buy some. I always have tons of monsters and characters in my adventures/campaign so I wanted to create paper minis so it was lighter on the pocketbook. I have made so many of these now. They do take a little bit of time, but most of that time can be spent working in front of the TV, so you can kill two birds with one stone. They are easy to make if I can make them, you can make them, let?s get started!
Don?t forget to follow me and check out my other articles. 🙂
If you have any questions or comments leave them down below and I will get back to you as soon as I can. 🙂
Follow the steps below or watch the video tutorial or do both. 🙂
Step 1: Things You Need

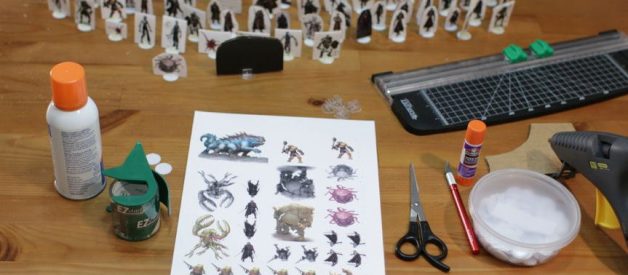
Here is a list of items you will need to make these:
- cardboard
- paper (thicker stock will hold up a little better, but you need to be able to fold it)
- packing tape
- scissors or exacto knife
- glue stick or spray adhesive
- hot glue gun
- photo editing program (I use Photoshop)
- bingo chips or another type of base
- paper mini base holders (I use the one from my Dead of Winter Board Game)
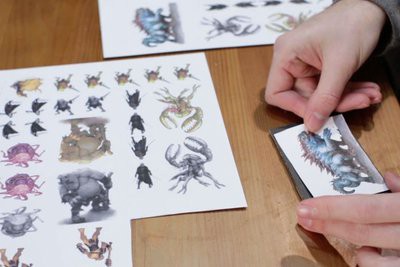
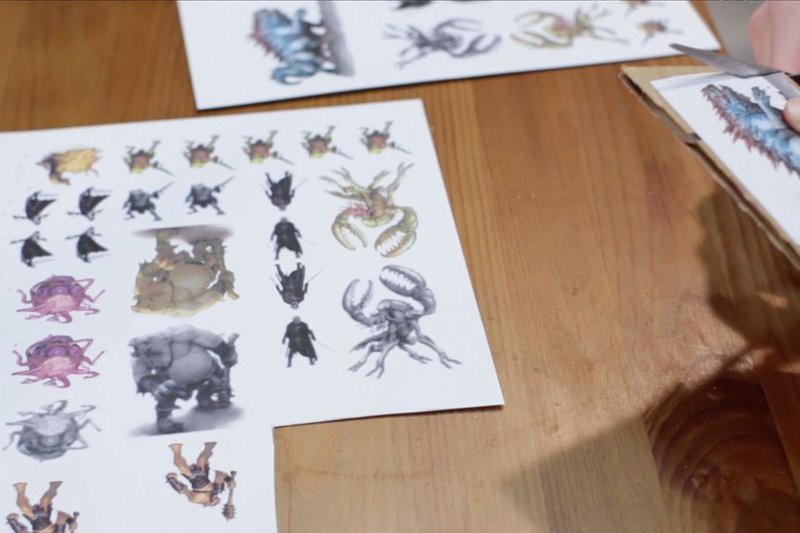
Step 2: Artwork Arrangement
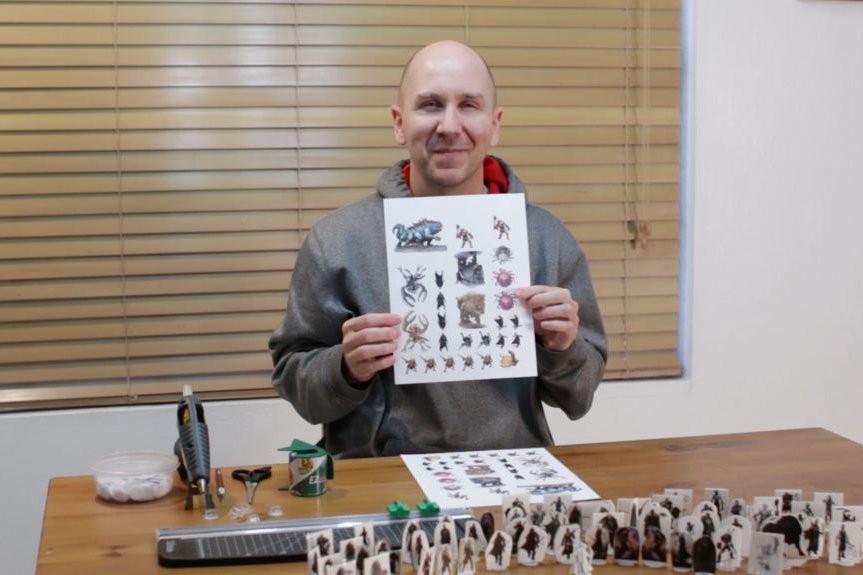
First we need to create our paper with the monsters and characters. There are a variety of photo editing programs you can use. I always use Photoshop for these.
Step 3: Photoshop Tutorial
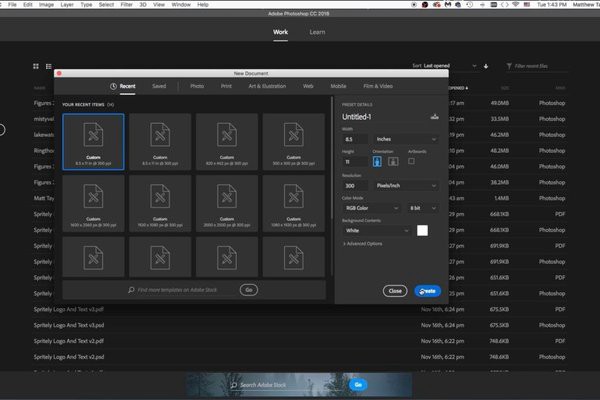

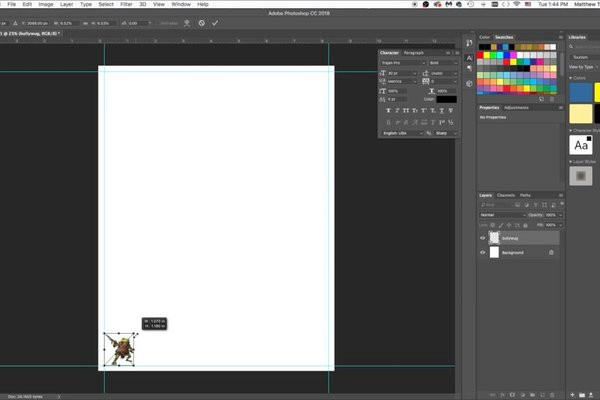
In Photoshop create a new document. Make the document 8.5 x 11 inches. This will match a full sheet of paper. Then grab the rulers and add four guides. These will be the bleed areas. We don?t want to place any artwork past these lines, otherwise they may get cut off when printing.
Step 4: Place and Size
Now let?s add some artwork and resize it. There are three different methods I use for creating paper minis. The first is where you have only a front side and it is glued to cardboard and then you use a stand, the next is where you have a front and a back of the character or creature that look the same and you fold them over and glue them to a base, the last way and probably my favorite is where you have a front and a back, but the back of the creature is blurry and black and white, so it is obvious it is the back, unless you happen to have artwork for the back of your character.
*Caveat about the artwork, for personal use it is probably fine to grab whatever images you want and use them, but do not use any images that you don?t have the rights to, if you plan on selling them?lol 🙂
Now we grab an image and drag it over and place it on our document. Resize it by holding the shift key and scale it down. You can use whatever scale you want, the standard scale for D&D minis is 25/28 mm or about 1 inch tall for a 6 foot human. Now we have our artwork placed you can fill up the page with more of them however you like.
Step 5: Different Style

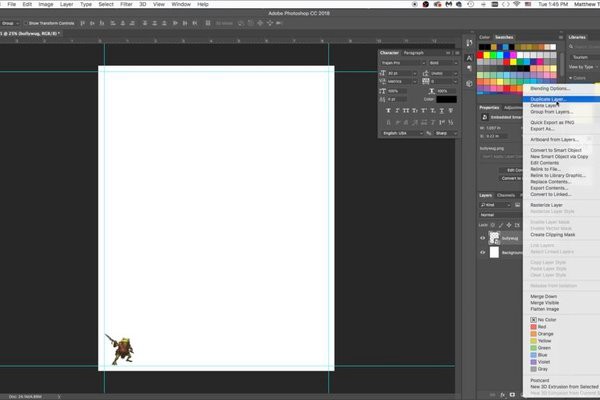
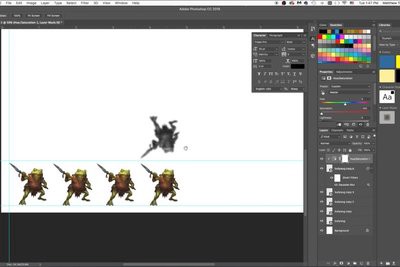
Now let?s do another style. Duplicate the creature, then go to ?Edit? ?Transform? ?Flip Vertical?. Then drag the character up and align it. Now you have a mirror image on top so when you fold it they will match. You have a front and a back. You can leave it as is or do the next step.
Step 6: Blur It Out
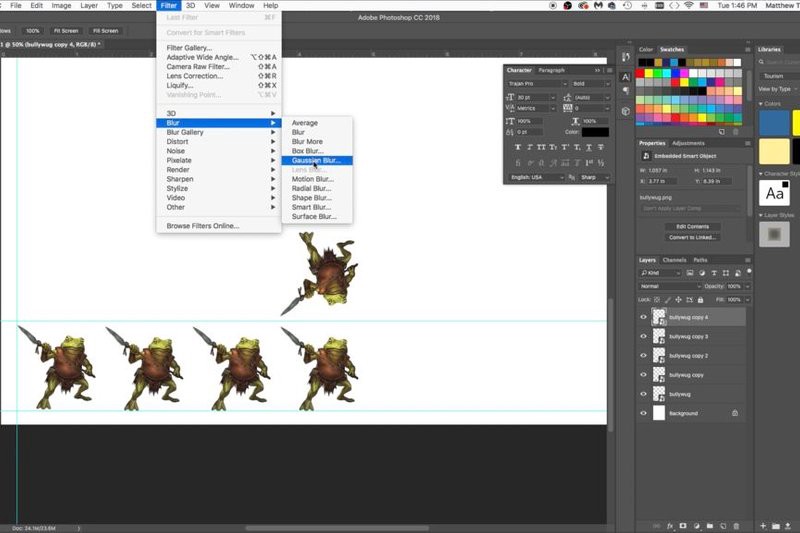
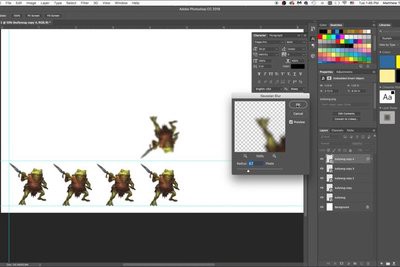
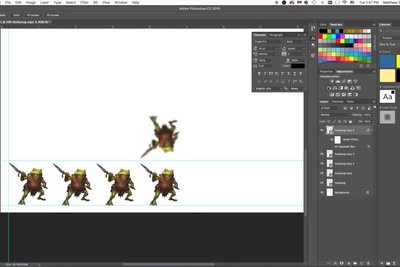
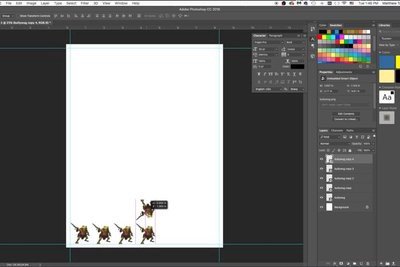
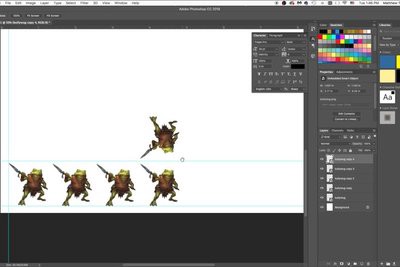
I like to blur the back side out. With the top layer selected go to ?Filter? ?Blur? ?Gaussian Blur? Then select a range of 4 to 5 pixels which is usually pretty good. Again you can leave it like this or do the next step, which I always do.
Step 7: Black and White Back
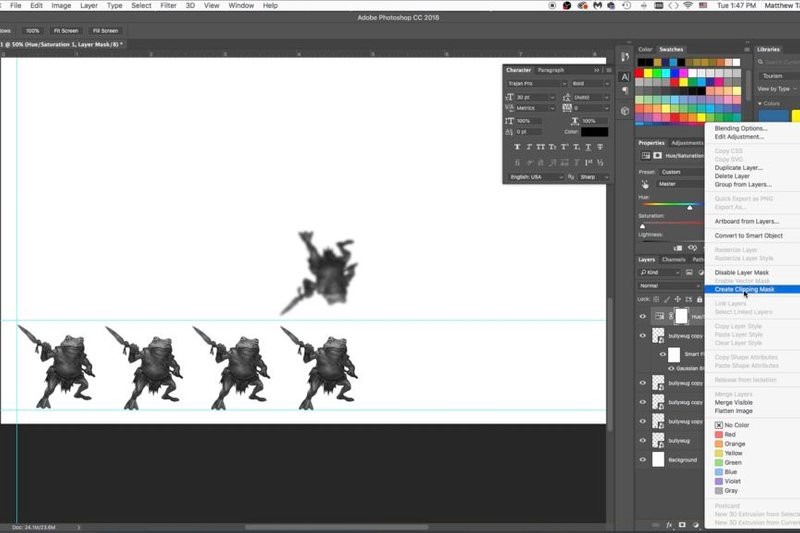
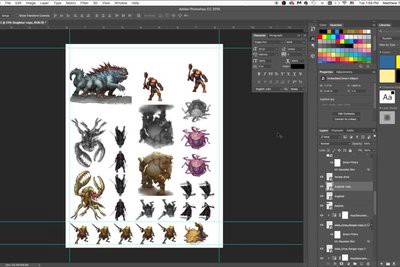
With the top layer selected go to adjustments and apply a saturation adjustment, and bring it all the way down so it is black and white. Now this adjustment will effect everything below it, so we need to apply a clipping mask. Select the adjustment, right click, and select ?Create Clipping Mask?. And there you go. Now fill in the rest of the sheet with monsters and characters, however you want the style to be, by themselves, front back, etc. Once you have a full sheet you can print them out. I usually just go to Staples and have them print them on a thicker paper that holds color really well. Or you can print them from home too if you have a nice color printer.
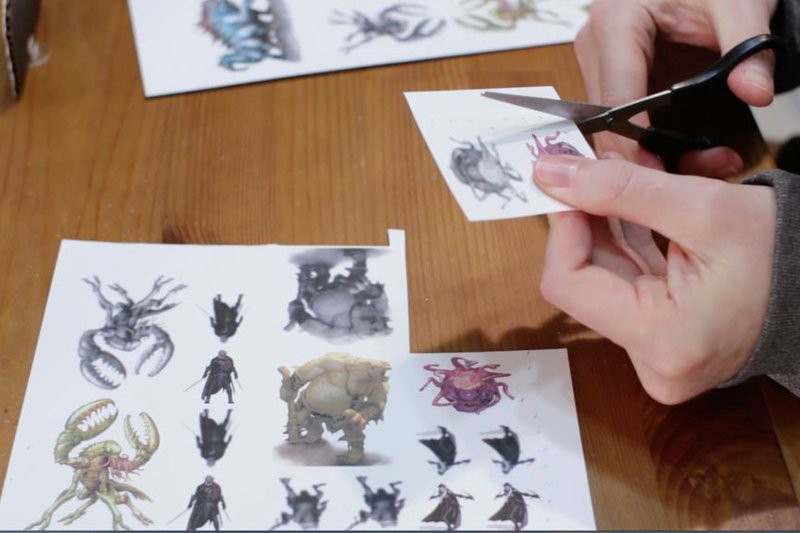
Step 8: Option 1
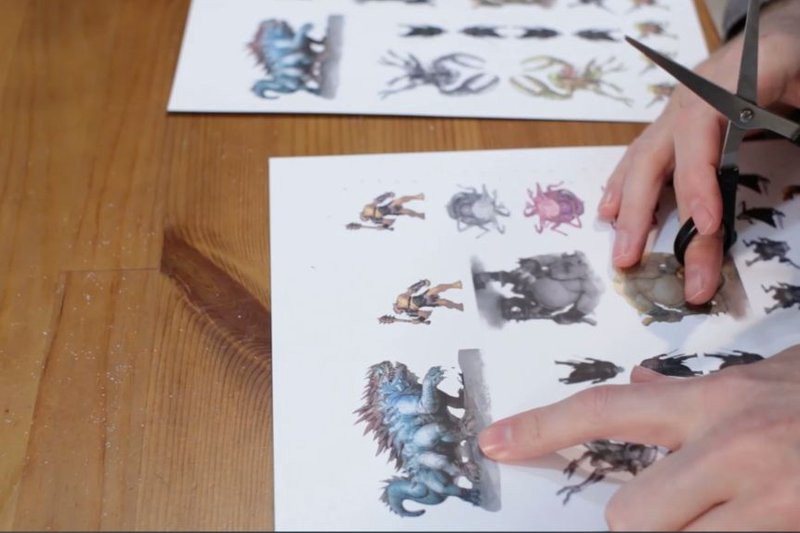
Now I will show you the first option or style. Cut out one of your creatures that only has a front side. In this case I am doing the basilisk. Get a piece of cardboard that is roughly the same size as your cut out.
Step 9: Glue It Down
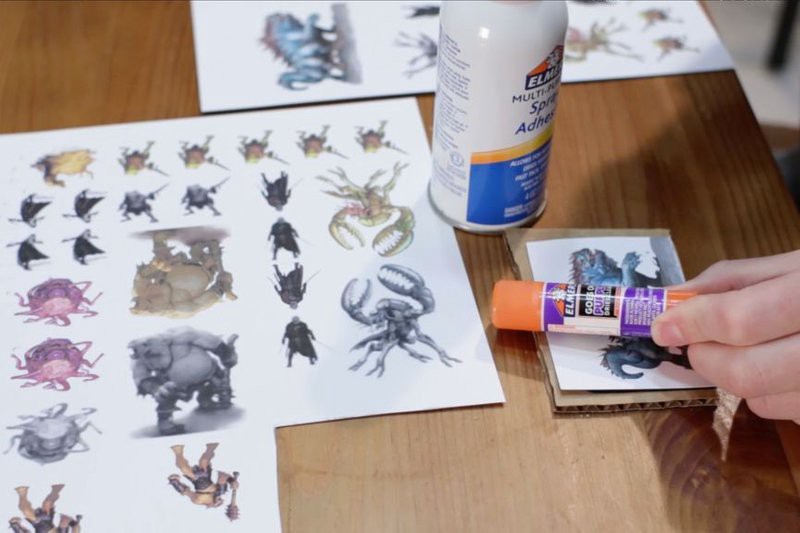
Now let?s glue down the cutout with either a glue stick or spray adhesive.
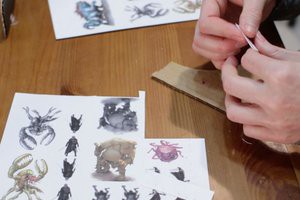
Step 10: Trim and Stand
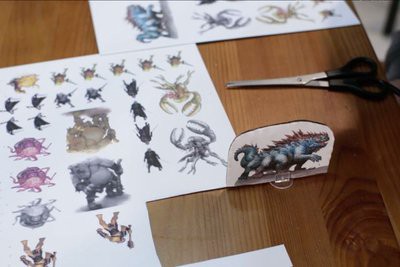
Now trim it with scissors or an Exacto knife. Then you can put it in its stand. I am using stands that came with my Dead of Winter board game, but there are stands available that you can buy online like these. Your are done! Look how cool he is, haha ready for your adventure.
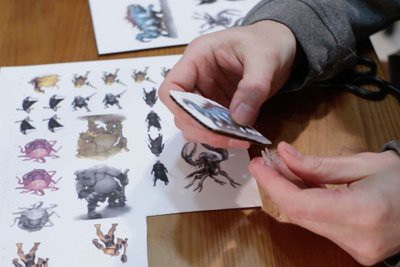
Step 11: Option 2: Cut and Fold
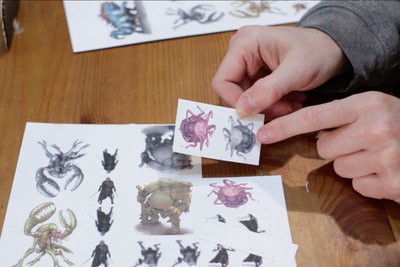
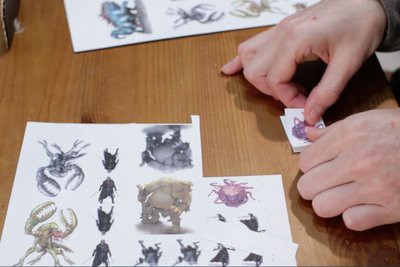
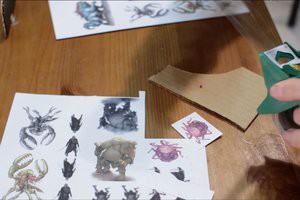
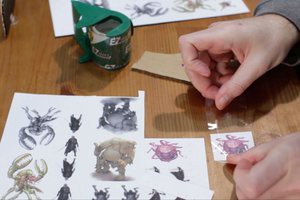
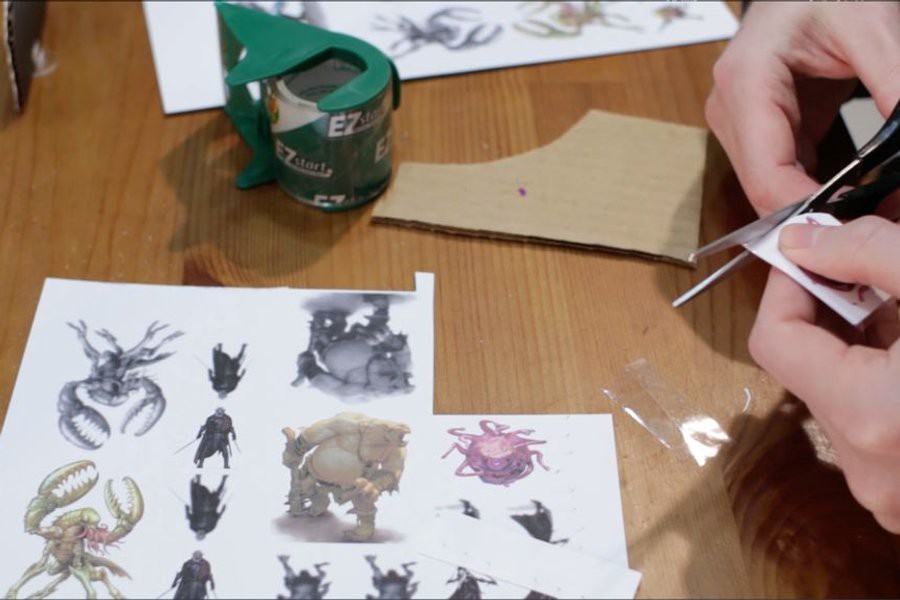
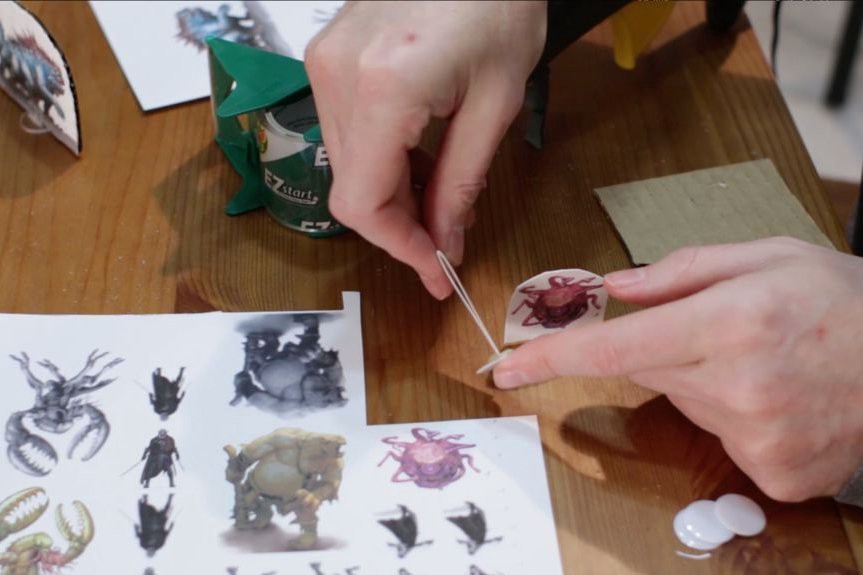
Now let?s do the next option. Take one of the characters that you made a front and back for, in this case I am doing the beholder. Cut around it so you just have that character. Then fold it over.
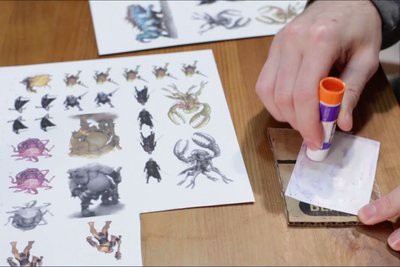
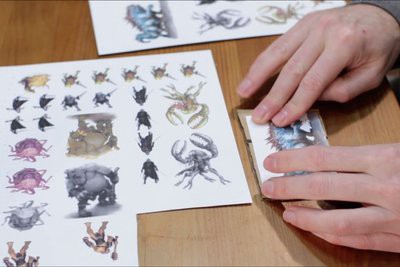
Step 12: Glue and Tape
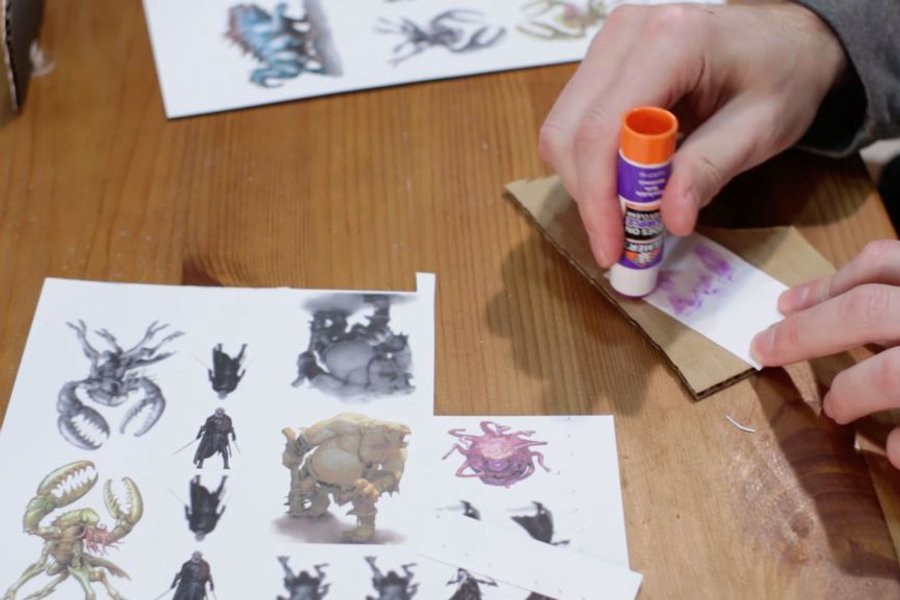
Now we use the glue stick and glue the character and fold it back. Now add some packing tape to the front and back, this will act like a lamination. It will help protect the characters, you know sometimes we get a little messy when gaming, food spills, etc.
Step 13: Trim, Glue, Base
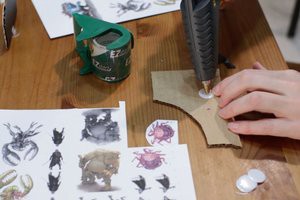
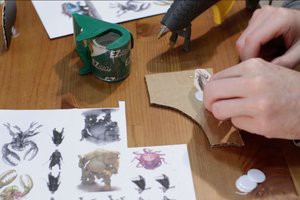
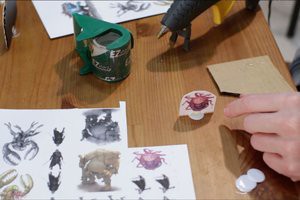
Next we need to take one of those bingo chips and apply some hot glue. BE CAREFUL, hot glue guns are hot, imagine that, and have caused many a burn. Do not touch the tip or the glue! Place a dollop of glue in the center of the bingo chip and then place your folded and laminated character in the middle, holding it straight up. Hold it there for a few seconds for the glue to dry a bit. There you go and awesome character that has a sturdy base.
Step 14: Option 3
Option three is really just a variation of option two. You don?t use glue to glue it together with the fold. You just add tape to both sides and then fold it over and hot glue it to a base. It saves a step, but doesn?t look as cool in my opinion.
Step 15: Army of Characters
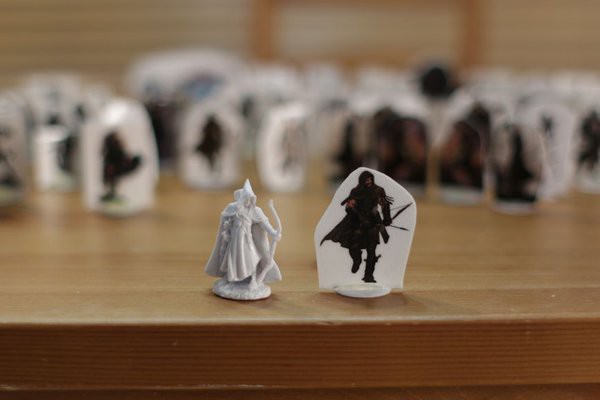
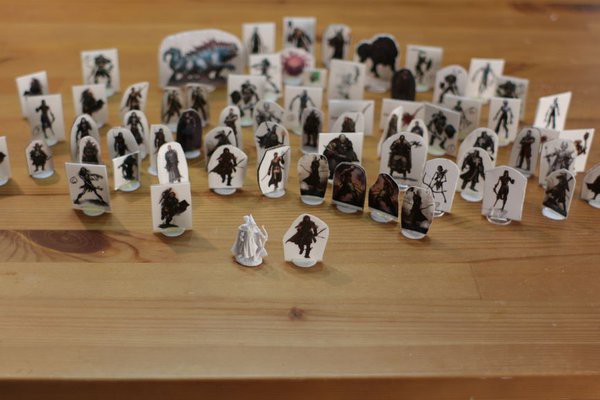
Now that you have created an army of characters and monsters, time to get playing!! 🙂 Enjoy! Please let me know if you create these kinds of characters and share pictures I would love to see them! Also let me know if you play D&D, Pathfinder, Warhammer, etc.
Step 16: Video Tutorial
Sometimes it is easier to see the steps live, you can check out the video tutorial here. 🙂
Thanks for stopping by! If you enjoyed this please consider clapping a few or several times. 🙂
Matt

