In this article I am going to cover the workflow for automatically merging mesh components (vertices, edges etc.,) while editing in Blender 2.8.
What is Blender?
Blender is the free and open source 3D creation suite. It supports the entirety of the 3D pipeline ? modeling, rigging, animation, simulation, rendering, compositing and motion tracking, even video editing and game creation. You can click the link below to learn more about Blender
blender.org – Home of the Blender project – Free and Open 3D Creation Software
Home of the Blender project – Free and Open 3D Creation Software
Home of the Blender project – Free and Open 3D Creation Softwarewww.blender.org
We are now going to see the process of merging the edges and vertices using the various tools provided by Blender 2.8
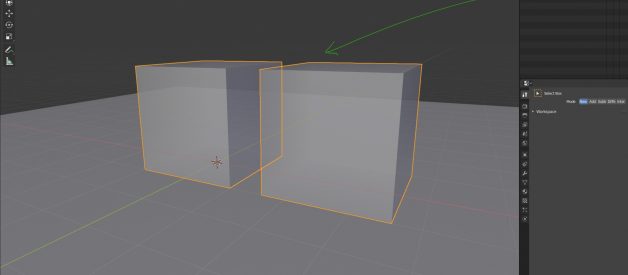
I have a simple scene with a object named Cube and within it two separate meshes in the shape of a Cube.
 A mesh object with two separate cube shapes
I am going to use this example to demonstrate the snapping and auto merge editing tools.
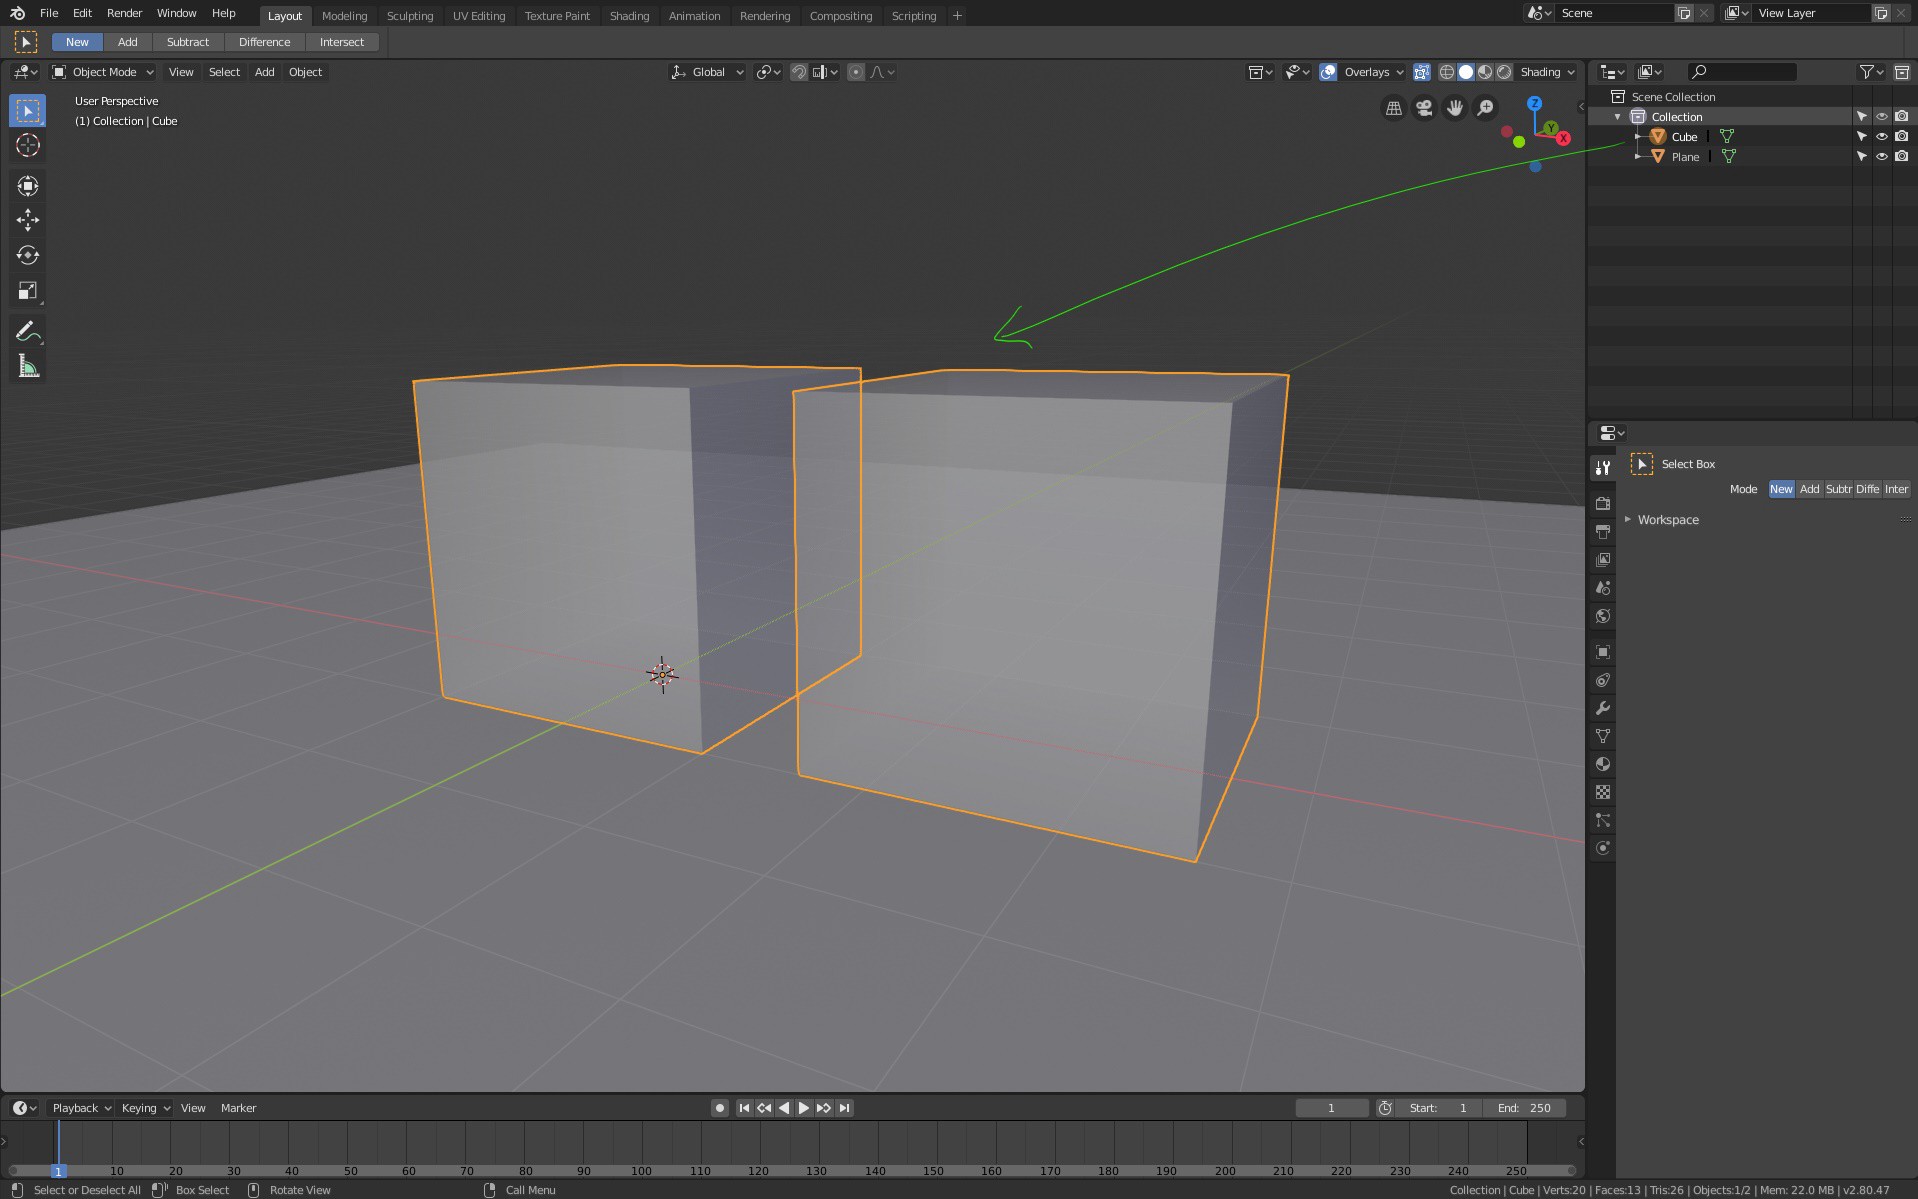
Have a look at the screenshot below and then look below the screenshot for an explanation.
 Setting up the workspace 1
- Switch to edit mode (So that we can select the vertices, edges and faces)
- Enables snapping mode. (If you click on the icon next to the snapping mode you can see the options)
- Make the whole scene transparent.
- View the properties/settings for Active Tool and Workspace
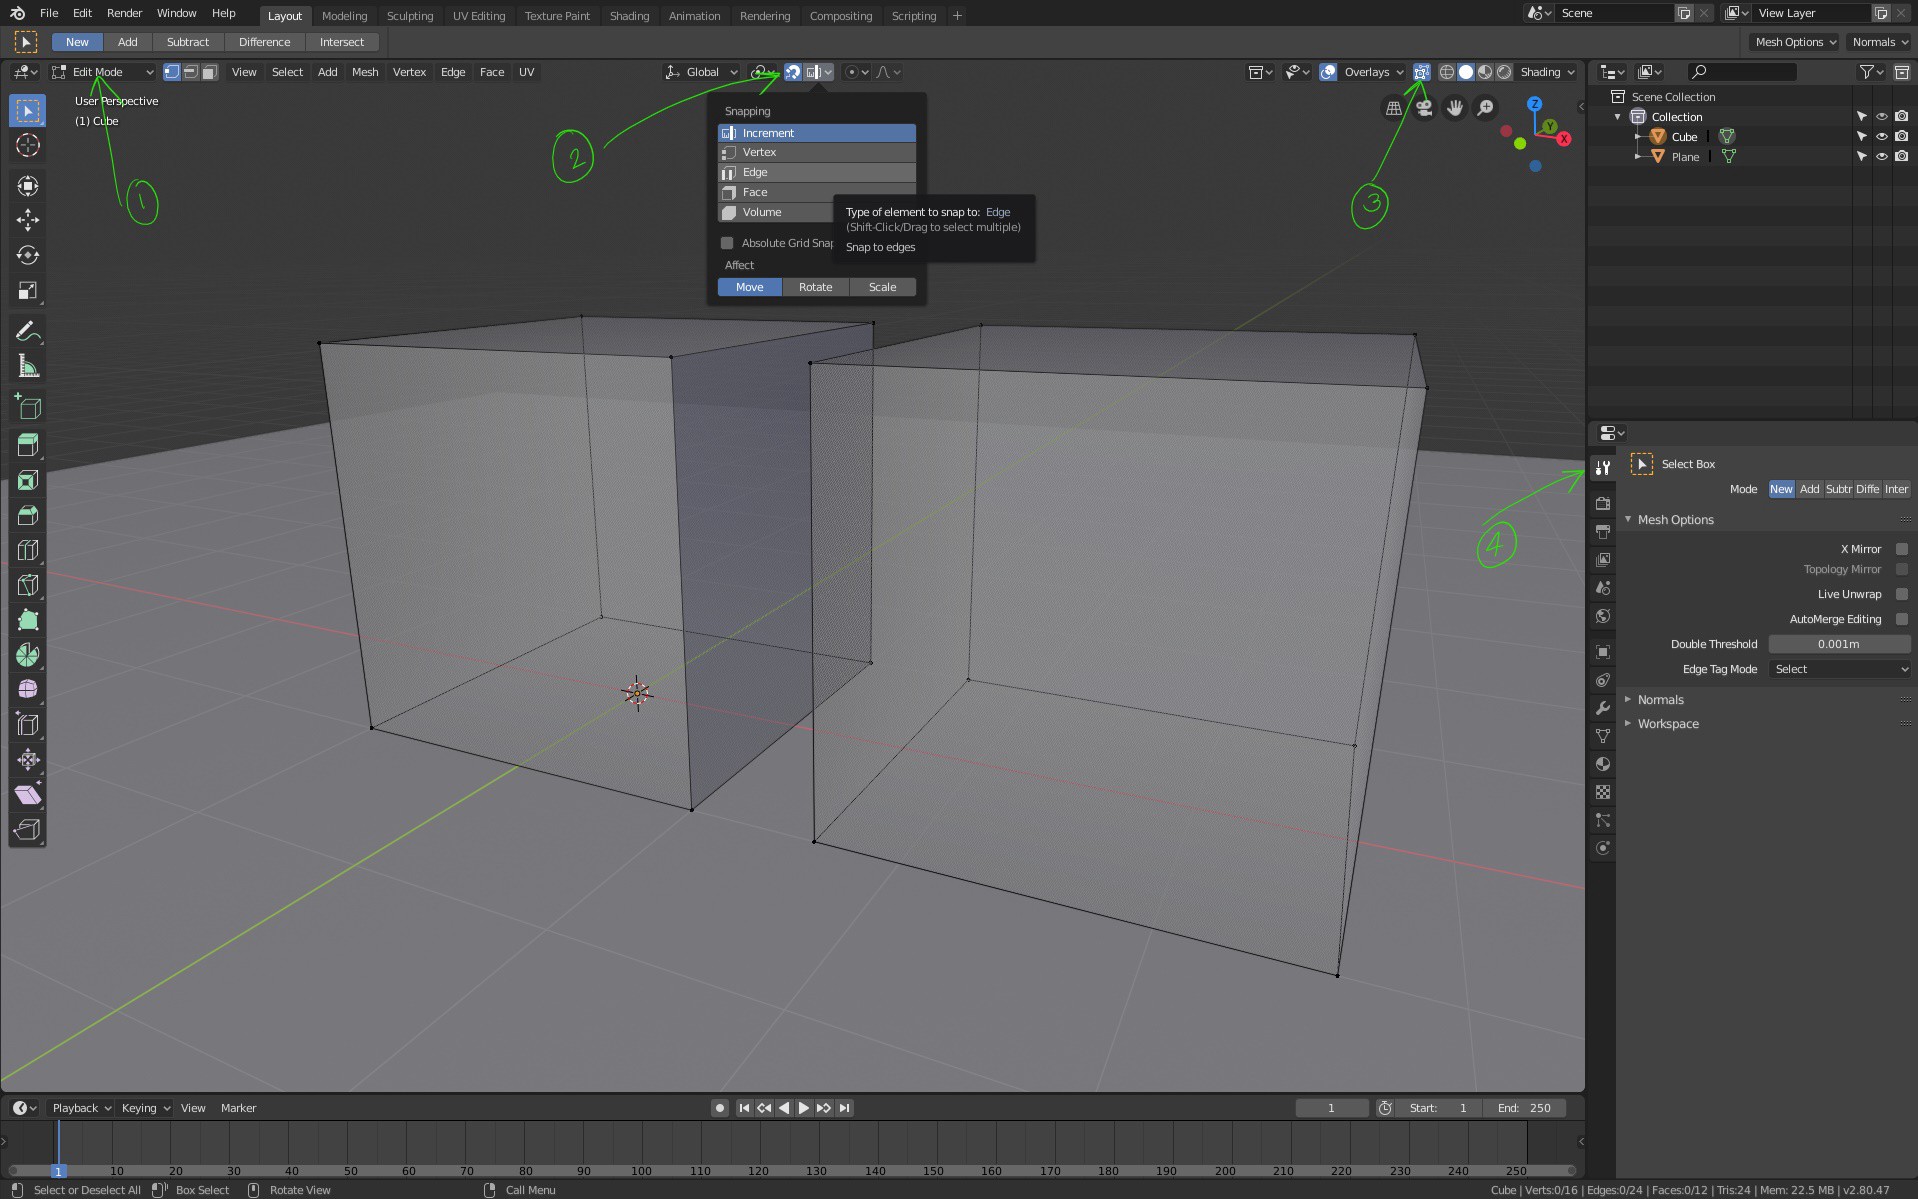
Now it is time to actually perform the operation of snapping and merging mesh components. In the example below, we are going to snap and auto-merge two edges together
Have a look at the screenshot below and then look below the screenshot for an explanation.
 Setting up the workspace 2
- Choose edge selection mode (You can hold SHIFT key and multiple-select mesh components)
- Choose edge snapping mode
- Enable Automerge Editing
- Select the edge you want to merge
- Enable the Move tool
- Click on the Move tool handle and move the mouse
As you are moving the mouse, the snap tool will look for another edge to snap to (this other edge is found under the mouse position). Once a edge snap target is found, you can release the mouse.
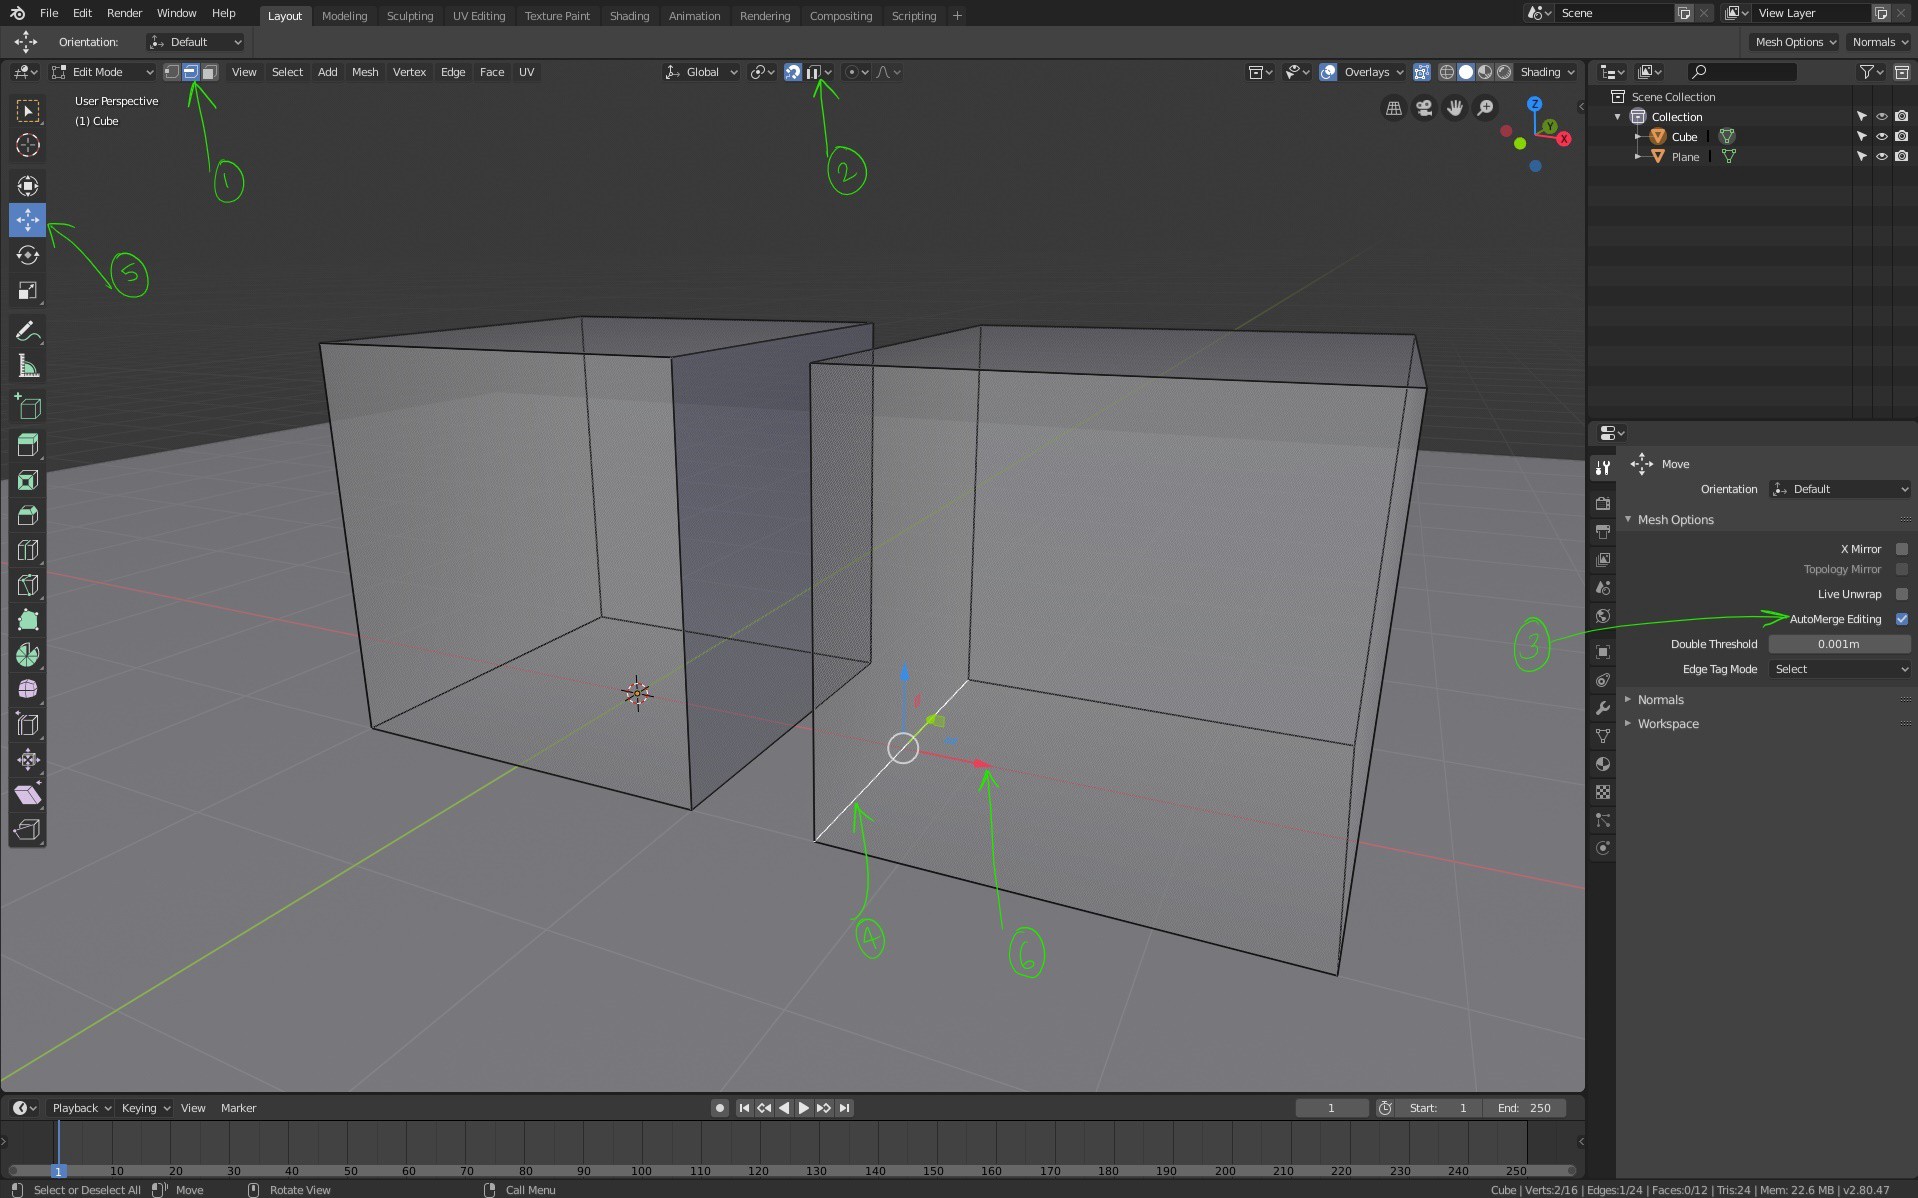
Have a look at the screenshot below and then look below the screenshot for an explanation.
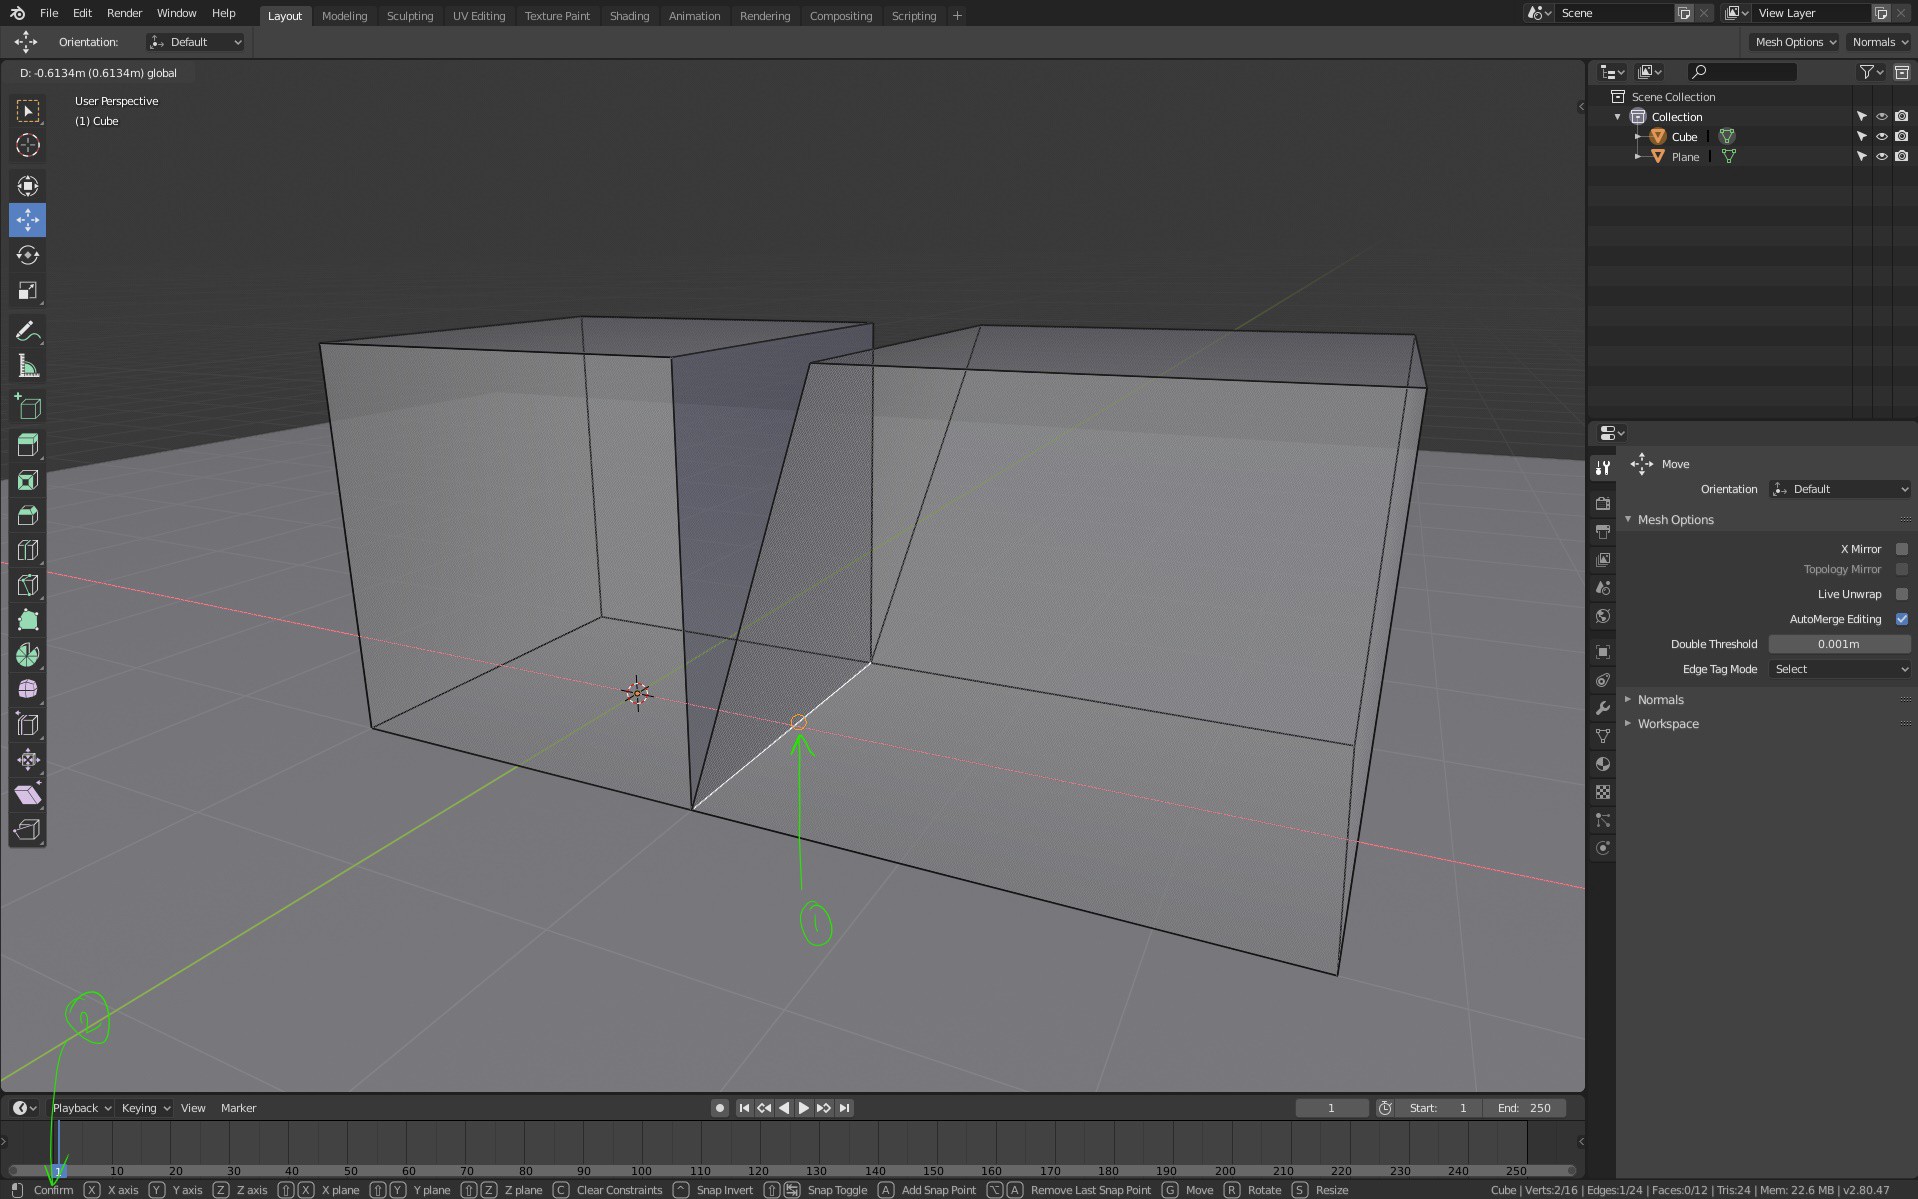 Performing the Move and Merge Operation
- Snapping in action
- Move tool in progress
Once you release the mouse (and a successful edge snapping took place) the Automerge Editing will kick in and merge both the edges.
Have a look at the screenshot below and then look below the screenshot for an explanation.
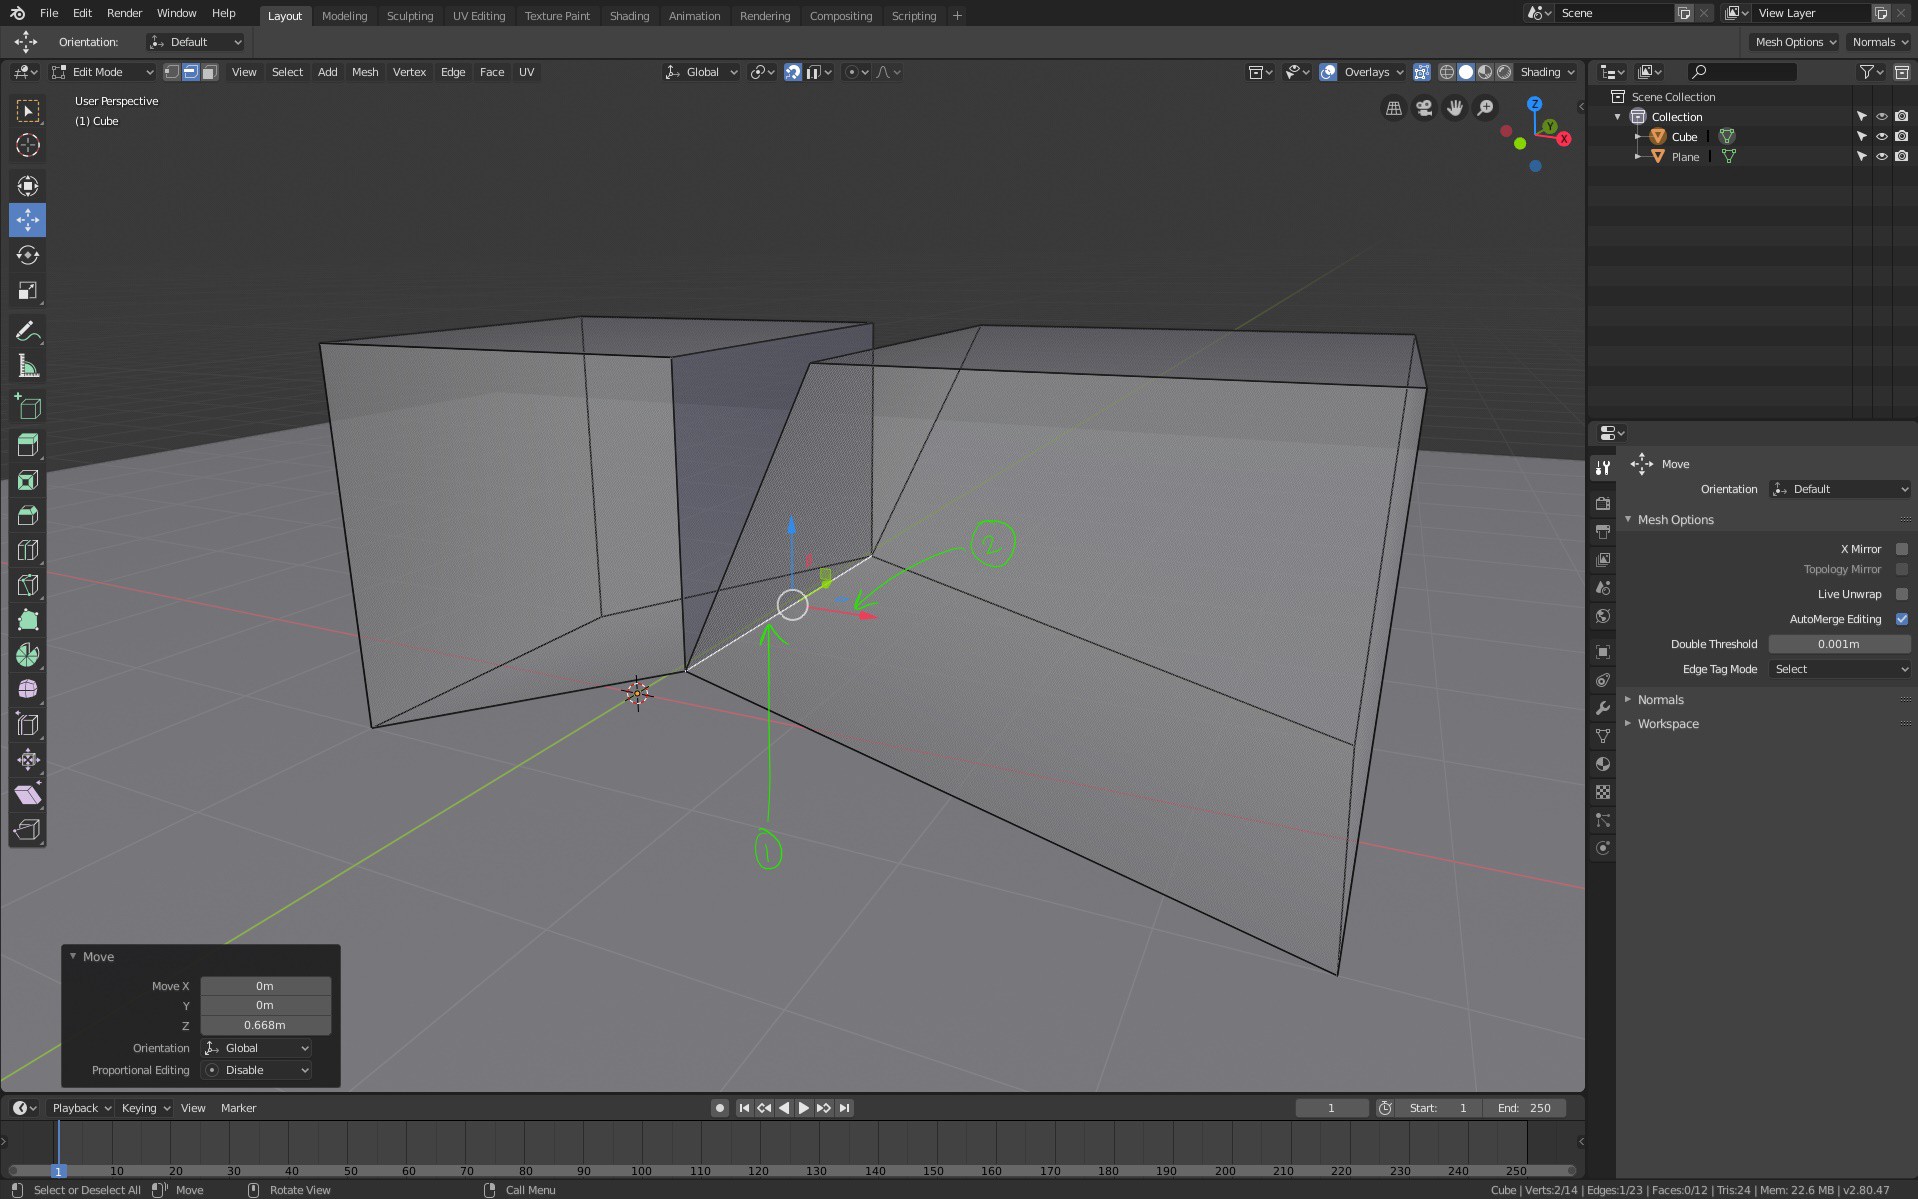 After the Move and Merge operation
- Select the edge that was just merged
- Move the edge. You will notice that the Automerge happened successfully.
You can also merge vertices. You can also snap vertices and edges at the same time.
Have a look at the screenshot below and then look below the screenshot for an explanation.
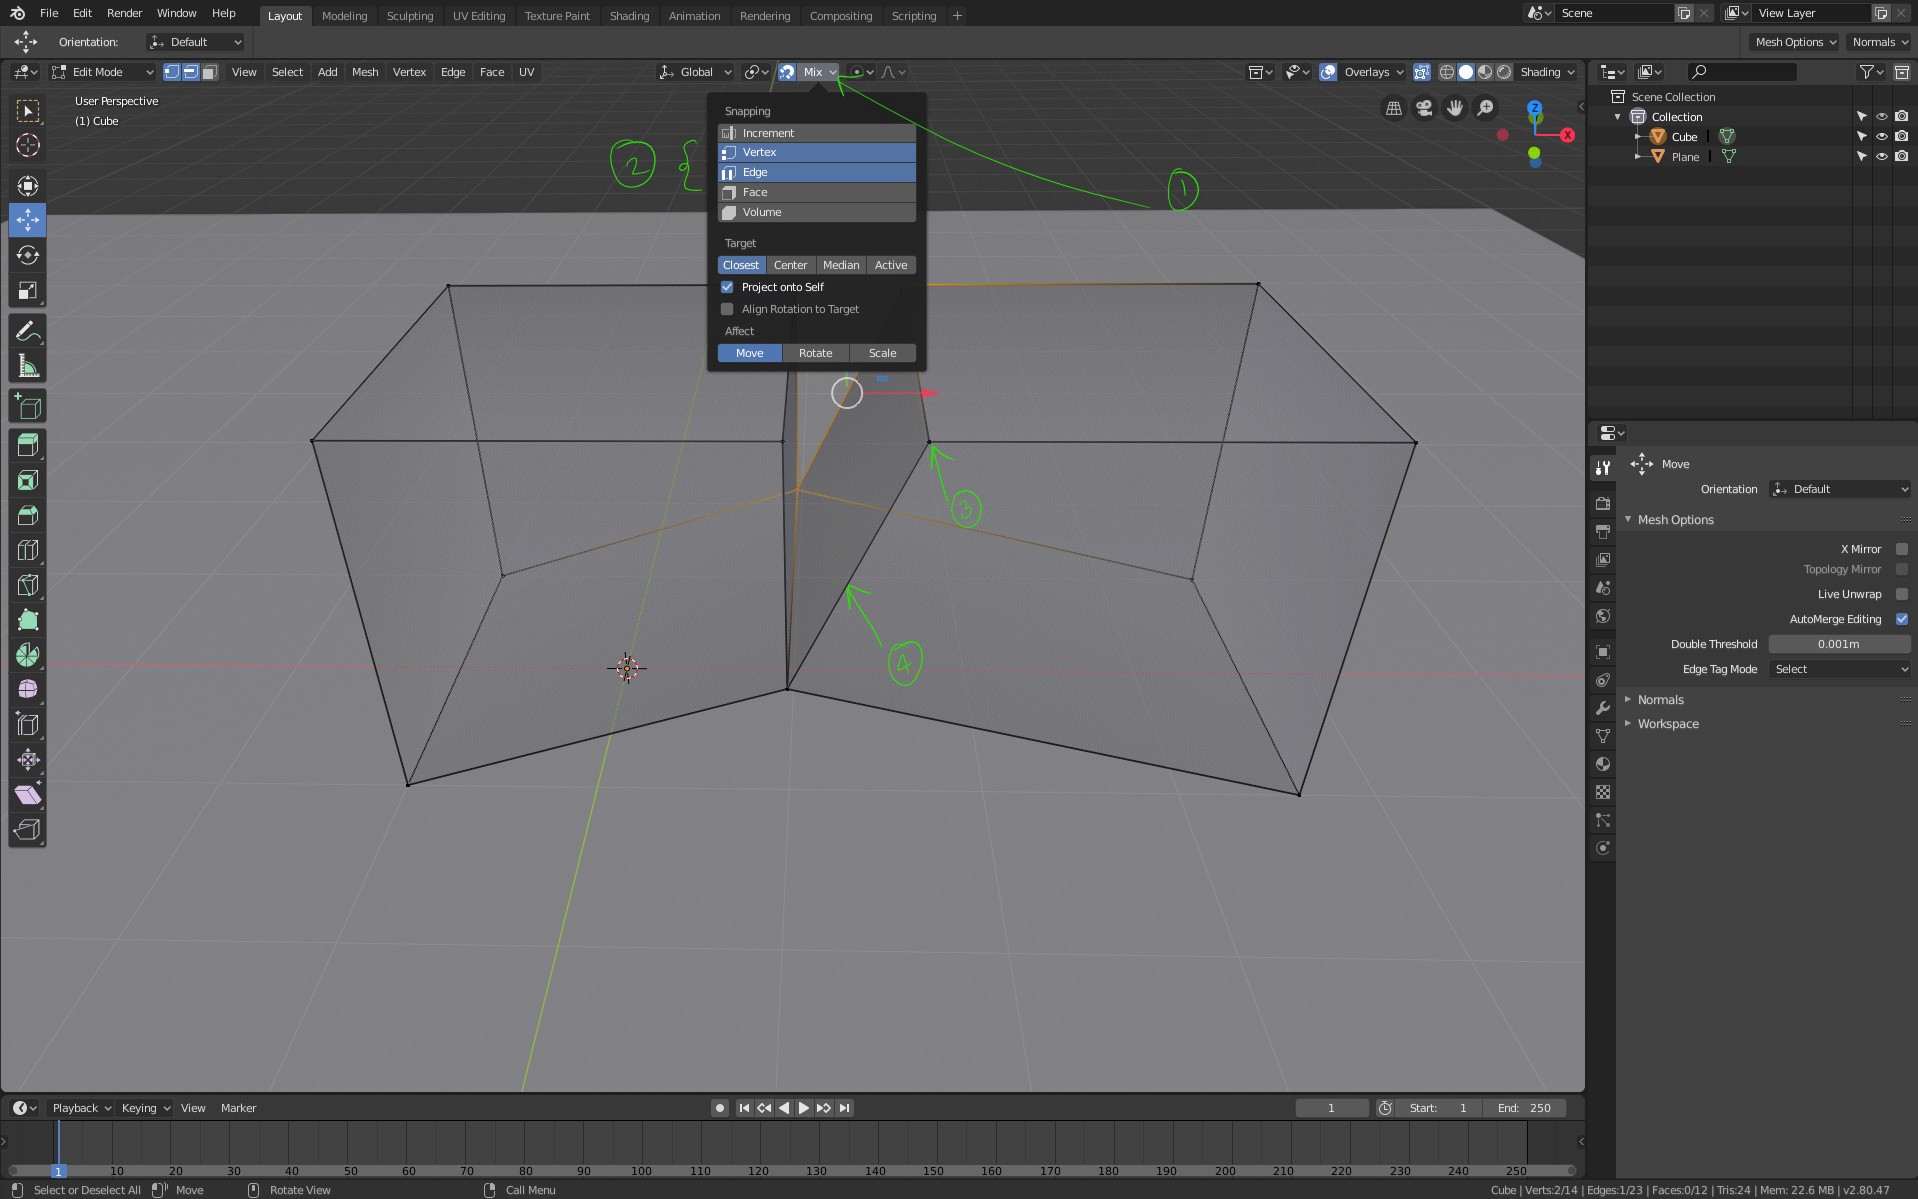 Operating on multiple mesh components at the same time
- Display the Snapping options
- Select multiple snapping options (Vertex and Edge) by holding the SHIFT key.
- You can select a vertex and move around to snap.
- You can select an edge and move around to snap.
So, that is how you go about snapping and auto merging mesh components in Blender 2.8.
Satish Goda
https://learningblender3dsoftware.blogspot.com/

